
If you want to make a thoughtful handmade gift that looks far more complicated than it actually is, this bracelet is your new best friend. The Sunset Ombre Rose Bracelet uses basic crochet stitches worked in fine cotton thread to create four tiny spiral roses in warm gradient colors. Each rose sits nestled among delicate crocheted leaves on an adjustable macrame cord.
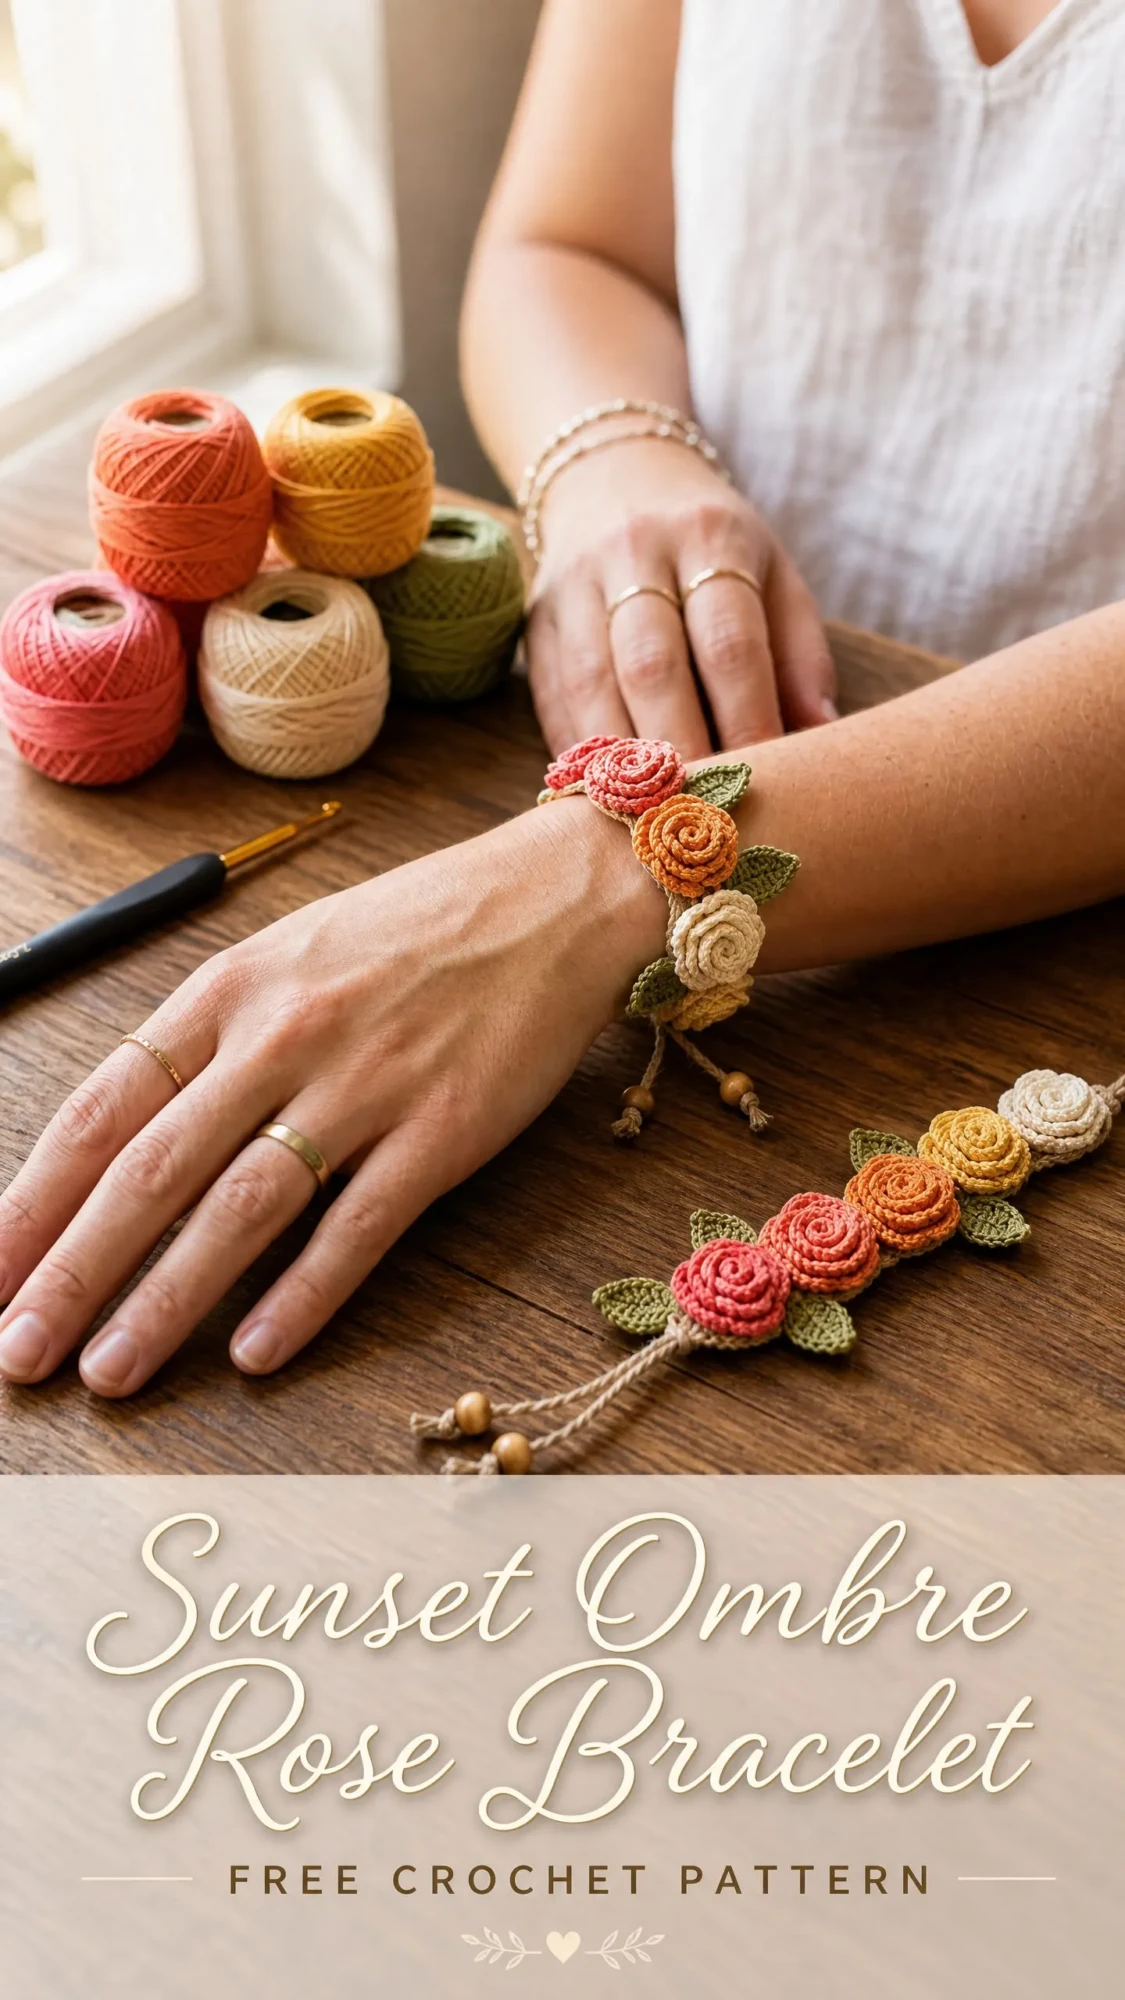
This project works up in just a few hours, making it perfect for weekend crafting or last minute birthday gifts. The finished bracelet fits wrists ranging from 5.5 to 8 inches thanks to a clever sliding knot closure. You do not need any special equipment beyond a small steel hook and some crochet thread.
Whether you are making one for yourself or creating a batch for a craft fair, these little rose bracelets have a wow factor that always gets compliments. Let me walk you through every step.
About This Crochet Bracelet Pattern
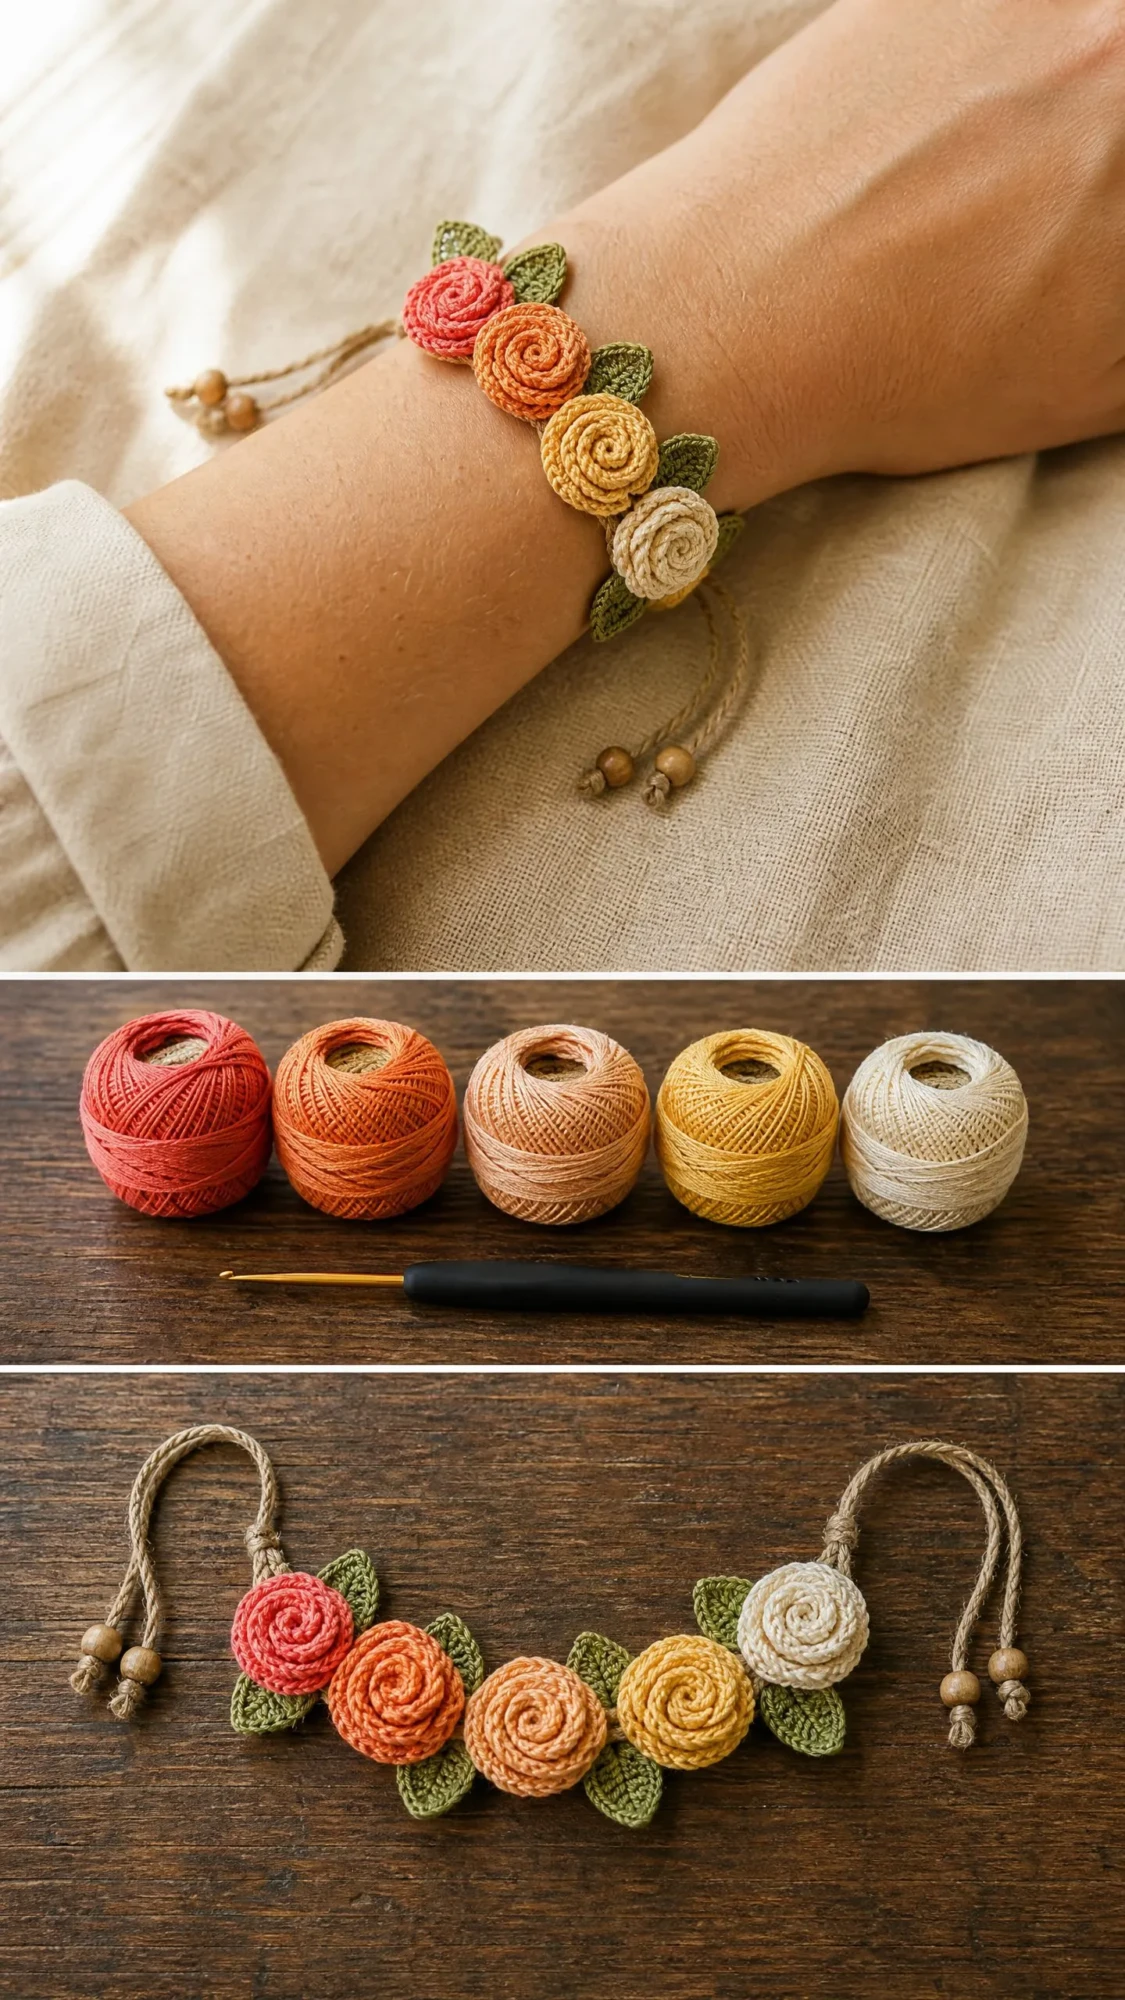
This bracelet features four individually crocheted spiral roses worked in a sunset gradient palette. You will start with coral red, move through burnt orange and golden yellow, and finish with a soft cream. Six pointed leaves in olive green nestle between and around the roses for a garden garland effect.
The construction method is straightforward. Each rose begins as a flat strip that you roll and sew into a dimensional bloom. The leaves are worked in a simple pointed oval shape. Once all your pieces are ready, you sew everything onto a length of natural macrame cord and finish with sliding knots and wooden bead stoppers.
Skill level: Intermediate. You should be comfortable working with fine thread and a small hook. Precision matters here because tight, even tension helps the roses hold their shape.
Time estimate: Plan for 3 to 5 hours total including assembly. Each rose takes about 20 to 30 minutes, each leaf about 10 minutes, and assembly adds another 30 to 45 minutes.
Finished Measurements
The flower panel measures approximately 3.5 inches wide by 0.75 inches tall (9 cm by 2 cm).
The adjustable bracelet fits wrist circumferences from approximately 5.5 to 8 inches (14 to 20.5 cm).
Materials Needed
Yarn: Size 10 crochet cotton thread in the following colors:
Hook: US Steel 7 / 1.65 mm, or size needed to obtain gauge
Notions:
Recommended Yarn Brands
Lizbeth Size 10 Crochet Cotton by Handy Hands offers excellent stitch definition and a smooth finish that shows the spiral structure beautifully. Look for Coral, Tangerine, Golden Yellow, Ecru, and Leaf Green.
DMC Traditions Crochet Thread Size 10 is widely available and produces a slightly firmer fabric that holds the rose shape without blocking.
Aunt Lydia’s Classic Crochet Thread Size 10 works wonderfully for beginners to thread crochet. The twist is even and it does not split easily. The slight sheen gives your roses a polished look.
Any size 10 crochet cotton or tatting thread will work well. Stick with solid colors rather than variegated for the cleanest ombre gradient effect.
Gauge
One completed rose measures approximately 0.75 inch (2 cm) in diameter when rolled and sewn.
One completed leaf measures approximately 0.5 inch (1.3 cm) long by 0.25 inch (0.6 cm) wide.
Gauge is not critical for a bracelet, but maintaining tight, even tension is essential. If your roses are significantly larger than 0.75 inch, try a smaller hook. If your tension is so tight that the thread splits, move up one hook size.
Abbreviations
Special Techniques
The Spiral Rose Strip
The rose is not worked in rounds like many crochet flowers. Instead, you create a long strip where the stitches gradually increase in height. When you roll this strip from the narrow end to the wide end, the taller stitches fan outward naturally to create realistic looking petals.
Think of it like a paper rose made from a strip of paper cut with a wavy edge. The principle is the same here, just executed in crochet.
The Pointed Leaf
Each leaf is worked back and forth on a foundation chain. You work stitches up one side of the chain, make a point at the tip using a treble crochet, then work back down the other side of the same chain. This creates a pointed oval with a natural center ridge.
The Sliding Knot Closure
This adjustable closure lets the wearer customize the fit. You create two knots that slide along the cord. Pulling them toward each other tightens the bracelet. Pulling the cord ends loosens it. I will explain this step by step in the assembly section.
Rose Pattern Instructions
Make 4 roses total: one in Color A (coral), one in Color B (orange), one in Color C (yellow), and one in Color D (cream).
Foundation: Using your chosen rose color, ch 36. (36 ch)
Row 1 (RS): Beginning in the 2nd ch from hook, work as follows:
Narrow section (stitches 1 through 6): Sc in each of the next 6 ch. (6 sc worked)
Low petal section (stitches 7 through 12): (Sc, hdc) in next ch, hdc in next ch, (hdc, sc) in next ch. Rep this 3 stitch unit once more across the next 3 ch. (6 sts worked, running total: 12)
Medium petal section (stitches 13 through 24): (Sc, dc, dc, sc) in next ch, sl st in next ch. Rep this 2 stitch unit five more times across the next 10 ch. (12 sts worked into 12 ch, running total: 24)
Tall petal section (stitches 25 through 35): (Sc, dc, tr, dc, sc) in next ch, sl st in next ch. Rep this 2 stitch unit four more times across the next 10 ch. On the final ch, work (sc, dc, tr, dc, sc) only, no final sl st needed. (11 sts worked into 11 ch, running total: 35)
Fasten off, leaving a 10 inch tail for assembling.
Checkpoint: Your strip should measure approximately 4.5 inches (11.5 cm) long lying flat. The narrow end should be about 0.25 inches tall and the wide petal end about 0.75 inches tall.
How to Roll and Assemble Each Rose
1. Hold the strip with the right side facing outward (the looped petal side facing away from you).
2. Starting at the narrow flat end, begin rolling the strip tightly toward yourself. Keep the base of the strip aligned as you roll so all bottoms line up.
3. As you roll, the petals will fan naturally outward and upward. This is exactly what you want.
4. Every few rolls, use your thumb to hold the coil firmly at the base.
5. When the entire strip is rolled, thread the yarn tail onto your tapestry needle. Sew back and forth through the base several times, catching all layers. Do not sew through the face of the petals.
6. Knot securely. Do not cut the tail because you will use it for attaching the rose to the cord.
Your completed rose should measure approximately 0.75 inch (2 cm) in diameter.
Leaf Pattern Instructions
Make 6 leaves total in Color E (olive green).
Foundation: Ch 8. (8 ch)
Row 1: Beginning in the 2nd ch from hook, sc in next ch, hdc in next ch, dc in next ch, tr in next ch, dc in next ch, hdc in next ch, sc in last ch. Do not turn. (7 sts)
Working back along the foundation chain: Working into the underside of the same foundation chain from the other direction, sc in next ch, hdc in next ch, dc in next ch, sl st in next ch (this is the same ch where you worked the tr, forming the leaf tip), dc in next ch, hdc in next ch, sc in last ch, sl st into the very first sc of Row 1 to close the leaf shape. (7 sts on this side plus 1 joining sl st)
Fasten off, leaving a 10 inch tail for attaching.
Checkpoint: Each leaf should measure approximately 0.5 inch long and 0.25 inch wide at its widest point. It should be gently curved with a pointed tip.
Optional center vein: For a more pronounced center ridge, before fastening off, sl st along one side of the leaf from base to tip and back, pulling the stitches very tight. This draws the leaf inward slightly and emphasizes the center vein.
Bracelet Assembly
Prepare the Cord
Cut one length of 1.5 mm natural braided macrame cord measuring 24 inches (61 cm).
Seal the cut ends with a small amount of fabric glue. If your cord is a synthetic blend, you can pass the ends briefly over a lighter flame. Natural cotton cord should simply be tied or glued rather than melted.
Arrange Your Pieces
Lay out your four roses in gradient order from left to right: Color A (coral), Color B (orange), Color C (yellow), Color D (cream).
Arrange your six leaves as follows:
Study your reference image to position the leaves at natural angles.
Attach the Motifs
Find the midpoint of your cord and mark it. This is where the center of the flower panel will sit.
Using the yarn tails and a tapestry needle, sew each leaf to the cord first. Position them so their bases align with the cord. Wrap and whipstitch each leaf firmly to the cord with several tight stitches. Pass the needle through the cord fibers if possible for extra security.
Place each rose on top of its corresponding position. Sew each rose down firmly using the yarn tail, stitching through the base of the rose and around the cord multiple times. The base of each rose should sit flush against the cord.
When viewed from the front, the cord should be nearly invisible under the flowers and leaves.
Weave all remaining yarn tails into the backs of the motifs. Trim to approximately 0.25 inch and secure with a dot of fabric glue if desired.
Create the Sliding Knot Closure
Hold both ends of the cord together, pointed in opposite directions, to form the adjustable loop.
To make each sliding knot:
1. Take one cord end and wrap it around both parallel cords four times.
2. Pass that end back through the wraps just made from the direction it came.
3. Pull snug.
4. Repeat the same process on the other side with the other cord end.
Test the fit by pulling both knots toward each other (this tightens the bracelet) and pulling the cord ends outward (this loosens it). The loop should slide smoothly through a range of approximately 5.5 to 8 inches.
Add the Bead Stoppers
Thread one wooden bead onto each cord end past the sliding knot. Tie an overhand knot in the cord end to secure the bead so it cannot slide off. Trim the cord end to approximately 0.5 inch below the knot.
Apply a small drop of fabric glue to each overhand knot and sliding knot if desired.
Size Customization Tips
For a larger wrist: Cut a longer cord, up to 28 inches (71 cm), to allow more adjustment range. The flower panel size does not need to change.
For more flowers: Make five or six roses instead of four. Add more colors or repeat colors in a different order. Increase the cord length and add extra leaves between each rose.
For fewer flowers: Three roses with four leaves creates a more delicate look. Reduce the cord length by approximately 2 inches.
For larger roses: Work the medium and tall petal sections with an additional repeat each. This adds approximately 0.25 inch to the rose diameter. Use a hook one size up if needed.
For heavier thread: Using size 5 crochet cotton will produce roses approximately 1 to 1.25 inches in diameter. Use a US B-1 (2.25 mm) hook and increase cord thickness to 2 mm or 3 mm.
Care Instructions
Hand wash gently in cool water with mild soap. Do not wring or twist. Press gently in a clean towel to remove excess water and lay flat to dry.
Keep away from prolonged direct sunlight to preserve the colors. Avoid repeated soaking, as this may loosen the closure knots over time. Re-tie the sliding knots if needed.
Store flat or loosely coiled. Do not fold sharply across the flower panel.
Final Thoughts on This Rose Bracelet Crochet Pattern
This Sunset Ombre Rose Bracelet looks like something you would find in a boutique, but you can make it yourself in an afternoon. The gradient color effect is stunning, and the adjustable closure means it fits almost anyone. Once you have made one, you will probably want to make a whole collection in different color schemes.
Try pastels for spring, jewel tones for fall, or red and green for holiday gifts. You could even make matching sets for a bridal party using the wedding colors.
Thank you so much for choosing this pattern. I hope you love making it as much as I loved designing it. If you give it a try, I would absolutely love to see your finished bracelet. Tag me on Instagram or share a photo in my Facebook group.
If this pattern caught your eye, go ahead and save it to your Pinterest boards so you can find it when you are ready to start. And please drop a comment below if you make one. I always love hearing which colors you chose and seeing your beautiful finished projects.
You Might Also Like
- Yellow Heart Granny Square Baby Blanket Free Crochet Pattern
- Ocean Blue Mandala Crochet Set Free Pattern
- Sage Green Boho Tiered Lace Dress Free Crochet Pattern
- Lavender Garden Granny Square Bag Free Crochet Pattern
