
Crocheted butterflies look intimidating. All those delicate layers, the wire antennae, the sparkly rhinestone trim. I get it. But here is the truth: if you can work a magic ring and count to six, you can absolutely make this gorgeous palm-sized butterfly.
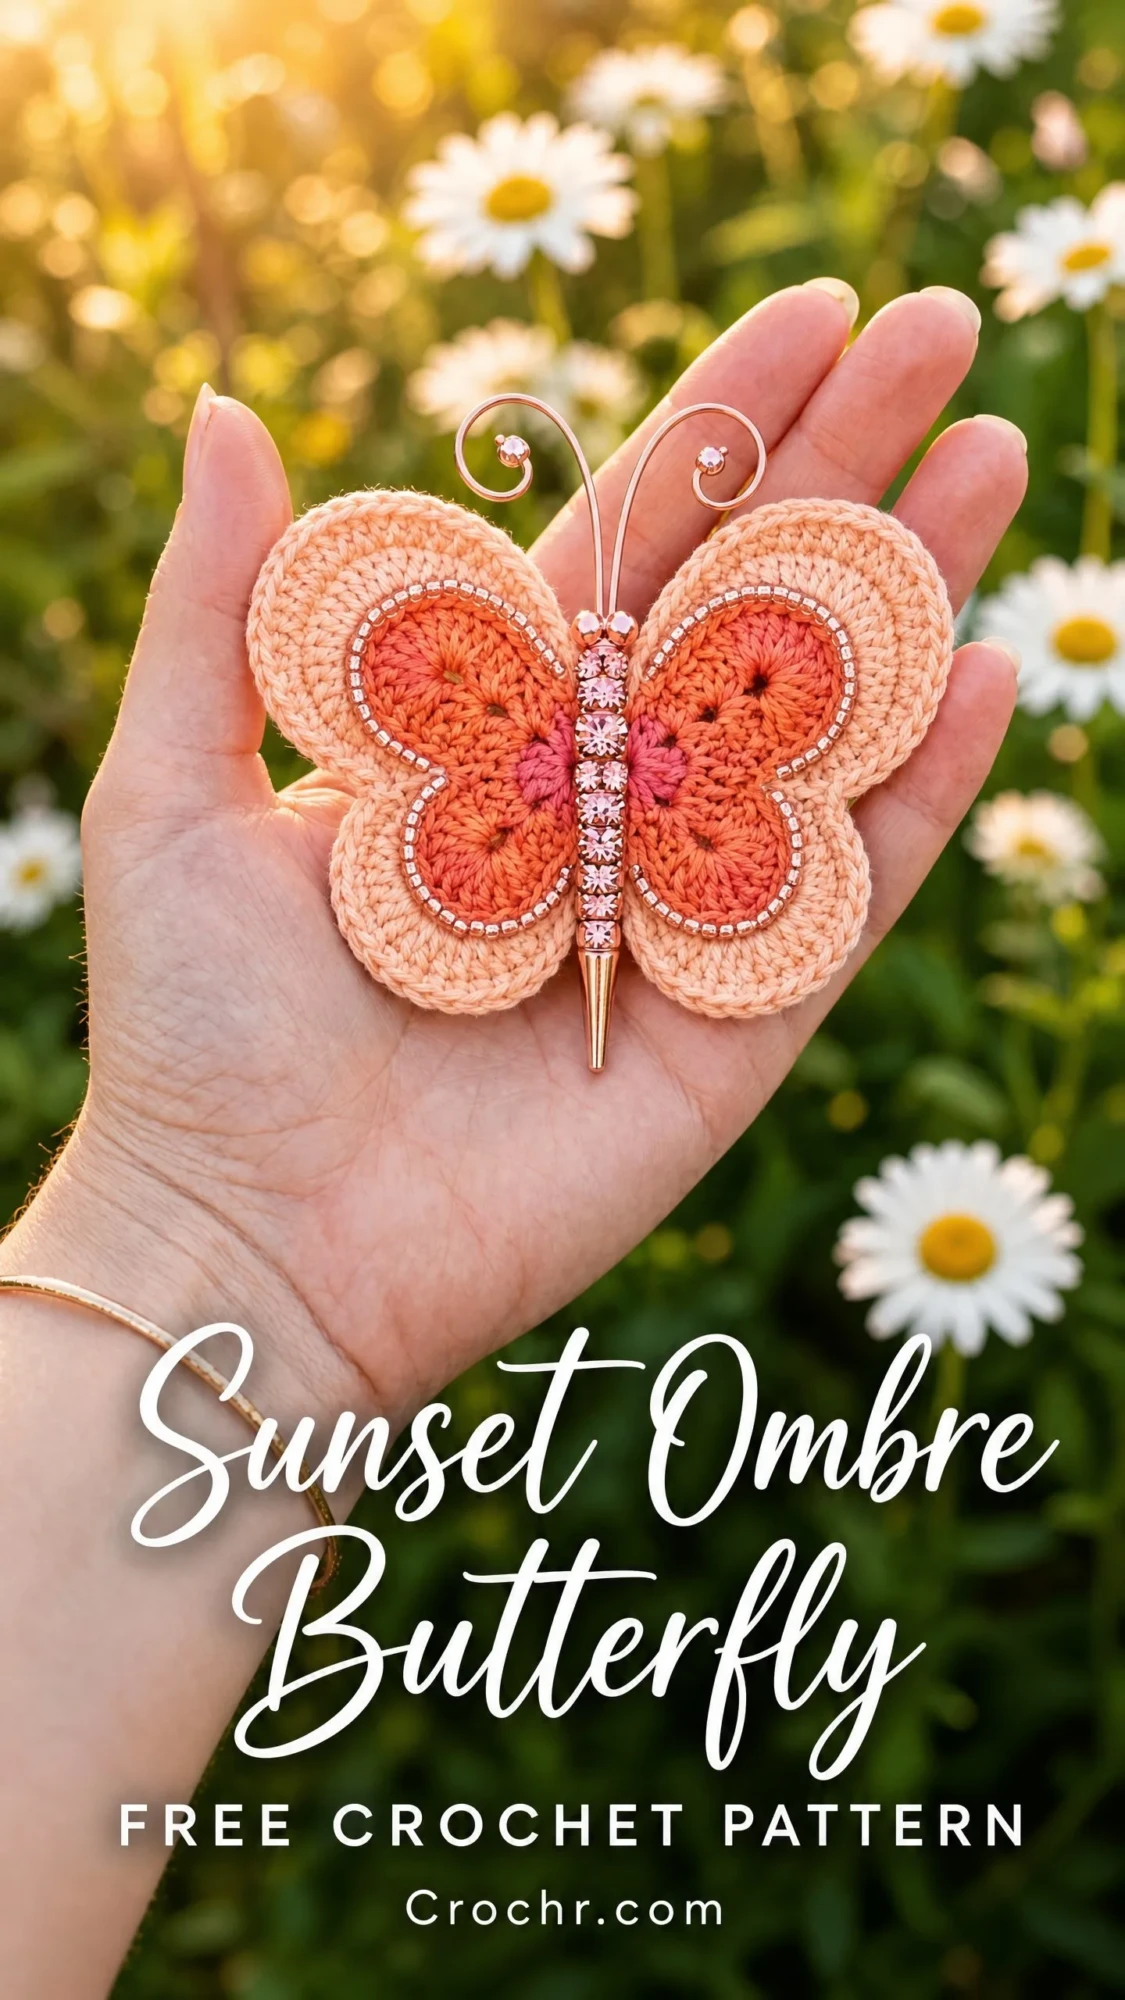
The construction breaks down into simple flat circles. That is really all this is. Flat circles in the round, joined together, dressed up with some pretty embellishments. The ombre effect comes from basic color changes, not complicated colorwork.
Whether you have been crocheting for years or just mastered your first granny square last month, this pattern walks you through every single step. I have included checkpoints along the way so you can verify your work before moving on. No mysterious leaps. No "somehow it should look like a butterfly now" moments. Just clear, methodical instructions that build toward something genuinely beautiful.
About This Crochet Butterfly Pattern
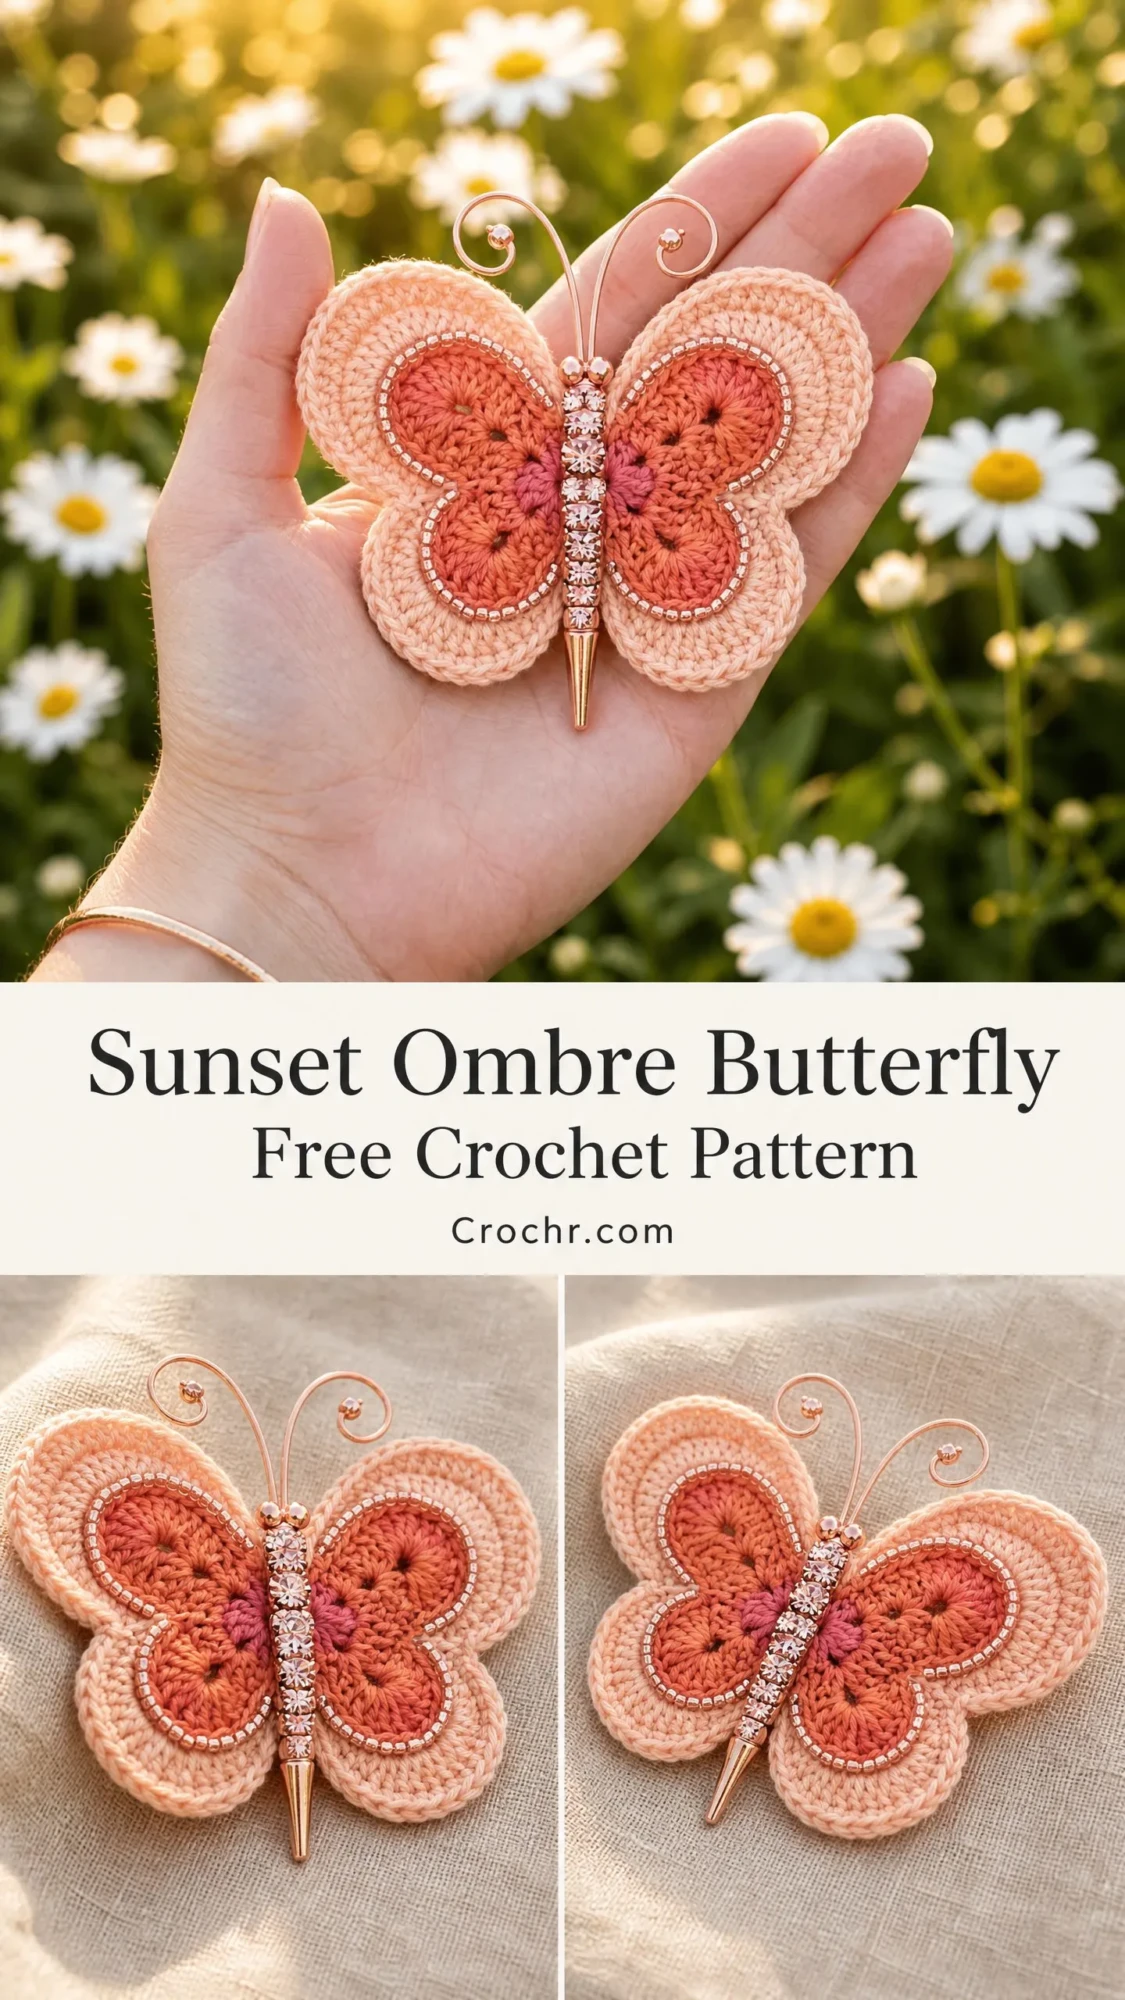
This decorative butterfly combines crocheted cotton yarn wings with a rose gold metal hair pen body, rhinestone trim, and copper wire antennae. The result is dimensional and layered, perfect for hair accessories, brooches, or ornamental display.
The wings use two distinct layers: solid peach outer wings and coral-to-rose ombre inner wing motifs worked as granny-style circles. You crochet six pieces total, then assemble them onto the metal body and add embellishments.
Finished size: Approximately 3.5 inches wide by 2.75 inches tall with wings spread flat. Total height including antennae reaches approximately 4.5 inches.
Skill level: Intermediate. The individual stitches are basic, including single crochet (sc), double crochet (dc), and slip stitch (sl st). But the pattern requires working in the round, maintaining stitch counts, color changes within rounds, and neat finishing with non-yarn embellishments.
Time estimate: 3 to 5 hours for an experienced crocheter. Allow up to 8 hours if you are new to working small motifs in the round or attaching embellishments.
Materials You Will Need
Yarn:
Hook: US B-1 / 2.25 mm crochet hook
Additional materials:
Yarn Suggestions for This Butterfly Pattern
Paintbox Yarns Cotton DK used at a tighter tension with a smaller hook works beautifully. It produces a smooth, dense fabric that holds the wing shape without stiffening.
DMC Natura Just Cotton (Sport / Size 2) is an excellent match. The mercerized finish gives a slight sheen that echoes the polished look of the finished butterfly wings.
Scheepjes Catona (Sport / Size 2) in shades Peach (386), Coral (410), and Antique Mauve (320) matches the color palette precisely.
Substitution note: Any tightly spun sport-weight cotton or cotton-blend yarn will work. Avoid fuzzy or textured yarns. They will obscure the stitch definition and compete with the embellishments. If substituting a DK-weight yarn, move up to a US D-3 / 3.25 mm hook and recheck gauge.
Gauge
With Yarn A and US B-1 / 2.25 mm hook, working in single crochet in the round: 5 rounds of sc in the round equals approximately 1 inch in diameter on a flat circle.
Or: 22 sc by 24 rows equals 4 inches by 4 inches in flat single crochet.
Why gauge matters here: The wings must fit proportionately against the metal pen body and sit within the palm of a hand. A finished upper outer wing should measure approximately 1.75 inches in diameter. Swatch and adjust hook size as needed.
Abbreviations (US Terms)
Before we dive into the step-by-step instructions, let me define every stitch and term you will encounter:
Special Techniques
Invisible Decrease (sc2tog, invisible method):
Insert hook into the front loop only of the next stitch. Do not yarn over yet. Insert hook into the front loop only of the following stitch. You now have two loops on the hook. Yarn over and draw through both front loops. Yarn over and draw through both loops to complete.
Granny Circle Round:
This refers to working groups of 3 dc separated by ch-1 spaces into chain spaces of the previous round, creating a circular, slightly textured medallion.
Standing Stitch Join:
To avoid a visible join when changing colors, make a slip knot with the new color and hold it on the hook. Insert hook into the specified stitch, yarn over with new color, draw up a loop, yarn over, complete as sc or dc as instructed. This counts as the first stitch of the round.
Pattern Notes
The butterfly is made of six crocheted pieces: two upper outer wings, two lower outer wings, and two inner wing motifs. The inner motif sits on top of both the upper and lower outer wings on each side.
All rounds are joined rounds unless stated otherwise. At the end of each round, slip stitch into the first stitch of that round to close, then chain as instructed to begin the next round.
Do not turn at the end of rounds unless specified. The right side faces outward throughout.
Leave a tail of at least 6 inches when fastening off all pieces for seaming and weaving in.
Stitch counts appear in parentheses at the end of every round.
Inner Wing Motif (Make 2)
These flat circular medallions are worked in ombre from coral to rose. Each finished motif measures approximately 1.5 inches in diameter.
With Yarn B (coral orange), create a magic ring.
Round 1: Ch 3 (counts as first dc here and throughout inner motif), work 11 dc into the magic ring. Pull ring closed. Sl st into top of beginning ch-3 to join. (12 dc)
Round 2: Ch 3, dc in same st as join. Work 2 dc in each remaining dc around. Sl st into top of beginning ch-3 to join. (24 dc)
Round 3: Ch 3, dc in same st as join. Dc in next dc. (2 dc in next dc, dc in next dc) rep around. Sl st into top of beginning ch-3 to join. (36 dc)
Round 4: Change to Yarn C (deep rose). Join with a standing sc. Sc in each dc around. Sl st into first sc to join. (36 sc)
Round 5: Ch 1, sc in same st. (Ch 1, skip 1 sc, sc in next sc) rep around. Sl st into first sc to join. (18 sc, 18 ch-1 spaces)
Round 6: Sl st into first ch-1 sp. Ch 3, work 2 dc into same ch-1 sp. Ch 1. (3 dc in next ch-1 sp, ch 1) rep around. Sl st into top of beginning ch-3 to join. (18 groups of 3 dc, 18 ch-1 spaces)
Checkpoint: The inner motif should be a flat, ruffled-edge circle approximately 1.5 inches across. It should lie flat without cupping or rippling excessively. If it cups, your tension is too tight. Move up half a hook size. If it ruffles dramatically, move down half a hook size.
Fasten off Yarn C, leaving a 6-inch tail. Weave in the magic ring tail tightly.
Upper Outer Wing (Make 2)
These slightly scalloped, roughly circular wings are worked entirely in Yarn A (peach). Each finished upper wing measures approximately 1.75 inches in diameter.
With Yarn A, create a magic ring.
Round 1: Ch 1, work 6 sc into the magic ring. Pull ring closed. Sl st into first sc to join. (6 sc)
Round 2: Ch 1, work 2 sc in each sc around. Sl st into first sc to join. (12 sc)
Round 3: Ch 1, (2 sc in next sc, sc in next sc) rep around. Sl st into first sc to join. (18 sc)
Round 4: Ch 1, (2 sc in next sc, sc in next 2 sc) rep around. Sl st into first sc to join. (24 sc)
Round 5: Ch 1, (2 sc in next sc, sc in next 3 sc) rep around. Sl st into first sc to join. (30 sc)
Round 6: Ch 1, (2 sc in next sc, sc in next 4 sc) rep around. Sl st into first sc to join. (36 sc)
Round 7: Ch 1, (2 sc in next sc, sc in next 5 sc) rep around. Sl st into first sc to join. (42 sc)
Round 8 (scallop edge): Ch 1, sc in same st. (Skip 2 sc, 5 dc in next sc, skip 2 sc, sc in next sc) rep around, ending with sl st into first sc to join. (7 scallops)
Fasten off Yarn A, leaving a 10-inch tail for assembly.
Checkpoint: The wing should be a neat, slightly ruffled circle, approximately 1.75 inches across.
Lower Outer Wing (Make 2)
The lower wings are slightly smaller, approximately 1.5 inches in diameter, creating the natural size difference seen on a butterfly.
With Yarn A, create a magic ring.
Round 1: Ch 1, work 6 sc into the magic ring. Pull ring closed. Sl st into first sc to join. (6 sc)
Round 2: Ch 1, work 2 sc in each sc around. Sl st into first sc to join. (12 sc)
Round 3: Ch 1, (2 sc in next sc, sc in next sc) rep around. Sl st into first sc to join. (18 sc)
Round 4: Ch 1, (2 sc in next sc, sc in next 2 sc) rep around. Sl st into first sc to join. (24 sc)
Round 5: Ch 1, (2 sc in next sc, sc in next 3 sc) rep around. Sl st into first sc to join. (30 sc)
Round 6: Ch 1, (2 sc in next sc, sc in next 4 sc) rep around. Sl st into first sc to join. (36 sc)
Round 7 (scallop edge): Ch 1, sc in same st. (Skip 2 sc, 5 dc in next sc, skip 2 sc, sc in next sc) rep around, ending with sl st into first sc to join. (6 scallops)
Fasten off Yarn A, leaving a 10-inch tail for assembly.
Assembly Instructions
Step 1: Block all six pieces. Lightly dampen each piece and pin flat on a foam blocking board. Allow to dry completely. This is essential for the pieces to lie smooth and flat.
Step 2: Attach inner motifs to upper wings. Position one inner motif onto one upper outer wing with right sides facing up. Center the inner motif on the upper outer wing. The motif will cover most of the center, leaving the scalloped peach border visible around the edge. Using the long tail from the inner motif and a tapestry needle, whipstitch the inner motif to the upper outer wing. Use small, tight stitches to keep the motif flat. Repeat for the second upper outer wing.
Step 3: The lower wings remain as plain peach scalloped circles. The inner motif is not attached to them.
Step 4: Join upper and lower wings. Take one assembled upper wing and one lower wing. Hold them together at the inner edge, with the lower wing angled slightly downward. Using Yarn A and a tapestry needle, whipstitch the inner edges together for approximately 0.5 inches at the center join point. This creates one wing unit. Repeat for the other side.
Step 5: Join both wing units. Hold the left wing unit and right wing unit together with right sides facing outward. Stitch through all layers at the center joint for 4 to 6 stitches to lock the two wing units together at the spine.
Step 6: Attach to pen body. Position the joined wing assembly against the pen body. The pointed tail should extend below the lower wings and the antennae should extend above the upper wings. Secure by wrapping Yarn A through the crochet fabric and around the pen shaft 6 to 8 times. Knot securely at the back and weave the tail into the wings.
Adding Embellishments
Rhinestone trim: Cut rhinestone chain into these lengths: two pieces approximately 5 to 5.5 inches each for the border between inner motif and outer wing, and one piece approximately 2 to 2.5 inches for along the pen body.
Hand-stitch or glue the rhinestone chain along the border where the inner motif meets the outer wing, following the circular outline. Attach the shorter length along the visible portion of the pen body.
Antennae: If your pen does not have built-in wire antennae, cut two 5-inch lengths of 22-gauge copper wire. Using round-nose jewelry pliers, curl one end of each wire into a small spiral. Thread a small bead onto the curl end and crimp closed. Insert the straight end into the crochet fabric at the center spine, angling each wire outward and curling slightly. Secure with adhesive.
Size Customization Tips
For a larger butterfly: Use DK-weight yarn and a US E-4 / 3.5 mm hook. Add two additional increase rounds to each wing before working the scallop edge. Finished size will be approximately 5.5 inches wide.
For a smaller butterfly: Work only 5 rounds of the upper outer wing and 4 rounds of the lower outer wing before the scallop edge. Use size 10 crochet thread and a US 7 / 1.65 mm steel hook. Work inner motif rounds 1 through 4 only.
For a different gradient: Work rounds 1 and 2 in Yarn B, rounds 3 and 4 in a transition color, and rounds 5 and 6 in Yarn C for a three-step gradient.
Care Instructions
Spot clean only after embellishments are attached. Use a damp cloth with gentle hand soap, dabbing lightly at the crocheted areas. Do not submerge in water.
Store flat or hanging to preserve the wing shape.
The crocheted portion alone may be hand-washed in cool water with gentle soap and blocked as needed before embellishment.
Final Thoughts on This Crochet Butterfly Pattern
I hope this step-by-step tutorial has shown you that crocheted butterflies really are within reach. The combination of simple flat circles, thoughtful color placement, and sparkly finishing touches creates something that looks far more complicated than it actually is to make.
Thank you so much for choosing this pattern. I genuinely love seeing what you create, so please tag me on Instagram or share your finished butterfly in my Facebook group. Your photos absolutely make my day.
If this sunset ombre butterfly caught your eye, go ahead and pin this pattern to your Pinterest boards so you can find it when you are ready to start. And if you make one, I would love to hear how it turned out. Drop a comment below and let me know!
You Might Also Like
- Pastel Pink Daisy Tote Bag Free Crochet Pattern
- Sunset Safari Beaded Animal Anklet Free Crochet Pattern
- Navy Starlight Granny Square Robe Free Pattern
- Mustard Yellow Wildflower Granny Tote Free Pattern
