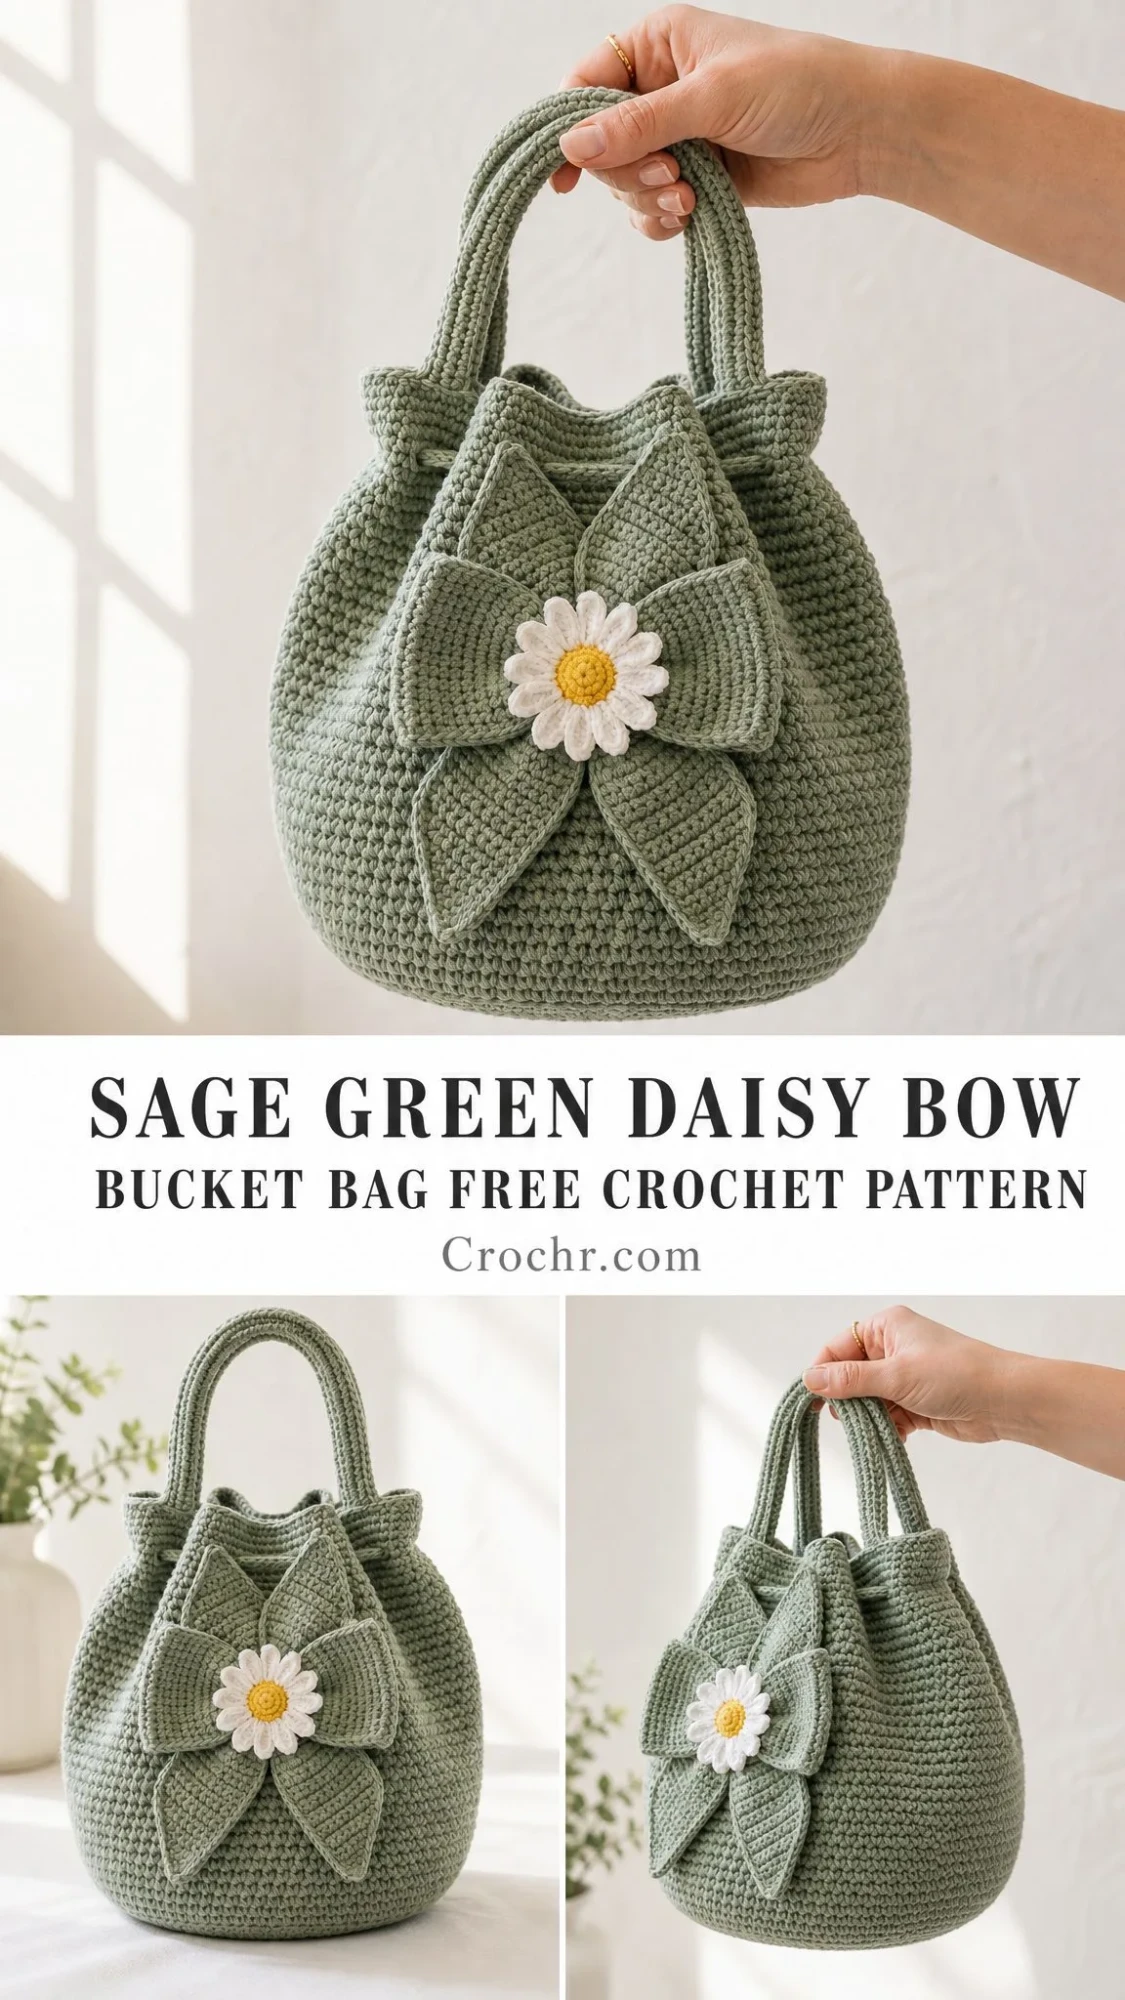
A sturdy little handbag that holds its shape, looks impressive, and works up in a weekend? That is exactly what this sage green bucket bag delivers. The dense single crochet body keeps your belongings secure while the dimensional bow and cheerful daisy appliqué turn heads everywhere you go.
Get the Ad-Free PDF Pattern
You can find the free pattern below, or you can purchase the ad-free printable PDF from my shop.
Get the Printable PDF →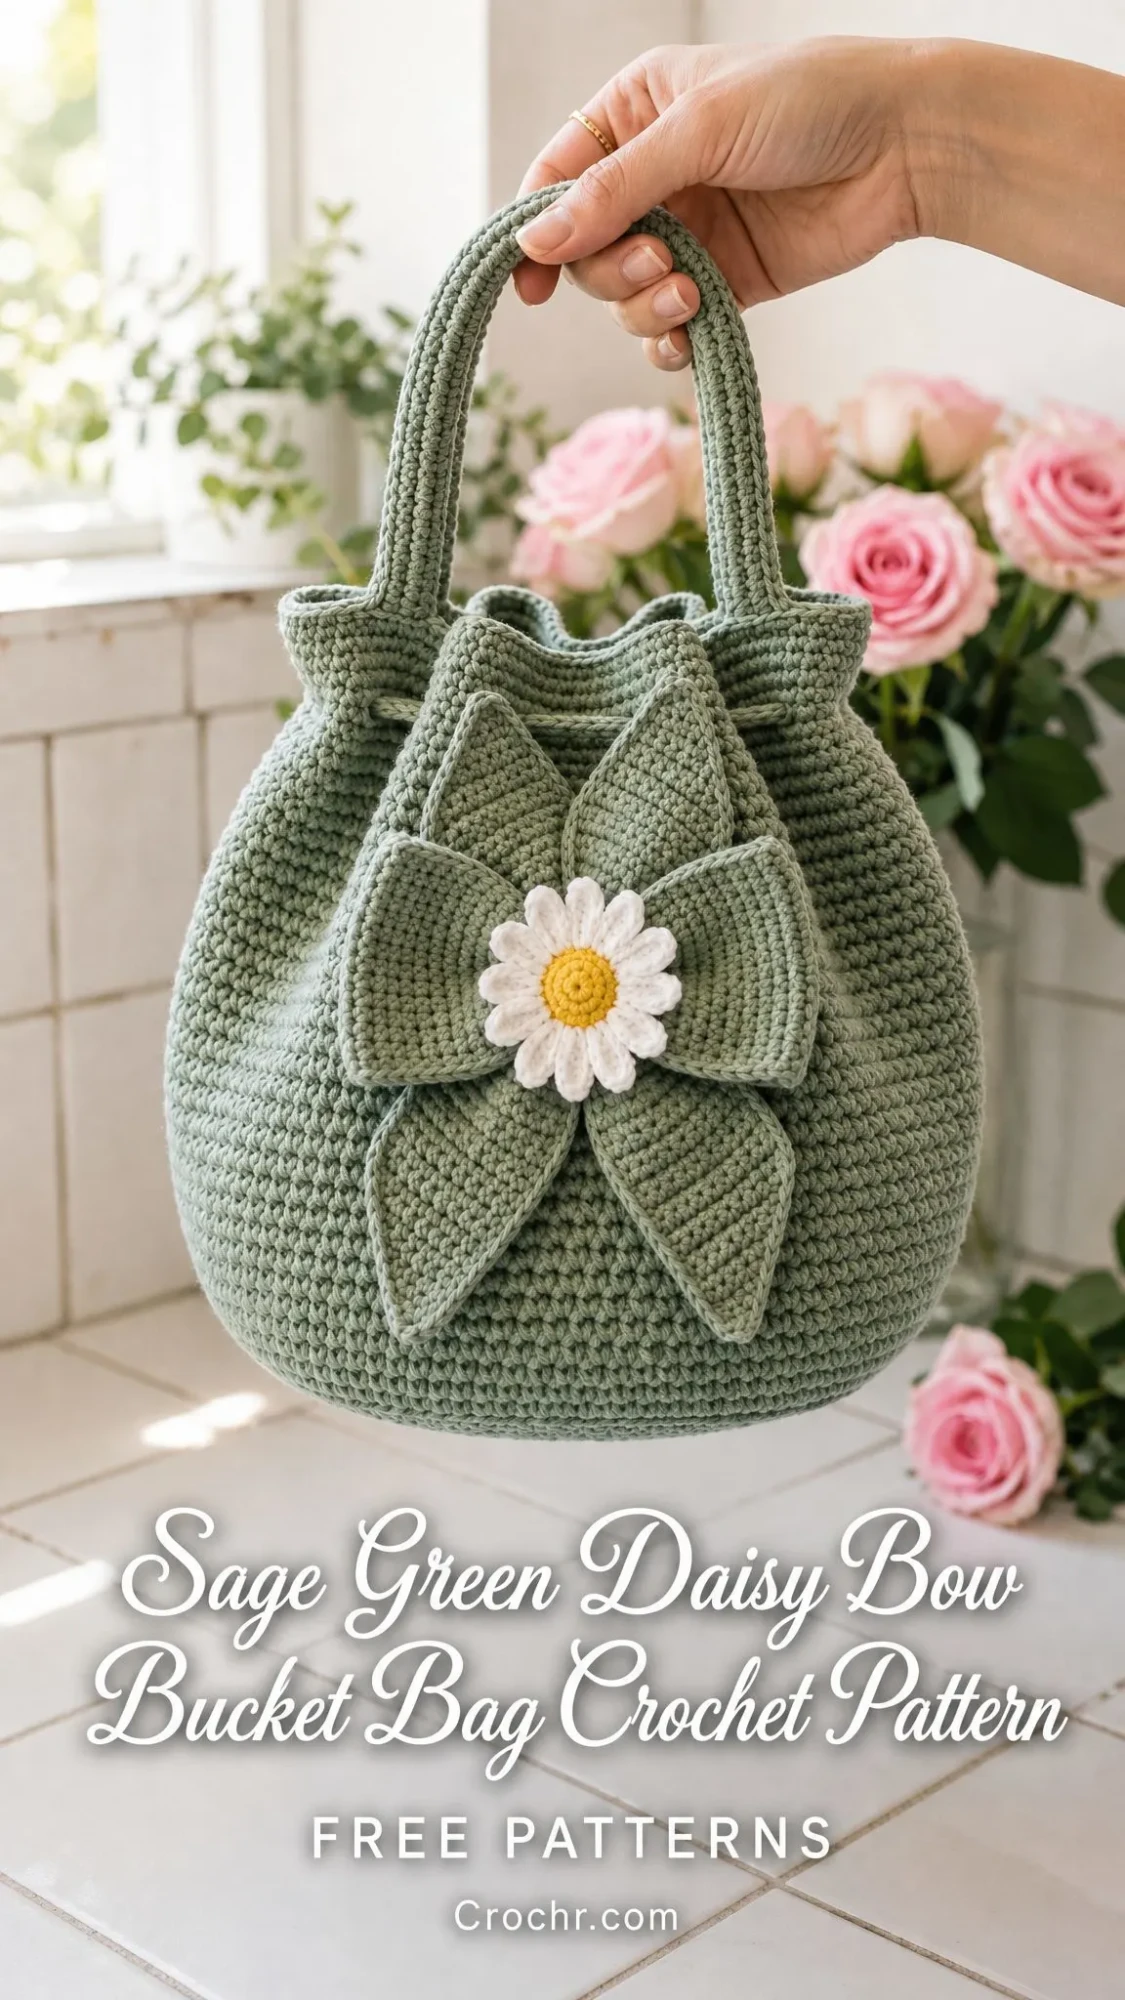
This pattern uses basic stitches that confident beginners can handle, making it a perfect project for anyone ready to move beyond flat pieces. The construction is straightforward: a flat circular base, continuous rounds for the body, and separate pieces for the bow leaves and daisy that get sewn on at the end.
Whether you need a handmade gift for a friend who loves cottagecore style or you want to treat yourself to a unique accessory, this bucket bag checks every box. It takes approximately 9 to 12 hours to complete, uses less than 300 yards of cotton yarn, and the finished piece measures about 8 inches wide by 13 inches tall including handles.
Materials You Will Need
Before you start crocheting, gather everything on this list. Having your supplies ready makes the process smoother and more enjoyable.
Main yarn: Approximately 285 yards (260 meters) of worsted or aran weight cotton blend yarn in sage green. For the daisy, you will need 16 yards (15 meters) of ivory and 5 yards (5 meters) of golden yellow.
Hook: US 7 / 4.5 mm, or whatever size you need to match gauge.
Notions: Locking stitch markers, yarn needle, scissors, pins. Optional items include a 6.5 inch (16.5 cm) round bag base insert, fabric lining, and magnetic snap closure.
Yarn Suggestions
Choose a yarn with body and low stretch. The bag needs structure to hold its bucket shape, so limp or stretchy yarns will not work well unless you plan to add a lining.
Good options include Lion Brand 24/7 Cotton, Paintbox Yarns Cotton Aran, or Dishie Cotton Worsted. Any worsted or aran weight cotton, or a firm cotton and acrylic blend that matches gauge, will work beautifully.
Gauge
14 single crochet stitches by 14 rounds equals 4 inches (10 cm) in continuous single crochet, worked firmly but not stiff.
Please match gauge before starting. Your bag size and yarn usage depend on your tension. If your swatch is too small, go up a hook size. If it is too large, go down.
Useful checkpoints to measure as you work:
Abbreviations and Stitch Guide
Here are all the abbreviations used in this pattern with plain English definitions.
ch = chain: wrap yarn over hook and pull through loop on hook
sl st = slip stitch: insert hook, yarn over, pull through stitch and loop on hook in one motion
sc = single crochet: insert hook, yarn over and pull up a loop, yarn over and pull through both loops
hdc = half double crochet: yarn over, insert hook, yarn over and pull up a loop, yarn over and pull through all three loops
dc = double crochet: yarn over, insert hook, yarn over and pull up a loop, yarn over and pull through two loops, yarn over and pull through remaining two loops
inc = increase: work 2 single crochet stitches in the same stitch
sc2tog = single crochet two together (decrease): insert hook in next stitch, yarn over and pull up a loop, insert hook in following stitch, yarn over and pull up a loop, yarn over and pull through all 3 loops on hook
BLO = back loop only: insert hook under only the back loop of the stitch instead of both loops
RS = right side
st(s) = stitch(es)
rnd = round
rep = repeat
Special Techniques
Invisible join: Cut yarn and pull tail through final stitch. Thread tail on needle, insert under both loops of first stitch of round, then insert back into the center of the last stitch. Pull until it mimics a normal stitch. This creates a seamless finish.
Surface slip stitch line: Hold yarn on wrong side of work. Insert hook from front to back, pull up a loop. Insert hook in next space, pull up a loop and pull it through the loop on hook. Keep tension relaxed so the fabric does not pucker.
Pattern Notes
The base and body are worked in continuous rounds. Do not join at the end of each round unless instructed. Place a locking stitch marker in the first stitch of each round and move it up as you work. This keeps you from losing track of where rounds begin and end.
The body fabric is intentionally dense. This gives the bag structure and helps it hold its shape.
The bow leaves, daisy, and handles are all made separately and sewn on after the bag body is complete.
Left handed note: Left handed makers can follow the same stitch counts. Your rounds and embellishment placement will mirror naturally. Place the bow on the side that reads as the front when the handles are centered.
Bag Base Instructions
With sage green yarn, make a magic ring. Work firmly but keep the base flat. If the circle cups upward, loosen your tension or go up a hook size for the base only.
Round 1: 6 sc in ring. (6 sc)
Round 2: Inc in each st around. (12 sc)
Round 3: (Sc in next st, inc) 6 times. (18 sc)
Round 4: (Sc in next 2 sts, inc) 6 times. (24 sc)
Round 5: (Sc in next 3 sts, inc) 6 times. (30 sc)
Round 6: (Sc in next 4 sts, inc) 6 times. (36 sc)
Round 7: (Sc in next 5 sts, inc) 6 times. (42 sc)
Round 8: (Sc in next 6 sts, inc) 6 times. (48 sc)
Round 9: (Sc in next 7 sts, inc) 6 times. (54 sc)
Round 10: (Sc in next 8 sts, inc) 6 times. (60 sc)
Round 11: (Sc in next 9 sts, inc) 6 times. (66 sc)
Round 12: (Sc in next 10 sts, inc) 6 times. (72 sc)
Checkpoint: Your base should measure approximately 6.5 to 7 inches (16.5 to 18 cm) across and lie completely flat. Do not cut yarn.
Bag Body Instructions
Round 13: Working in BLO, sc in each st around to turn the base edge. (72 sc)
This back loop only round creates a sharp edge where the base meets the walls of the bag.
Rounds 14 through 30: Sc in each st around. Keep marker aligned. (72 sc each round)
Round 31: (Sc in next 10 sts, sc2tog) 6 times. (66 sc)
Rounds 32 through 34: Sc in each st around. (66 sc each round)
Round 35: (Sc in next 9 sts, sc2tog) 6 times. (60 sc)
Rounds 36 through 38: Sc in each st around. (60 sc each round)
Checkpoint: Your body should be nicely rounded with a slightly narrower upper edge, measuring approximately 7.25 to 7.5 inches (18.5 to 19 cm) high from the base edge.
Top Edge and Gathered Shape
The top edge forms the soft bucket opening and creates the slight scalloped dips visible between the handles.
Round 39: (Sc in next 8 sts, sc2tog) 6 times. (54 sc)
Round 40: Sc in each st around. (54 sc)
Round 41: Sc in each st around, working slightly tighter. (54 sc)
Round 42: (Sl st in next st, sc in next st, hdc in next st, sc in next st, sl st in next st) 10 times, sl st in last 4 sts. (54 sts)
Round 43: Sl st loosely in each st around. Invisible join. (54 sl sts)
Top shaping tip: The 5 stitch scallop repeat uses 50 stitches, then the final 4 slip stitches sit at the back edge. Center one scallop dip at the front of the bag before sewing on the bow.
Optional Draw In Seam
Thread a 20 inch (51 cm) strand of sage yarn through every 6th stitch on the inside of Round 40. Pull gently only enough to smooth the rim. The opening should measure approximately 4.75 to 5.25 inches (12 to 13.5 cm) across.
Knot securely and weave in ends. This is not a functional drawstring. It simply shapes the rim.
Optional Lining
For a professional finish, cut a fabric circle approximately 7.25 inches (18.5 cm) across and a rectangle approximately 22 inches by 8 inches (56 by 20 cm). Sew the rectangle into a tube, attach the circle to the bottom, then hand stitch the lining just below Round 41.
Add a magnetic snap before sewing the lining in place if desired.
Layered Bow Flower
Make 8 sage leaf panels total: 4 large and 4 small. These get sewn together in an X formation so they read as a dramatic bow with petal like points. The large leaves sit behind the small leaves.
Large Leaf Panel (Make 4)
Row 1: Ch 18. Sc in 2nd ch from hook and across. Turn. (17 sc)
Row 2: Ch 1, sc in each st across. Turn. (17 sc)
Row 3: Ch 1, inc, sc in next 15 sts, inc. Turn. (19 sc)
Rows 4 through 8: Ch 1, sc in each st across. Turn. (19 sc)
Row 9: Ch 1, sc2tog, sc in next 15 sts, sc2tog. Turn. (17 sc)
Row 10: Ch 1, sc2tog, sc in next 13 sts, sc2tog. Turn. (15 sc)
Row 11: Ch 1, sc2tog, sc in next 11 sts, sc2tog. Turn. (13 sc)
Row 12: Ch 1, sc2tog, sc in next 9 sts, sc2tog. Turn. (11 sc)
Row 13: Ch 1, sc2tog, sc in next 7 sts, sc2tog. Turn. (9 sc)
Row 14: Ch 1, sc2tog, sc in next 5 sts, sc2tog. Turn. (7 sc)
Row 15: Ch 1, sc2tog, sc in next 3 sts, sc2tog. Turn. (5 sc)
Row 16: Ch 1, sc2tog, sc in next st, sc2tog. Turn. (3 sc)
Row 17: Ch 1, sc3tog. Do not turn. (1 st)
Edging: Sc evenly around outer edge, placing 3 sc in pointed tip. Invisible join. (Approximately 50 to 54 sc)
For a raised rib detail, work a surface slip stitch from the base center of each large leaf to the tip. Keep it loose.
Small Leaf Panel (Make 4)
Row 1: Ch 14. Sc in 2nd ch from hook and across. Turn. (13 sc)
Row 2: Ch 1, sc in each st across. Turn. (13 sc)
Row 3: Ch 1, inc, sc in next 11 sts, inc. Turn. (15 sc)
Rows 4 through 6: Ch 1, sc in each st across. Turn. (15 sc)
Row 7: Ch 1, sc2tog, sc in next 11 sts, sc2tog. Turn. (13 sc)
Row 8: Ch 1, sc2tog, sc in next 9 sts, sc2tog. Turn. (11 sc)
Row 9: Ch 1, sc2tog, sc in next 7 sts, sc2tog. Turn. (9 sc)
Row 10: Ch 1, sc2tog, sc in next 5 sts, sc2tog. Turn. (7 sc)
Row 11: Ch 1, sc2tog, sc in next 3 sts, sc2tog. Turn. (5 sc)
Row 12: Ch 1, sc2tog, sc in next st, sc2tog. Turn. (3 sc)
Row 13: Ch 1, sc3tog. Do not turn. (1 st)
Edging: Sc evenly around outer edge, placing 3 sc in pointed tip. Invisible join. (Approximately 40 to 44 sc)
Daisy Center and Petals
Center (Yellow)
Make a magic ring.
Round 1: 6 sc in ring. (6 sc)
Round 2: Inc in each st around. (12 sc)
Round 3: (Sc in next st, inc) 6 times. (18 sc)
Invisible join. Leave a long tail for sewing.
Petals (Ivory)
Join ivory yarn in any front loop of Round 3.
Ch 5, sc in 2nd ch from hook, hdc in next ch, dc in next ch, hdc in next ch, sl st in next center st. Repeat from * 18 times around.
Fasten off and weave in petal ends.
Assembling the Bow Flower
Pin the 4 large leaves at front center like a wide X shape: one pointing up, one pointing down, one pointing left, one pointing right.
Add the 4 small leaves in the spaces between them, creating an 8 pointed star effect.
Overlap the bases at the center by approximately 0.5 inches (1.25 cm). Sew the bases securely to the bag, leaving the pointed tips slightly raised for dimension.
Sew the daisy over the center, catching through the flower and all leaf bases to secure everything together.
Handles (Make 2)
Each handle is a long BLO strip folded around a cord of yarn and seamed into a rounded tube. This creates a sturdy, structured handle that will not stretch out.
Row 1: Ch 46. Sc in 2nd ch from hook and across. Turn. (45 sc)
Rows 2 through 5: Ch 1, working BLO, sc in each st across. Turn. (45 sc each row)
Row 6: Ch 1, sc in each st across through both loops. Fasten off, leaving a 24 inch (61 cm) tail. (45 sc)
To finish: Lay 2 strands of sage yarn along the wrong side as a soft cord. Fold the strip lengthwise and whipstitch the long edges together. This creates a tube approximately 13 inches (33 cm) long.
Attaching handles: Place handle ends 2 inches (5 cm) apart at front and 2 inches (5 cm) apart at back. Sew each end securely over Rounds 38 through 42 with the long tail.
Handle checkpoint: When held upright, handles should rise approximately 4.5 inches (11.5 cm) above the rim. Add or remove starting chains in pairs to change handle length.
Final Finishing
Weave in all remaining ends. Steam lightly from at least 2 inches (5 cm) away, shaping the body over a bowl if needed to help it hold the bucket shape.
Do not press the bow flat. Instead, pinch the leaf bases and lift the tips while the yarn cools to maintain that dimensional look.
Insert a round base insert and lining if using. Trim all tails only after the bag is fully dry.
Blocking Tips
Cotton yarn relaxes with steam. Use gentle steam and hand shaping only.
For crisp leaves, pin each leaf point outward and steam lightly. Let dry completely before sewing the daisy center tight.
Size Customization
To make a smaller or larger bag, adjust the base in 6 stitch increments and keep the final body count divisible by 6 for clean shaping.
For the scallop edging, use a final top count divisible by 5, or place leftover stitches at the back as written.
For a taller bag, add plain rounds before Round 31.
Troubleshooting Common Issues
Base cups upward: Your increases may be too few or your tension too tight. Check each base round count and go up a hook size if needed.
Base ripples: Your base may be too loose. Try a smaller hook or block the base flat before beginning the sides.
Body leans to one side: Move the stitch marker every round and avoid adding an extra stitch at the marker. A slight spiral is normal in continuous rounds.
Top opening too wide: Tighten the optional draw in seam gradually and secure on the inside.
Bow droops: Sew through the first 0.75 inches (2 cm) of each leaf base and add a few hidden tack stitches underneath.
Handles stretch: Add a firmer inner cord, sew the handle ends through several rounds, or line the bag.
Care Instructions
Spot clean when possible. For a full wash, hand wash in cold water, reshape, and dry flat with the base supported. Do not wring. Avoid hanging the wet bag by its handles, as this can stretch them out.
UK Crochet Terms
This pattern uses US crochet terms. If you are in the UK or Australia, here are the conversions:
I hope you love making this sage green daisy bow bucket bag as much as I enjoyed writing up this pattern. It is such a satisfying project that comes together piece by piece into something truly special.
If you make this bucket bag, I would absolutely love to see it! Save this pattern to your Pinterest boards so you can find it easily when you are ready to start, and please leave a comment below sharing your finished project or any questions you have along the way. Happy crocheting!
Want a Quick & Easy Printable Version?
Get a clean, beautifully formatted PDF of this pattern — easy to follow step by step, ready to print or save on any device. No scrolling, no distractions, just the pattern.
Get the Printable PDF →