This stunning shell-shaped purse might look like something from a boutique window, but I promise you can absolutely make it yourself. The Sage Green Botanical Shell Purse combines elegant ribbed texture with a beautifully gathered silhouette that catches light and turns heads. If you can crochet basic stitches and follow a simple pattern, you have everything you need to create this gorgeous accessory.
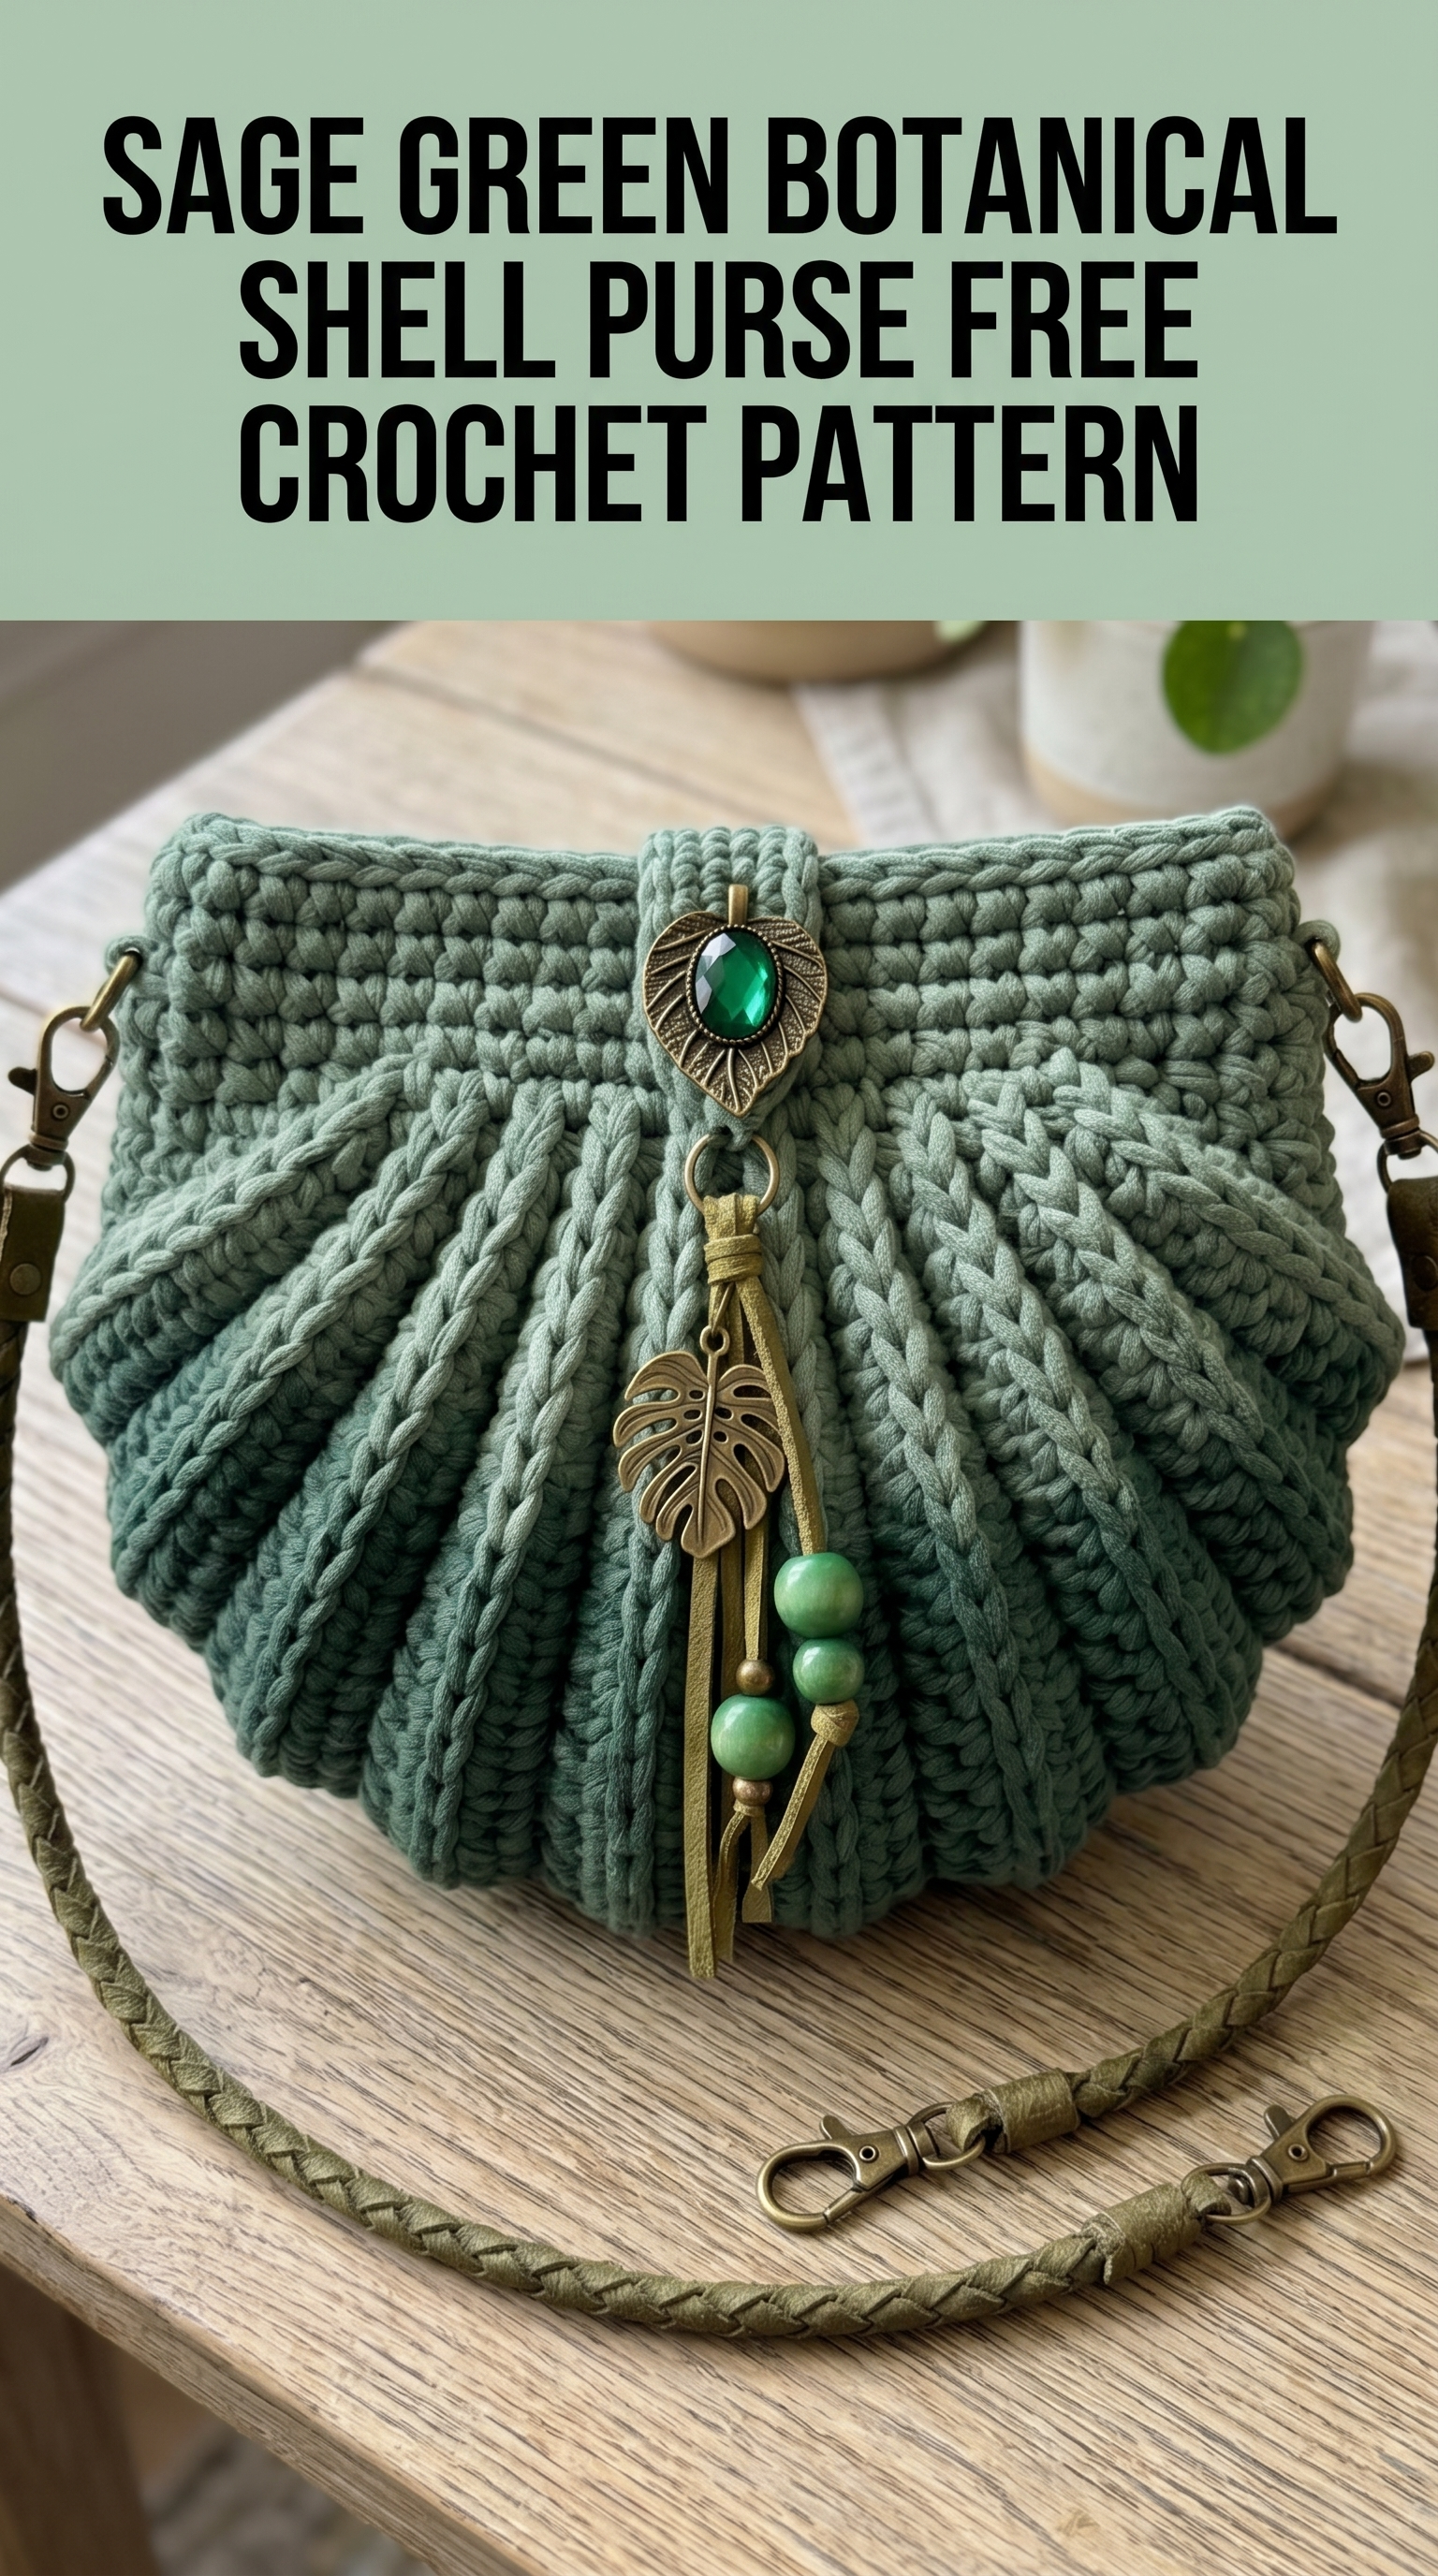
I designed this bag for crafters who want something that looks intricate but works up faster than you might expect. The shell shape comes from clever decreasing and gathering rather than complicated stitch work. The botanical charms and braided strap add that finishing touch that makes it feel truly special.
Let me walk you through every single step.
Why You Will Love This Crochet Pattern
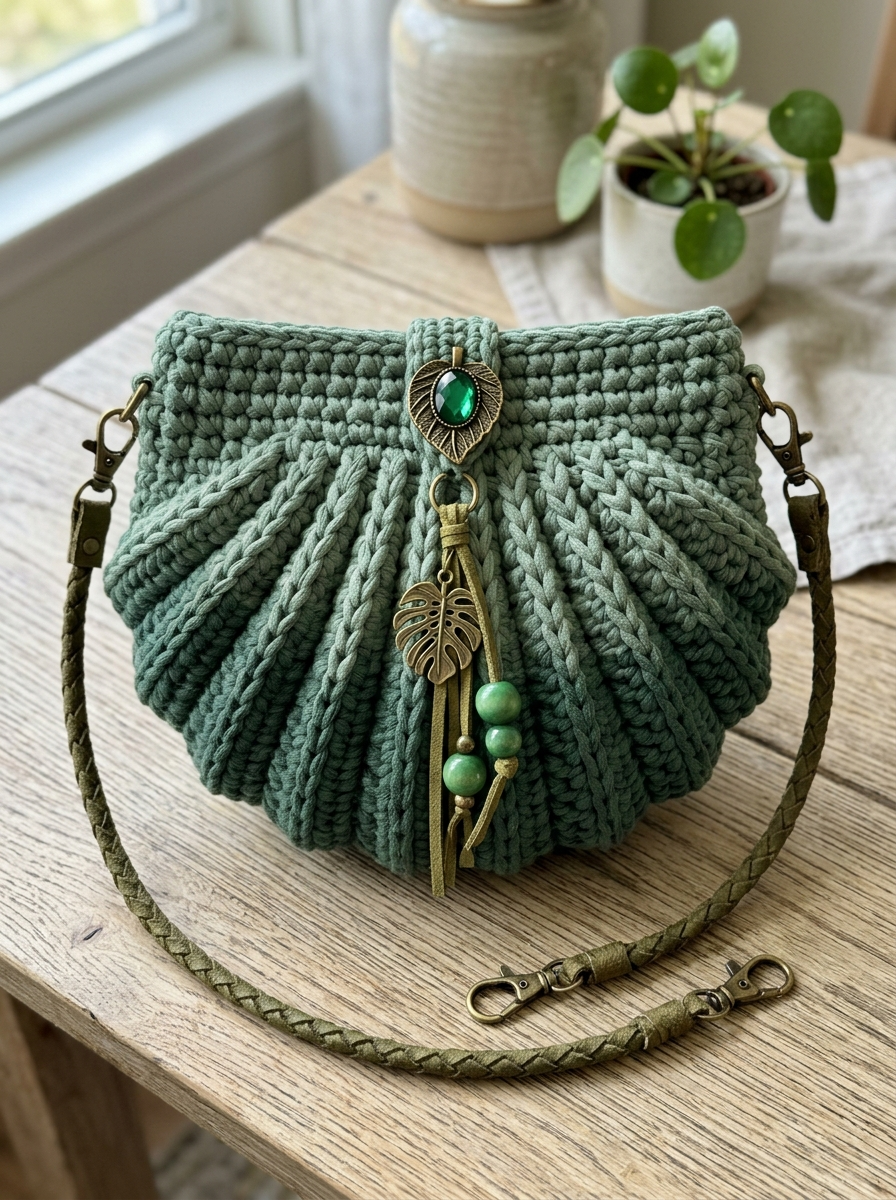
This purse hits that sweet spot between impressive and achievable. The vertical ribbing creates stunning texture that photographs beautifully. The gathered top gives it that distinctive shell silhouette without requiring any shaping skills beyond basic increases and decreases.
What makes this design special:
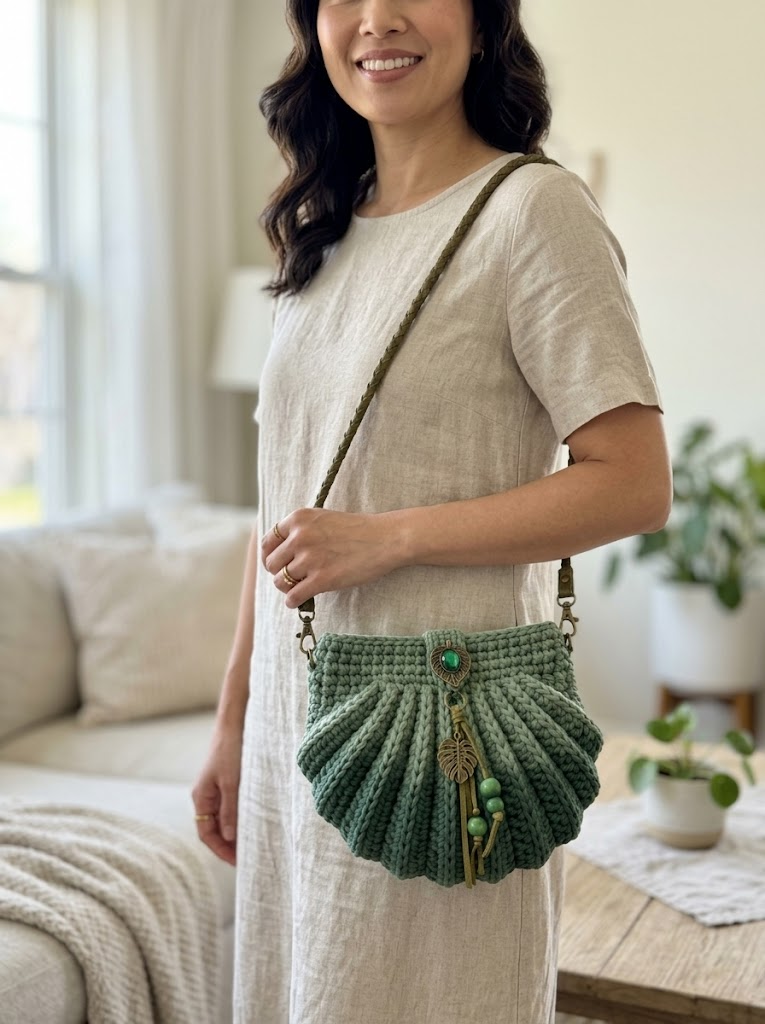
The sage green color gives it an earthy, botanical vibe that pairs with everything from jeans to summer dresses. But honestly, this pattern works beautifully in any color you love.
Skill Level
Confident beginner to intermediate. You should be comfortable with basic crochet stitches and working in the round. If you have made a simple bag or worked post stitches before, you are ready for this project.
Never tried post stitches? Do not worry. I will explain them thoroughly, and they become second nature after just a few rows.
Finished Dimensions
These measurements can vary slightly based on your tension and yarn choice.
Materials Needed
Yarn
T-shirt yarn or tube yarn in sage green or your preferred color. You will need approximately 200 to 250 grams (about 130 to 150 yards).
T-shirt yarn is that thick, stretchy yarn made from jersey fabric strips. It creates the substantial, sturdy fabric perfect for bags. Look for brands like Hoooked Zpagetti, Yarn Art Maccheroni, or any recycled cotton t-shirt yarn.
Substitution option: You could use bulky cotton cord (5mm to 7mm) or macrame rope, though your gauge may differ slightly.
Hook
Size 9mm or 10mm crochet hook (US M/N or N/P)
This larger hook creates the slightly loose, drapey fabric that allows the gathering to work properly. If your stitches feel too tight and stiff, go up a hook size.
Notions and Hardware
Gauge
8 single crochet stitches and 9 rows = 4 inches (10 cm) in single crochet with t-shirt yarn and 9mm hook.
Gauge matters here because it affects your final bag size. If your swatch measures smaller, try a larger hook. If larger, go down a hook size.
That said, bags are forgiving. As long as you are in the ballpark, your purse will work beautifully.
Abbreviations and Stitch Definitions
Let me explain every abbreviation before we begin. Read through these even if you feel confident. My definitions include the exact motions so we are on the same page.
ch = chain. Yarn over, pull through loop on hook.
sl st = slip stitch. Insert hook, yarn over, pull through stitch AND loop on hook in one motion.
sc = single crochet. Insert hook into stitch, yarn over and pull up a loop (2 loops on hook), yarn over and pull through both loops.
hdc = half double crochet. Yarn over, insert hook into stitch, yarn over and pull up a loop (3 loops on hook), yarn over and pull through all 3 loops.
dc = double crochet. Yarn over, insert hook into stitch, yarn over and pull up a loop (3 loops on hook), yarn over and pull through 2 loops, yarn over and pull through remaining 2 loops.
FPdc = front post double crochet. This creates the raised ribbing texture. Yarn over, insert hook from front to back to front around the POST (the vertical part) of the stitch in the row below, yarn over and pull up a loop, complete as a regular double crochet. The stitch pops forward toward you.
BPdc = back post double crochet. Yarn over, insert hook from back to front to back around the post of the stitch below, complete as double crochet. The stitch recedes away from you.
sc2tog = single crochet 2 together (decrease). Insert hook in first stitch, pull up loop, insert hook in next stitch, pull up loop (3 loops on hook), yarn over and pull through all 3.
inc = increase. Work 2 stitches into the same stitch.
st(s) = stitch(es)
rnd = round
Special Techniques
Post Stitches for Ribbing
The gorgeous vertical ribbing on this bag comes from alternating front post double crochet (FPdc) and back post double crochet (BPdc) stitches. When you work FPdc, your hook goes around the POST of the stitch, not into the top loops.
Here is the trick: After your foundation round, every stitch sits on top of a stitch from the previous round. That stitch has a vertical “post” or stem. You will wrap your hook around that post rather than inserting it into the V-shaped top.
When you work FPdc, the stitch pops toward you. When you work BPdc, it recedes. Alternating them creates that beautiful ribbed texture.
Practice on a swatch if this is new to you. It clicks quickly once you try it.
Magic Ring
The bag base starts with a magic ring (also called magic circle or adjustable ring). This creates a tight, closed center with no hole.
Wrap yarn around your finger twice, insert hook under wraps, pull up a loop, chain 1 to secure, then work your stitches into the ring. Pull the tail tight to close the center completely.
If magic rings frustrate you, chain 4 and slip stitch to form a ring instead. Your center will have a small hole, but it will be hidden at the base of your bag.
Crochet Pattern Instructions
Base of the Bag
We begin with a circular base that forms the bottom of your purse.
Magic ring.
Round 1: Work 8 sc into magic ring. Pull tail to close. Join with sl st to first sc. (8 sts)
Round 2: Ch 1 (does not count as stitch here and throughout). Work 2 sc in each st around. Join with sl st. (16 sts)
Round 3: *Sc in first st, 2 sc in next st.* Repeat from * around. Join. (24 sts)
Round 4: *Sc in next 2 sts, 2 sc in next st.* Repeat from * around. Join. (32 sts)
Round 5: *Sc in next 3 sts, 2 sc in next st.* Repeat from * around. Join. (40 sts)
Round 6: *Sc in next 4 sts, 2 sc in next st.* Repeat from * around. Join. (48 sts)
Your base should measure approximately 5 to 6 inches across. If it looks cupped or wavy, adjust your hook size and try again. A flat circle means correct tension.
Body of the Bag: Ribbed Section
Now we build the walls. This is where the magic happens.
Round 7 (Transition Round): Ch 2 (counts as first hdc). Working in BACK LOOPS ONLY, hdc in each st around. Join with sl st to top of ch-2. (48 sts)
Working in back loops only creates a visible ridge that marks the transition between base and body. It also helps the walls stand up straight.
Round 8 (Establish Ribbing): Ch 2. *FPdc around next st, BPdc around next st.* Repeat from * around. Join. (48 sts)
Rounds 9 through 20: Repeat Round 8.
Important: Each round, work FPdc around the FPdc from the previous round, and BPdc around the BPdc. This stacks the stitches vertically and creates those beautiful raised ribs running from base to top.
Keep your tension relaxed. The fabric should feel soft and drapey, not stiff. If it feels rigid, go up a hook size.
After Round 20, your bag body should measure approximately 5 to 6 inches tall.
Upper Band: Single Crochet Section
The top portion transitions to single crochet for a cleaner edge and provides structure for the gathered closure.
Round 21: Ch 1. Sc in each st around. Join. (48 sts)
Rounds 22 through 26: Ch 1. Sc in each st around. Join. (48 sts)
You now have 5 rounds of single crochet forming a smooth band at the top.
Creating the Gathered Shell Shape
This step transforms your cylinder into that gorgeous shell silhouette. We will decrease and then gather the top.
Round 27 (Decrease Round): Ch 1. *Sc in next 4 sts, sc2tog.* Repeat from * around. Join. (40 sts)
Round 28: Ch 1. Sc in each st around. Join. (40 sts)
Round 29 (Decrease Round): Ch 1. *Sc in next 3 sts, sc2tog.* Repeat from * around. Join. (32 sts)
Round 30: Ch 1. Sc in each st around. Join. (32 sts)
Fasten off, leaving a 12-inch tail for finishing.
Hardware Tabs (Make 2)
These small tabs anchor your strap hardware to the bag.
Chain 8.
Row 1: Sc in 2nd ch from hook and each ch across. (7 sts)
Rows 2 through 4: Ch 1, turn. Sc across. (7 sts)
Fasten off, leaving a long tail for sewing.
Fold each tab in half, thread through a D-ring or swivel clasp, and sew the ends together. Attach one tab to each upper side of your bag, positioning them at the side seams approximately 1 inch below the top edge.
Finishing and Assembly
Gathering the Top
Thread your tapestry needle with the remaining tail. Weave the yarn in and out through the top edge stitches, going under each stitch top around the entire opening. Pull gently to gather the top closed to approximately 4 inches across. Secure with a few small stitches.
Leave a small opening in the center. This creates the characteristic shell shape with a gathered, slightly open top.
Attaching the Decorative Closure
Position your decorative button or leaf charm at the center front of the gathered top. Use coordinating thread and a sewing needle to secure it firmly. The charm shown features an antique brass leaf with a green gem center.
Adding the Tassel or Charm Cluster
Thread your tassel or charm cluster through a small jump ring. Attach it to the decorative button or sew it directly below the closure. The shown version includes a monstera leaf charm, green beads, and leather fringe.
Attaching the Strap
Clip your braided strap to the D-rings or swivel clasps on each hardware tab. Adjust the length for crossbody wear or shorten for shoulder carry.
Care Instructions
Spot clean with mild soap and cool water. Lay flat to dry. T-shirt yarn can stretch when wet, so avoid submerging the entire bag.
Store stuffed with tissue paper to maintain shape.
Customization Ideas
Color variations: Try dusty rose, mustard, navy, or cream for different vibes. Two-tone versions with a contrasting band look stunning.
Size adjustments: Add or remove rounds in the body section to make your bag taller or shorter. Add more increase rounds to the base for a wider bag.
Lining: Sew a fabric lining for a polished interior and to prevent small items from poking through the stitches.
Different closures: Try a magnetic snap, zipper, or drawstring instead of the gathered top.
Troubleshooting Common Issues
Bag walls are floppy: Your tension may be too loose. Try going down a hook size, or add a fabric lining for structure.
Ribbing does not show: Make sure you are working around the POSTS, not into the top loops. The hook should go around the vertical stem of each stitch.
Base is wavy or cupped: Adjust your hook size. Wavy usually means too loose. Cupped means too tight.
Gathering looks uneven: Take your time with this step. Pull the yarn gradually and adjust the gathers as you go before securing.
Wrapping Up Your Botanical Shell Purse Crochet Pattern
You did it. Or you are about to. Either way, I am so excited for you to bring this Sage Green Botanical Shell Purse to life with your own hands. The combination of textured ribbing, elegant gathering, and botanical-inspired details creates something truly special.
This crochet pattern gives you every step you need to create a beautiful handmade accessory from start to finish. Take your time with the post stitches if they are new to you. They become rhythmic and almost meditative once you find your groove.
Thank you so much for choosing to make this pattern. It means the world to me when you trust my designs enough to spend your precious crafting hours on them.
I would absolutely love to see your finished purse. Tag me on Instagram or share in my Facebook group. Seeing your color choices and styling ideas genuinely makes my day.
Happy crocheting, friend. You have got this.
