This is THE dress pattern you’ve been waiting for, and I am not exaggerating one bit! If you’ve ever wanted to create a showstopping wearable piece that looks like it belongs in a dreamy pastel sky, this Pastel Rainbow Cloud Dress is about to become your new obsession.
Get the Ad-Free PDF Pattern
You can find the free pattern below, or you can purchase the ad-free printable PDF from my shop.
Get the Printable PDF →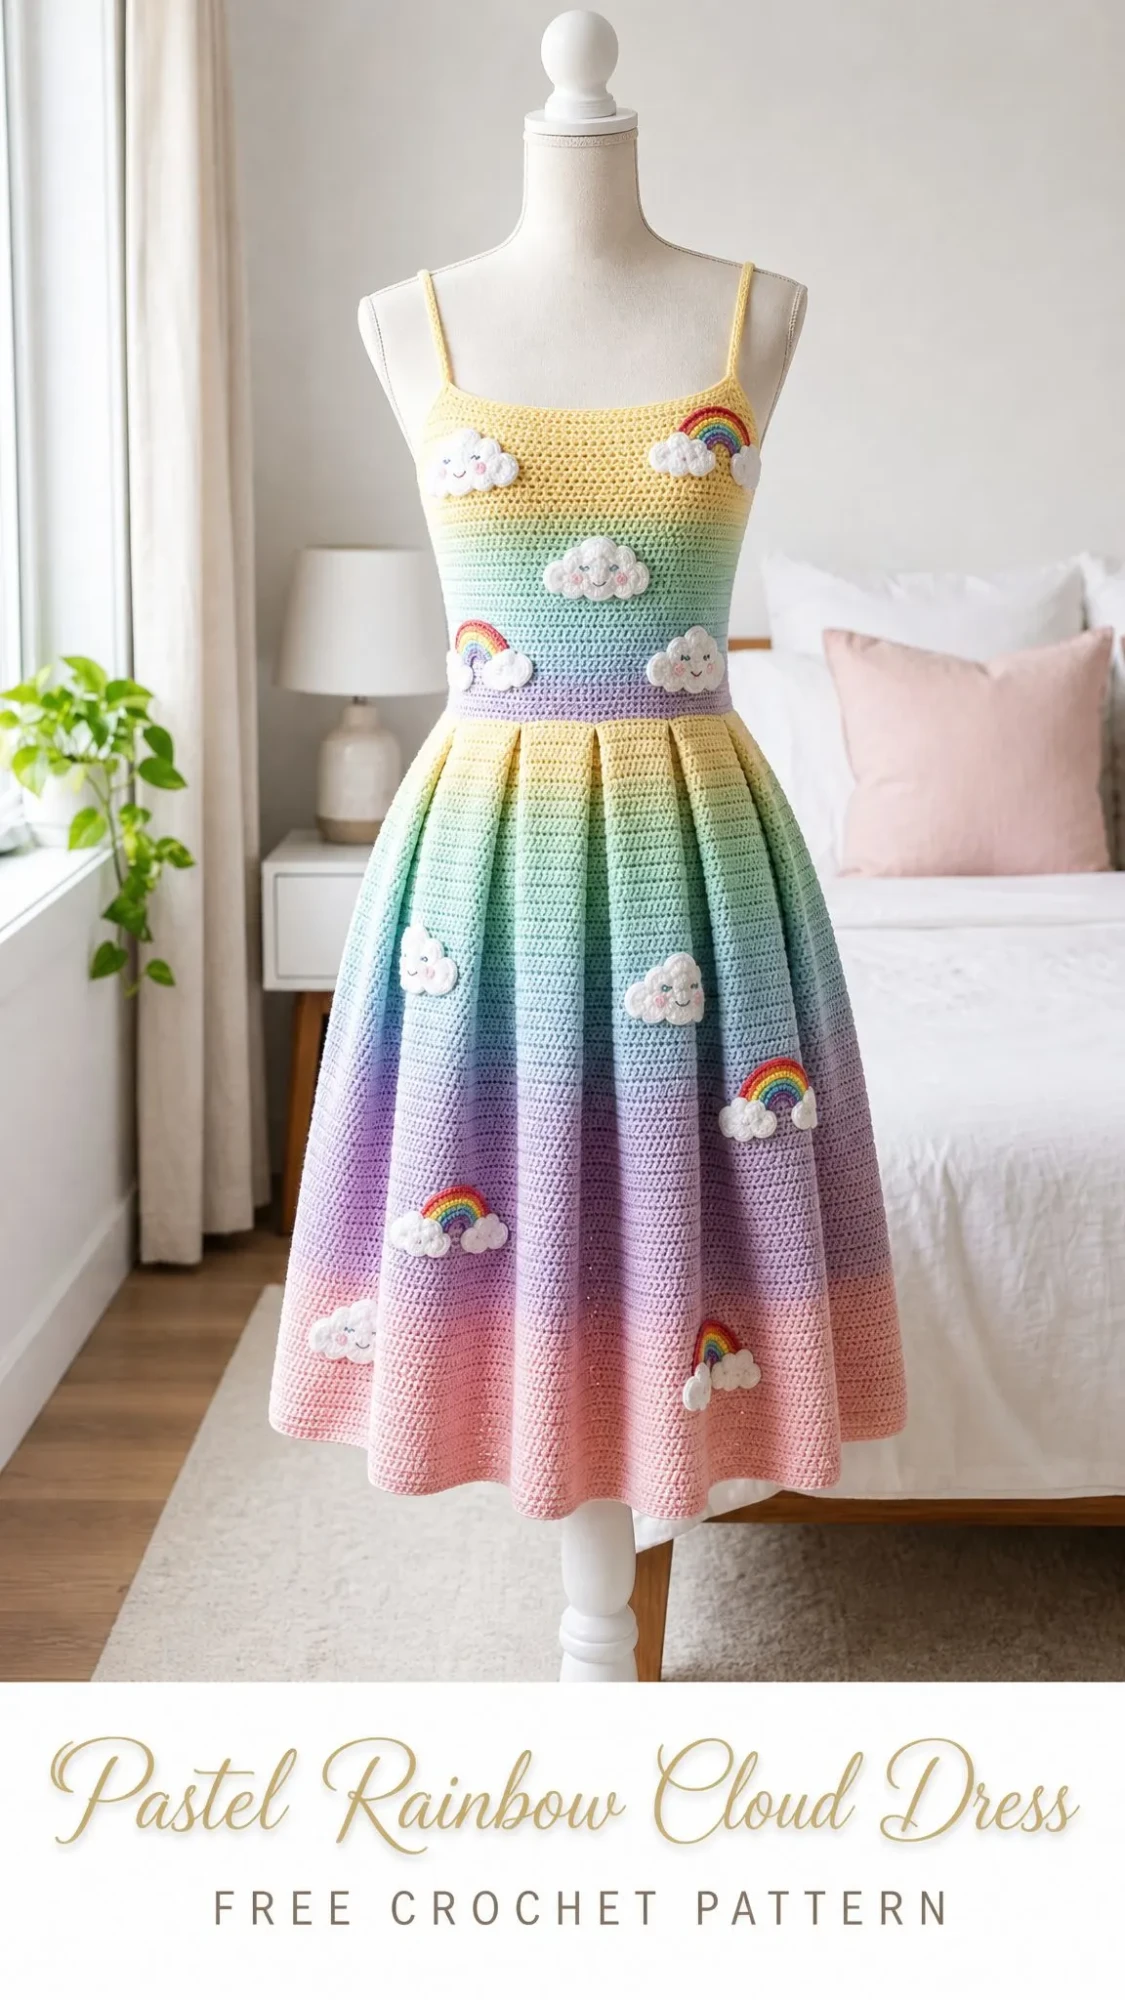
I’m talking about a project that combines soft gradient color bands, adorable cloud appliques with sweet little faces, and cheerful rainbow motifs scattered across a beautifully gathered skirt. The whole thing works up in about 18 to 24 hours of crochet time, which is incredibly reasonable for a full garment. Trust me when I say this dress makes an unforgettable gift or the most Instagram-worthy addition to your own wardrobe.
Whether you’re an intermediate crocheter ready to level up or someone who’s been eyeing garment patterns for a while, this crochet tutorial walks you through every single step. Let’s dive in and make something absolutely magical together!
About This Pastel Rainbow Cloud Dress Crochet Pattern
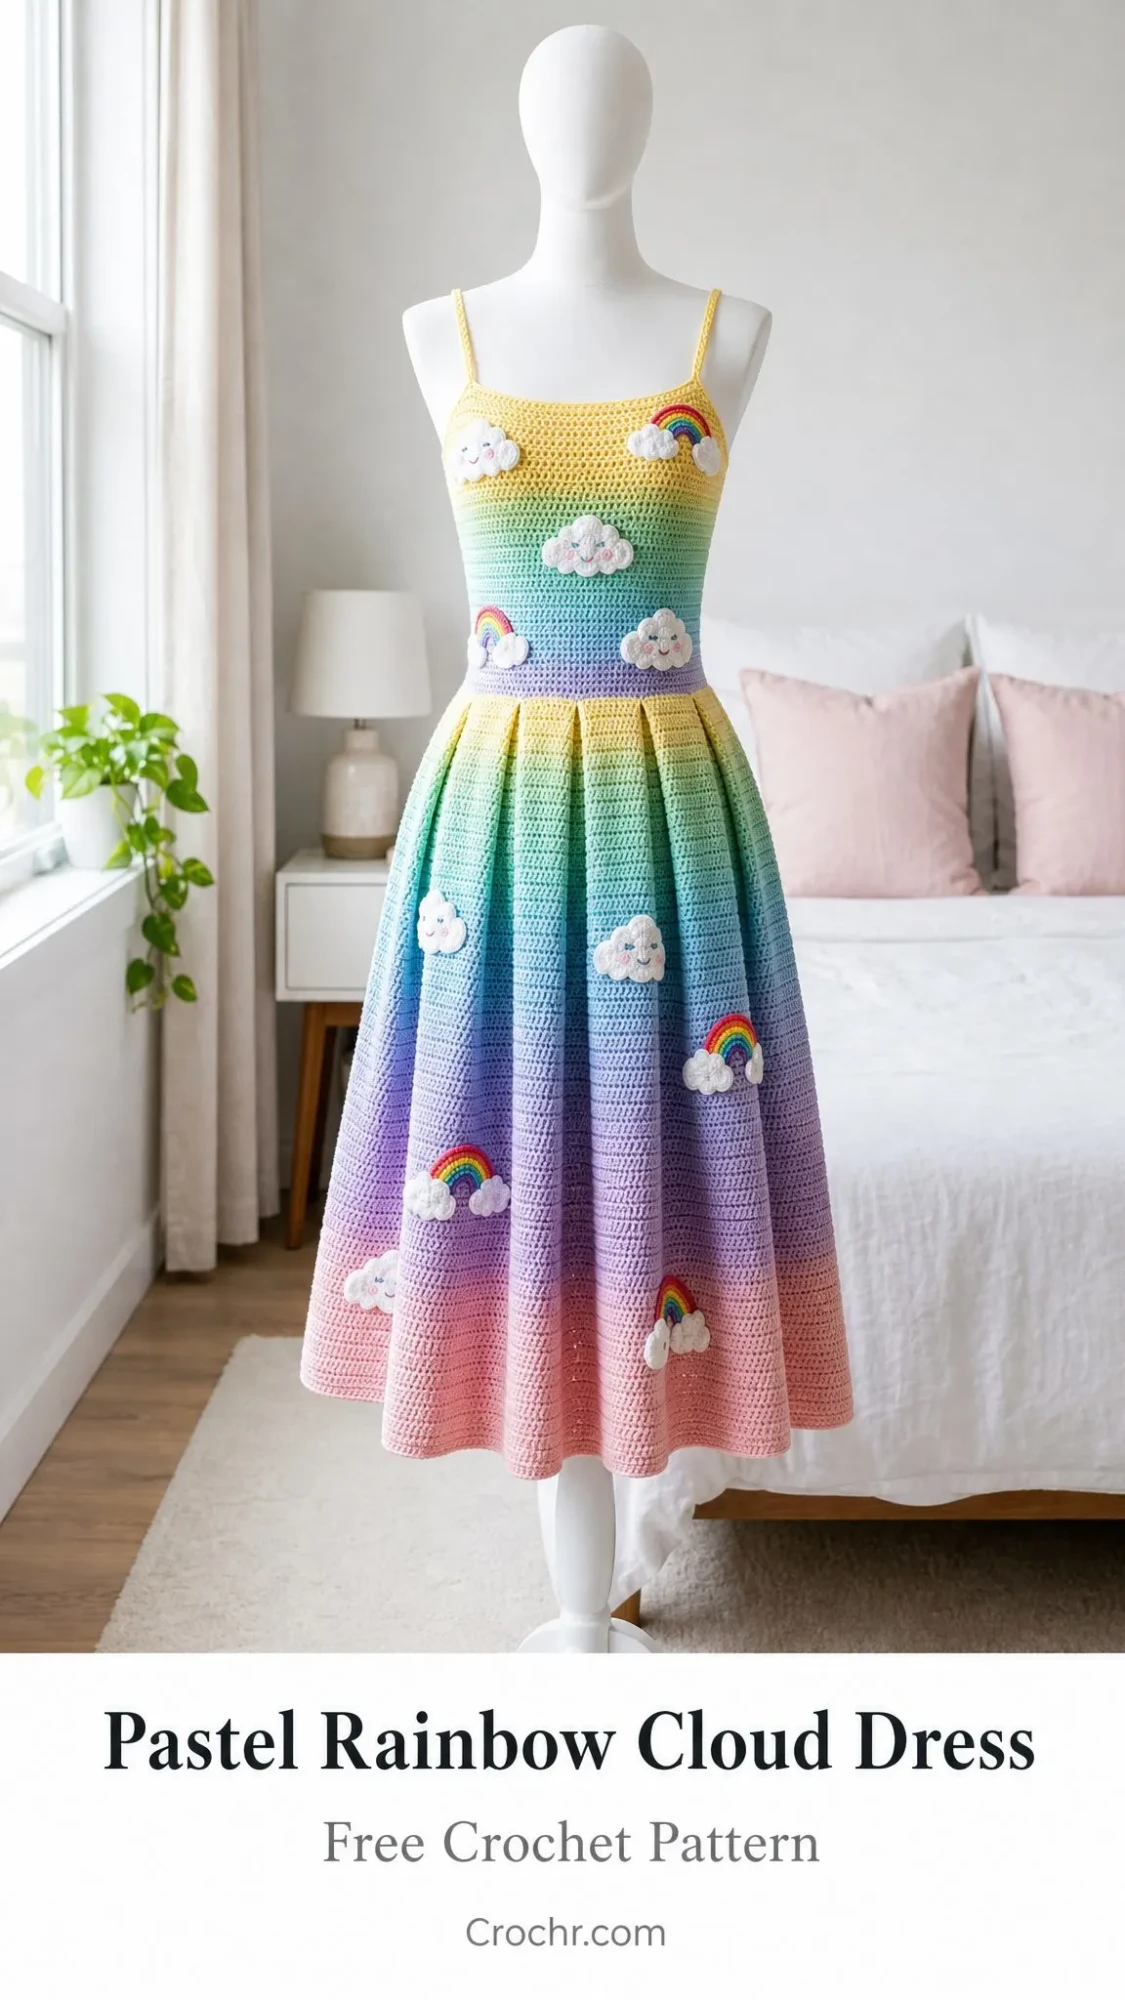
This sweet pull-on sundress features a softly shaped bodice, a full gathered skirt with a pleated appearance, slim straps, and those irresistible pastel color bands that transition from butter yellow through mint, powder blue, lilac, and blush pink. The cloud and rainbow appliques add whimsy and personality to every angle.
The bodice is worked bottom-up in joined rounds, while the skirt grows downward from the waist. This construction method means you’re building the dress in logical sections, which makes the whole process feel much more manageable than it might look at first glance.
Skill level: Intermediate. You’ll need comfort with fitted gauge, joined rounds, shaping, and applique sewing.
Finished size: Adult XS/S with a 34.5 inch bust, 30 inch waist, and 31 inch total length (87.5 cm, 76 cm, and 79 cm respectively).
Intended ease: 0 to 2 inches (0 to 5 cm) of positive ease at the bust. The pattern includes customization guidance for other body sizes.
Materials You’ll Need
Gathering your supplies before you start will make this project flow smoothly. Here’s everything you need:
Yarn: DK weight or light worsted cotton or cotton-acrylic blend yarn, approximately 1,450 yards (1,326 meters) total.
Break down by color:
Recommended yarn brands:
When substituting yarn, choose a smooth DK or light worsted that matches both gauges listed below. Pick soft pastels with similar fiber content so the skirt hangs evenly.
Hooks:
Notions:
Gauge Information
Getting gauge right is essential for a garment that fits properly. Please swatch before starting!
Bodice gauge (single crochet): 16 sc x 18 rounds = 4 inches (10 cm). This gauge is used for the bust, waist, and bodice height.
Skirt gauge (half double crochet): 14 hdc x 13 rounds = 4 inches (10 cm). This gauge is used for the skirt flare and length.
If your gauge is off, adjust your hook size. Too many stitches per inch means you need a larger hook. Too few stitches means you need a smaller hook.
Abbreviations and Stitch Guide
Let me walk you through every stitch and technique you’ll encounter.
BLO: Back loop only. Insert your hook under just the back loop of the stitch instead of both loops.
ch: Chain. Yarn over and pull through the loop on your hook.
dc: Double crochet. Yarn over, insert hook, yarn over and pull up a loop, (yarn over and pull through 2 loops) twice.
fsc: Foundation single crochet. A method that creates your chain and first row of single crochet at the same time.
hdc: Half double crochet. Yarn over, insert hook, yarn over and pull up a loop, yarn over and pull through all 3 loops.
inc: Increase. Work 2 stitches in the next stitch.
rem: Remaining
rnd: Round
RS: Right side
sc: Single crochet. Insert hook, yarn over and pull up a loop, yarn over and pull through both loops.
sc2tog: Single crochet 2 together (decrease). Insert hook in next stitch, yarn over and pull up a loop, insert hook in following stitch, yarn over and pull up a loop, yarn over and pull through all 3 loops.
sl st: Slip stitch. Insert hook, yarn over and pull through both the stitch and the loop on your hook.
st(s): Stitch(es)
WS: Wrong side
How to Work Foundation Single Crochet (fsc)
This technique creates a stretchier, more flexible foundation than a traditional chain. Here’s how:
1. Chain 2, insert hook in 2nd chain from hook, yarn over and pull up a loop
2. Yarn over, pull through 1 loop to make the chain base
3. Yarn over, pull through both loops to make the single crochet
4. Insert hook under both loops of the chain base just made and repeat
How to Work sc2tog
This is your decrease stitch:
1. Insert hook in next stitch, yarn over and pull up a loop
2. Insert hook in following stitch, yarn over and pull up a loop
3. Yarn over and pull through all 3 loops
One stitch decreased!
Cloud Puff Stitch
This creates the fluffy bumps on your cloud appliques:
1. In the indicated space, work 5 double crochet
2. Remove hook, insert hook in top of first dc, replace loop and pull through
3. Chain 1 to close
Shape each cloud with 2 to 3 puffs of different heights for dimension.
Pattern Notes Before You Begin
A few important things to keep in mind:
Left-handed note: Work the same instructions in the opposite direction. Motif placement may mirror naturally. Pin all appliques before sewing so the layout feels balanced from the front.
Step by Step Crochet Pattern Instructions
The Bodice
With butter yellow yarn and your 4.0 mm hook, work a foundation single crochet of 120 stitches. Join without twisting to work in the round. Place a marker at the join.
Rounds 1 through 6: Chain 1, single crochet in each stitch around, join. Use lilac for these rounds. (120 sc)
Round 7: Chain 1, single crochet in next 19 stitches, increase in next stitch; repeat from 6 times, join. (126 sc)
Rounds 8 through 13: Single crochet in each stitch around, join. Change to mint at end of round 8. (126 sc)
Round 14: Single crochet in next 20 stitches, increase in next stitch; repeat from 6 times, join. (132 sc)
Rounds 15 through 20: Single crochet in each stitch around, join. Change to powder blue at end of round 15. (132 sc)
Round 21: Single crochet in next 21 stitches, increase in next stitch; repeat from 6 times, join. (138 sc)
Rounds 22 through 30: Single crochet in each stitch around, join. Change to butter yellow at end of round 24. (138 sc)
Rounds 31 through 38: Single crochet in each stitch around, join. Fasten off after round 38. (138 sc)
Checkpoint: Your bodice should measure about 8.5 inches (21.5 cm) tall. The waist edge should measure about 30 inches (76 cm) around. The top edge should measure about 34.5 inches (87.5 cm) around.
Top Edge Finishing
With yellow yarn and your 3.75 mm hook, join at the underarm. Chain 1, single crochet in each stitch around, join. Repeat once more. Keep the edge flexible and do not pull tight. (138 sc each round)
The Skirt
Turn the bodice upside down. Join yarn in the unused base loops of the foundation single crochet waist so the skirt grows downward. Work with your 4.0 mm hook.
Round 1: Chain 1, half double crochet in next stitch, 2 half double crochet in next stitch; repeat from around, join. (180 hdc)
Rounds 2 through 14: Half double crochet in back loop only in each stitch around, join. Work butter yellow through round 12, then change to mint. (180 hdc)
Round 15: Place 12 markers every 15 stitches. At each marker: 2 half double crochet in back loop only in marked stitch, half double crochet in back loop only in all other stitches. (192 hdc)
Rounds 16 through 28: Half double crochet in back loop only in each stitch around, join. Continue mint, then powder blue from round 25. (192 hdc)
Round 29: Move markers to center of each panel. Increase at each marker. (204 hdc)
Rounds 30 through 42: Half double crochet in back loop only in each stitch around, join. Continue powder blue, then lilac from round 41. (204 hdc)
Round 43: Increase at each marker. (216 hdc)
Rounds 44 through 56: Half double crochet in back loop only in each stitch around, join. Continue lilac, then blush from round 53. (216 hdc)
Round 57: Increase at each marker. (228 hdc)
Rounds 58 through 68: Half double crochet in back loop only in each stitch around, join. Continue blush. (228 hdc)
Round 69: Single crochet in each stitch around, join, fasten off. (228 sc)
Checkpoint: Skirt length from waist should be about 21.25 inches (54 cm). Hem circumference should be about 65 inches (165 cm) after blocking.
The Straps
Strap placement:
Mark center front and center back. On the front top edge, count 22 stitches left and right from center. Mark two 4-stitch strap bases.
Repeat on back, placing back strap bases 18 stitches left and right from center back for a slight V-shaped angle.
Try on before sewing! Adjust strap length by adding or removing rows.
Make 2 straps:
Row 1: With 3.75 mm hook and yellow, join to first marked 4-stitch base. Chain 1, single crochet in 4 stitches. Turn. (4 sc)
Rows 2 through 46: Chain 1, single crochet in each stitch across. Turn. (4 sc)
Attach: Slip stitch strap to matching back 4-stitch base or sew securely with yarn tail.
Armhole and Strap Edging
With yellow, single crochet evenly around each armhole and strap outer edge at a ratio of about 3 single crochet for every 4 strap rows, plus 1 single crochet in each top-edge stitch. Join and fasten off. This ratio prevents ruffling while keeping the edge smooth.
Cloud and Rainbow Appliques
Make 9 clouds and 6 rainbows, or as many as desired for balanced coverage. Use your 3.75 mm hook. Sew with matching yarn and tiny whipstitches.
Small Cloud
Chain 10.
Row 1: Single crochet in 2nd chain from hook and next 8 chains. (9 sc)
Row 2: Chain 1, single crochet in first stitch, cloud puff in next stitch, single crochet in next 2, cloud puff in next, single crochet in next 2, cloud puff in next, single crochet in last stitch. (6 sc + 3 puffs)
Edge: Single crochet evenly around lower edge, placing 2 single crochet at each corner. Embroider eyes and cheeks if desired for that kawaii look!
Rainbow Applique
With red, chain 17.
Row 1: Half double crochet in 2nd chain from hook and each chain across. (16 hdc)
Rows 2 through 5: Change color each row in this order: orange, yellow, green, blue. Chain 1, half double crochet across. (16 hdc)
Curve the strip into an arch. Tack the inner edge slightly tighter than the outer edge while sewing.
Add two tiny cloud puffs at each rainbow end: join white, chain 2, 4 double crochet in same spot, slip stitch to close.
Suggested Applique Placement
Bodice: 4 clouds and 2 rainbows, spaced so motifs do not crowd the straps.
Skirt: 5 clouds and 4 rainbows, staggered between pleat panels with most motifs below the hip line.
Pin the full layout before sewing. Keep heavier motifs away from the very hem to prevent dragging.
Size Customization Guide
Swatch first! These formulas keep the texture and shaping balanced:
Bodice waist stitch count = desired waist inches x 4. Round to a multiple of 6.
Top-edge stitch count = desired bust inches x 4. Round to a multiple of 6.
Distribute the difference across 3 increase rounds. For example: 120 waist to 138 top edge adds 18 stitches, so add 6 stitches on each shaping round.
Skirt first round = waist stitches x 1.5. If needed, round to a multiple of 12 so the pleat markers divide evenly.
Skirt flare adds 12 stitches on each increase round. Add more increase rounds for a fuller skirt. Remove one for a subtler A-line.
Troubleshooting Common Issues
Bodice too tight? Go up 6 to 12 waist stitches and repeat the same shaping schedule.
Top edge gapes? Add one hidden sc2tog under each arm on the final top-edge round.
Skirt ruffles at waist? Use fewer first-round increases: 120 to 160 instead of 180.
Skirt pulls at hem? Add one more increase round before the final color band.
Straps stretch? Work straps with the smaller hook and edge both sides firmly.
Finishing, Blocking, and Care
Finishing Your Dress
Weave in all ends on the wrong side. Secure color-change tails vertically so they do not show through the pastel fabric.
Steam block lightly or wet block flat. Shape the bodice to measurements and spread the skirt evenly at the hem.
Sew appliques after blocking so they sit flat and do not distort the fabric.
Optional: line the bodice or skirt for comfort and opacity.
Care Instructions
Hand wash cool with mild soap. Roll in a towel to remove water.
Lay flat to dry, smoothing the skirt pleats with your hands.
Store folded rather than hung to protect the straps.
Final Thoughts on This Pastel Rainbow Cloud Dress Crochet Pattern
Creating this dress is truly a labor of love, and the finished piece is absolutely worth every stitch. The gradient pastel colors, the cheerful clouds with their sweet faces, and the whimsical rainbows combine to make a garment that brings joy just by looking at it.
I hope this step by step crochet tutorial gives you the confidence to tackle this beautiful project. Remember to check your gauge, take your time with the shaping rounds, and most importantly, enjoy the process. This is the kind of project that reminds us why we fell in love with crochet in the first place.
Thank you so much for choosing this pattern! I would absolutely love to see your finished Pastel Rainbow Cloud Dress. Tag me on Instagram or share in my Facebook group so I can cheer you on.
If this pattern brought a smile to your face, I’d be so grateful if you saved it to your Pinterest boards for later. And please drop a comment below when you make yours. I can’t wait to see all the pastel rainbow magic you create!
Want a Quick & Easy Printable Version?
Get a clean, beautifully formatted PDF of this pattern — easy to follow step by step, ready to print or save on any device. No scrolling, no distractions, just the pattern.
Get the Printable PDF →