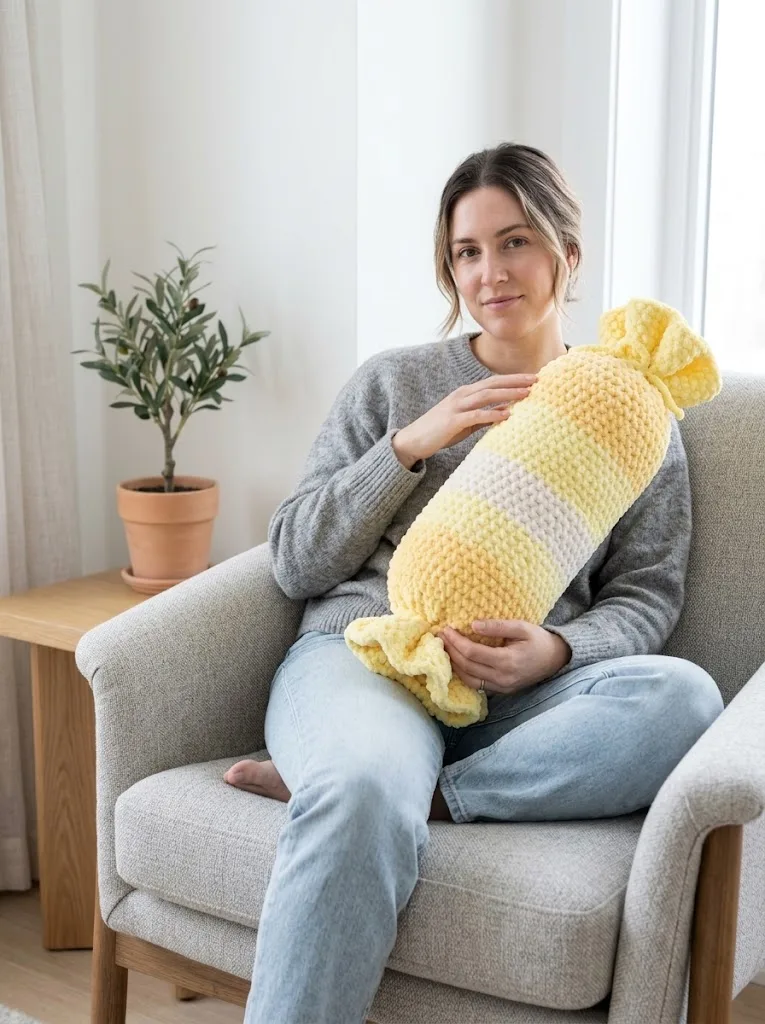
Last summer, my niece went through a phase where she wanted everything in her room to look like candy. I mean everything. Her lamp had to look like a lollipop, her rug had to have sprinkles, and of course, she needed pillows that looked like wrapped sweets. I promised her I would make something special, then promptly forgot until she reminded me about three days before her birthday. Panic mode activated. I grabbed some chunky chenille yarn in sunny yellows and cream, and these adorable candy bolster pillows were born out of pure auntie desperation. Turns out, they work up so fast that I actually had time to make two. Now I keep a pair on my own couch because honestly, they are just too cute to resist.
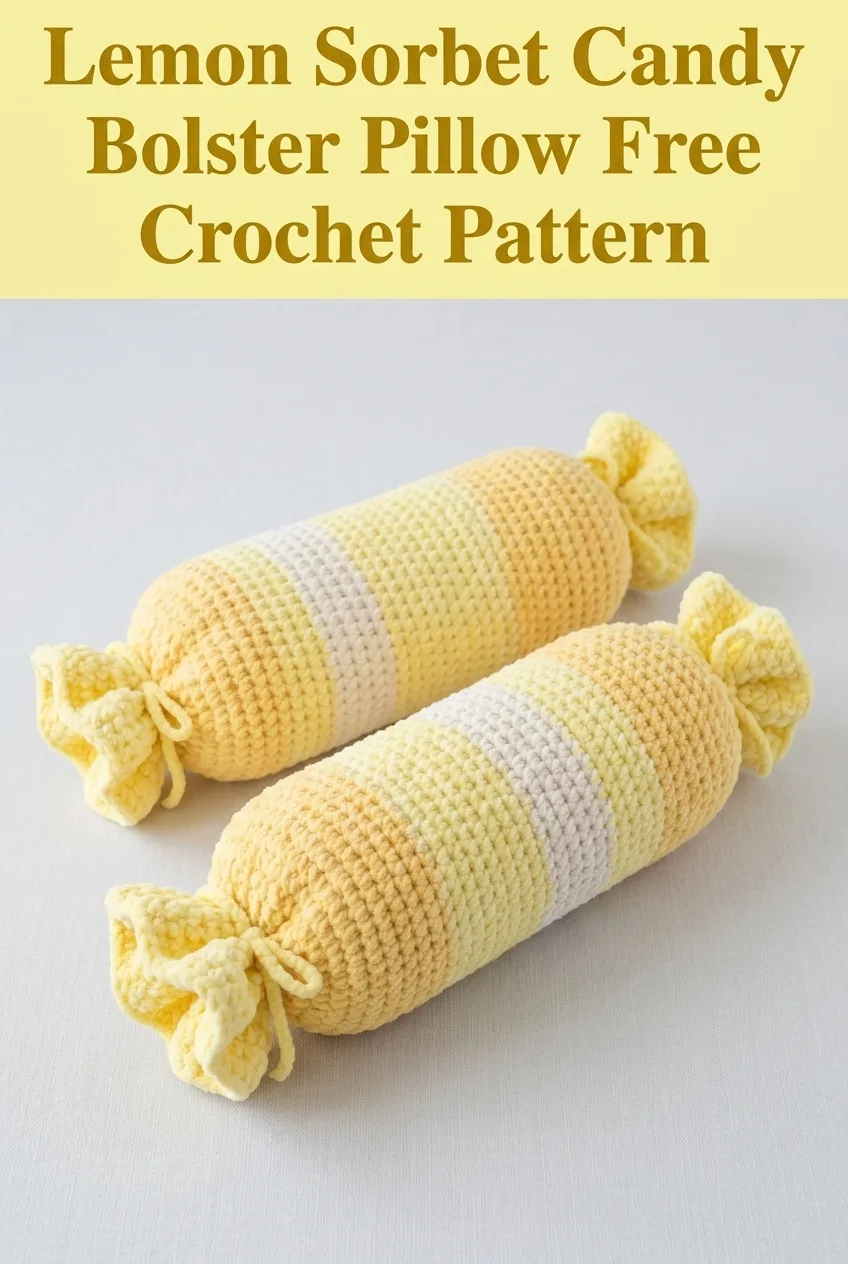
These Lemon Sorbet Candy Bolster Pillows are the perfect blend of whimsy and function. They look like giant wrapped candies, complete with gathered "wrapper" ends tied with simple yarn bows. The construction is incredibly straightforward, and the chenille yarn makes them impossibly soft and squishy. Whether you are making them for a kid’s room, a quirky living space, or as a unique handmade gift, this crochet pattern delivers maximum impact with minimal stress.
Why You Will Love This Crochet Pattern
This bolster pillow crochet tutorial hits all the right notes for crafters of every level. The entire pillow is worked in single crochet (sc), which means if you know how to chain and single crochet, you already have all the skills you need. The striped colorwork is simple, too. You are just changing colors every few rounds, so there is no complicated stranding or color carrying to worry about.
The candy wrapper effect at each end happens almost like magic. You leave extra fabric on each side, then cinch and tie it with a length of yarn. No sewing, no shaping, no fuss. The pillow form goes right inside before you close everything up.
I designed this pattern to be beginner friendly while still producing something that looks impressive. Your friends will think you spent hours on intricate techniques when really you were binge watching your favorite show the whole time.
Materials Needed
Yarn:
The pillow shown uses a plush chenille yarn that creates that soft, velvety texture. Bernat Baby Blanket or similar chunky chenille works beautifully. You want something with good squish that will hold its shape.
Hook:
Notions:
Gauge:
12 stitches and 14 rounds = 4 inches in single crochet worked in the round
Gauge is not critical for this project since the fabric naturally stretches around the pillow insert. If your work looks too tight or too loose, adjust your hook size up or down.
Skill Level
Beginner friendly. You should be comfortable with chaining, single crochet, working in the round, and basic color changes. If you have made a simple hat or amigurumi ball before, you can absolutely make this pillow.
Finished Dimensions
Approximately 18 inches long (including candy wrapper ends) by 7 inches in diameter when stuffed. The main body section measures about 12 inches, with 3 inch wrapper tails on each end.
Abbreviations and Stitch Definitions
Ch = Chain. Wrap yarn over hook, pull through loop on hook. This creates the foundation for your work.
Sc = Single crochet. Insert hook into stitch, yarn over, pull up a loop (2 loops on hook), yarn over, pull through both loops. This is the most basic crochet stitch and creates a tight, dense fabric.
Inc = Increase. Work 2 single crochet stitches into the same stitch. This adds one stitch to your count.
Dec = Decrease. Insert hook into first stitch, pull up a loop, insert hook into next stitch, pull up a loop (3 loops on hook), yarn over, pull through all 3 loops. This removes one stitch from your count.
Sl st = Slip stitch. Insert hook into stitch, yarn over, pull through both the stitch and the loop on your hook in one motion. Used for joining rounds.
St(s) = Stitch(es)
Rnd = Round
Pattern Notes Before You Begin
This pillow is worked in continuous rounds without joining. This means you will spiral upward without slip stitching at the end of each round. Using a stitch marker to mark the first stitch of each round helps you keep track of where you are.
When changing colors, complete the last stitch of the old color until you have 2 loops on your hook, then yarn over with the new color to finish the stitch. This creates a cleaner color transition.
The striping pattern in the photos shows a gradient effect moving from golden yellow at the ends through pale yellow and into cream at the center. Feel free to customize your color placement however you like.
Chenille yarn can be a bit slippery and sometimes splits. Work slowly if this is your first time using it. The forgiving nature of the gathered wrapper ends means small imperfections will disappear completely.
Step by Step Crochet Pattern Instructions
First Wrapper End (Color A)
Rnd 1: Using Color A, create a magic ring. Ch 1 (does not count as a stitch), work 6 sc into the ring, pull tight. (6 sts)
If magic rings intimidate you, here is an alternative: Ch 2, then work 6 sc into the second chain from the hook.
Rnd 2: Inc in each st around. (12 sts)
Rnd 3: *Sc 1, inc* repeat around. (18 sts)
Rnd 4: *Sc 2, inc* repeat around. (24 sts)
Rnd 5: *Sc 3, inc* repeat around. (30 sts)
Rnd 6: *Sc 4, inc* repeat around. (36 sts)
Rnd 7: *Sc 5, inc* repeat around. (42 sts)
Rnd 8: *Sc 6, inc* repeat around. (48 sts)
Rnds 9 through 16: Sc in each st around. (48 sts per round, 8 rounds total)
This creates the gathered wrapper tail section. Do not fasten off. Continue to main body.
Main Body Section
You will now work the body of the pillow with color stripes. The stripe sequence creates that lovely gradient effect.
Color A Stripes (Golden Yellow):
Rnds 17 through 24: Continue with Color A. Sc in each st around. (48 sts per round, 8 rounds total)
Color B Stripes (Pale Lemon Yellow):
Rnd 25: Change to Color B on the last stitch of Rnd 24. Sc in each st around. (48 sts)
Rnds 26 through 32: Sc in each st around. (48 sts per round, 7 rounds total)
Color C Stripes (Cream):
Rnd 33: Change to Color C. Sc in each st around. (48 sts)
Rnds 34 through 40: Sc in each st around. (48 sts per round, 7 rounds total)
Color B Stripes (Pale Lemon Yellow):
Rnd 41: Change to Color B. Sc in each st around. (48 sts)
Rnds 42 through 48: Sc in each st around. (48 sts per round, 7 rounds total)
Color A Stripes (Golden Yellow):
Rnd 49: Change to Color A. Sc in each st around. (48 sts)
Rnds 50 through 56: Sc in each st around. (48 sts per round, 7 rounds total)
Second Wrapper End (Color A)
Continue with Color A for the second wrapper tail.
Rnds 57 through 64: Sc in each st around. (48 sts per round, 8 rounds total)
Now you will decrease to close the end.
Rnd 65: *Sc 6, dec* repeat around. (42 sts)
Rnd 66: *Sc 5, dec* repeat around. (36 sts)
Rnd 67: *Sc 4, dec* repeat around. (30 sts)
Pause here to insert your pillow form. Gently push it into the tube, centering it so both wrapper ends have equal tail sections.
Rnd 68: *Sc 3, dec* repeat around. (24 sts)
Rnd 69: *Sc 2, dec* repeat around. (18 sts)
Rnd 70: *Sc 1, dec* repeat around. (12 sts)
Rnd 71: Dec around. (6 sts)
Fasten off, leaving a 6 inch tail. Thread through remaining stitches and pull tight to close. Weave in end.
Creating the Candy Wrapper Gathers
This is the fun part where your pillow transforms into an adorable candy shape.
Cut two lengths of Color A yarn, each approximately 24 inches long.
For each end:
1. Locate the transition point where the wrapper tail meets the main body. This is roughly where Rnd 16 ends on the first side and Rnd 57 begins on the second side.
2. Wrap the yarn length around the pillow at this point, cinching the fabric tightly.
3. Tie a secure double knot, then tie a simple bow on top.
4. Fluff and arrange the gathered fabric to create that signature candy wrapper look. The natural texture of chenille yarn makes this look extra adorable.
5. Trim bow tails to desired length, typically 2 to 3 inches.
Finishing Touches
Weave in any remaining yarn tails using your tapestry needle. The chenille yarn hides ends beautifully, so just weave them through a few stitches on the inside of the pillow.
Give your pillow a gentle squeeze and shape. The chenille fabric is very forgiving and will settle into a nice cylindrical shape.
Tips for Success
Working with chenille yarn: This yarn loves to shed a bit at first. Keep a lint roller handy and work over a surface that is easy to clean. The shedding settles down after the first wash.
Adjusting the size: Want a bigger pillow? Add more increase rounds before the straight sections and adjust your pillow insert accordingly. Want a smaller one? Stop increasing sooner and use a smaller insert.
Color variations: This pattern works beautifully in so many color combinations. Try pink and white for strawberry candy, green and yellow for lime, or rainbow stripes for maximum fun.
Washing instructions: Machine wash on gentle with cold water and tumble dry on low. Chenille actually gets softer with washing.
Gift Ideas and Uses
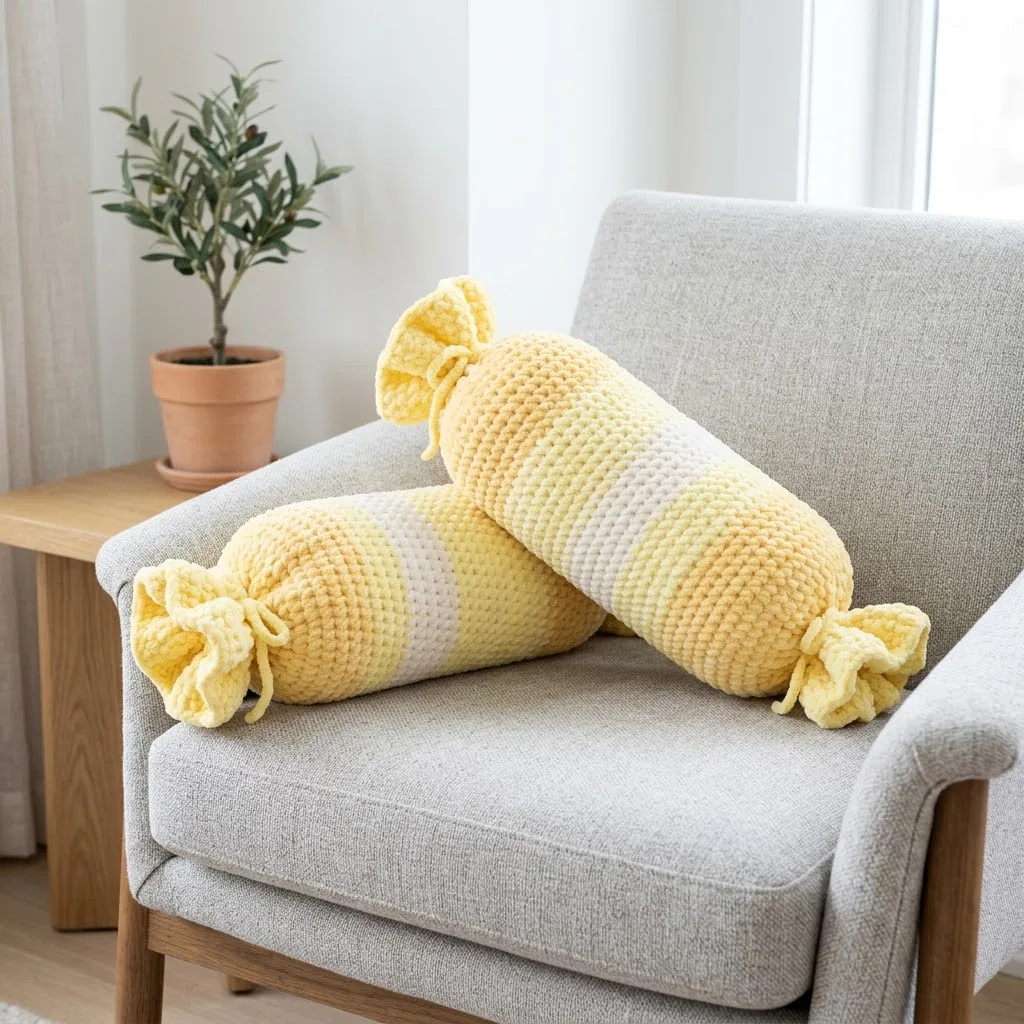
These bolster pillows make wonderful gifts for baby showers, kids’ birthdays, or anyone who appreciates quirky home decor. They also work perfectly as neck support pillows for long car rides or reading in bed.
Make a set in coordinating colors for a cohesive look, or create a whole candy jar effect with different "flavors" scattered across a sofa.
I really hope you enjoy making this Lemon Sorbet Candy Bolster Pillow as much as I enjoyed designing it. If you give this crochet pattern a try, I would absolutely love to see your finished pillows. Tag me on Instagram or share a photo in our Facebook group so I can cheer you on.
If this pattern made you smile, go ahead and save it to your Pinterest boards so you can find it whenever the crocheting mood strikes. And please drop a comment below if you make one. I love hearing which colors you chose and who you are making them for.
