
Granny squares seem intimidating. I hear it all the time. The color changes, the joining, the math. But here’s the truth: if you can double crochet and work in a circle, you can absolutely make this stunning sunflower bag.
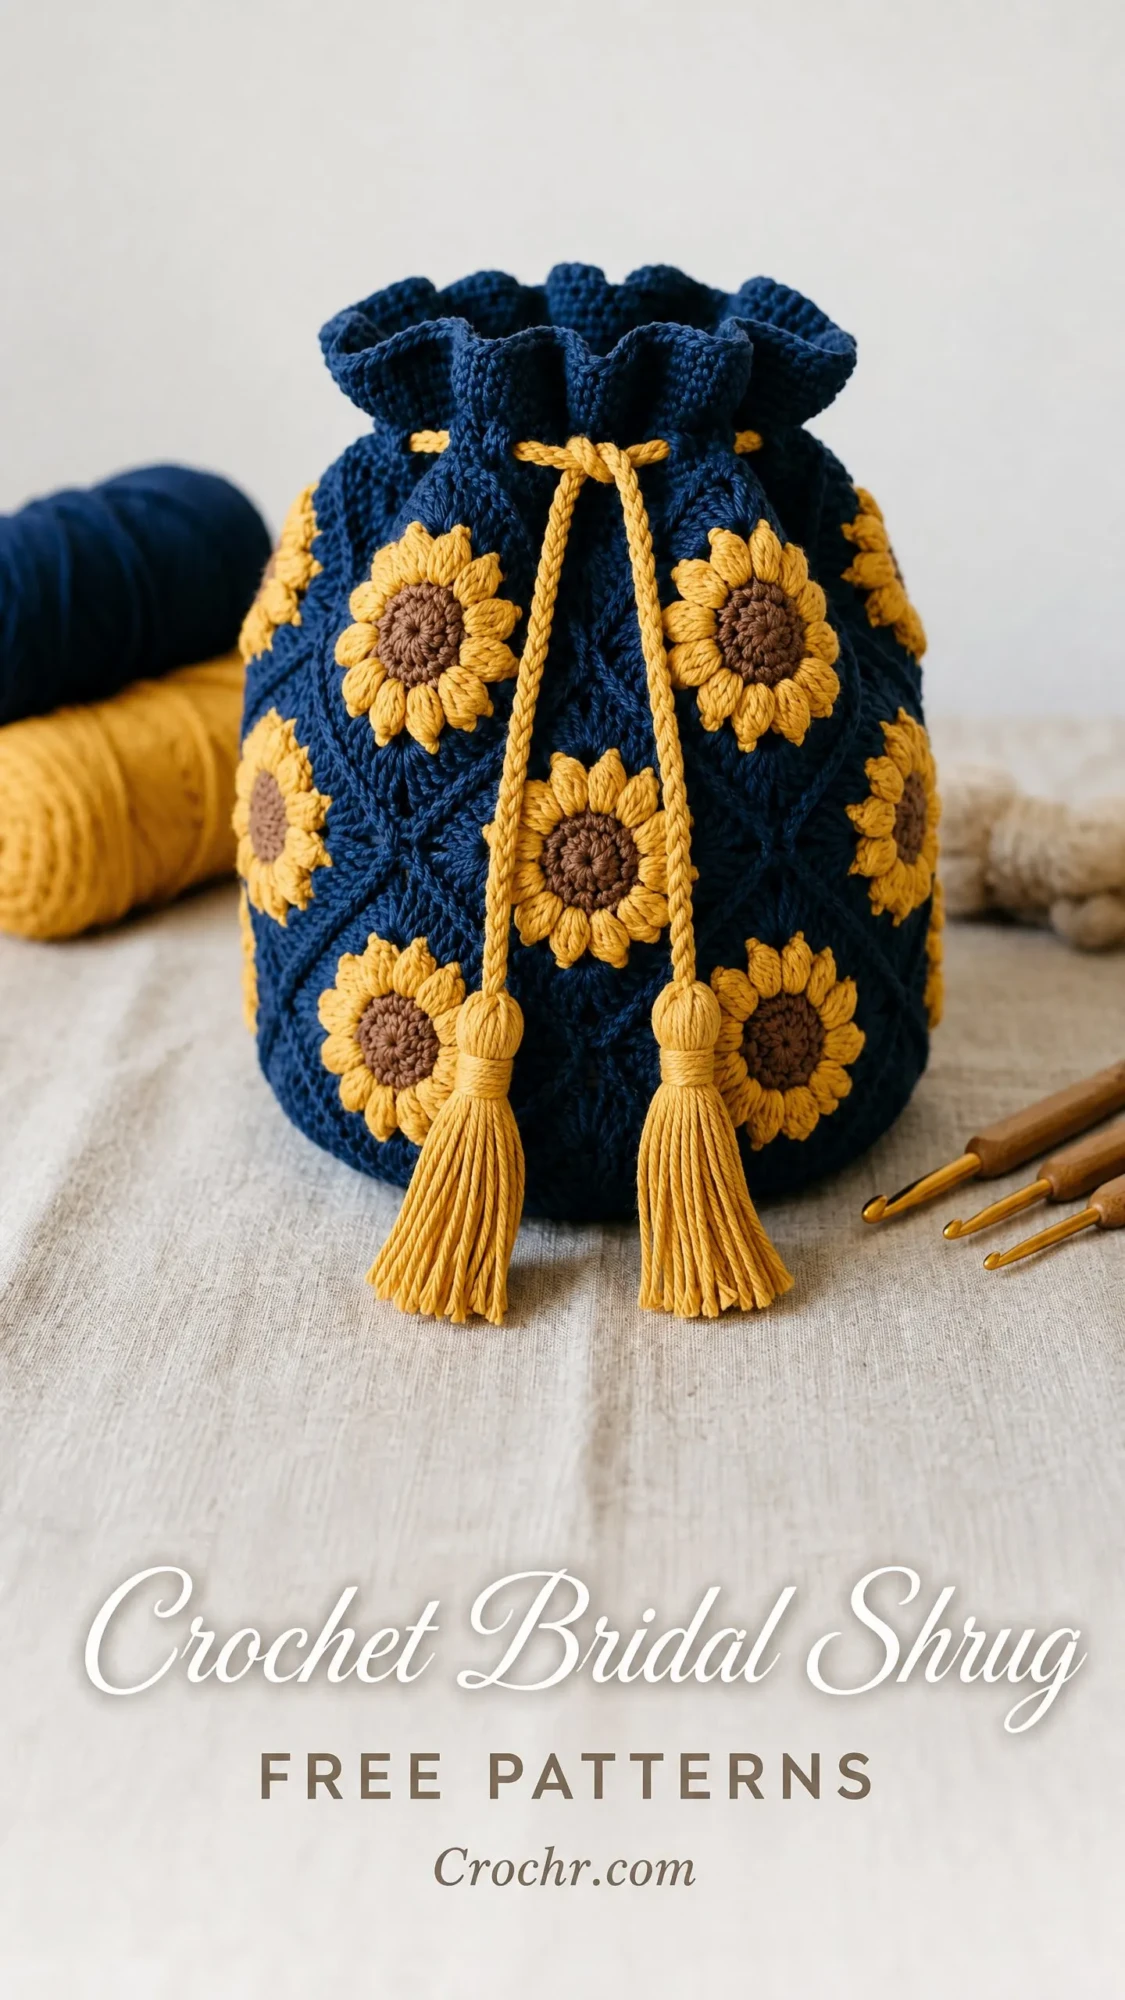
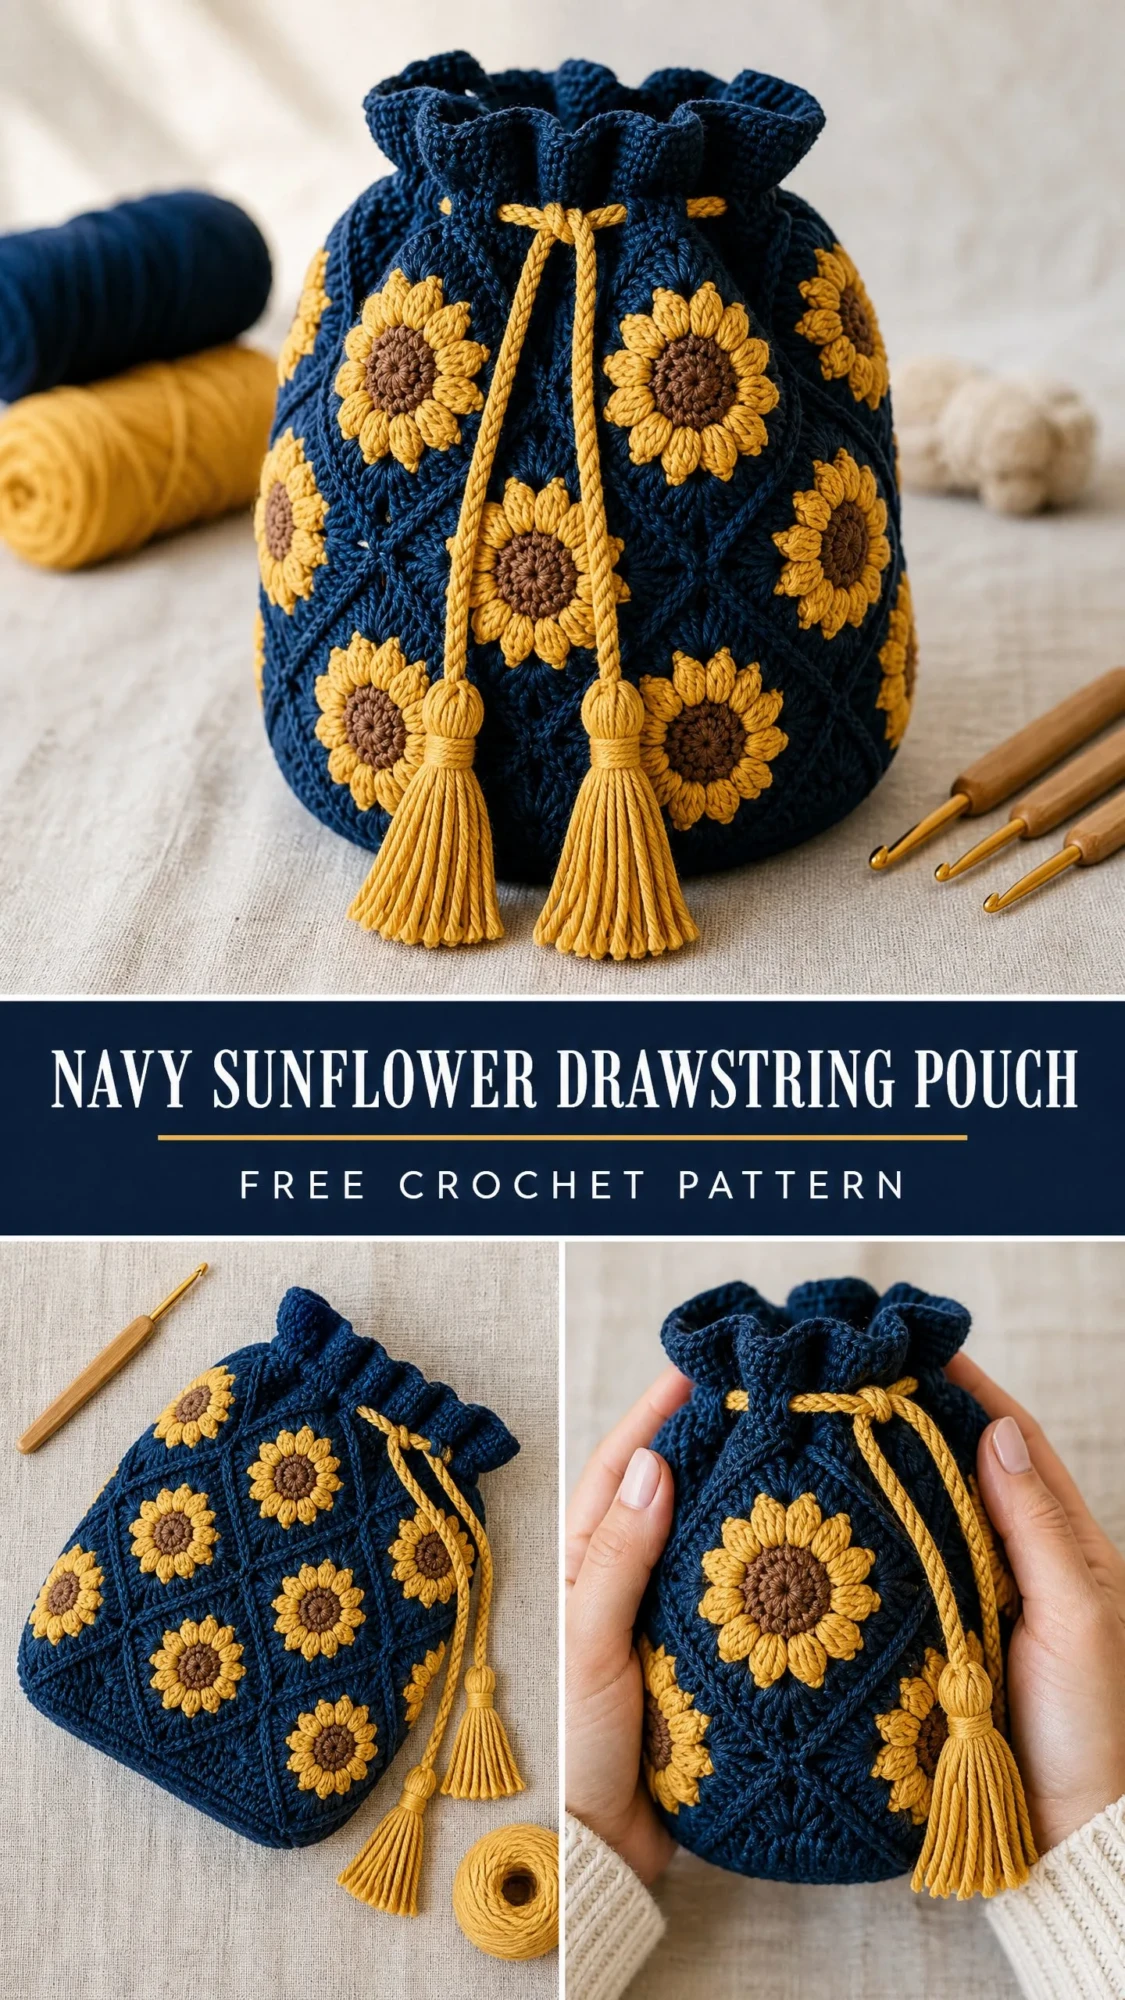
This Navy Sunflower Drawstring Pouch looks like it belongs in a boutique window, but it breaks down into simple, repeatable steps. You make 18 identical squares. You join them. You add a base and a ruffle. That’s it. No complicated shaping. No confusing decreases. Just one square, made 18 times, assembled into something gorgeous.
Whether you’ve never joined a granny square before or you’re a seasoned pro looking for your next project bag, this crochet pattern meets you where you are. I’ll walk you through every single step, explain the tricky bits before they trip you up, and give you checkpoints along the way so you always know you’re on track.
Why This Sunflower Bag Works for Multiple Skill Levels
The construction method is what makes this project so approachable. Instead of working a complex seamless bag in the round with increases and shaping, you’re building with blocks. Each sunflower granny square is a self-contained mini project. You can make one while watching TV, toss it in your purse to work on during lunch, or batch them out over a weekend.
The raised sunflower petals look fancy, but they’re just treble crochet clusters worked around the post of earlier stitches. Once you get the rhythm on your first square, the other 17 fly by.
And that beautiful textured seam between the flowers? It’s a simple slip stitch join that creates a decorative ridge automatically. No extra embellishment needed.
Finished Size and Project Details
Your completed pouch will measure approximately 11 inches wide and 10 inches tall, not including the ruffle or tassel length. The drawstring cords with tassels add about 10 inches of length below the bag opening when fully extended.
Skill Level: Intermediate. You should be comfortable with basic crochet stitches, working in rounds, and joining pieces together.
Time Estimate: Approximately 18 to 25 hours total. Each sunflower square takes roughly 30 to 45 minutes once you have the rhythm down.
Materials You’ll Need
Yarn
You’ll need worsted weight cotton yarn in three colors:
Yarn Suggestions:
Lion Brand 24/7 Cotton in Navy, Goldenrod, and Cafe au Lait works beautifully. The mercerized finish gives excellent stitch definition.
Paintbox Yarns Simply DK Cotton is another great option. Try Sailor Blue, Buttercup Yellow, and Soft Fudge. Note that this is DK weight, so swatch carefully.
WeCrochet Comfy Cotton Blend in Navy, Canary, and Walnut adds slight memory to help the bag hold its shape.
Important: Avoid fuzzy or textured yarn. The sunflower petal definition will disappear in anything but smooth cotton or cotton blend.
Hooks and Notions
Gauge
Getting gauge right matters for this project. Your finished bag size depends on it.
One completed sunflower granny square should measure 3.5 inches by 3.5 inches (9 cm by 9 cm) blocked.
In single crochet (sc), which stands for single crochet, a basic stitch where you insert your hook, pull up a loop, and pull through both loops: 18 stitches and 20 rows equal 4 inches.
Make one test square before committing to all 18. If yours is too big, go down a hook size. Too small? Go up a hook size.
Abbreviations and Stitch Definitions
Let me define every stitch you’ll encounter:
Special Stitches Explained
Sunflower Petal (Raised Front-Post Treble Cluster)
This creates the dimensional petals. Don’t let the name scare you.
1. Yarn over twice.
2. Insert hook from front to back to front around the post of the indicated stitch.
3. Yarn over and pull up a loop. (4 loops on hook)
4. Yarn over and pull through 2 loops. (3 loops on hook)
5. Yarn over and pull through 2 loops. (2 loops on hook)
6. Work a second treble in the same post so 3 loops remain on hook.
7. Yarn over and pull through all 3 loops to close the cluster.
That’s one petal. It pops forward and creates the 3D sunflower texture.
Flat Square Join (Slip Stitch Join on Wrong Side)
This joins your squares with a decorative ridge.
1. Hold two squares with wrong sides facing each other, edges aligned.
2. Insert hook through the back loop of the corresponding stitch on both squares simultaneously.
3. Draw up a loop of Color A.
4. Slip stitch through both loops.
5. Continue across the entire edge.
The ridge shows on the right side, creating that beautiful geometric lattice between sunflowers.
Sunflower Granny Square Pattern (Make 18)
Round 1 (Color C, Brown Center)
Make a magic ring.
Ch 3 (counts as first dc).
Work 11 more dc into the magic ring.
Join to the top of the beg ch-3 with a sl st.
Pull the magic ring tight.
(12 dc)
Round 2 (Color B, Yellow)
Join Color B to any stitch with a sl st.
Ch 1. Sc in the same stitch.
Sc in each remaining stitch around.
Join to the first sc with a sl st.
(12 sc)
Do not fasten off Color B.
Round 3 (Color B, Creating the Petals)
This is where the magic happens. You’ll work into Round 1, below the Round 2 stitches.
Ch 1.
Working into the post of each Round 1 dc stitch, work one sunflower petal cluster per post.
Ch 1 between each petal cluster.
After the 12th petal cluster, join to the top of the first petal cluster with a sl st.
(12 petal clusters, 12 ch-1 spaces)
Round 4 (Color A, Navy, Beginning the Square Shape)
Join Color A to any ch-1 space between petals.
Ch 3 (counts as first dc).
Here’s the full sequence for creating corners:
Join to the top of the beg ch-3 with a sl st.
(8 groups of 2-dc clusters, 4 ch-2 corner spaces, 4 ch-1 side spaces)
Round 5 (Color A, Completing the Border)
Sl st into the next dc and into the ch-2 corner space.
Ch 3 (counts as first dc). Work 2 more dc in the corner sp. Ch 2. Work 3 dc in the same corner sp.
Ch 1. Work 3 dc in the ch-1 side sp.
Ch 1. Work (3 dc, ch 2, 3 dc) in the next corner ch-2 sp.
Ch 1. Work 3 dc in the ch-1 side sp.
Ch 1.
Repeat for remaining 2 corners and their side groups.
Join to the top of beg ch-3 with a sl st.
(Four corners each with 3 dc, ch 2, 3 dc; two groups of 3 dc on each side; 8 ch-1 side spaces; 4 ch-2 corner spaces)
Fasten off Color A. Weave in ends.
Checkpoint: Each completed square should measure 3.5 inches per side. Block lightly if needed before joining.
Joining the Squares
Arrange all 18 squares in a 3-wide by 6-tall grid with right sides facing up. Make sure all sunflowers face the same direction.
Using the Flat Square Join method and Color A:
1. First, join squares in horizontal rows (3 squares per row, making 6 rows).
2. Then join the rows vertically to create the full panel.
Panel dimensions: Approximately 10.5 inches wide by 21 inches tall.
Forming the Cylinder
Fold the panel with right side facing out. Align the two short vertical edges (the 10.5-inch edges). Using Color A and the Flat Square Join, seam these edges together.
Checkpoint: Your tube should stand upright, showing 3 sunflowers around and 6 sunflowers tall.
Base Circle Pattern
Work in Color A using continuous rounds. Use a stitch marker to track round beginnings.
Round 1: MR. Work 6 sc into the ring. Pull tight. (6 sc)
Round 2: 2 sc in each st around. (12 sc)
Round 3: (2 sc in next st, sc in next st) repeat 6 times. (18 sc)
Round 4: (2 sc in next st, sc in next 2 sts) repeat 6 times. (24 sc)
Round 5: (2 sc in next st, sc in next 3 sts) repeat 6 times. (30 sc)
Round 6: (2 sc in next st, sc in next 4 sts) repeat 6 times. (36 sc)
Round 7: (2 sc in next st, sc in next 5 sts) repeat 6 times. (42 sc)
Round 8: (2 sc in next st, sc in next 6 sts) repeat 6 times. (48 sc)
Round 9: (2 sc in next st, sc in next 7 sts) repeat 6 times. (54 sc)
Round 10: (2 sc in next st, sc in next 8 sts) repeat 6 times. (60 sc)
Round 11: (2 sc in next st, sc in next 9 sts) repeat 6 times. (66 sc)
Round 12: (2 sc in next st, sc in next 10 sts) repeat 6 times. (72 sc)
Sl st to close. Do not fasten off.
The base should measure approximately 10 to 10.5 inches in diameter.
Attaching the Base
Hold the base circle and bottom edge of the cylinder with wrong sides together. Using Color A and a tapestry needle, whipstitch around the entire circumference.
Checkpoint: The bag should stand upright on a flat surface with no puckering.
Top Body and Drawstring Channel
Join Color A to any stitch around the top opening.
Round 1 (Stabilizing): Sc evenly around, working 11 sc across each square’s top edge. With 3 squares around, total (33 sc). Join with sl st.
Round 2 (Increase): 2 sc in each st around. Join. (66 sc)
Round 3: Sc in each st around. Join. (66 sc)
Round 4 (Drawstring Channel): Ch 3. Skip 1 sc. (Dc in next sc. Ch 1. Skip 1 sc.) Repeat around. Sl st to the 2nd ch of beg ch-3. (33 dc, 33 ch-1 spaces)
Round 5: Sc in each dc and each ch-1 space around. Join. (66 sc)
Round 6 (BLO Ridge): Sc in the back loop only of each st around. Join. (66 sc)
Ruffle
Round 7: Working into the front loops left unused in Round 6, work 3 dc in each front loop around. Join. (198 dc)
Round 8: Sc in each dc around. Join. (198 sc)
Round 9: Hdc in each sc around. Join. (198 hdc)
Fasten off. Weave in ends.
Drawstring Cords (Make 2)
Cut 12 strands of Color B, each 36 inches long.
Divide into 3 groups of 4 strands.
Braid for approximately 22 inches.
Secure the end temporarily.
Thread the first braid through every other eyelet in Round 4, starting and ending at the front. Thread the second braid through the remaining eyelets, starting and ending at the back.
Tassels (Make 4)
1. Cut 20 strands of Color B, each 8 inches long.
2. Fold in half.
3. Hold folded center against the drawstring end.
4. Wrap a 12-inch strand tightly around the bundle about 0.5 inches below the fold, wrapping 6 to 8 times.
5. Tie securely and bury the ends.
6. Trim to approximately 3 inches.
7. Attach with a lark’s head knot.
Finishing Your Sunflower Bag
Weave in all remaining ends. Mist the exterior with water and stuff loosely with plastic bags or a towel. Let dry completely to block.
Care Instructions
Machine wash gentle cold in a mesh bag. Lay flat or hang to dry. Low heat tumble dry is acceptable. Do not bleach. Iron on low with a pressing cloth if needed.
I really hope you love making this sunflower drawstring pouch as much as I loved designing it. There’s something so satisfying about watching those cheerful yellow petals pop against the deep navy background, square after square.
If you’re excited to make this later, go ahead and save this pattern to your Pinterest boards so you can find it when you’re ready to start. And please, leave a comment below when you finish yours. I’d love to see your color combinations and hear how the project went for you!
You Might Also Like
- Blush Pink Ruffle Halter Dress Free Crochet Pattern
- Succulent Garden Crochet Bowl Free Crochet Pattern
- Autumn Harvest Bow Handbag Free Crochet Pattern
- Autumn Maple Leaf Table Runner Free Crochet Pattern
