
This pattern is EVERYTHING. I am so excited to share this one with you because it combines all my favorite things: a gorgeous shell stitch skirt, adorable flutter sleeves, and a sweet sunflower appliqué that takes the whole piece over the top. If you have been looking for a baby dress pattern that looks impressive but is totally achievable, you just found it.
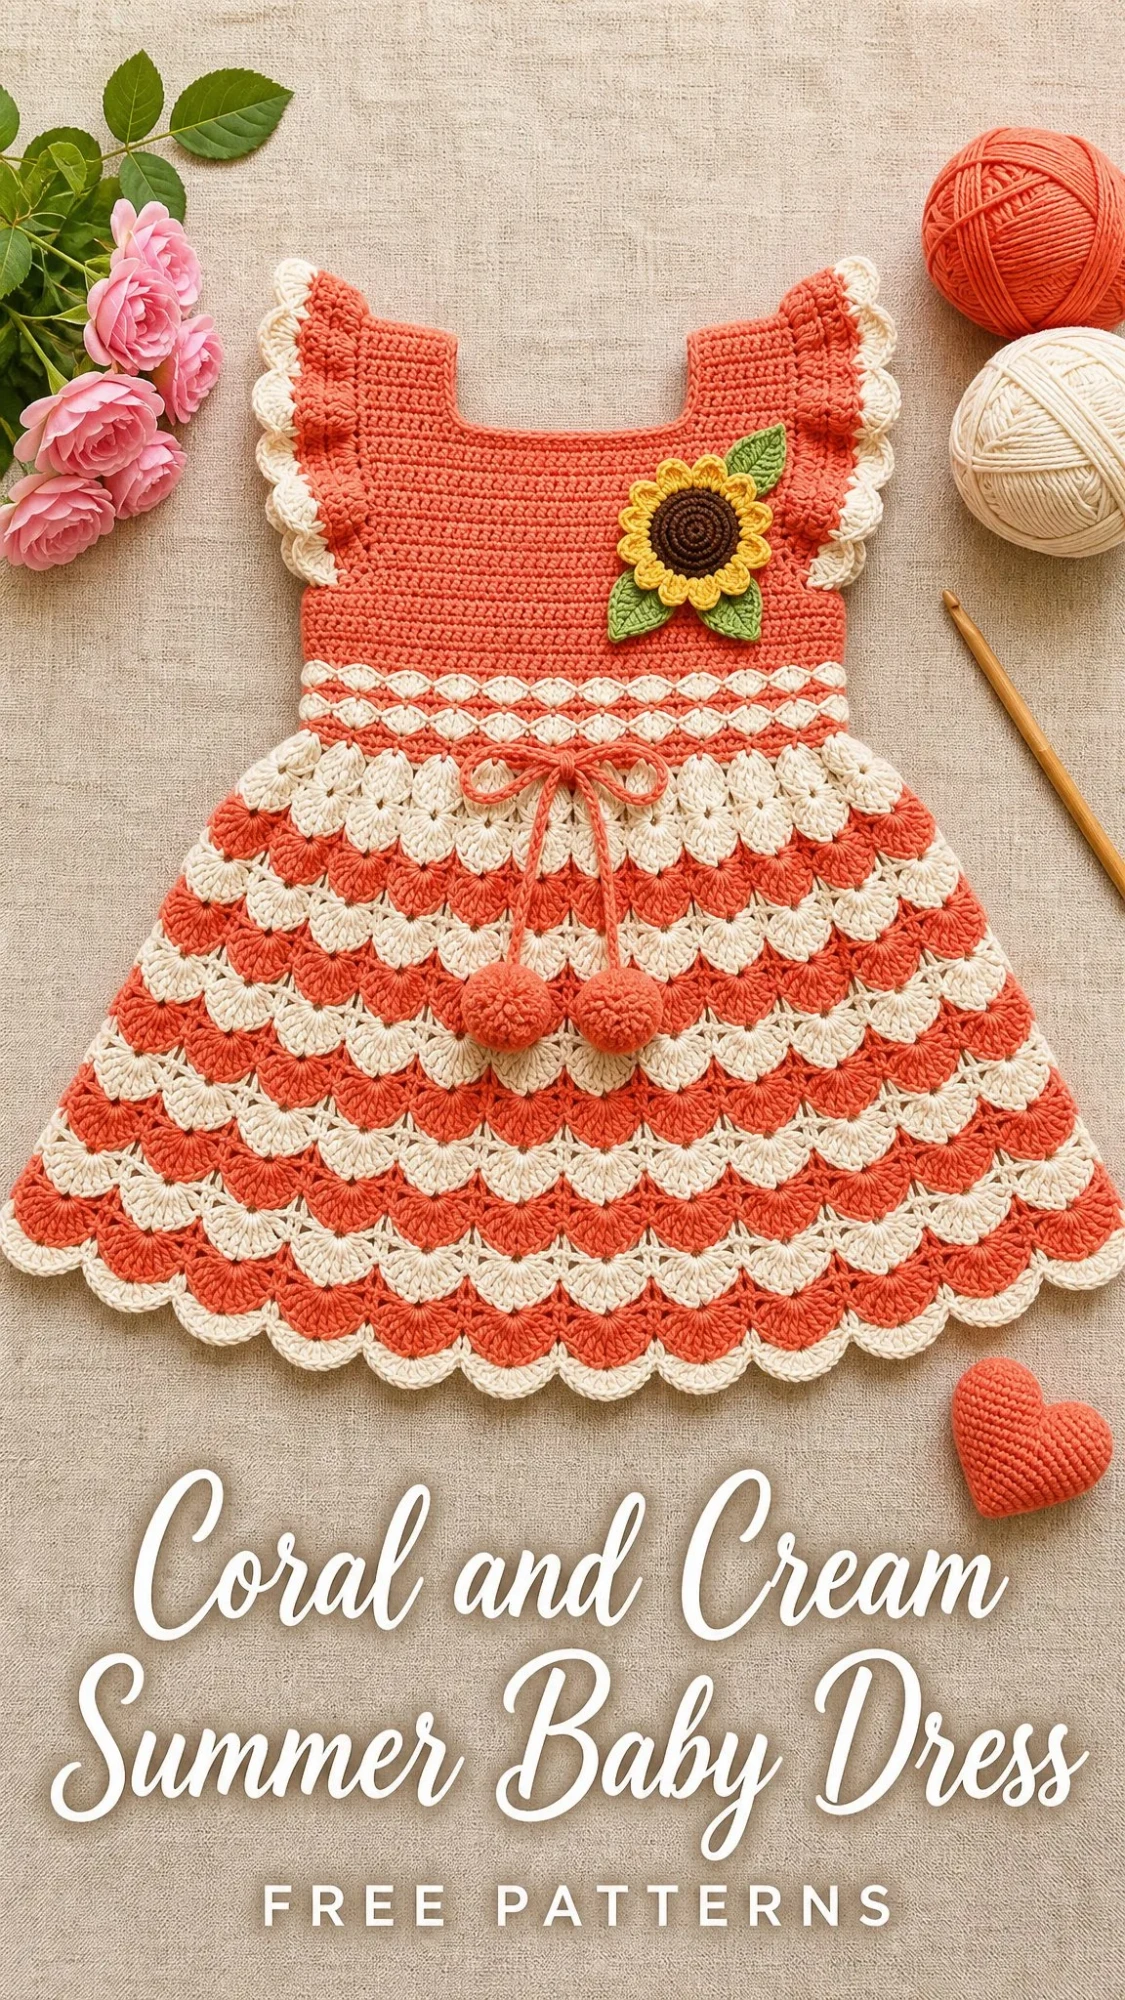
The construction is smarter than it looks. You work the bodice flat in simple single crochet, add the flutter sleeves by picking up stitches around the armholes, then join in the round for that dreamy shell fan skirt. The alternating coral and cream stripes create such a beautiful visual rhythm. And those little pom poms on the waist tie? Chef’s kiss.
This dress fits babies 6 to 12 months and works up in about 15 to 22 hours depending on your pace. It makes an absolutely stunning baby shower gift. The kind that gets passed down and photographed a hundred times. Let me walk you through every single step.
What You Will Need
Before you start, gather all your materials. Having everything ready makes the project flow so much smoother.
Yarn Requirements:
Recommended Yarn Options:
Paintbox Yarns Simply DK works beautifully for this project. It comes in a coral shade called Flamingo Pink and a cream called Champagne White. This yarn is 100% acrylic, machine washable, and perfect for baby items.
Lion Brand Pound of Love is another excellent choice. The large skeins mean you may only need one each of coral and cream. Very budget friendly.
For a summer dress with better breathability, try Drops Safran. This cotton and viscose blend drapes beautifully but requires gentle washing.
Hooks:
The larger hook on the skirt helps those shell fans drape softly instead of standing stiff.
Notions:
Finished Size
This pattern is written for size 6 to 12 months.
Size customization notes are included at the end of the pattern.
Gauge
Getting gauge right matters for garments. Please swatch before starting.
With US E-4 hook and Color A in single crochet (sc):
20 stitches x 24 rows = 4 inches x 4 inches (10 cm x 10 cm)
With US F-5 hook in Shell Fan pattern (skirt):
One complete 6 stitch shell fan repeat = approximately 1.25 inches (3.2 cm) wide
2 shell fan rows (one coral, one cream) = approximately 0.875 inch (2.2 cm) tall
If your swatch is too big, go down a hook size. Too small? Go up a hook size.
Abbreviations and Stitch Definitions
Let me break down every stitch you will use in this pattern. Even if you know these, a quick refresher never hurts.
ch = chain. Wrap yarn over hook, pull through loop on hook. This creates your foundation and is used throughout for spacing.
sl st = slip stitch. Insert hook into stitch, yarn over, pull through both the stitch and the loop on your hook in one motion. Used for joining rounds.
sc = single crochet. Insert hook into stitch, yarn over and pull up a loop (2 loops on hook), yarn over and pull through both loops. This is the main stitch for the bodice.
hdc = half double crochet. Yarn over, insert hook into stitch, yarn over and pull up a loop (3 loops on hook), yarn over and pull through all 3 loops.
dc = double crochet. Yarn over, insert hook into stitch, yarn over and pull up a loop (3 loops on hook), yarn over and pull through 2 loops (2 loops remain), yarn over and pull through remaining 2 loops. This builds the shell fans.
sc2tog = single crochet 2 together. A decrease that turns 2 stitches into 1. Insert hook into first stitch and pull up a loop, insert hook into second stitch and pull up a loop (3 loops on hook), yarn over and pull through all 3 loops.
sk = skip. Pass over the indicated number of stitches without working into them.
sp = space. The gap created by chain stitches.
st(s) = stitch(es)
RS = right side. The pretty side that faces outward.
WS = wrong side. The inside of the garment.
pm = place marker
rnd = round
Special Stitches
Shell Fan Stitch:
Work (dc, ch 1, dc, ch 1, dc, ch 1, dc, ch 1, dc) all into the same stitch or space. This creates a 5 dc fan with ch 1 spaces between each double crochet. This gorgeous stitch is the star of the skirt.
Scallop Edging:
Worked along sleeve edges. Into each shell, work sc into top of first dc, then (sc, hdc, dc, hdc, sc) into the center ch 1 space of the shell, then sc into top of last dc.
Picot:
Ch 3, sl st into the first ch made. Creates a small decorative bump.
Crocheted Pom Pom:
Leave a 6 inch tail. Ch 2. Work 8 sc into the second ch from hook. Sl st to join. Work 8 sc2tog around (4 sts remain). Pull tail tight to close. Stuff lightly with yarn scraps. Fasten off, leaving a 10 inch tail for attaching.
Pattern Notes Before You Begin
Read through these notes first. They will save you confusion later.
1. The bodice is worked flat (back and forth in rows) to allow for the back opening. The back has a small keyhole gap for easy dressing.
2. After completing the bodice, you pick up stitches along the lower edge and work the skirt in joined rounds.
3. Flutter sleeves are worked by picking up stitches around the armhole opening.
4. For color changes in the skirt, work the last yarn over of the last stitch of the round in the new color. You can carry the unused yarn loosely on the wrong side or cut and rejoin each color. Cutting gives cleaner results for frequently washed baby items.
5. Right side is always facing for skirt rounds.
6. Chain 3 at the beginning of rounds counts as the first dc throughout the skirt unless otherwise noted.
Bodice Front Instructions
The bodice front is worked flat in rows starting at the neckline and working down toward the waist. This uses simple single crochet throughout.
With Color A and US E-4 hook, chain 47.
Row 1 (RS): Sc into 2nd ch from hook and into each ch across. Turn. (46 sc)
Row 2 (WS): Ch 1, sc in each sc across. Turn. (46 sc)
Row 3 (RS): Ch 1, sc in each sc across. Turn. (46 sc)
Rows 4 through 18: Repeat Row 2. Turn at end of each row. (46 sc each row)
After Row 18, the bodice front panel measures approximately 3 inches from the neckline edge. Do not fasten off. Set aside.
Bodice Back Instructions
The back is worked in two separate panels to create the center back opening.
Back Right Panel:
With Color A and US E-4 hook, chain 24.
Row 1 (RS): Sc into 2nd ch from hook and into each ch across. Turn. (23 sc)
Rows 2 through 18: Ch 1, sc in each sc across. Turn. (23 sc each row)
Fasten off, leaving a 12 inch tail for seaming.
Back Left Panel:
With Color A and US E-4 hook, chain 24.
Row 1 (RS): Sc into 2nd ch from hook and into each ch across. Turn. (23 sc)
Rows 2 through 18: Ch 1, sc in each sc across. Turn. (23 sc each row)
Fasten off, leaving a 12 inch tail for seaming.
Joining the Shoulders
Lay the Front panel flat with RS facing up. Place the Right Back Panel on top of the right edge of the Front, WS together, aligning the top edges (Row 1 edges).
Using your yarn needle and Color A, seam the right shoulder by whipstitching across 10 stitches. This creates the shoulder strap width.
Leave the center 26 stitches of the front and the corresponding back edges open. These form the neckline and armhole openings.
Place the Left Back Panel on top of the left edge of the Front similarly and seam the left shoulder across 10 stitches.
Side Seams
Fold the bodice so Front meets Back with RS together. Seam each side using mattress stitch for a distance of approximately 2.5 inches from the bottom edge upward.
Leave the upper 1.5 to 2 inches open as the armhole.
After seaming, the bodice forms a small vest shape, open at the armholes and necklines.
Checkpoint: The bodice tube should measure approximately 3 inches tall at center front and approximately 17 to 18 inches around at the lower edge. Each armhole opening should measure approximately 1.5 to 2 inches wide and 2 inches tall.
Flutter Sleeves
Make 2 sleeves, worked by picking up stitches around each armhole.
With RS facing and US E-4 hook, join Color A at the base of one armhole at the side seam.
Pickup Round 1: Ch 1, sc evenly around the armhole opening, placing 1 sc per row end on the straight sides and 1 sc per stitch across any horizontal edges. Work approximately 28 sc total around the armhole. Sl st to join to first sc. (28 sc)
Do not turn. Continue working with RS facing.
Pickup Round 2: Ch 1, sc in same st as join, sc in next st. Work 2 sc into the next st (this is your increase), then sc in next st. Continue in pattern: (sc in 2 sts, 2 sc in next st) around. When you reach the last 2 sts, work them as sc2tog. Sl st to join. (36 sc)
Ruffle Row (worked flat by turning):
Turn work.
Row 1 of ruffle (WS): Ch 3 (counts as dc), (dc, ch 1, dc, ch 1, dc, ch 1, dc, ch 1, dc) into same st as ch 3 base. This is your first shell. Skip next 2 sts, sl st into next st, skip next 2 sts, shell into next st, skip next 2 sts, sl st into next st.
Repeat (skip 2, shell, skip 2, sl st) across, ending with sl st into last st. Fasten off Color A. (6 shells total)
Scallop Edging on Sleeve:
Join Color B at right edge of ruffle row with RS facing.
Edging Row: Ch 1, sc into top of first dc of shell, (sc, hdc, dc, hdc, sc) into center ch 1 sp of shell, sc into top of last dc of shell, sl st to sl st between shells. Repeat across all 6 shells. Fasten off Color B.
Repeat for second sleeve.
Back Neckline Edging and Keyhole
With RS facing and US E-4 hook, join Color A at top right corner of Right Back Panel.
Row 1: Ch 1, sc along the top edge of right back panel along the open back neckline edge only. Sc across 13 sts of right back neckline edge, ch 3 (this creates the keyhole loop), sc across 13 sts of left back neckline edge. Fasten off.
Sew one small button to the left back panel top edge, aligned with the ch 3 loop.
Optional Full Neckline Edging:
Join Color B at center back right edge with RS facing.
Rnd 1: Ch 1, sc evenly around entire neckline edge, placing 1 sc per row end along vertical edges and 1 sc per stitch across horizontal chain edges. Work 3 sc into each corner. Sl st to join. Fasten off Color B.
Waist Transition and Drawstring Channel
With RS facing and US E-4 hook, join Color B at the right side seam of the lower bodice edge.
Rnd 1 (Waist Stripe 1): Ch 1, sc in each stitch around the lower edge of the bodice. The lower edge consists of foundation chains: 46 from front plus 23 plus 23 from back = 92 sts total. Sl st to join. (92 sc)
Rnd 2 (Drawstring Channel): Ch 1, sc in first st, ch 1, sk next st, (sc in next st, ch 1, sk next st) around. Sl st to join. (46 sc, 46 ch 1 sps)
Rnd 3: Ch 1, sc into each sc and each ch 1 sp around. Sl st to join. (92 sc)
Rnd 4: Ch 1, sc in each sc around. Sl st to join. (92 sc)
Change to Color A.
Rnd 5 (Color A): Ch 1, sc in each sc around. Sl st to join. (92 sc)
Rnd 6: Ch 1, sc in each sc around. Sl st to join. (92 sc)
The drawstring cord will be threaded through the ch 1 spaces of Rnd 2 after completion.
Checkpoint: The piece should measure approximately 5 to 5.5 inches from shoulder to current working edge. Waist circumference is approximately 18.5 inches unstretched.
Skirt Instructions
Switch to US F-5 hook. The skirt is worked in joined rounds with RS always facing.
Increase Round (US E-4 hook with Color A continuing from Rnd 6):
Rnd 7: Ch 1, sc in each of first 22 sts, 2 sc in next st, sc in each of next 22 sts, 2 sc in next st, sc in each of next 22 sts, 2 sc in next st, sc in each of next 22 sts, 2 sc in last st. Sl st to join. (96 sc)
Now switch to US F-5 hook.
Skirt Round 1 (Color A, Shell Round):
Join Color A at any st. Ch 1, sc in st, sk 2, shell in next st, sk 2, (sc in next st, sk 2, shell in next st, sk 2) 15 times. Sl st to first sc. (16 shells, 16 sc)
Skirt Round 2 (Color B, Bridge Round):
Join Color B at first sc. Ch 1, sc in same sc, ch 3, (sc in next sc between shells, ch 3) 15 times. Sl st to first sc. (16 sc, 16 ch 3 arches)
Skirt Round 3 (Color A, Shell Round):
Join Color A in first sc of Round 2. Ch 3 (counts as dc), (ch 1, dc) 4 times in same sc (shell made), sc in ch 3 arch, (shell in next sc, sc in next ch 3 arch) 15 times. Sl st to top of beg ch 3. (16 shells, 16 sc)
Skirt Round 4 (Color B, Bridge Round):
Sl st across to nearest sc between shells. Join Color B. Ch 1, sc in same sc, ch 3, (sc in next sc between shells, ch 3) 15 times. Sl st to first sc. (16 sc, 16 ch 3 arches)
Skirt Round 5 (Color A, Increase Shell Round):
This round adds 4 extra shells evenly spaced to widen the skirt.
Join Color A in sc of Round 4 (sc position 1).
Shell in sc 1, sc in arch, shell in sc 2, sc in arch, shell in sc 3, sc in arch, (shell, sc, shell) in sc 4 (double shell increase), sc in arch.
Shell in sc 5, sc in arch, shell in sc 6, sc in arch, shell in sc 7, sc in arch, (shell, sc, shell) in sc 8, sc in arch.
Shell in sc 9, sc in arch, shell in sc 10, sc in arch, shell in sc 11, sc in arch, (shell, sc, shell) in sc 12, sc in arch.
Shell in sc 13, sc in arch, shell in sc 14, sc in arch, shell in sc 15, sc in arch, (shell, sc, shell) in sc 16, sc in arch.
Sl st to top of beg ch 3. (20 shells, 20 sc)
Skirt Round 6 (Color B, Bridge Round):
Join Color B at first sc between shells. Ch 1, sc in same sc, ch 3, (sc in next sc between shells, ch 3) 19 times. Sl st to first sc. (20 sc, 20 ch 3 arches)
Skirt Round 7 (Color A, Shell Round):
Join Color A in first sc. Shell in sc, sc in arch. Rep 19 times around. Sl st to join. (20 shells, 20 sc)
Skirt Round 8 (Color B, Bridge Round):
Same as Round 6. (20 sc, 20 ch 3 arches)
Skirt Round 9 (Color A, Increase Shell Round):
Add 4 more shells (one double shell every 5th position).
Join Color A in sc 1.
(Shell in sc, sc in arch) 4 times, (shell, sc, shell) in sc 5, sc in arch.
(Shell in sc, sc in arch) 4 times, (shell, sc, shell) in sc 10, sc in arch.
(Shell in sc, sc in arch) 4 times, (shell, sc, shell) in sc 15, sc in arch.
(Shell in sc, sc in arch) 4 times, (shell, sc, shell) in sc 20, sc in arch.
Sl st to join. (24 shells, 24 sc)
Skirt Round 10 (Color B, Bridge Round):
Join Color B at first sc. Ch 1, sc in same sc, ch 3, (sc in next sc, ch 3) 23 times. Sl st to first sc. (24 sc, 24 ch 3 arches)
Skirt Round 11 and Beyond:
Continue alternating shell rounds in Color A and bridge rounds in Color B until the skirt reaches your desired length. For 6 to 12 months, continue until the skirt measures approximately 9 to 10 inches from the waist.
Sunflower Appliqué
The sunflower adds such a sweet finishing touch to this dress.
Sunflower Center:
With Color D (dark brown) and US E-4 hook, ch 4. Sl st to join into a ring.
Rnd 1: Ch 1, 8 sc into ring. Sl st to join. (8 sc)
Rnd 2: Ch 1, 2 sc in each sc around. Sl st to join. Fasten off. (16 sc)
Sunflower Petals:
Join Color C (yellow) in any st of Rnd 2.
(Ch 3, dc, ch 3, sl st) in same st (petal made). Sl st to next st. Repeat around, making 16 petals total. Fasten off.
Leaves (Make 2):
With Color E (green) and US E-4 hook, ch 8.
Row 1: Sc in 2nd ch from hook, hdc in next ch, dc in next 2 ch, hdc in next ch, sc in next ch, (sc, ch 2, sc) in last ch. Working along the opposite side of the chain: sc in next ch, hdc in next ch, dc in next 2 ch, hdc in next ch, sc in last ch. Fasten off.
Sew the sunflower and leaves to the upper left bodice as shown in the photo.
Finishing
Drawstring Tie:
Cut an 18 inch length of coral ribbon or crochet a chain cord in Color A approximately 18 inches long.
Thread the tie through the ch 1 spaces of Round 2 of the waist section. Start at center front, weave in and out all the way around, and bring both ends out at center front.
Attach one pom pom to each end of the tie.
Weaving in Ends:
Use your yarn needle to weave in all loose ends securely. For baby items, weave each end through at least 2 inches of stitches to prevent unraveling during washing.
Blocking (Optional):
Lay the dress flat on a blocking mat or towel. Gently steam or wet block to even out the stitches. Allow to dry completely before dressing baby.
Care Instructions
This dress is machine washable if you used acrylic yarn. Wash on gentle cycle with cold water and tumble dry on low. For cotton or cotton blend yarns, hand wash or use a delicate cycle and lay flat to dry.
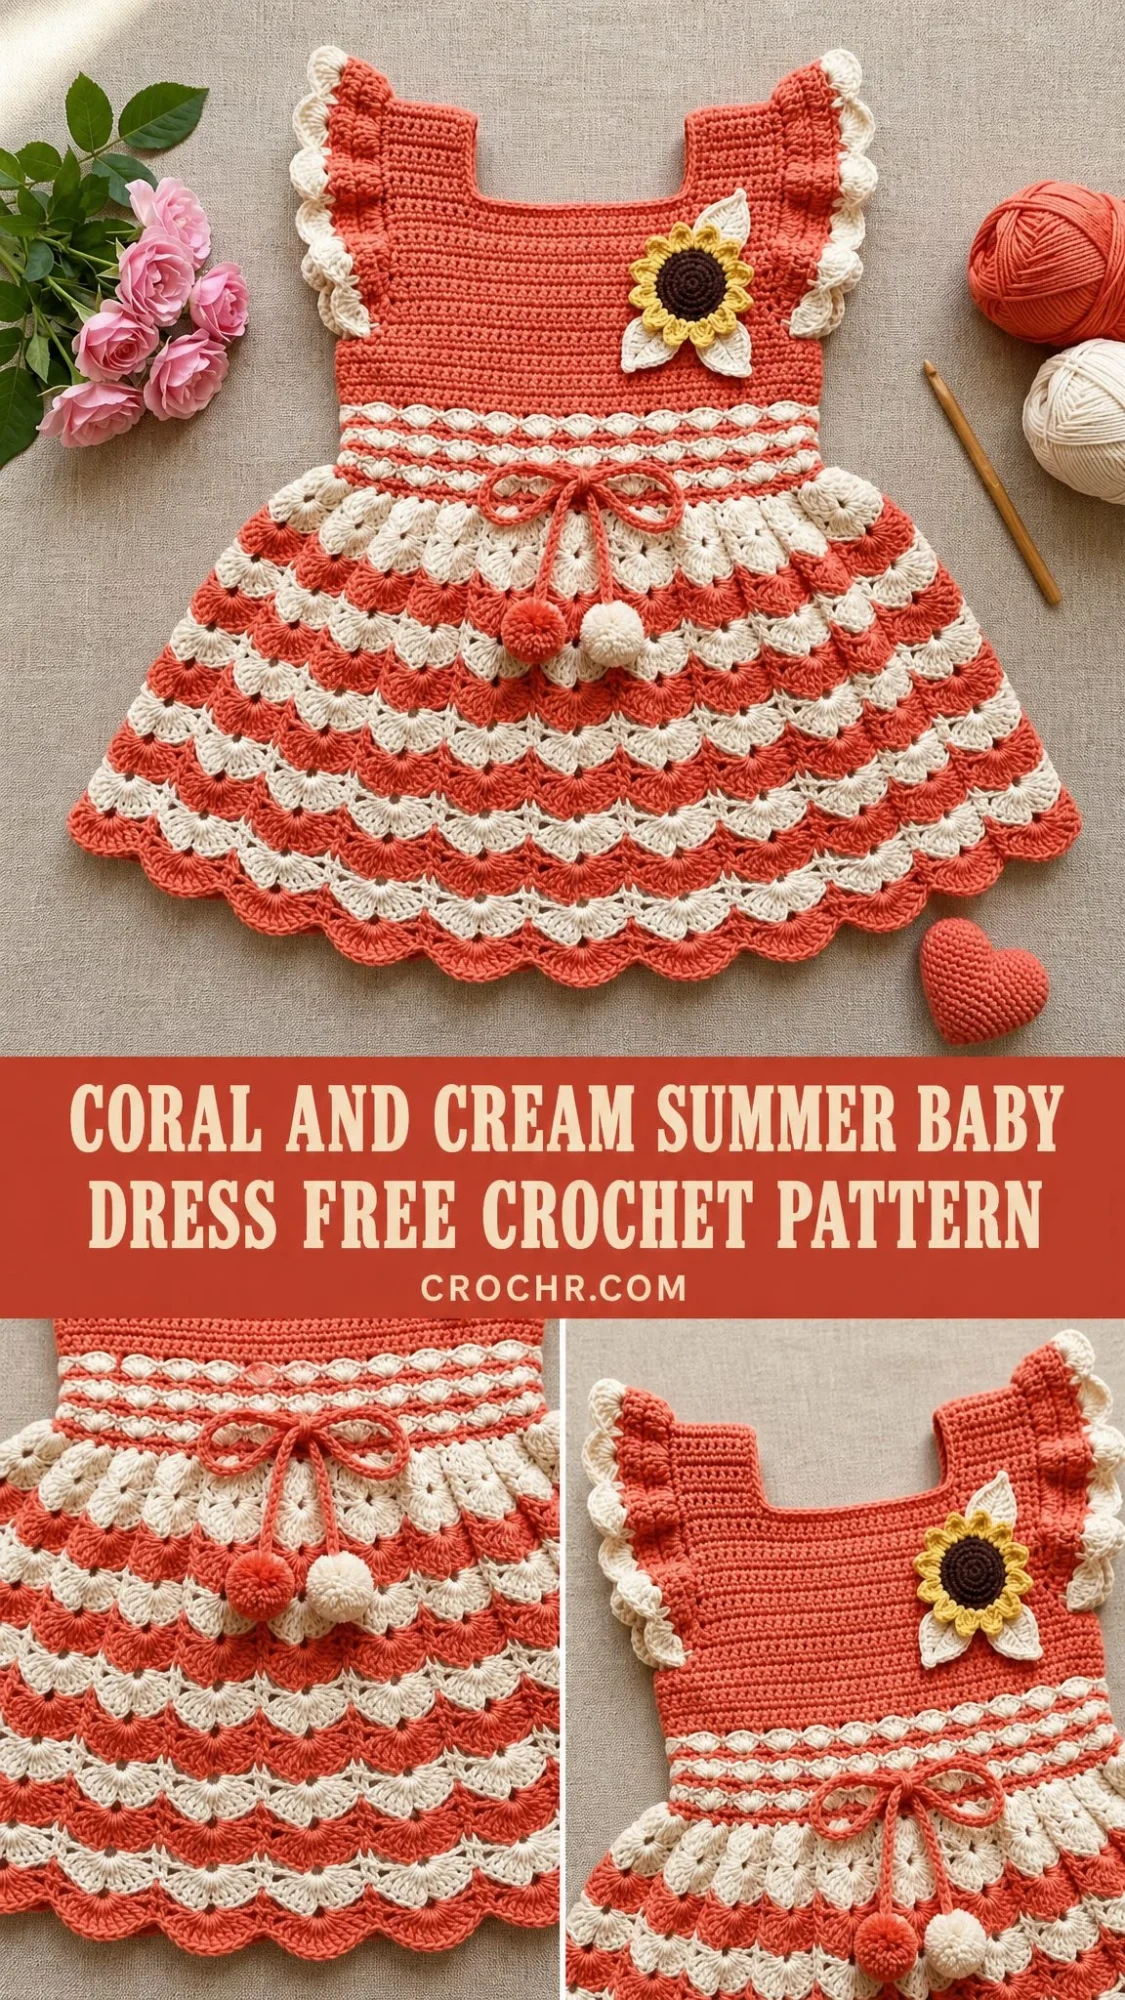
Tips for Success
Take your time with the shell stitch placement. If the skirt starts looking uneven, count your shells and sc stitches at the end of each round.
Place stitch markers at the beginning of each round so you always know where you started.
When changing colors, keep your tension consistent. The first stitch in a new color sometimes pulls tighter, so be mindful.
Block the finished dress gently. This really helps the shell fans open up beautifully.
Thank you so much for making this coral and cream summer baby dress with me. I hope you loved working on it as much as I loved designing it. If you make one, I would absolutely love to see it. Tag me on Instagram or share a photo on Facebook so I can admire your beautiful work.
If this pattern brought you joy, save it to your Pinterest boards so you can find it again later or share it with a friend who loves baby projects. And please leave a comment below if you make this dress. I read every single one and your photos make my whole day.
You Might Also Like
- Yellow Heart Granny Square Baby Blanket Free Crochet Pattern
- Mint Green Rose Granny Square Bag Free Crochet Pattern
- Sage Green Boho Lace Crochet Pullover Free Pattern
- Dusty Rose Diamond Lattice Vest Free Crochet Pattern
