
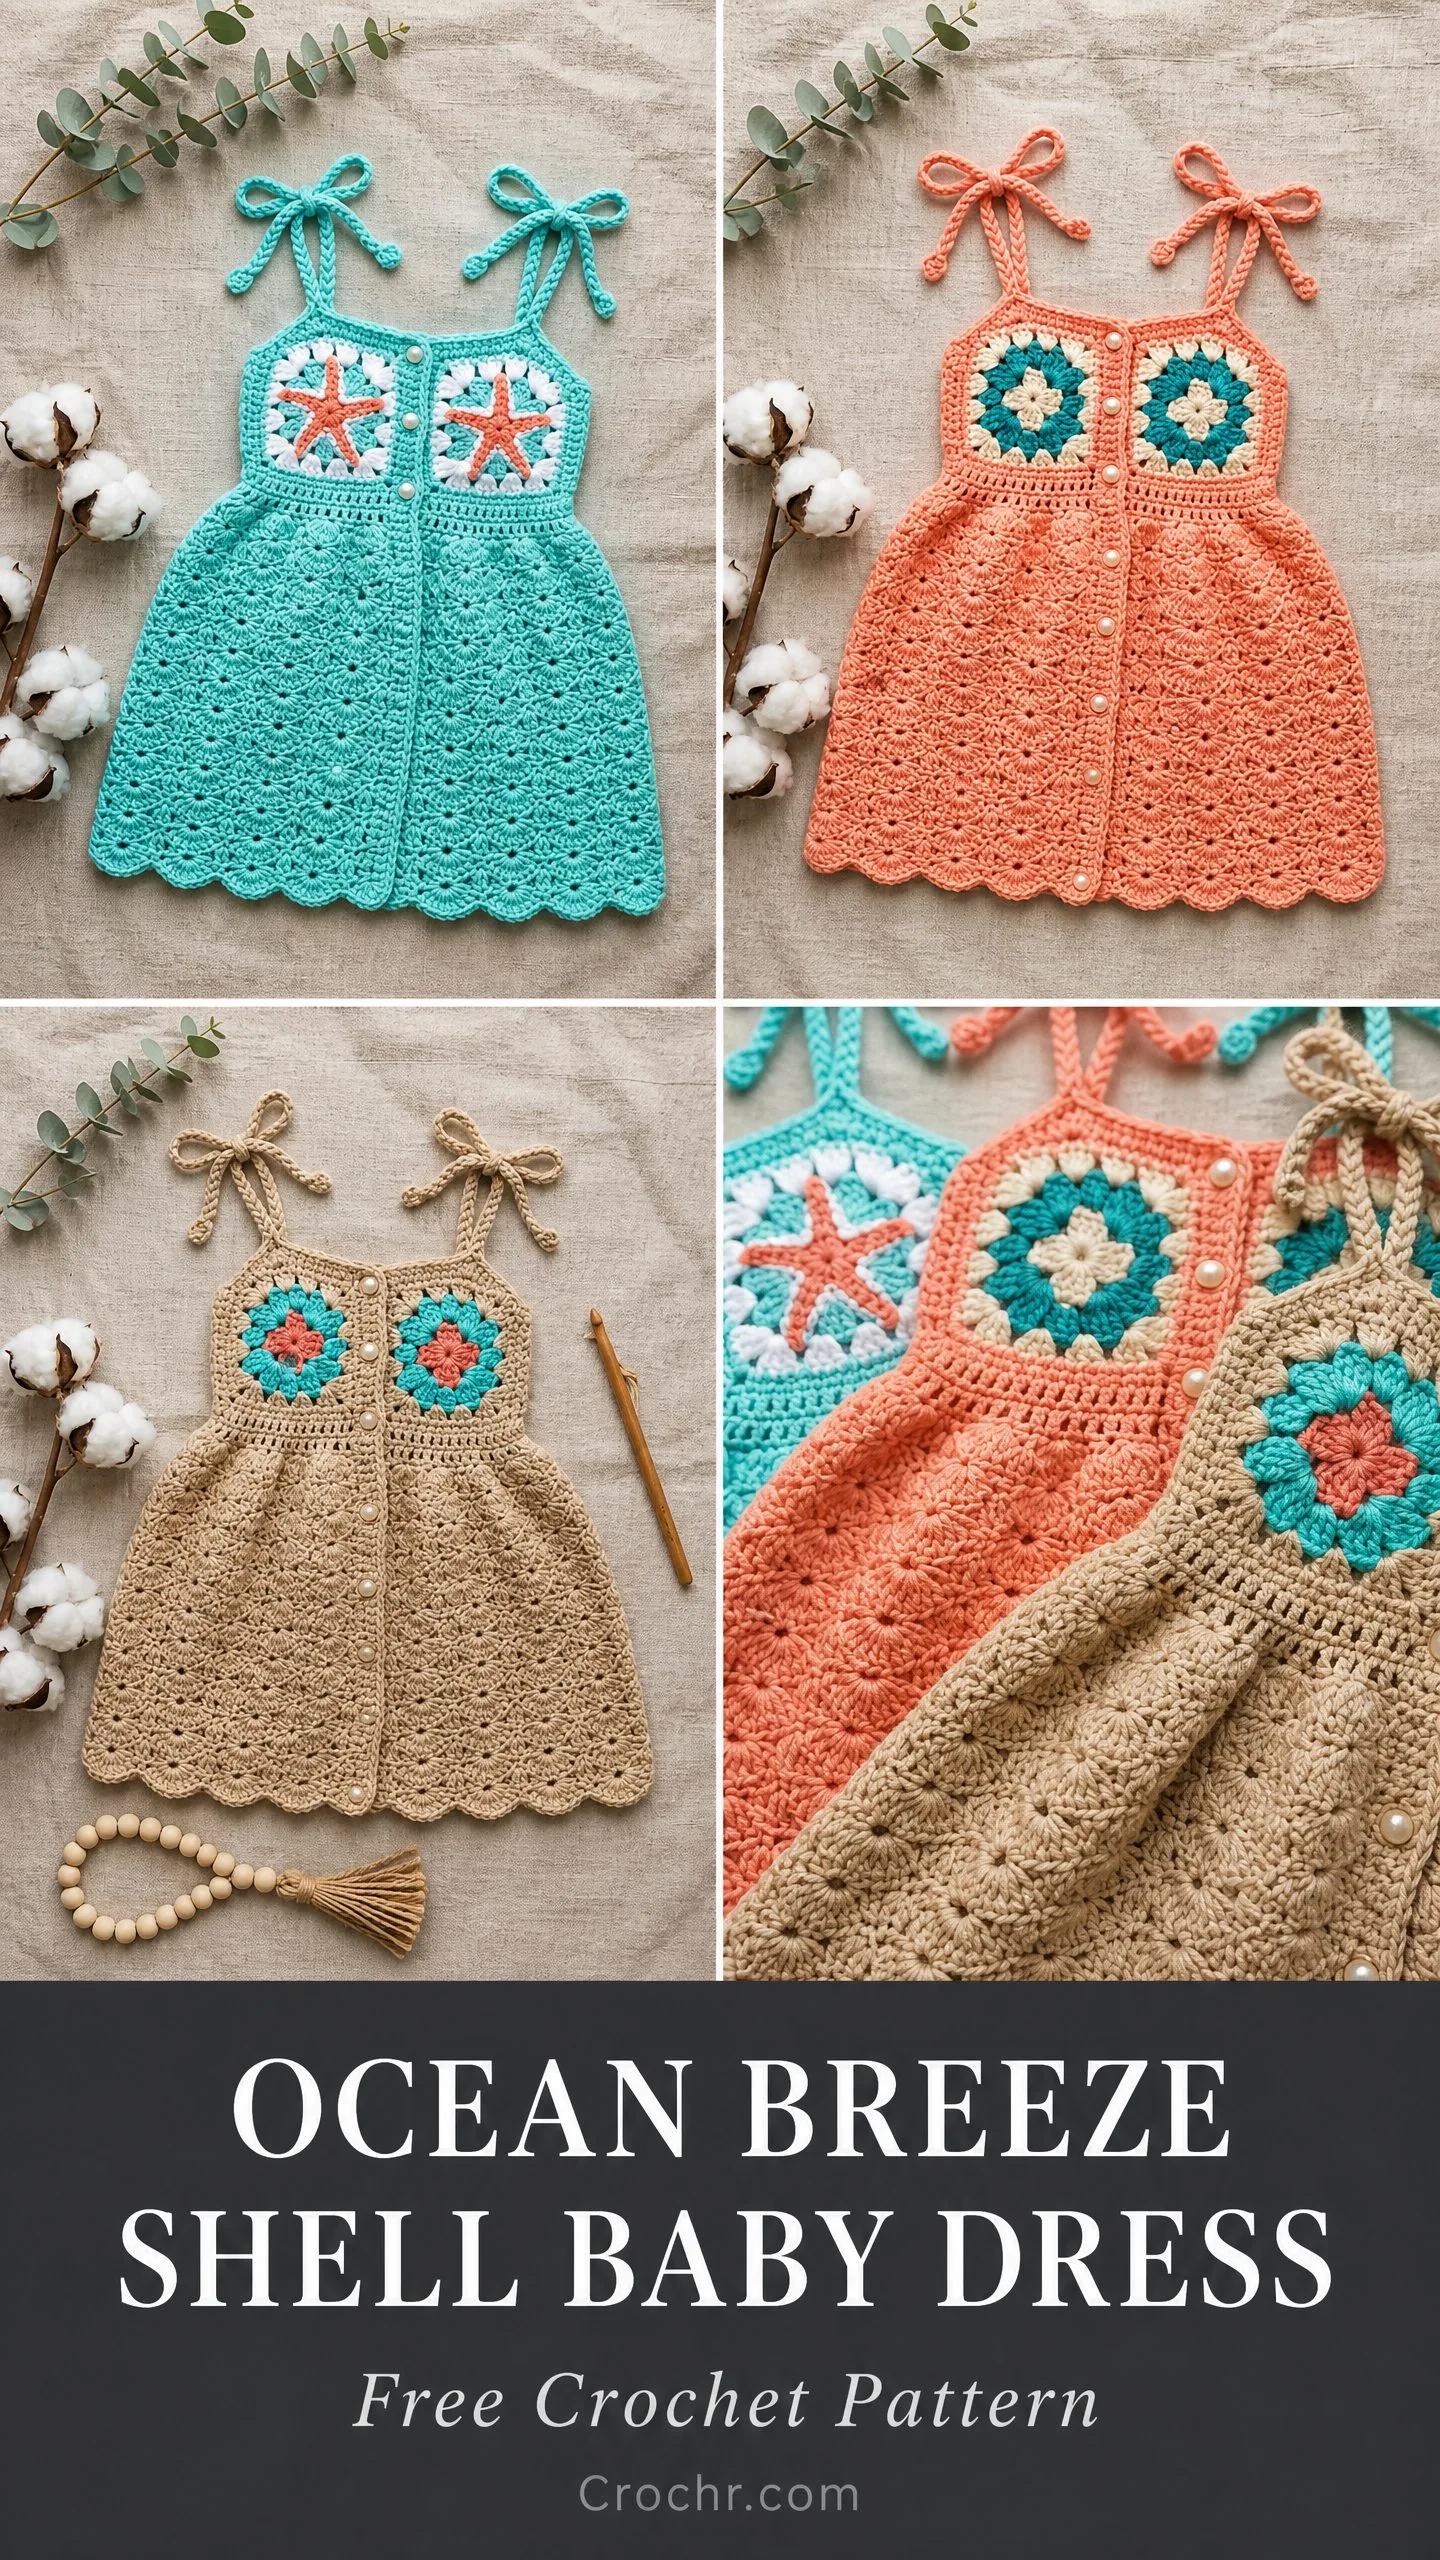
This is a classic baby dress featuring a granny square bodice, tie-up shoulder straps, and a flared shell stitch skirt. It works up in DK weight cotton yarn with a 3.5 mm hook. The construction is straightforward: you make the granny square first, build the bodice around it, work the skirt downward, then add the straps.
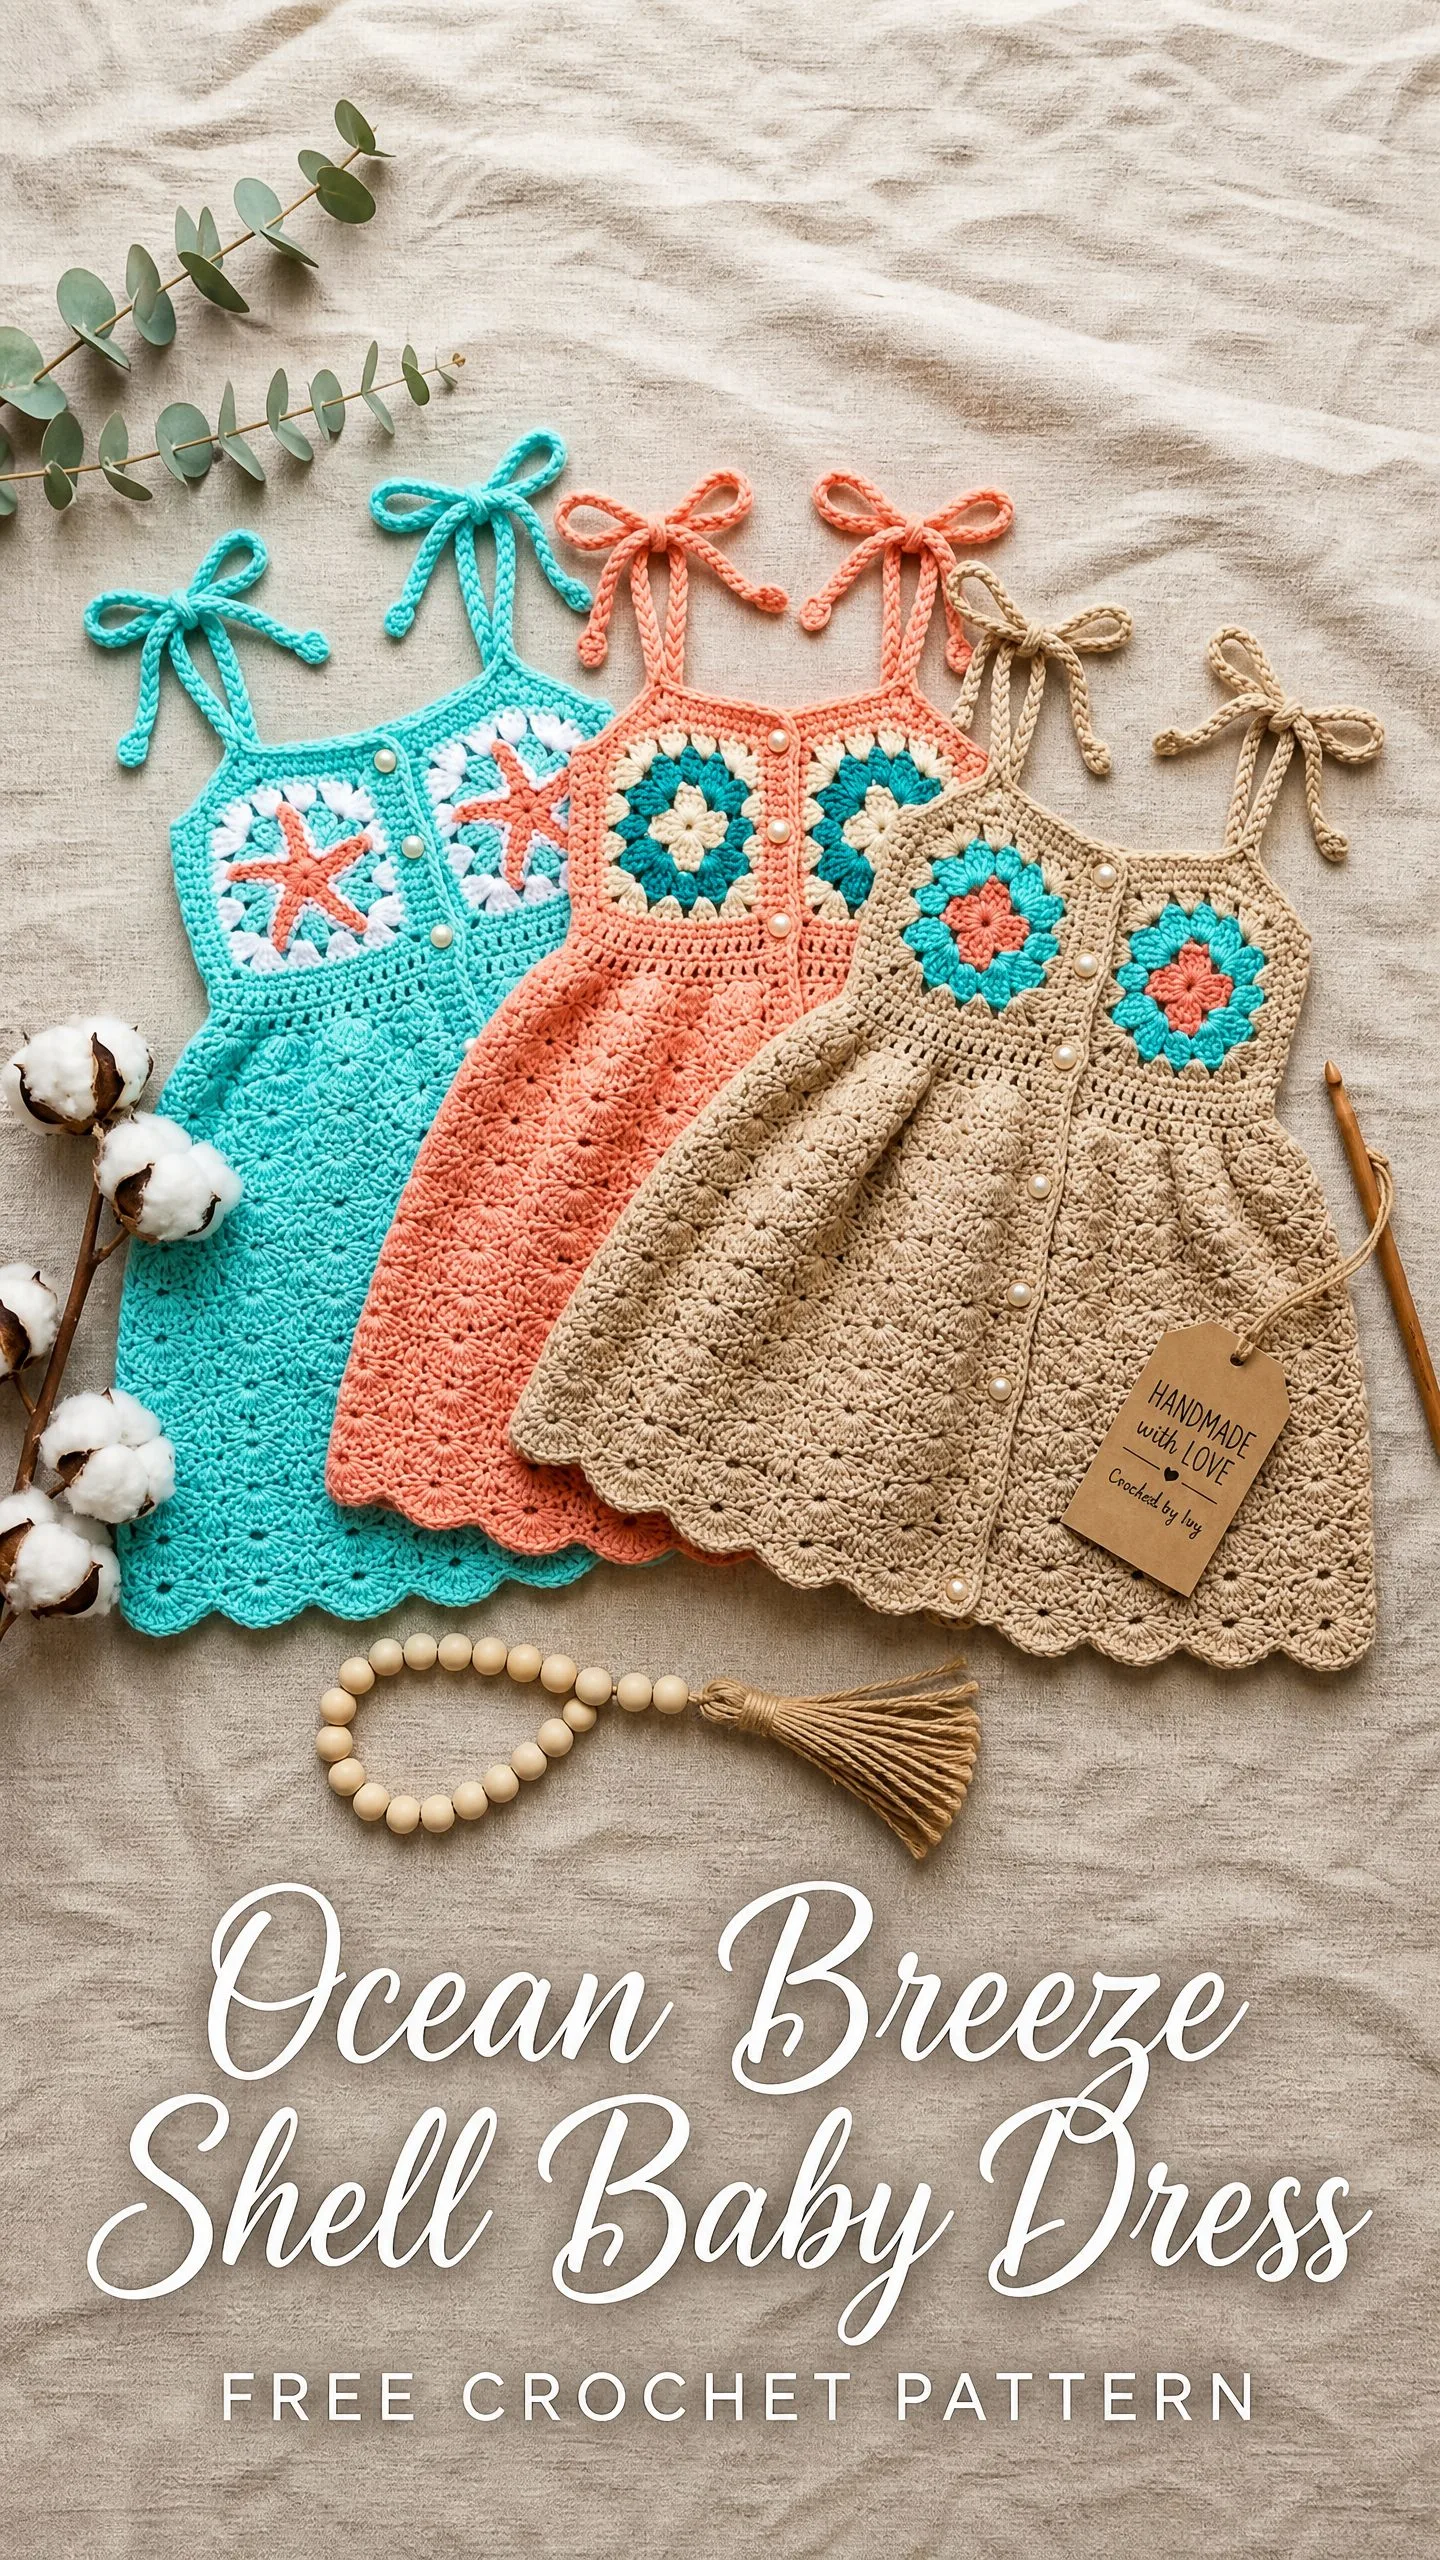
The finished dress fits babies 6 to 12 months with a chest measurement of approximately 17 inches. Total length from nape to hem is about 14 inches. Those pearl button accents down the center front are purely decorative, so no fussy buttonholes to worry about.
If you can work a granny square and a basic shell stitch, you can absolutely make this dress. Let me walk you through every step.
Why You Will Love This Baby Dress Crochet Pattern
The combination of textures in this design makes it special. You have the geometric charm of the granny square sitting right at the center of the bodice, then that beautiful open shell stitch creating the airy, flowing skirt. The scalloped hem adds the perfect finishing touch.
This crochet pattern works up in about 10 to 14 hours for an experienced intermediate crocheter. That might sound like a lot, but the construction keeps things interesting. You are never bored doing the same stitch for hours on end.
The tie straps make sizing flexible. Even if your gauge is slightly off, those shoulder ties adjust to fit. This is a huge relief when making baby clothes because babies grow so fast.
Materials You Will Need
Yarn:
The sample uses sandy tan for the main color, teal or aqua for CC1, and coral or peach for CC2. You can see in the photos how beautifully these colors work together.
Recommended yarn options:
Any smooth DK weight cotton or cotton blend will work beautifully. Avoid fuzzy or textured yarns because they will hide your shell stitch definition.
Hook: US size E-4 / 3.5 mm, or whatever size you need to meet gauge
Notions:
Gauge
18 single crochet (sc) = 4 inches
One complete shell stitch repeat measures approximately 1.1 inches wide. Six rows of shell stitch pattern measure approximately 2 inches tall.
Gauge matters here. This is a fitted garment, not a blanket. Please swatch before diving in.
To swatch: Chain 30. Work in shell stitch pattern for 10 rows. Block lightly. Measure the center 4 inches.
Finished Measurements
Abbreviations and Special Stitches
Let me define every stitch you will encounter:
Shell Stitch: Work 5 dc all into the same stitch or space. This creates a fan shape.
Scallop Border Shell: Work 6 dc all into the same stitch or space. Slightly fuller than a regular shell for the decorative hem.
Beginning Shell: At the start of a row, chain 3 (counts as first dc), work 4 more dc into the same stitch or space. This gives you 5 dc total including the turning chain.
Pattern Instructions
Granny Square Motif
Make 1. This forms the center front of your bodice.
Round 1 (CC2, RS): Make a magic ring. Ch 3 (counts as first dc), 2 dc into ring, ch 2, (3 dc into ring, ch 2) 3 times, join with sl st to top of beginning ch-3. Fasten off CC2. (4 groups of 3 dc, 4 corner ch-2 spaces)
Round 2 (CC1): Join CC1 with sl st to any corner ch-2 sp. Ch 3 (counts as dc), (2 dc, ch 2, 3 dc) into same corner sp, ch 1, (3 dc, ch 2, 3 dc) into next corner sp, ch 1, repeat from 2 more times, join with sl st to top of beginning ch-3. Fasten off CC1. (4 corners with 3 dc + ch 2 + 3 dc each, 4 ch-1 side spaces)
Round 3 (MC): Join MC with sl st to any corner ch-2 sp. Ch 3 (counts as dc), (2 dc, ch 2, 3 dc) into same corner sp, ch 1, 3 dc into ch-1 sp along side, ch 1, (3 dc, ch 2, 3 dc) into next corner sp, ch 1, 3 dc into ch-1 sp along side, ch 1, repeat from 2 more times, join with sl st to top of beginning ch-3. Do not fasten off MC. (4 corners with 3 dc + ch 2 + 3 dc each, 8 side groups of 3 dc, 12 ch-1 spaces total)
Checkpoint: Block your granny square gently. It should measure approximately 3.25 to 3.5 inches per side. If it is too small, go up a hook size. Too large, go down.
Front Bodice Panel
Row 1 (RS): With MC and RS facing, join with sl st to the top-left corner of your granny square. Ch 1, work 18 sc evenly across the top edge of the square, picking up through tops of dc and into ch-sps as needed. (18 sc)
Row 2: Ch 1, turn. Sc across all 18 sts. (18 sc)
Row 3 (extending the panel): Before this row, cut yarn. Rejoin at the right-hand edge and chain 11, then work 1 sl st into the first sc of Row 2 to join. Now work across the existing 18 sc, then chain 11 at the far end. Turn. You now have 11 ch + 18 sc + 11 ch = 40 sts to work across.
Row 3 across (RS): Ch 1, turn. Sc across all 40 sts including into the 11 ch on each side. (40 sc)
Rows 4 through 6: Ch 1, turn. Sc across. (40 sc each row)
Row 7 (underarm shaping): Ch 1, turn. Sc2tog, sc across to last 2 sts, sc2tog. (38 sc)
Row 8: Ch 1, turn. Sc across. (38 sc)
Row 9: Ch 1, turn. Sc2tog, sc across to last 2 sts, sc2tog. (36 sc)
Row 10: Ch 1, turn. Sc across. (36 sc)
Row 11: Ch 1, turn. Sc2tog, sc across to last 2 sts, sc2tog. (34 sc)
Rows 12 through 15: Ch 1, turn. Sc across. (34 sc each row)
Do not fasten off. Front bodice panel complete.
Checkpoint: Your front panel should measure approximately 5.5 to 6 inches tall and about 7.5 inches wide at the waistline.
Back Bodice Panel
With MC, chain 41.
Row 1 (WS): Sc into 2nd ch from hook, sc across. (40 sc)
Rows 2 through 5: Ch 1, turn. Sc across. (40 sc)
Row 6 (underarm shaping): Ch 1, turn. Sc2tog, sc across to last 2 sts, sc2tog. (38 sc)
Row 7: Ch 1, turn. Sc across. (38 sc)
Row 8: Ch 1, turn. Sc2tog, sc across to last 2 sts, sc2tog. (36 sc)
Row 9: Ch 1, turn. Sc across. (36 sc)
Row 10: Ch 1, turn. Sc2tog, sc across to last 2 sts, sc2tog. (34 sc)
Rows 11 through 15: Ch 1, turn. Sc across. (34 sc each row)
Fasten off, leaving a tail for seaming.
Side Seams
Using your yarn needle and MC, whipstitch or mattress stitch the front and back bodice panels together along both side edges. Work from the waistline upward to the underarm. Leave approximately 3 inches open at each top side for the armhole openings.
Weave in all ends before moving on.
Checkpoint: Your joined bodice should measure approximately 6 inches tall, 8.5 inches wide at the waist opening (about 17 inches circumference), and each armhole should be approximately 2.5 to 3 inches.
Skirt
The skirt is worked in shell stitch from the waistline down.
Waistband Joining Row: With RS facing, join MC to the bottom right edge of the joined bodice. The bodice bottom edge has 68 sts around (34 front + 34 back). You need to increase to 73 sts total to set up the shell repeat.
Ch 1, work sc evenly around the entire waist edge, placing increases (2 sc into one st) approximately every 14 sts. Work 5 increases evenly spaced. Join with sl st to first sc if working in the round. (73 sc total)
Shell Stitch Pattern:
Row 1 (RS): Ch 3 (counts as first dc), turn. Work 2 dc into first sc (half shell at edge), sk 2 sc, sc into next sc, sk 2 sc, shell of 5 dc into next sc, sk 2 sc, sc into next sc, repeat from across to last st, 3 dc into last sc. Turn. (1 half-shell at each edge, 11 full shells, 12 sc between shells)
Row 2 (WS): Ch 1, turn. Sc into first dc, (shell of 5 dc into next sc, sc into center dc of next shell), repeat from across, ending sc into top of turning chain. Turn. (12 shells, sc at each edge)
Row 3 (RS): Ch 3, turn. 2 dc into first sc, (sc into center dc of next shell, shell of 5 dc into next sc), repeat from across, ending sc into center dc of last shell, 3 dc into last sc. Turn. (edge half-shells restored, 12 full shells)
Rows 4 through 17: Repeat Rows 2 and 3 alternately.
Row 18: Work as Row 2.
Skirt Increases
To create the flare, increase shells at Rows 5, 9, 13, and 17. Add 2 new shells per increase row (one at each side of center).
Checkpoint: After Row 17, your skirt should measure approximately 5.5 to 6 inches below the waistline. Hem width should be approximately 22 to 24 inches across one flat panel.
Scalloped Hemline Border
Row 1 (RS): Ch 1, turn skirt so bottom edge faces you. Work 1 sc into each foundation st at the bottom of the lowest shell row. (Approximately 85 sc, or adjust to nearest multiple of 6 plus 1.)
Row 2 (RS, scallops): Ch 1, do not turn. Sl st into first sc, (sk 2 sc, 6 dc scallop shell into next sc, sk 2 sc, sl st into next sc), repeat from across. End with sl st into last sc.
Fasten off. Weave in ends.
Side Seam (Skirt)
Fold the skirt panel so short edges meet. Using your yarn needle and MC, seam with mattress stitch from hem upward to waistline. Weave in ends.
Bodice Top Edge Finishing
With RS facing, join MC to top edge of back panel. Ch 1, work 1 sc into each st across the back top edge. (34 sc) Fasten off.
Repeat along each armhole edge: Join MC to the top corner of the side seam at the armhole, work sc evenly around the armhole opening (approximately 16 to 18 sc per armhole), join with sl st, fasten off.
Straps
Make 4 strap cords (two for each shoulder).
Foundation chain: With MC, chain 50.
Row 1: Sl st into 2nd ch from hook, sl st across all chains. (49 sl sts)
Fasten off, leaving a 12 inch tail for sewing.
Attachment: Sew two cords to each front corner and two to corresponding back corners at shoulder positions. The front and back cords tie together in a bow at the top of each shoulder.
Button Accents
Sew 9 pearl buttons down the center front of the dress, evenly spaced from just below the granny square center to the waistline. Space them approximately every 0.6 inches. These are decorative only. Use a hand-sewing needle and coordinating thread.
Finishing and Blocking
Weave in all ends securely, leaving no tails shorter than 6 inches before trimming. Weave in at least two directions for cotton yarn.
Wet blocking is strongly recommended. Soak the finished dress in cool water for 10 minutes. Gently press out excess water in a towel (do not wring). Lay flat on a blocking mat. Pin the scalloped hem to shape, stretching each scallop point gently. Allow to dry completely, 12 to 24 hours.
Blocking opens up the shell stitch pattern and helps the granny square lie perfectly flat.
Size Customization Tips
For a larger chest: Add 4 to 5 sc to both front and back bodice foundations. Work Row 3 extension with 13 chains on each side instead of 11.
For a longer skirt: Add additional shell stitch rows before the hemline border. Each 2 rows add approximately 0.65 inches of length.
For toddler sizing (18 to 24 months): Increase front and back bodice foundation to 46 sts each. Increase waistline to 97 sc (16 shell repeats). Work 22 shells after all increases. Add 4 more rows of shell stitch before the border. Target chest circumference approximately 19 to 20 inches.
Care Instructions
For 100% cotton yarn: Machine wash on gentle cycle in cool water. Lay flat to dry. Do not tumble dry as this can distort the shell stitch. Do not iron directly on the pearl buttons. Store folded, not hung, to prevent stretching.
I really hope you enjoy making this baby dress crochet pattern as much as I enjoyed writing it up for you. The combination of the granny square bodice with that flowing shell stitch skirt creates something truly special for the little one in your life. Whether you are making it for your own baby, a grandchild, or a baby shower gift, this dress is sure to become a treasured keepsake.
If you want to save this pattern for later, go ahead and pin it to your Pinterest boards. And please leave a comment below when you finish yours. I would absolutely love to see your color combinations and hear how it turned out!
You Might Also Like
- Lavender Garden Baby Dress Free Crochet Pattern
- Woodland Creatures Anklet Free Crochet Pattern
- Mustard Yellow Baby Pinafore Dress Free Crochet Pattern
- Mint Green Summer Baby Dress Free Crochet Pattern
