
I’ve been looking for the perfect beach-ready crochet top for ages. Something that captures that seaside feeling without looking like a costume. This Ocean Wave Seashell Halter Top is my favourite find because it combines a structured bodice with dreamy lace that actually moves like water.
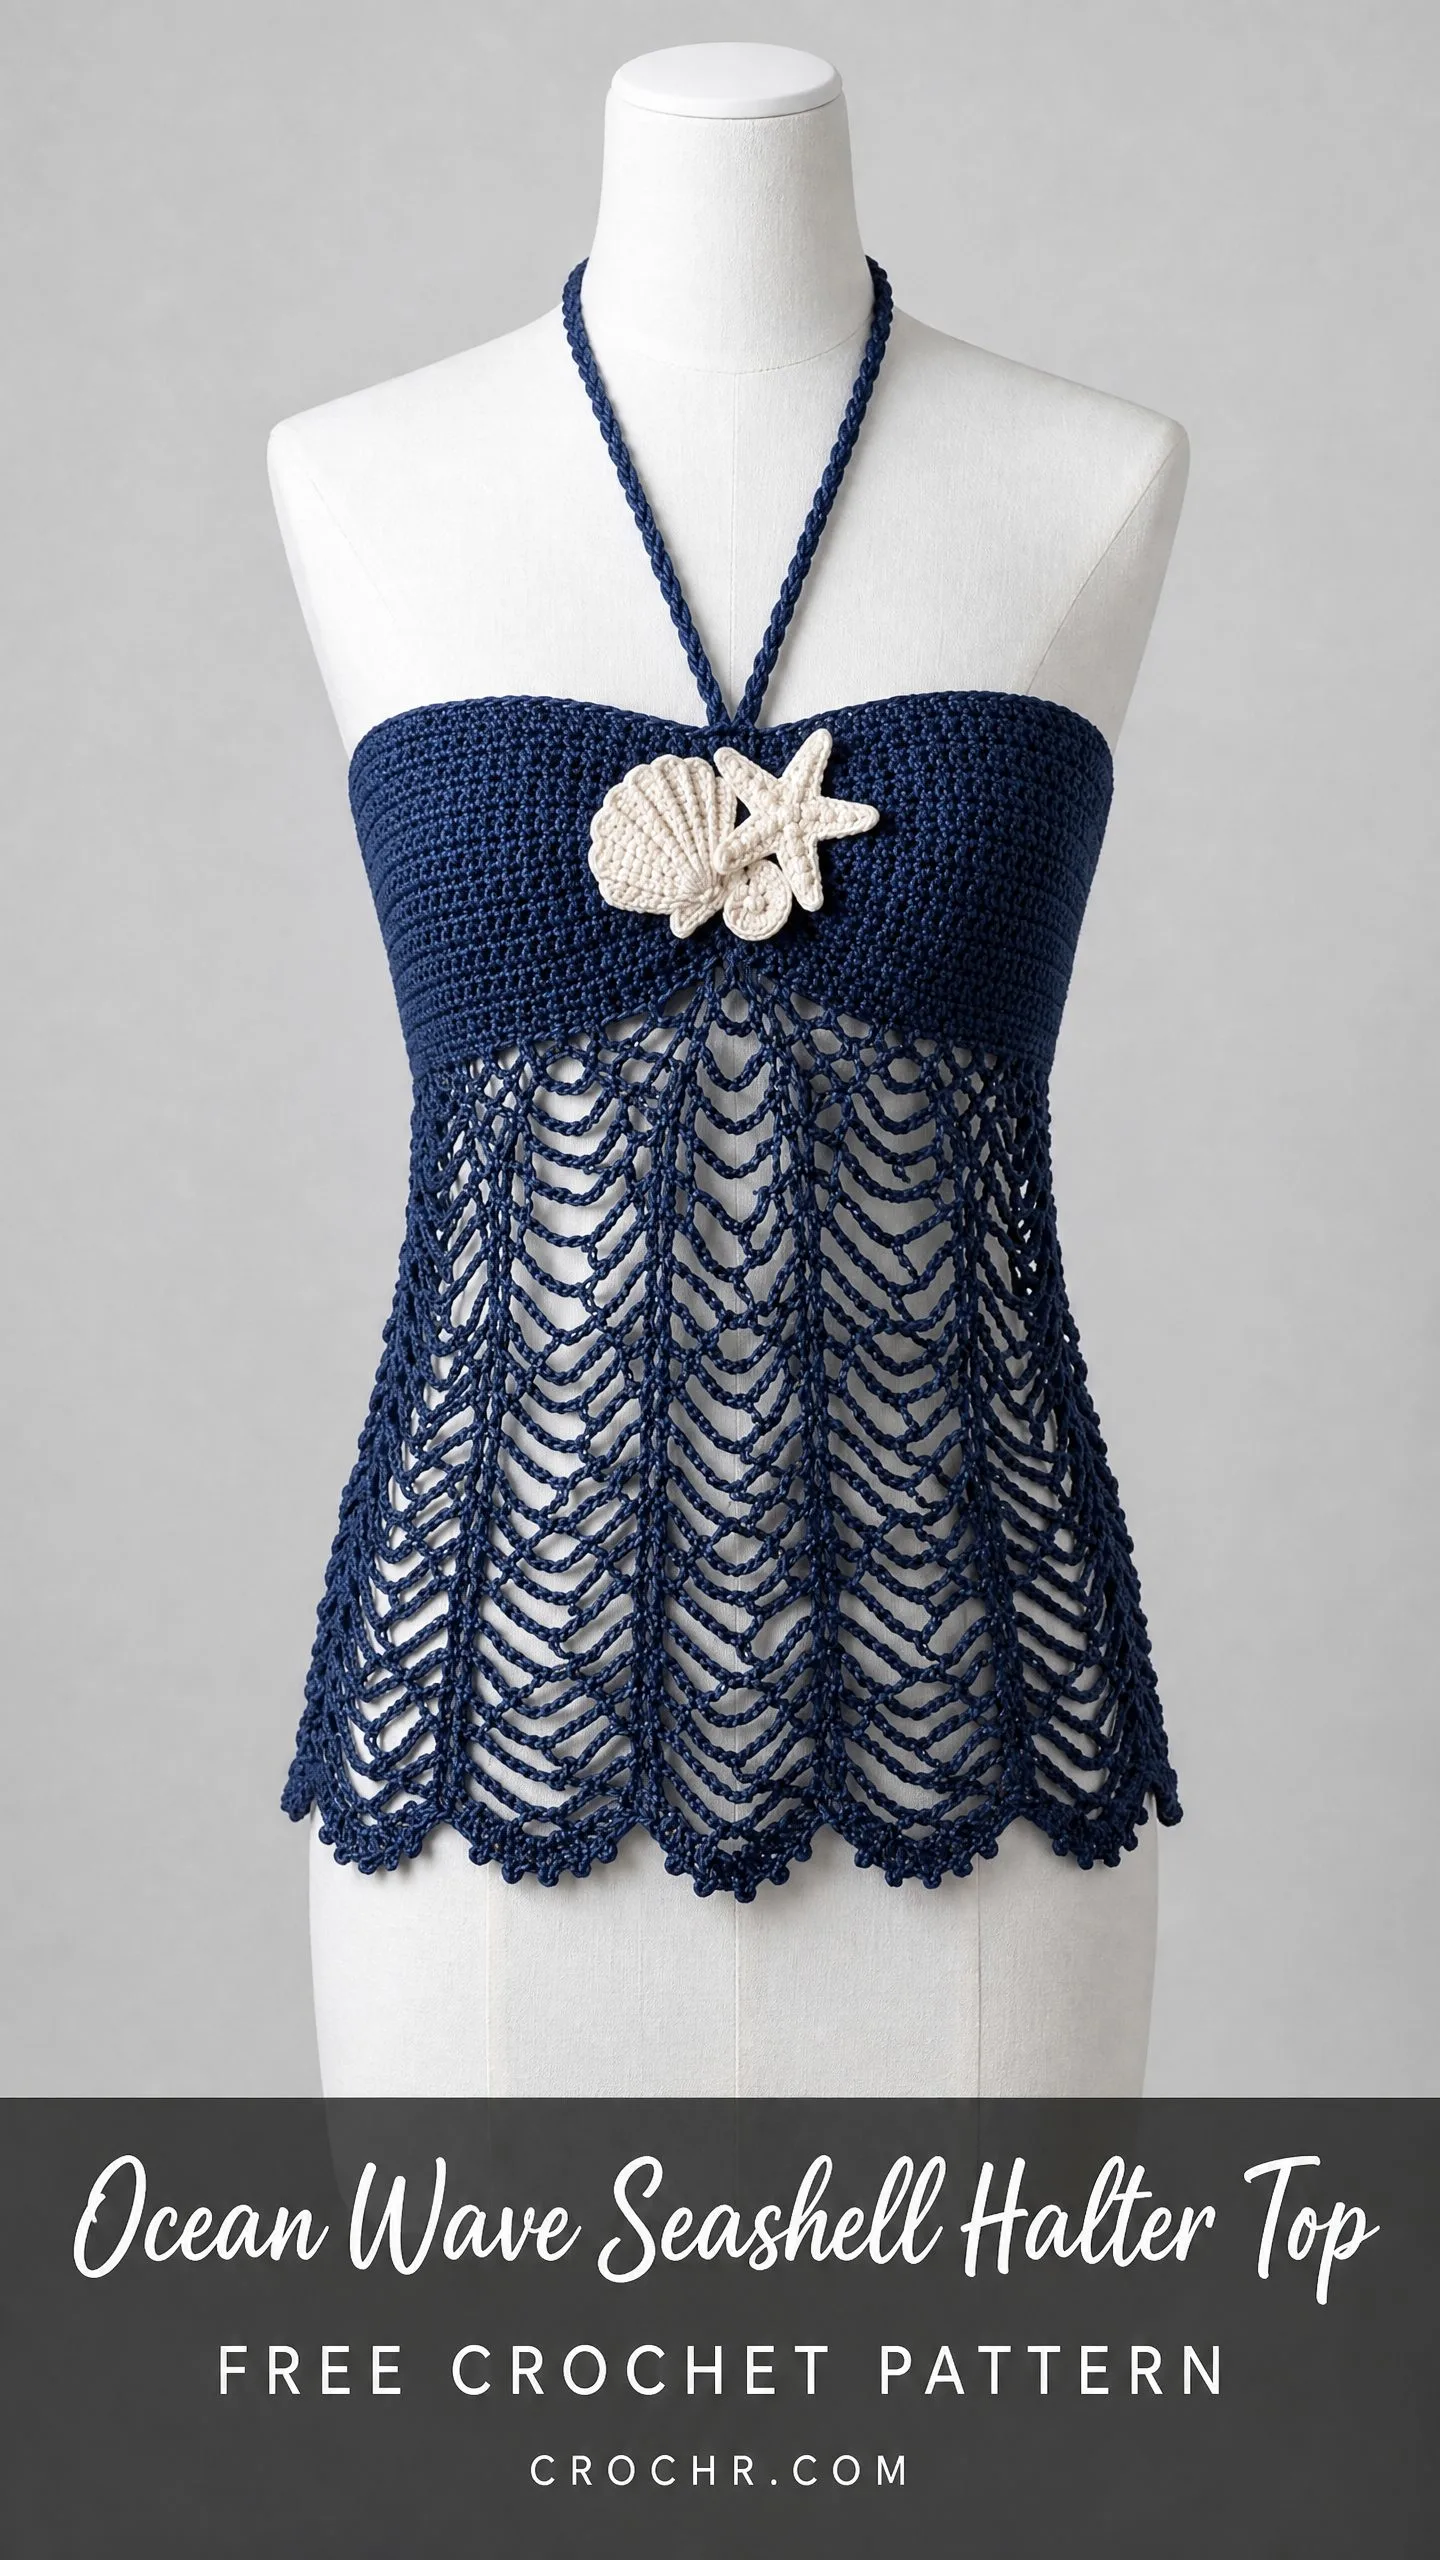
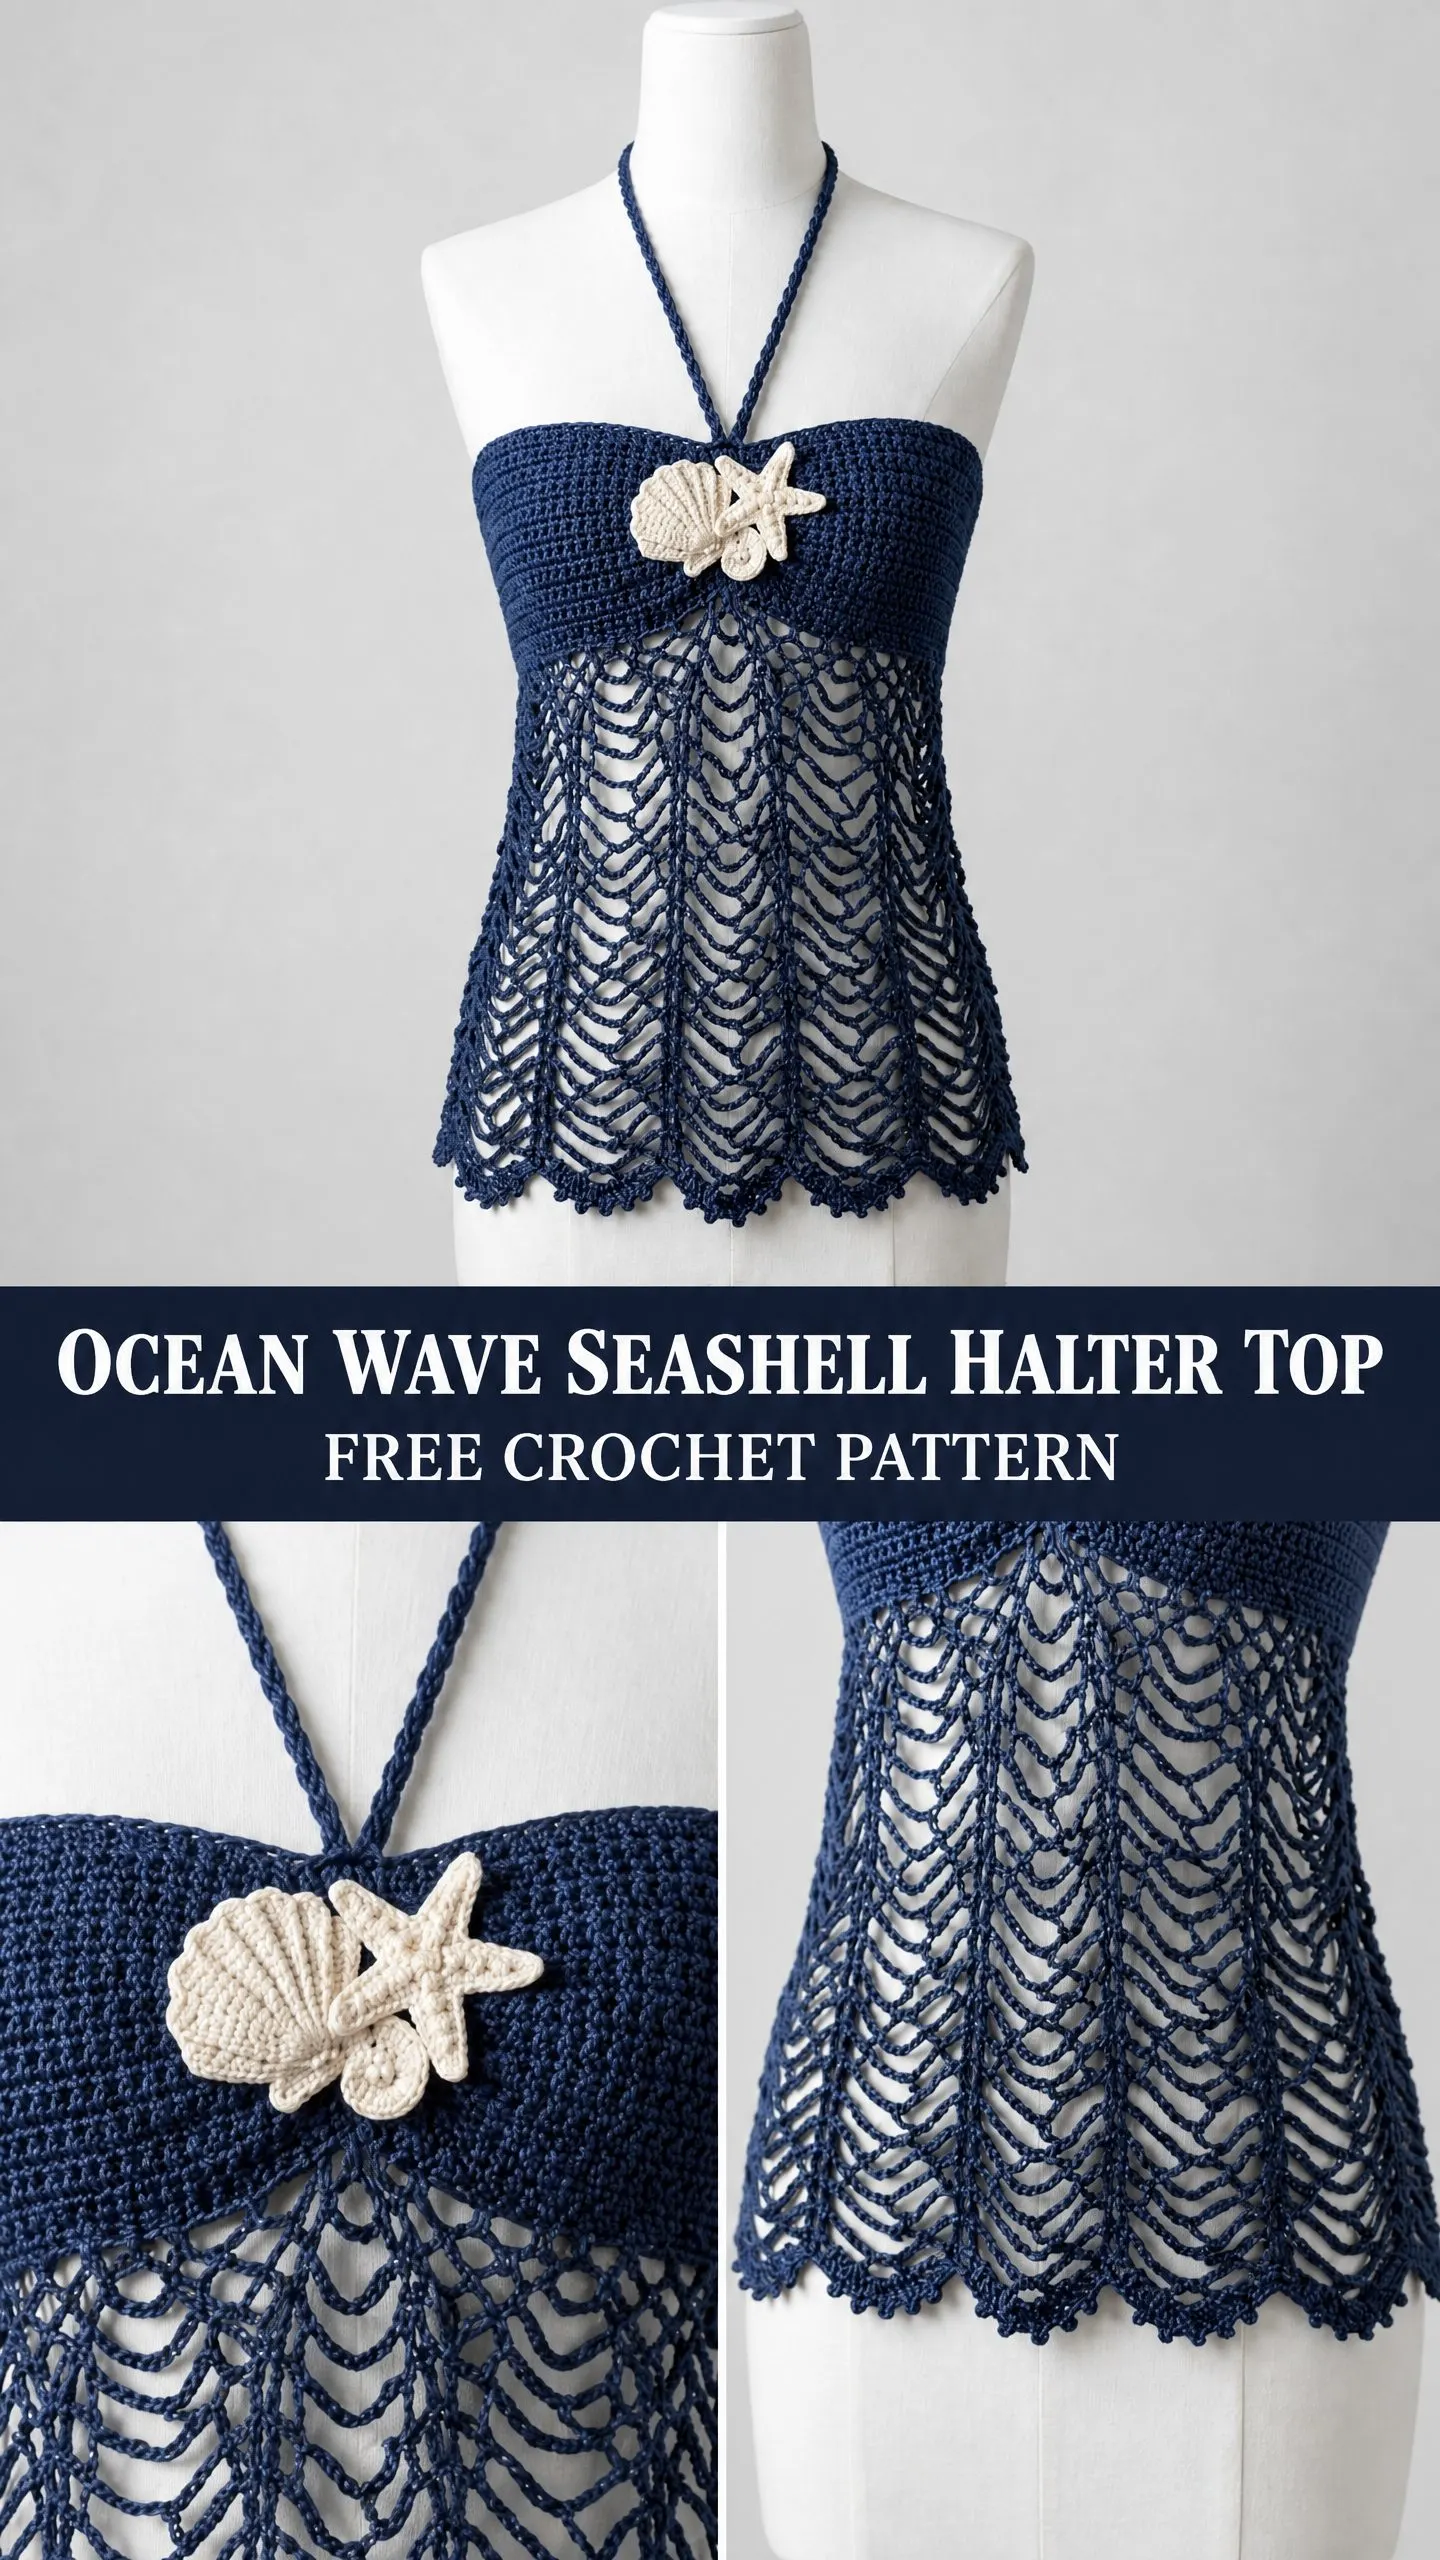
The design hits all the right notes. You get a solid, flattering band across the bust that provides real support. Below that, an open chevron lace pattern flares outward in cascading waves. And those crocheted seashell and starfish appliques at the center front? Pure coastal charm without being over the top.
I rounded up everything you need to make this stunning piece yourself. Fair warning, this one takes some time and attention. But if you’ve tackled a lace shawl or any openwork shell pattern before, you’ve absolutely got the skills to pull this off.
About This Crochet Pattern
This halter top features two distinct construction zones that work together beautifully. The upper section is a wide, solid band worked in single crochet. It wraps around your torso and creates that smooth, structured look you see in the photos. You work it flat, then fold it and seam it at center back.
The lower section is where the real drama happens. A lace wave panel picks up from the bottom of the bodice and flares outward using a pineapple-adjacent chevron pattern. Each fan of stitches creates the illusion of ocean waves cascading down. The hem finishes with scalloped shell edging that gives those beautiful pointed tips.
Three dimensional appliques complete the coastal vibe. You crochet a scallop shell, a starfish, and a small spiral shell separately in cream yarn, then sew them to the center front of the bodice.
Skill Level: Intermediate to Advanced
The solid bodice rows are genuinely beginner-friendly. Just single crochet back and forth. But the lace wave panel requires comfort reading stitch patterns, counting across multiple stitch repeats, and maintaining even tension in openwork. If counting stitches stresses you out, use stitch markers generously.
Time Estimate: Approximately 18 to 26 hours total. Expect 8 to 10 hours for the bodice and finishing, 8 to 12 hours for the lace panel, and 2 to 4 hours for the embellishments.
Finished Measurements
This pattern is written for size Small/Medium with these finished dimensions:
Materials Needed
Yarn:
Hooks:
The slightly larger hook for the lace section helps open up those beautiful wave patterns.
Notions:
Yarn Recommendations
Lion Brand 24/7 Cotton in Navy and Ecru works wonderfully. It has excellent stitch definition, is easy to find, and is machine washable. The smooth twist creates crisp lace openings.
Paintbox Yarns Simply DK in Sailor Blue and Champagne White is another great choice. The slight sheen gives your finished top a polished appearance.
Drops Paris in Dark Navy and Off-White offers an affordable 100 percent cotton option with a matte, soft finish.
Substitution tip: Any DK weight (category 3) smooth cotton or cotton blend will work. Avoid slubbed, textured, or fuzzy yarns because they obscure the lace pattern. Always check your gauge before starting.
Gauge
For the Bodice (E-4 hook, single crochet):
18 stitches and 22 rows equals 4 inches (10 cm) square
For the Lace Panel (G-6 hook, wave lace pattern):
One 12-stitch wave repeat equals approximately 2.6 inches (6.5 cm) wide
6 rows of wave pattern equals approximately 3 inches (7.5 cm) tall
Gauge matters a lot for this fitted garment. A swatch that is too tight produces a stiff bodice that won’t lay flat. Too loose, and the lace panel will droop.
Abbreviations and Stitch Definitions
beg = beginning
BLO = back loop only (insert hook under just the back loop of the stitch instead of both loops)
CC = contrast color
ch = chain (yarn over, pull through loop on hook)
ch-sp = chain space (the gap created by a chain in the previous row)
dc = double crochet (yarn over, insert hook, pull up loop, yarn over, pull through 2 loops, yarn over, pull through remaining 2 loops)
hdc = half double crochet (yarn over, insert hook, pull up loop, yarn over, pull through all 3 loops)
MC = main color
rep = repeat
rnd = round
RS = right side (the side that faces outward when worn)
sc = single crochet (insert hook, pull up loop, yarn over, pull through both loops)
sc2tog = single crochet two stitches together (insert hook in first stitch, pull up loop, insert hook in next stitch, pull up loop, yarn over, pull through all 3 loops)
sk = skip
sl st = slip stitch (insert hook, yarn over, pull through stitch and loop on hook in one motion)
sp = space
st(s) = stitch(es)
t-ch = turning chain
WS = wrong side
yo = yarn over
Special Stitches
Shell Stitch
Work 5 double crochet (dc) all into the same stitch or space. This creates a fan shape. All 5 dc share one base stitch.
Picot
Chain 3, slip stitch into the 3rd chain from hook. This forms a small decorative pointed tip.
Fan Unit (for Wave Lace)
Work (dc, ch 1) 5 times into the designated stitch, then dc into the same stitch. This places 6 dc with 5 chain-1 spaces into one stitch.
Seashell Applique (worked in CC)
Rnd 1: Ch 2, work 6 sc into 2nd ch from hook. (6 sc)
Rnd 2: 2 sc in each st around. (12 sc)
Rnd 3: (Sc in next st, 2 sc in next st) 6 times. (18 sc)
Rnd 4: Working in BLO, sl st in each st around. Fasten off, leaving a long tail.
For ridges: Using CC, attach yarn to any front loop of Rnd 3, ch 5, sl st into next front loop. Rep 8 more times evenly around the front arc of the shell to form radiating ribs. Fasten off.
Starfish Applique (worked in CC)
Magic ring, ch 1, work 5 sc into ring, sl st to first sc to join. (5 sc) Do not turn.
For each point: Attach yarn to any sc, ch 8, sl st in 2nd ch from hook, sl st in each ch back to base, sl st into next sc of center ring. Rep for all 5 sc. Fasten off, leaving a tail.
Spiral Shell Applique (worked in CC)
Ch 15.
Row 1: Sc in 2nd ch from hook, sc in next 2 chs, hdc in next 3 chs, dc in next 3 chs, (2 dc in next ch) 3 times, dc in next ch, hdc in last ch. (17 sts)
Row 2: Ch 1, turn. 2 hdc in first st, (hdc in next 2 sts, 2 hdc in next st) twice, hdc across remaining sts. (20 sts)
Curl the piece into a spiral, using yarn needle and tail to tack the back into a coil. Fasten off.
Pattern Notes Before You Begin
1. The bodice band is worked flat and seamed at center back, leaving a small opening for the tie cord.
2. The lace panel is picked up along the bottom edge of the bodice and worked downward.
3. Chain 1 at the beginning of single crochet (sc) rows does NOT count as a stitch.
4. Chain 3 at the beginning of double crochet (dc) rows DOES count as the first dc.
5. Check stitch counts at every checkpoint. The lace panel uses a 12-stitch repeat, so your total must be divisible by 12.
6. The right side (RS) faces outward on the finished garment.
Step by Step Crochet Instructions
Section 1: Bodice Band
Using MC and E-4 (3.5 mm) hook, ch 145.
Row 1 (RS): Sc in 2nd ch from hook and in each ch across. Ch 1, turn. (144 sc)
Rows 2 through 24: Sc in each st across. Ch 1, turn. (144 sc)
Do not turn after Row 24. Do not fasten off.
Important: You now have 24 rows of solid single crochet, producing a bodice band approximately 4.4 inches (11 cm) tall before folding.
Fold and Join Top Edge
Fold the bodice band in half lengthwise so the foundation chain edge aligns with the Row 24 edge. The RS faces outward on both halves. Pin the fold in place at several points.
Working through both layers simultaneously with E-4 hook and MC, work 1 row of sl st across all 144 stitches to join the two layers at the top edge. (144 sl st joining sts)
This creates the wide, solid upper bodice band approximately 2.25 inches (5.7 cm) tall.
Checkpoint: The bodice band should measure approximately 2.25 inches in height (folded) and 32 inches (81 cm) in width (flat, unseamed).
Section 1B: Center Back Seam and Tie
Fold the bodice band in half so the short ends meet at center back. Seam the two short ends together using slip stitch or whip stitch, leaving the bottom 1.5 inches (4 cm) open. This opening is where the back tie cord will emerge.
Back Tie Cord: Cut 8 strands of MC each 40 inches (102 cm) long. Fold them in half. Insert the folded loop through the center back opening from outside to inside. Pull the tail ends through the loop and tighten. Divide the 8 strands into two groups of 4 and braid each group. Knot each end.
Section 2: Halter Neck Cord
With MC and E-4 hook, ch 150 (or adjust for wearer’s measurements).
Sl st in each ch back across the entire length to form a firm rope-like cord. Fasten off.
Fold the cord in half to find the midpoint. Sew the midpoint securely to the center front top edge of the bodice band at the fold seam. The two free ends travel up over the shoulders and tie at the nape of the neck.
Section 3: Lace Panel Pickup Row
With bodice band RS facing and the bottom edge at the top (you are now working downward), attach MC with G-6 (4.0 mm) hook to the lower edge at center back seam.
Pickup Row: Ch 1, work sc evenly across the bottom edge of the bodice band, placing one sc into each available stitch space. Work exactly 144 sc across. Join with sl st to first sc if working in the round. (144 sc)
Note: 144 divided by 12 equals 12 repeats. This is confirmed correct.
For the cleanest result matching the photos, divide into a front panel (72 sts) and a back panel (72 sts), working each flat.
Front Lace Pickup Row: With RS facing and G-6 hook, attach MC to the bottom front edge at the right side seam position. Ch 3 (counts as first dc), work 71 more sc across for 72 sc total. Do not join. Turn. (72 sc)
Section 4: Front Lace Panel (Wave Pattern)
All rows begin with ch 3 and turn. The ch 3 counts as the first dc.
Lace Row 1 (RS): Ch 3, turn. Sk first 2 sts, work Fan Unit (6 dc with 5 ch-1 sps) into 3rd st, sk 2 sts, sc in next st, (sk 2 sts, Fan Unit into next st, sk 2 sts, sc in next st) 5 times. Turn. (6 Fan Units, 6 sc)
Lace Row 2 (WS): Ch 3, turn. Dc in first ch-1 sp of first fan, (ch 1, dc in next ch-1 sp) 4 times, ch 1, dc in sc, (dc in first ch-1 sp of next fan, (ch 1, dc in next ch-1 sp) 4 times, ch 1, dc in sc) 5 times.
Lace Row 3 (RS): Ch 3, turn. Sc in first ch-1 sp, (ch 1, sc in next ch-1 sp) 4 times, ch 1, sk dc, Fan Unit into next dc, sk dc, sc in next ch-1 sp. Rep pattern across. End sc in top of t-ch.
Lace Row 4 (WS): Work as Lace Row 2, working into shifted fan positions.
Rows 1 through 4 form one complete pattern repeat. Work Lace Rows 1 through 4 a total of 6 times. (24 rows total)
Checkpoint: The front lace panel should measure approximately 12 inches (30 cm) from the bottom of the bodice.
Section 4B: Back Lace Panel
With RS facing and G-6 hook, attach MC to the back bottom edge at the left side seam position. Work 72 sc across. Work Lace Rows 1 through 4 six times exactly as for the Front Lace Panel.
Section 5: Side Seams
Block both lace panels lightly before seaming. Align front and back panels at their side edges. Using yarn needle and MC, whip stitch or slip stitch seam the side edges together.
Section 6: Hem Scallop Edging
With MC and E-4 hook, attach yarn to any stitch along the hem.
Hem Row 1: Ch 1, sc evenly across the entire hem edge. Work for a total of 144 sc (adjust by 1 to 3 sts to land on a multiple of 6). (144 sc)
Hem Row 2 (Scallop Edging): Ch 1. (Sk 2 sc, Shell Stitch of 5 dc in next sc, sk 2 sc, sl st in next sc) repeat around. Work Picot (ch 3, sl st in 3rd ch from hook) at each sl st point. (24 shell/picot scallops)
Section 7: Attach Embellishments
Work the Seashell Applique, Starfish Applique, and Spiral Shell Applique as described in Special Stitches.
Arrange them at center front of the bodice band. The large scallop shell sits at center left, the starfish overlaps toward center right, and the small spiral shell nestles below. Sew each applique firmly to the bodice with yarn needle and CC tail.
Size Customization
For Medium/Large (36 to 38 inch bust): Add 24 stitches. Chain 169 for 168 working sc. You will have 7 fan repeats per panel.
For Extra Small (28 to 30 inch bust): Subtract 24 stitches. Chain 121 for 120 working sc. You will have 5 fan repeats per panel.
To lengthen the lace panel: Work additional repeats of Lace Rows 1 through 4. Each 4-row repeat adds approximately 2 inches.
To shorten: Work fewer repeats. Minimum 3 full repeats recommended.
Blocking Instructions
Blocking transforms this project. Cotton opens up dramatically with wet blocking.
1. Weave in all ends securely on the wrong side.
2. Soak the completed top in cool water for 15 to 20 minutes.
3. Gently press out excess water by rolling in a clean towel. Do not wring.
4. Lay flat on blocking mats. Shape the bodice into its natural rectangle. Stretch the lace panel gently to open the wave pattern.
5. Pin along hem scallops, pulling each point to define the picot edges.
6. Allow to dry completely (12 to 24 hours) before unpinning.
Care Instructions
Machine wash cold on gentle cycle or hand wash. Lay flat to dry. Do not tumble dry. Do not iron directly. Store folded to prevent stretching.
Thank you so much for choosing this Ocean Wave Seashell Halter Top crochet pattern. I hope you love making it as much as I loved putting it together for you. This really is a showstopper piece for beach days, summer festivals, or anywhere you want to feel like a mermaid.
If you make this halter top, I would absolutely love to see it. Tag me on Instagram or share a photo in my Facebook group. Seeing your finished projects is honestly the best part of my day.
Go ahead and save this pattern to your Pinterest boards so you can find it when you are ready to start. And if you have any questions or want to share how yours turned out, drop a comment below. I read every single one and I am always happy to help.
You Might Also Like
- Sunset Dahlia Crochet Flower Bracelet Free Pattern
- Lavender Dream Butterfly Bracelet Free Crochet Pattern
- Mint Green Lace Ruffle Dress Free Crochet Pattern
- Autumn Maple Leaf Table Runner Free Crochet Pattern
