
OKAY, this pattern is one of my absolute FAVORITES to share because the finished project looks SO impressive but the construction is genuinely straightforward once you understand the pieces. These gorgeous hanging jellyfish take about 6 to 9 hours each, and when you group all three together as a mobile or hang them individually around a room, the result is absolutely stunning.
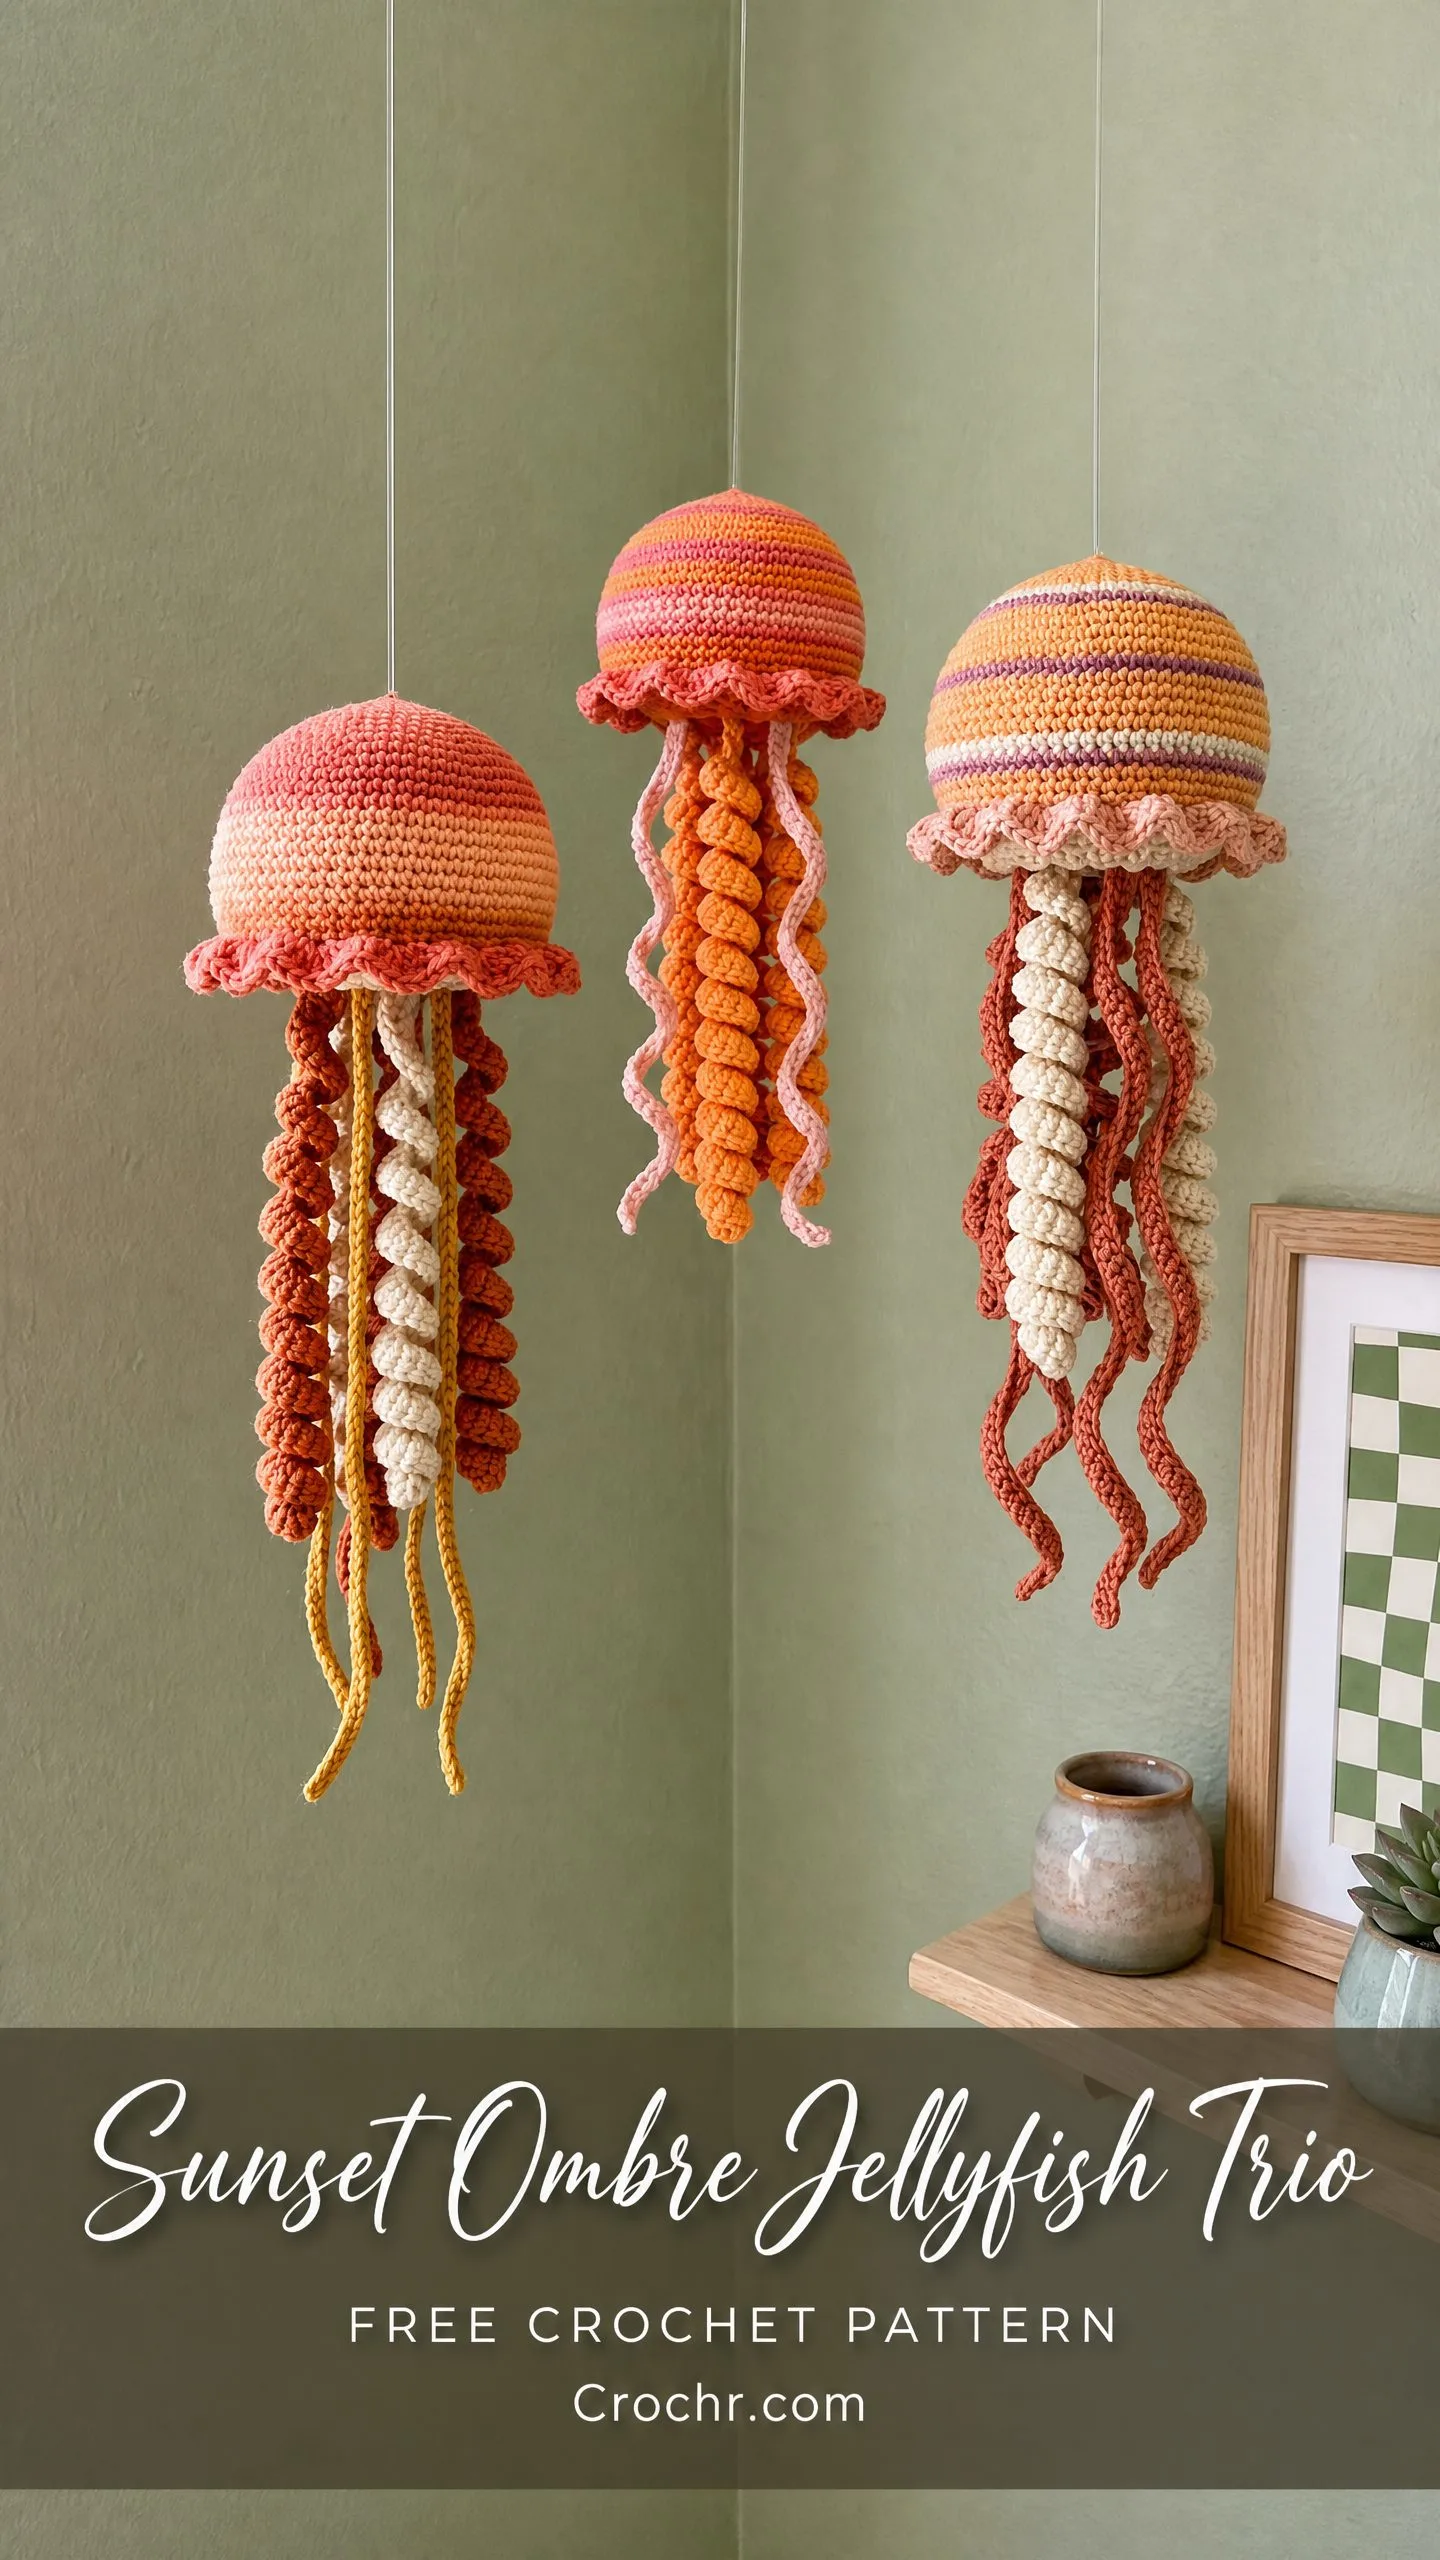
I designed this trio to capture those warm sunset colors we all love. Soft corals melting into peach, golden yellows blending with cream, hot pink stripes against orange. The ombre effect happens naturally as you change colors every few rounds. No complicated colorwork techniques required.
Whether you’re decorating a nursery, brightening up a reading nook, or making a show-stopping handmade gift, this jellyfish trio delivers. The domed bells, ruffled frills, and those satisfying spiral tentacles all come together using stitches you probably already know. Let me walk you through every single step.
What Makes This Crochet Pattern Special
This amigurumi jellyfish pattern produces three coordinating sea creatures that work beautifully together or separately. Each jellyfish features a stuffed dome bell worked in continuous rounds, a shell stitch ruffle at the base, twisted spiral tentacles, and long trailing tail cords. The construction method is identical for all three. Only the colors change.
The spiral tentacles are my favorite part. They form automatically when you work three single crochet stitches into every chain of your foundation. No shaping, no counting, no fussing. The heavy increase ratio forces the fabric to coil into a perfect springy spiral all on its own.
Finished Dimensions
Your completed jellyfish will measure approximately 5 inches (12.5 cm) across the bell at the widest point and about 3.5 inches (9 cm) tall for the dome alone. The total hanging length including tentacles and tail cords ranges from 18 to 22 inches (46 to 56 cm), depending on how long you make your dangly bits.
These dimensions work perfectly for a nursery mobile, a window display, or clustered together in a cozy corner.
Materials Needed
Yarn: Worsted weight yarn (category 4), approximately 200 to 250 yards per jellyfish. For the complete trio, gather 600 to 750 yards total across your chosen colors.
Here’s the breakdown per jellyfish:
Hook: US size E-4 (3.5 mm) crochet hook for the bell and frill. US size D-3 (3.25 mm) optional for tentacles and tail cords if you prefer a tighter texture.
Additional supplies:
Color Combinations for the Trio
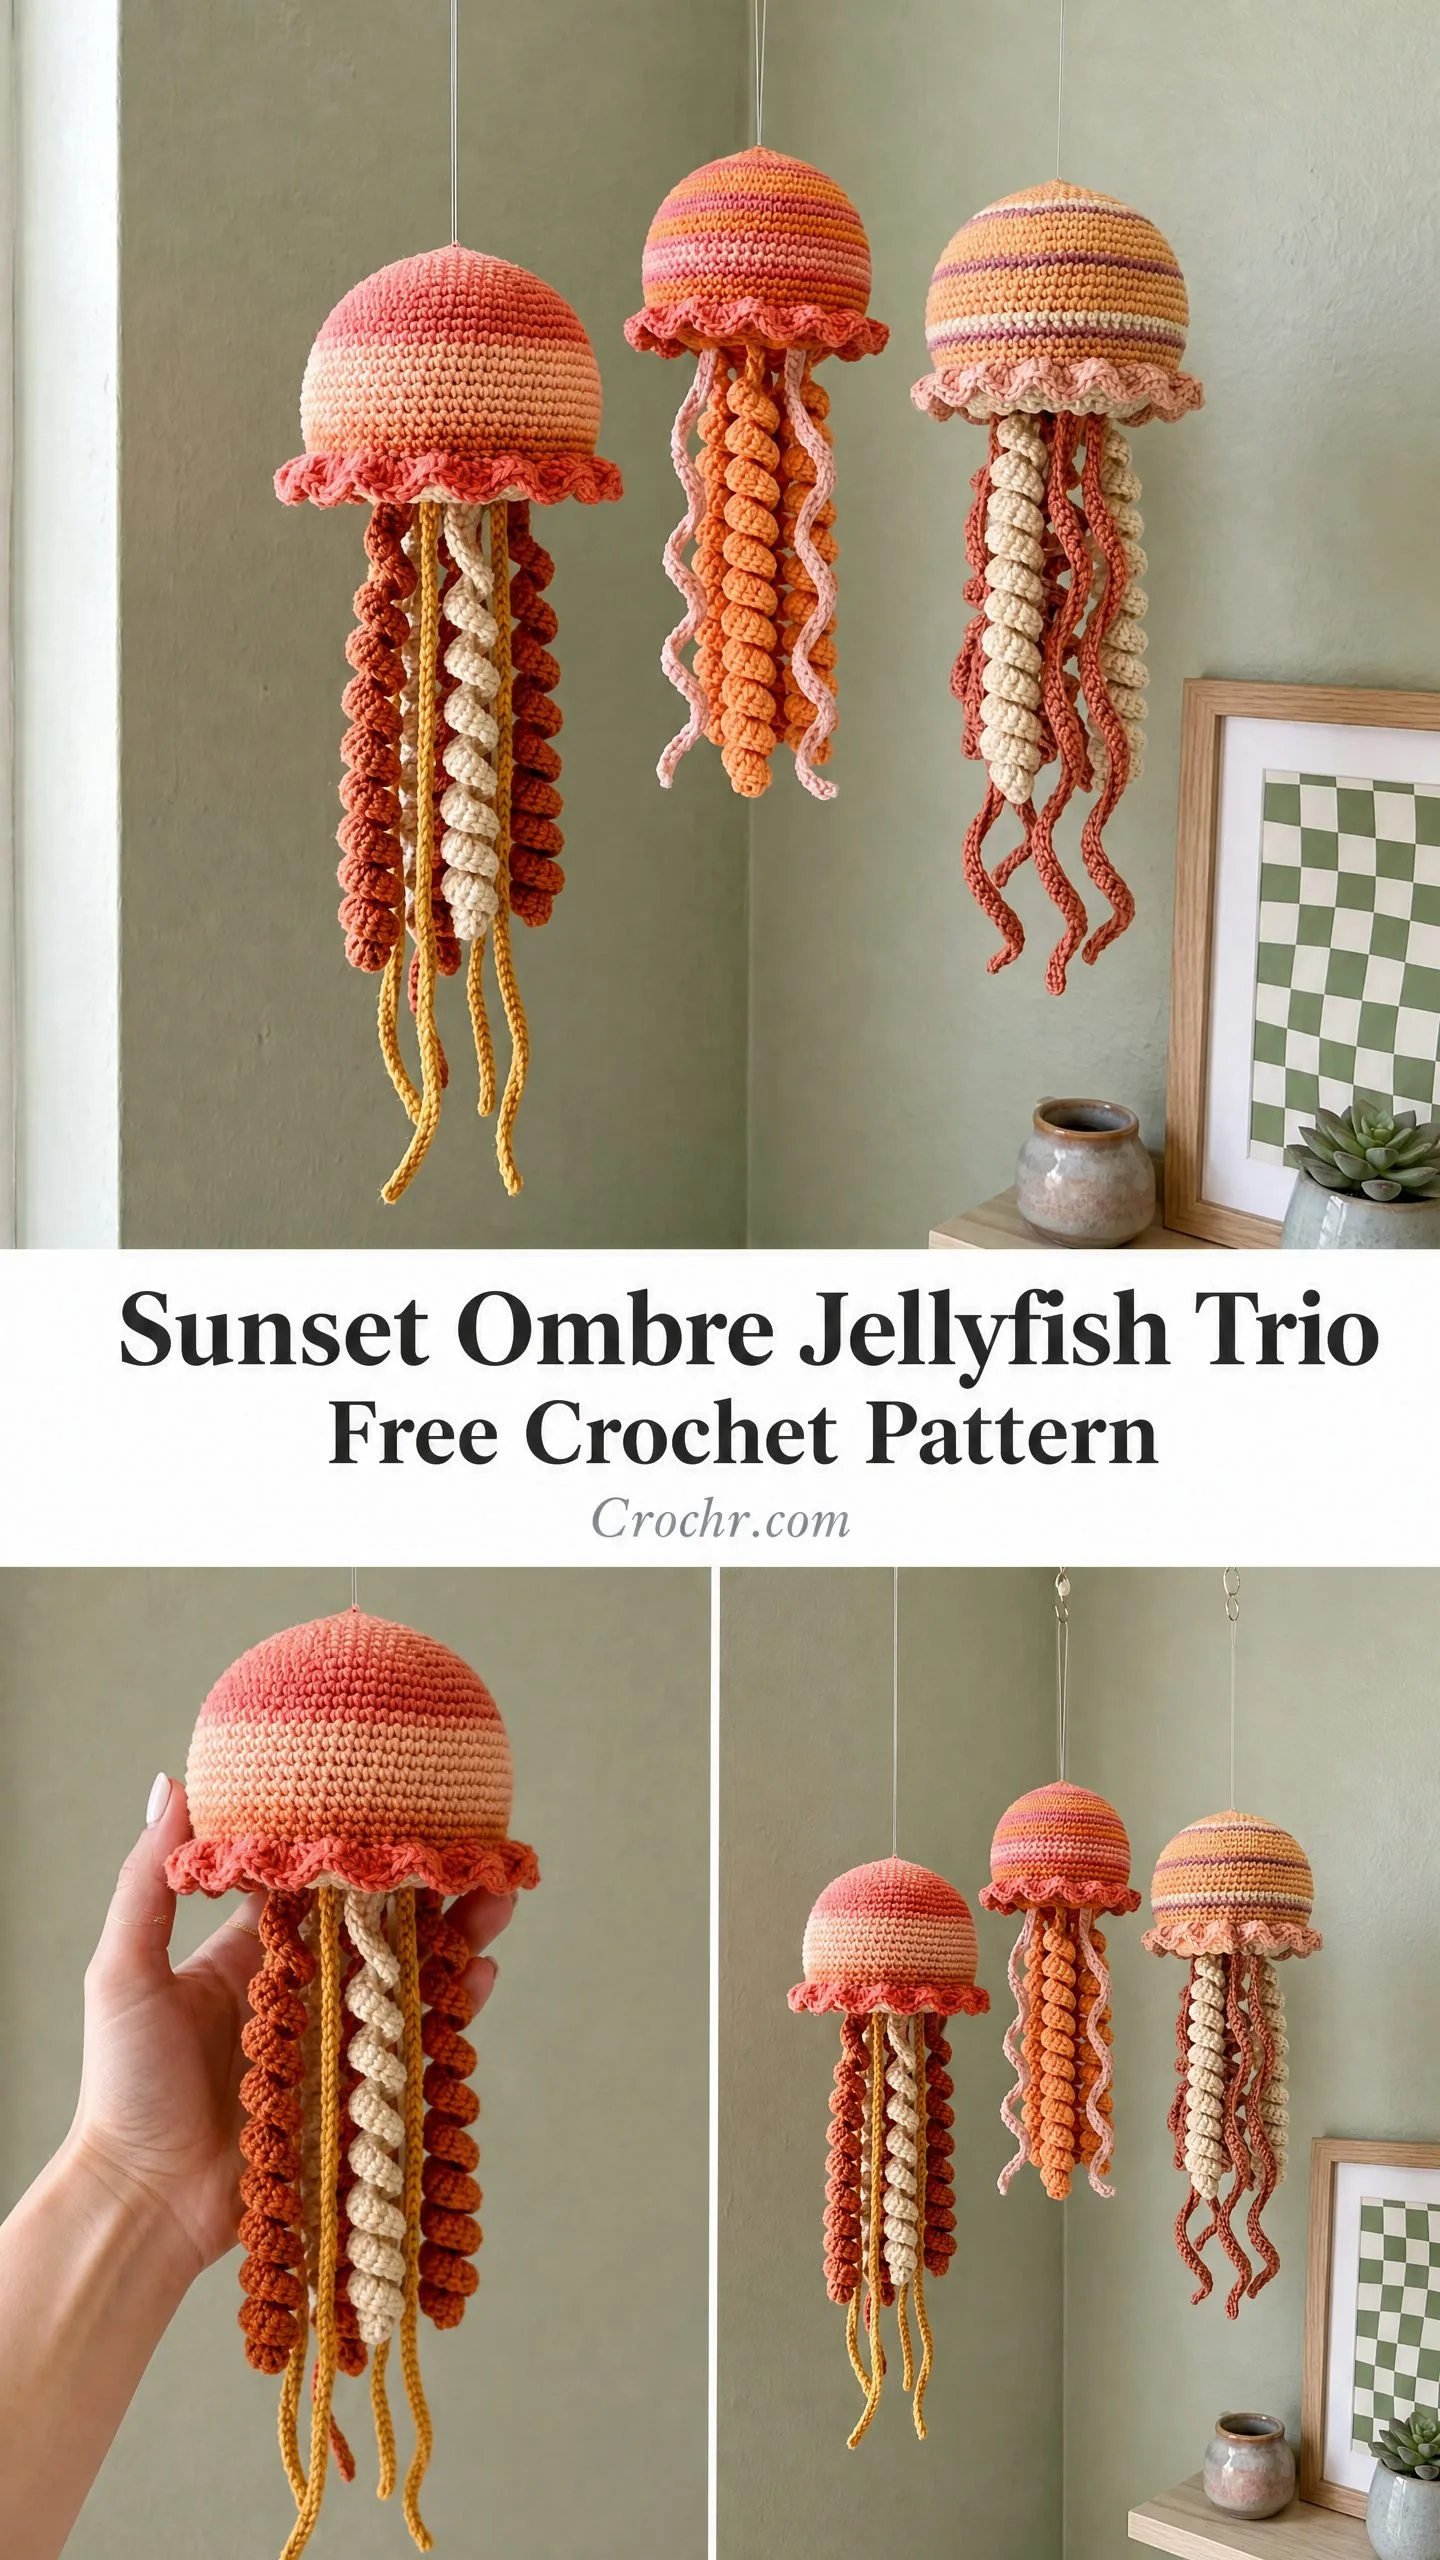
Jellyfish A (Left): Deep coral top fading to peach, rust and cream spiral tentacles, mustard gold tail cords.
Jellyfish B (Center): Hot coral and magenta striped top, orange spiral tentacles, pale pink wavy thin tentacles.
Jellyfish C (Right): Golden yellow and cream striped top with a lavender accent stripe, dusty rose spiral tentacles, terracotta tail cords.
Feel free to customize these palettes to match your décor. The pattern construction stays exactly the same regardless of which colors you choose.
Gauge
With your E-4 (3.5 mm) hook and worsted weight yarn:
5 single crochet stitches = 1 inch (2.5 cm)
5 rounds = 1 inch (2.5 cm)
Gauge matters here because it determines whether your bell closes neatly around the stuffing. Work a small swatch in the round before starting. If you’re loose, drop down a hook size. If you’re tight, go up.
Abbreviations and Stitch Definitions
ch = chain: Yarn over, pull through loop on hook.
sl st = slip stitch: Insert hook, yarn over, pull through stitch and loop on hook in one motion.
sc = single crochet: Insert hook, yarn over, pull up loop (2 loops on hook), yarn over, pull through both loops.
hdc = half double crochet: Yarn over, insert hook, yarn over, pull up loop (3 loops), yarn over, pull through all 3 loops.
dc = double crochet: Yarn over, insert hook, yarn over, pull up loop (3 loops), yarn over, pull through 2 loops, yarn over, pull through remaining 2 loops.
inc = increase: Work 2 sc in the same stitch.
dec = invisible decrease: Insert hook in front loop only of next stitch, then front loop only of the following stitch, yarn over and pull through both loops, yarn over and pull through remaining 2 loops. This creates a nearly invisible decrease.
BLO = back loop only: Work the stitch through only the back loop of the stitch below.
FLO = front loop only: Work the stitch through only the front loop.
MR = magic ring: An adjustable starting loop that closes tightly at the center.
st(s) = stitch(es)
rnd = round
rep = repeat
pm = place marker
sm = slip marker
Special Techniques
Magic Ring (MR)
Make a loop with yarn, crossing the working yarn over the tail. Insert hook into loop, yarn over, pull up a loop. Chain 1 (this doesn’t count as a stitch). Work the required number of single crochet into the center of the loop. Pull the tail firmly to close the ring tight.
Shell Ruffle Stitch
Work 5 double crochet stitches into the same stitch. When repeated closely around a circle, this creates a wavy ruffled edge.
Spiral Tentacle Technique
Chain your foundation, then work 3 sc in the second chain from hook and in every chain across. The heavy increase ratio (3 stitches per chain) forces the piece to coil automatically into a spiral. No turning, no shaping required.
Twisted Cord Tail
Cut four strands of yarn, each about 48 inches long. Hold them together and twist tightly clockwise until they begin to kink. Fold in half, allowing the strands to twist around themselves counterclockwise. Smooth out kinks and knot the open end. This produces a sturdy rope-like cord.
Pattern Notes Before You Begin
Work the bell in continuous rounds (amigurumi style). Do not join with a slip stitch at the end of each round. Use a stitch marker in the first stitch of each round and move it up as you go.
For color changes, work the last stitch of the old color until 2 loops remain on hook. Draw the new color through those loops to complete the stitch. This creates a clean color transition.
Start stuffing when the bell is about two-thirds complete (around Round 14). Add fiberfill gradually for a smooth dome shape. Don’t overstuff or the base will splay outward.
Bell Instructions
Color setup for Jellyfish A: Start with deep coral. Switch to peach at Round 7. Switch to pale peach or cream at Round 13.
Color setup for Jellyfish B: Start with hot coral. Alternate 2 rounds coral, 2 rounds magenta throughout.
Color setup for Jellyfish C: Start with golden yellow. Switch to cream at Round 6. Work 1 round lavender at Round 10. Return to cream. Work 1 round dusty rose at Round 14.
Round 1: MR, work 6 sc into ring. Pull ring closed. (6 sc)
Round 2: Inc in each st around. (12 sc)
Round 3: (Sc in next st, inc in next st) 6 times. (18 sc)
Round 4: (Sc in next 2 sts, inc in next st) 6 times. (24 sc)
Round 5: (Sc in next 3 sts, inc in next st) 6 times. (30 sc)
Round 6: (Sc in next 4 sts, inc in next st) 6 times. (36 sc)
Round 7: (Sc in next 5 sts, inc in next st) 6 times. (42 sc)
Round 8: (Sc in next 6 sts, inc in next st) 6 times. (48 sc)
Round 9: (Sc in next 7 sts, inc in next st) 6 times. (54 sc)
Round 10: (Sc in next 8 sts, inc in next st) 6 times. (60 sc)
Rounds 11 through 14: Sc in each st around. (60 sc each round)
At this point, begin adding stuffing.
Round 15: (Sc in next 8 sts, dec) 6 times. (54 sc)
Round 16: (Sc in next 7 sts, dec) 6 times. (48 sc)
Round 17: Working in BLO only: (Sc in next 6 sts, dec) 6 times. (42 sc)
The front loops from this round will anchor your frill. Mark this spot.
Round 18: (Sc in next 5 sts, dec) 6 times. (36 sc)
Round 19: (Sc in next 4 sts, dec) 6 times. (30 sc)
Add more stuffing now if needed.
Round 20: (Sc in next 3 sts, dec) 6 times. (24 sc)
Round 21: (Sc in next 2 sts, dec) 6 times. (18 sc)
Round 22: (Sc in next st, dec) 6 times. (12 sc)
Round 23: Dec 6 times. (6 sc)
Fasten off leaving a 10-inch tail. Thread through remaining 6 front loops and pull tight to close. Weave in securely.
Hanging Loop
Cut 14 inches of nylon cord or jewelry wire. Fold in half and thread through the top center of the bell at the magic ring closure. Tie or crimp just below the bell top. The loop should extend 5 to 6 inches above the bell.
Frill Instructions
Join frill color yarn to any front loop from Round 17 with a slip stitch.
Frill Round 1: Ch 3 (counts as first dc), work 4 more dc in same st (first shell complete). Work 5 dc in each remaining front loop around. Join with sl st to top of beginning ch-3. (42 shells of 5 dc each, 210 dc total)
Fasten off and weave in ends.
Spiral Tentacles
Make 4 to 6 per jellyfish in your chosen colors.
Foundation chain: Ch 31.
Row 1: Work 3 sc in the 2nd ch from hook and in each ch across. (90 sc)
Do not turn. The piece coils automatically. Fasten off leaving an 8-inch tail.
For variety, try ch 41 for longer spirals (120 sc) or ch 21 for shorter ones (60 sc).
Twisted Tail Cords
Make 3 to 4 per jellyfish.
Cut 4 strands at 48 inches each. Hold together and twist clockwise until kinked. Fold in half and let strands twist around each other. Smooth and knot at the open end. Finished cord should be about 12 inches long.
Alternatively, chain 55 to 60 for a simpler chain cord tail.
Assembly
Arrange tentacles and cords evenly around the base of the bell. A good arrangement: spiral, spiral, tail, spiral, spiral, tail, spiral, tail.
Thread each spiral’s tail through the bell base just above the frill. Knot securely inside. For tail cords, pull the folded end through the base and loop through itself or knot inside the bell.
Tug each attachment to test security. Trim any visible ends.
Size Customization
For a smaller 3-inch bell: Use DK weight yarn and a D-3 (3.25 mm) hook. Stop increases at Round 8 (48 sc), hold for 2 rounds, then decrease. Use ch 21 for spirals.
For a larger 8-inch statement piece: Use bulky yarn and a J-10 (6.0 mm) hook. Continue increases through Round 14, adding rounds at 66 sc and 72 sc. Hold for 4 rounds. Use ch 51 for spirals.
Care Instructions
This is a decorative hanging ornament, not intended as a toy for young children due to the long cords.
Spot clean with a damp cloth and mild soap. Avoid submerging in water as the fiberfill takes ages to dry. For acrylic yarn, hand washing preserves shape best. Keep away from prolonged direct sunlight to prevent fading.
Store by hanging when possible so tentacles don’t get crushed or kinked.
Final Thoughts on This Crochet Tutorial
Making this sunset ombre jellyfish trio is one of those projects that delivers serious wow factor for a very manageable effort. The step by step construction builds naturally from one piece to the next. You’ve got your bell, your frill, your spirals, and your cords. Each component is simple on its own, but together they create something genuinely special.
I hope you love making these as much as I do. Thank you so much for choosing this pattern for your next project.
If you make this jellyfish trio, I would absolutely love to see it! Tag me on Instagram or share a photo on Facebook. Seeing your finished projects truly makes my day.
Don’t forget to save this pattern to your Pinterest boards so you can find it easily when you’re ready to start. And if you do make these adorable jellyfish, please drop a comment below. I’d love to hear how yours turned out!
You Might Also Like
- Coral Sunset Baby Dress Free Crochet Pattern
- Autumn Harvest Bow Handbag Free Crochet Pattern
- Lemon Sorbet Candy Bolster Pillow Free Crochet Pattern
- Sunset Peach Coral Ombre Sweater Free Crochet Pattern
