
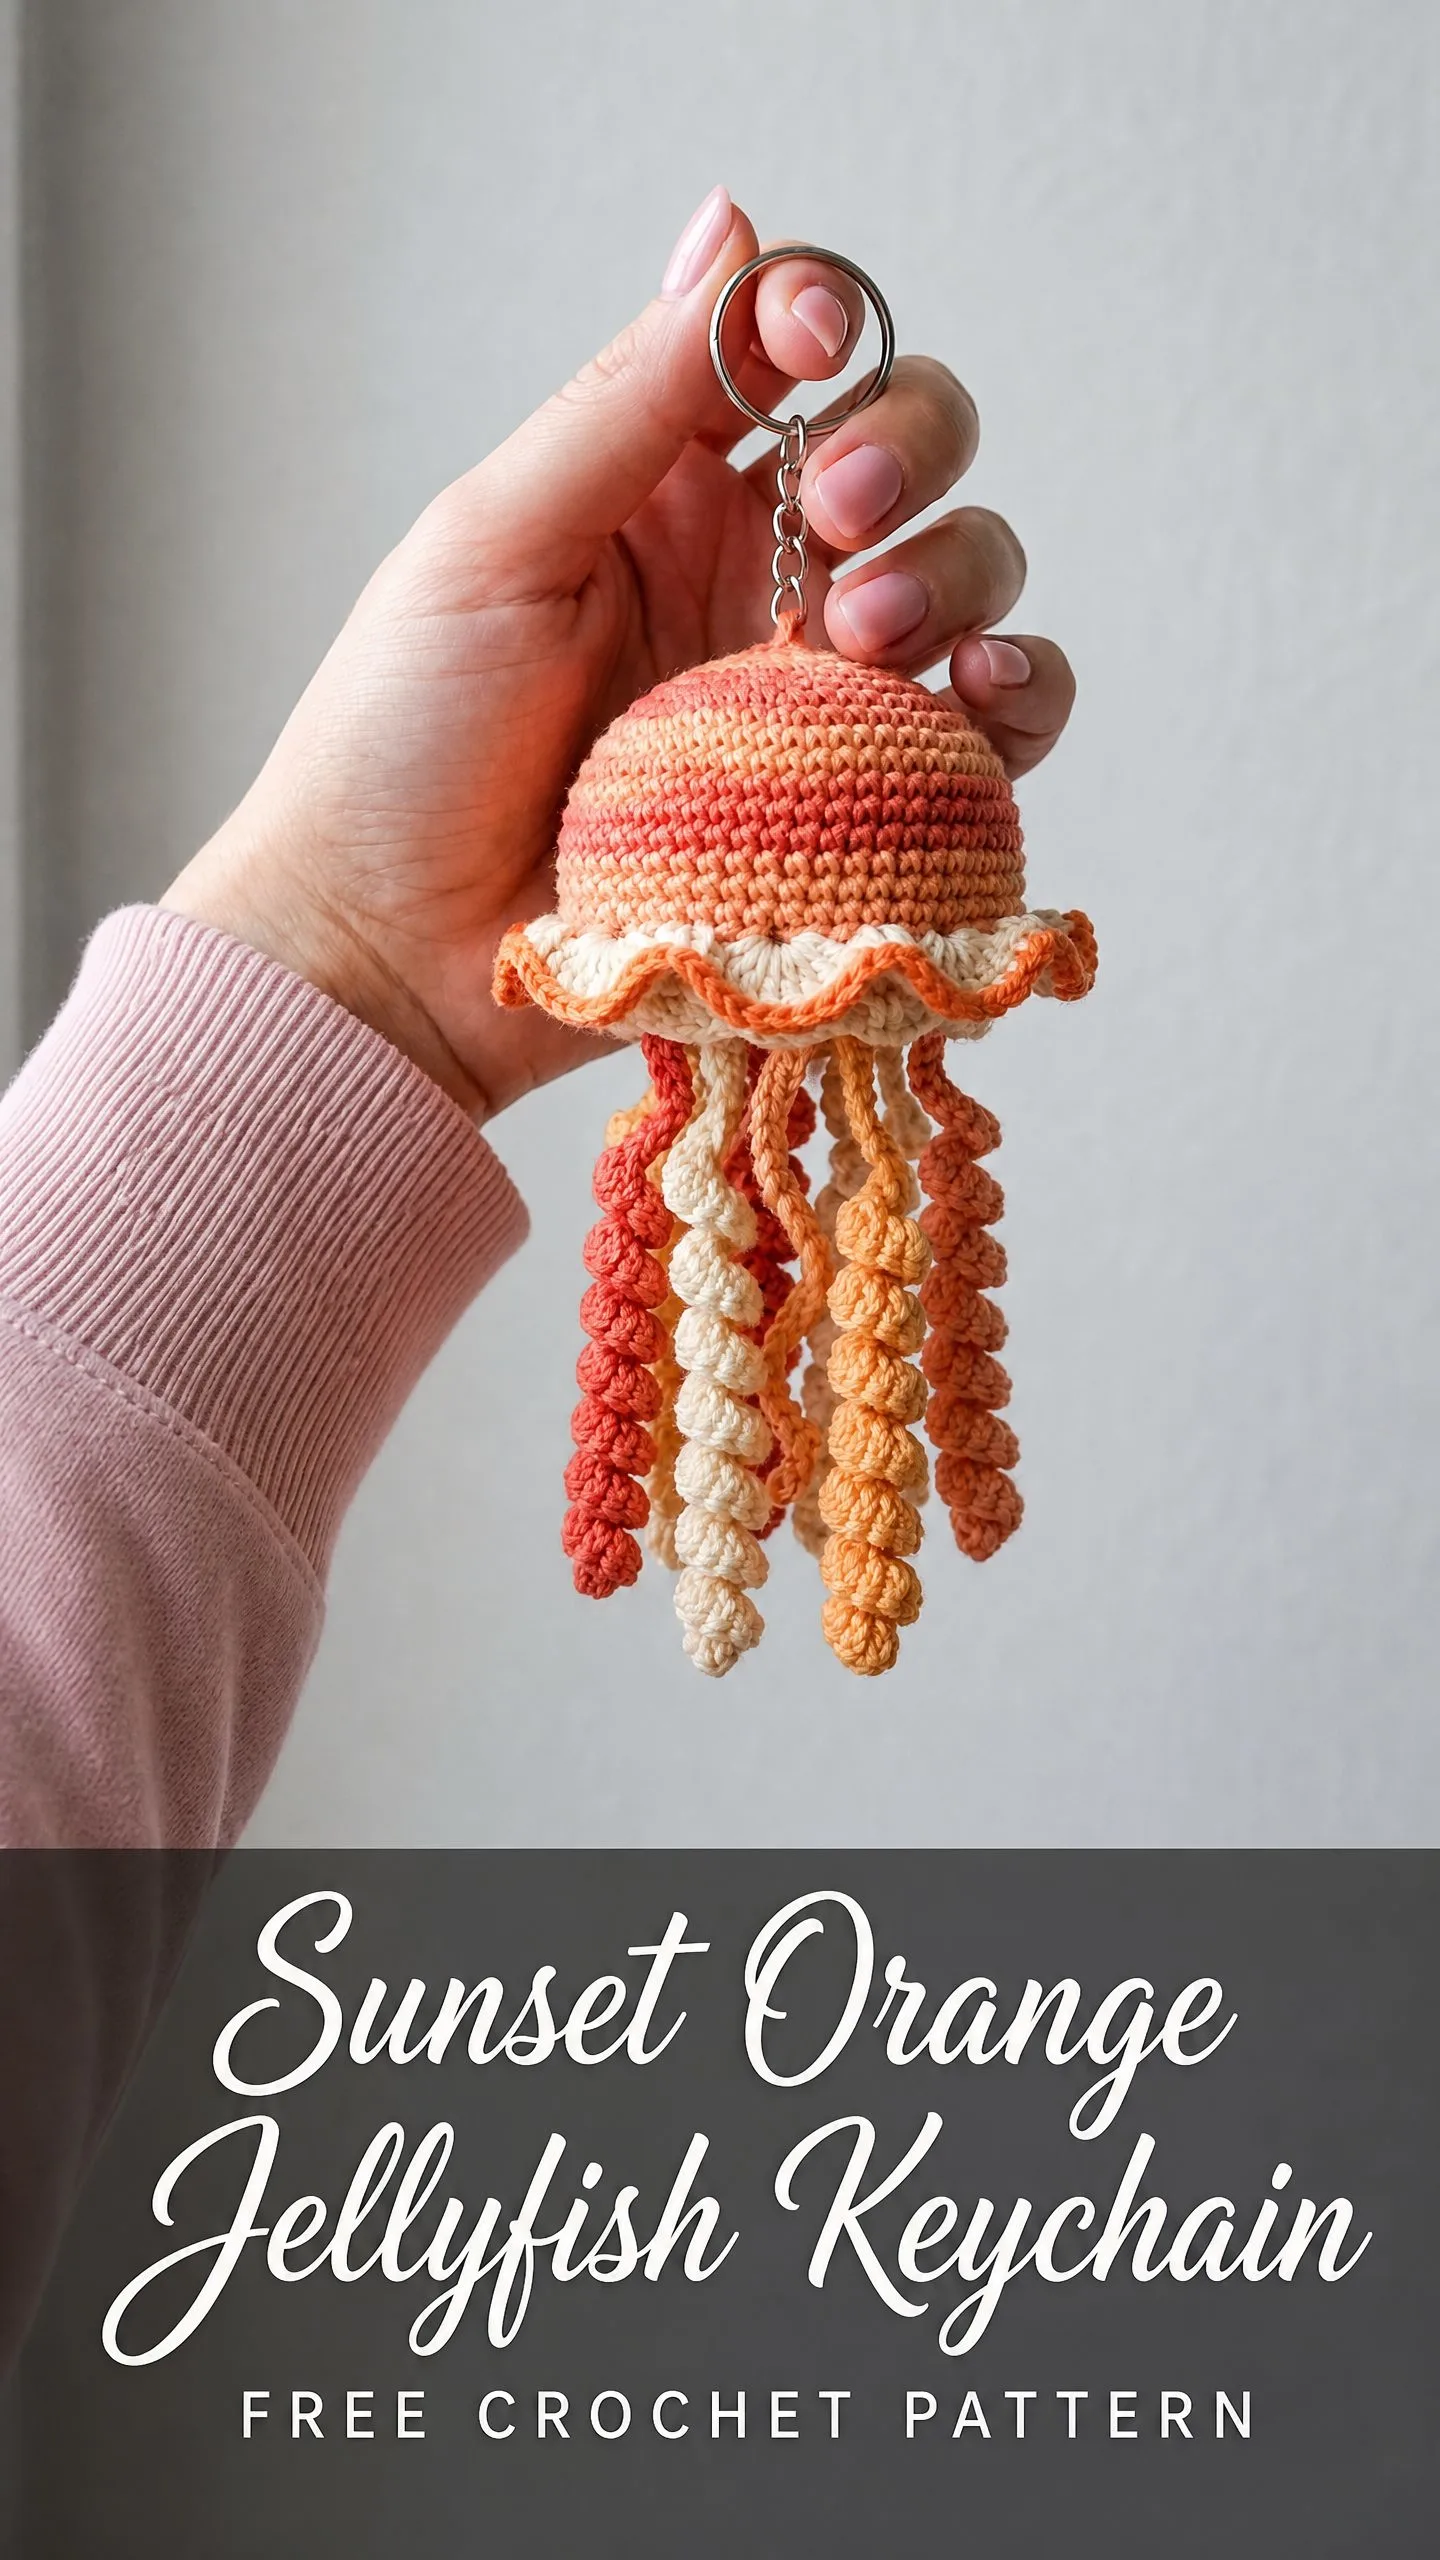
I’ve been looking for the perfect little project to use up those gorgeous coral and peach yarn scraps, and this jellyfish keychain is absolutely it. The warm sunset colors, the bouncy curling tentacles, the sweet ruffled skirt. Everything about this design makes me smile.
This is one of those patterns that looks impressive but comes together faster than you’d expect. If you can work in the round and you’re comfortable with basic increases and decreases, you can absolutely make this. The whole thing takes maybe an afternoon, and you end up with the cutest bag charm or gift.
Let me walk you through everything you need to know to make your own sunset jellyfish keychain from start to finish.
What You’ll Be Making
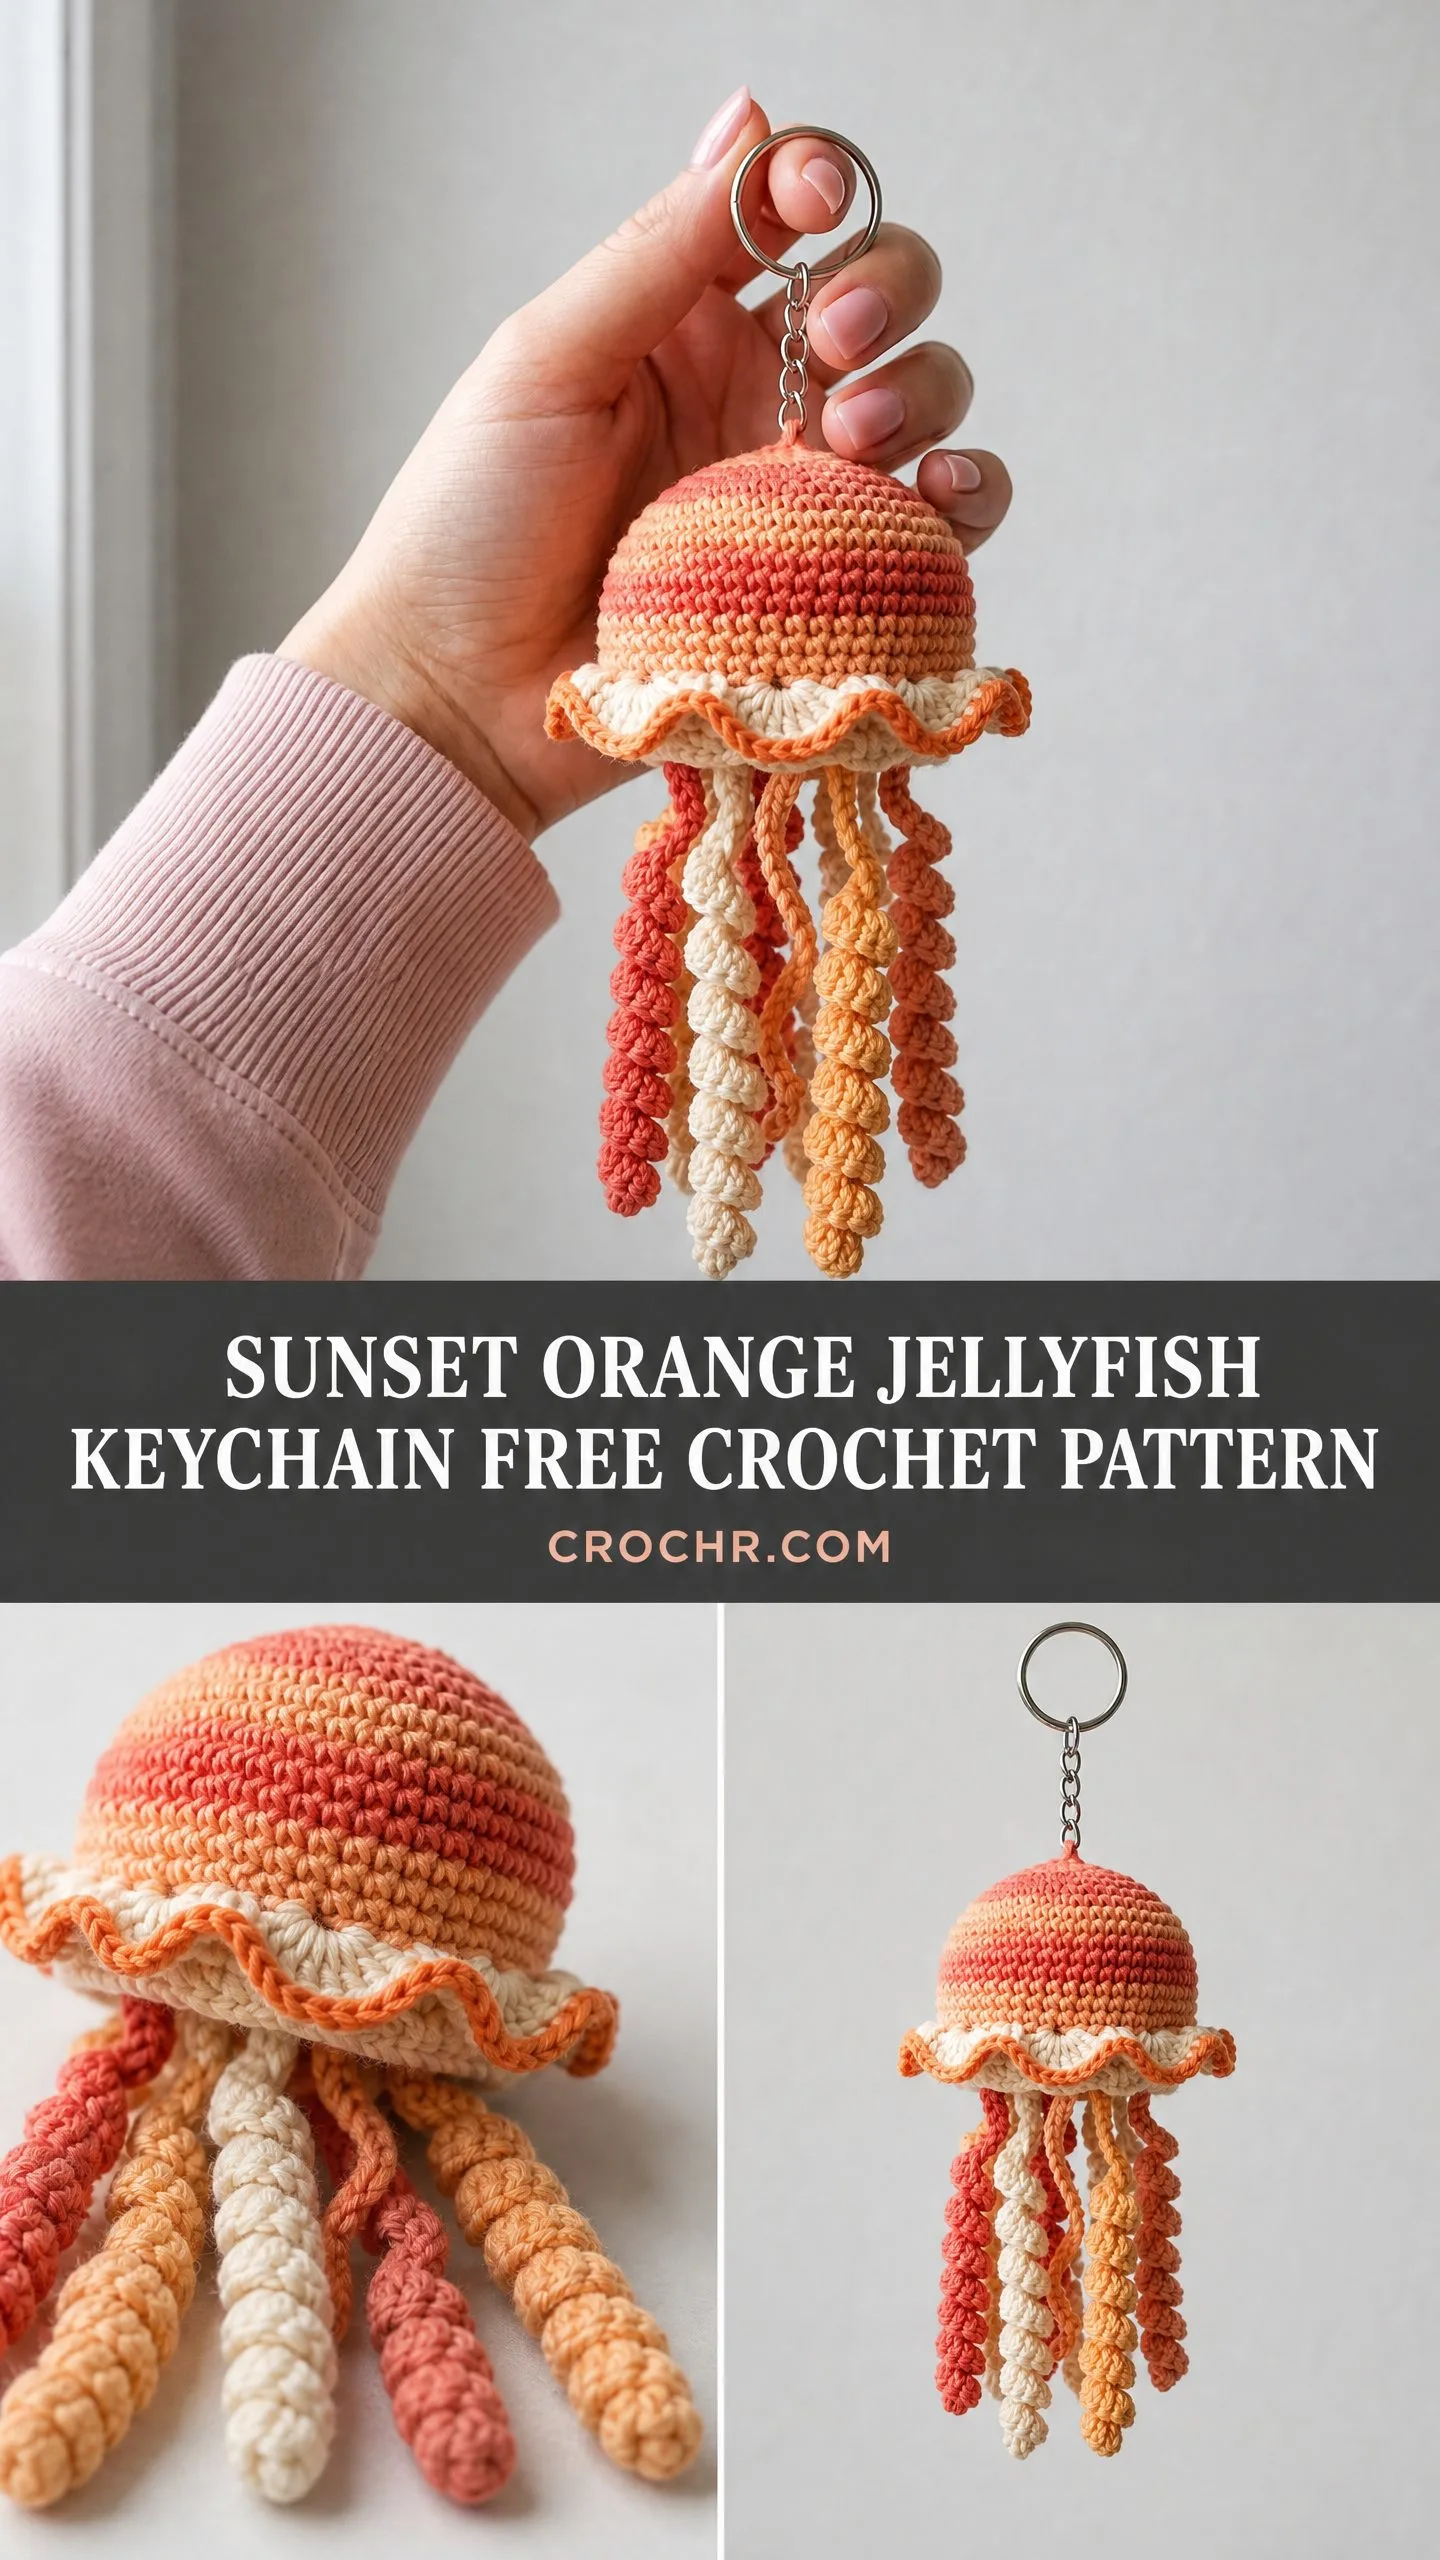
This amigurumi-style jellyfish keychain features a stuffed dome-shaped bell, a frilly ruffled skirt, and eight spiraling tentacles in a beautiful warm color palette. The finished piece measures approximately 2.5 inches (6.4 cm) wide across the bell and 5.5 inches (14 cm) tall from top to tentacle tips. With the keychain hardware attached, total length comes to about 6.5 inches (16.5 cm).
The construction starts at the top of the bell and works downward. You’ll stuff the dome, add the wavy skirt by working into a specific round, then create and attach all those adorable curly tentacles. The keychain ring connects at the very top.
Skill level: Intermediate. You should be comfortable working in continuous rounds, making invisible decreases, and changing colors. If you’re newer to amigurumi, take your time and you’ll do great.
Time estimate: Three to five hours if you’ve made amigurumi before. Five to eight hours if you’re newer to this style. The tentacles are repetitive, so once you get the hang of them, they go quickly.
Materials You’ll Need
Yarn (Sport weight or DK weight, CYCA 2 or 3):
You’ll need approximately 15 to 25 yards (14 to 23 meters) of each color. This is a perfect stash buster project.
Hook: US size D-3 (3.25 mm) crochet hook
Notions:
Yarn suggestions: Lion Brand Bonbons in Celebration work wonderfully because the small cakes give you exactly what you need. Paintbox Yarns Simply DK in Blush Pink, Melon Sorbet, Sherbet Orange, and Champagne White provides crisp stitch definition. Scheepjes Catona in Peach, Tangerine, Powder Pink, and Old Lace gives a slightly heavier cotton feel with beautiful clarity.
Avoid fuzzy or textured yarns here. You want smooth, tightly spun yarn so those pretty stitches in the ruffle and tentacles really show.
Gauge
Working in single crochet (sc) in continuous rounds:
Tension swatch: Work a magic ring, Round 1 with 6 sc, Round 2 with 12 sc, Round 3 with 18 sc, Round 4 with 24 sc. The resulting circle should measure approximately 1.75 to 2 inches (4.5 to 5 cm) across.
Gauge matters here. You want a tight enough fabric to hide the stuffing inside. If your swatch is too loose, go down a hook size.
Abbreviations and Stitch Definitions
Let me define every stitch you’ll encounter in this pattern:
Special Techniques
Magic Ring (MR)
Form a loop with the yarn tail crossing over the working yarn. Insert hook through the loop from front to back. Pull up the working yarn through the loop. Chain 1 to begin (this chain does not count as a stitch). Work the stated number of single crochets into the center of the loop. Pull the yarn tail firmly to close the ring.
If magic rings intimidate you, don’t worry. You can also chain 2 and work your stitches into the first chain instead.
Invisible Decrease (dec)
This technique makes your decreases nearly invisible on the right side. Insert hook through the front loop only of the next stitch, then through the front loop only of the stitch after that. Yarn over and pull through both front loops at once (2 loops now on hook). Yarn over and pull through both loops on hook. This counts as 1 stitch.
Curling Tentacle Stitch
Chain the stated number. Starting in the second chain from the hook, work 2 single crochets into each chain back across to the starting point. The extra stitches cause the strip to curl and spiral naturally. Fasten off leaving a 6 inch (15 cm) tail for attaching.
The curl happens automatically because you’re putting twice as many stitches as the chain can lay flat. It’s like magic watching them spiral up.
Pattern Notes Before You Begin
Read through the whole pattern once before you start. Trust me, it helps everything make sense.
Part One: The Bell
The bell is worked from the top downward. This is where your keychain hardware will attach.
Round 1: Using Color A, make a MR. Work 6 sc into the ring. Pull ring closed. Place marker in last stitch. (6 sc)
Round 2: Work 2 sc in each st around. Move marker to last st. (12 sc)
Round 3: Work (sc in next st, inc in next st) 6 times. (18 sc)
Round 4: Work (sc in next 2 sts, inc in next st) 6 times. (24 sc)
Round 5: Work (sc in next 3 sts, inc in next st) 6 times. (30 sc)
Round 6: Work (sc in next 4 sts, inc in next st) 6 times. Place a locking stitch marker or safety pin into this round to mark the skirt attachment round. Do not remove this marker until the skirt is complete. (36 sc)
Change to Color B at the end of Round 6.
Round 7: Working in Color B, sc in each st around. (36 sc)
Round 8: Work (sc in next 5 sts, inc in next st) 6 times. (42 sc)
Change to Color C at the end of Round 8.
Round 9: Working in Color C, sc in each st around. (42 sc)
Round 10: Working in Color C, sc in each st around. (42 sc)
Round 11: Work (sc in next 5 sts, dec over next 2 sts) 6 times. (36 sc)
Round 12: Work (sc in next 4 sts, dec over next 2 sts) 6 times. (30 sc)
Change to Color B at the end of Round 12.
Round 13: Working in Color B, work (sc in next 3 sts, dec over next 2 sts) 6 times. (24 sc)
Round 14: Working in Color B, sc in each st around. (24 sc)
Round 15: Work (sc in next 2 sts, dec over next 2 sts) 6 times. (18 sc)
Checkpoint
After Round 15, your bell should look like a thick rounded dome. The top should be slightly more domed, and the piece should measure approximately 1.5 inches (3.8 cm) tall and 2.5 inches (6.4 cm) wide at its widest point. The bottom opening should still be wide enough to insert stuffing comfortably.
Now stuff your jellyfish. Insert polyester fiberfill through the open bottom. Fill firmly but not so tight that it distorts the rounded shape. The dome should hold its shape when squeezed lightly and released.
Change to Color A at the end of Round 15.
Round 16: Working in Color A, work (sc in next st, dec over next 2 sts) 6 times. (12 sc)
Round 17: Working in Color A, work dec 6 times around. (6 sc)
Fasten off, leaving a 12 inch (30 cm) tail. Thread tail onto yarn needle and draw through all 6 remaining stitches. Pull snug to close the bottom of the bell. Weave the tail to the inside but do not trim yet.
Part Two: Attaching the Keychain Hardware
Thread the yarn tail at the top center of the bell (the magic ring tail) onto a yarn needle. Working through the tight center of the magic ring at the top, weave the needle through the ring several times to reinforce the attachment point.
Bring the needle up through the center and draw a short loop of yarn (approximately 0.5 inch) out through the top. Pass the keychain chain or jump ring through this loop, then stitch the loop down firmly to the top of the bell. Reinforce with at least three passes. Weave and trim ends securely.
Attach the split ring to the chain or loop above the bell.
Part Three: The Skirt
This is where the magic happens. The skirt creates that beautiful ruffled edge by working into the front loops only of your marked Round 6.
Before beginning, confirm your marked round. With the top of the bell pointing up, Round 6 is the widest increase round near the upper half of the bell. It has 36 stitches.
Join Color D with a sl st into any front loop of the marked round.
Skirt Round 1: Ch 3 (counts as first dc). Work 2 more dc into the same st (3 dc total in first st). Work 3 dc into each remaining st around. Sl st to the top of the beginning ch-3 to join. (108 dc)
Do not fasten off. Change to Color B (or Color C) at the joining sl st.
Skirt Round 2: Ch 1. Working into the tops of the dc from the previous round, sc in each st around. Sl st to first sc to join. (108 sc)
Skirt Round 3: Ch 1. Working in each sc, work (sc, ch 1) in each st around. Sl st to first sc to join. (108 sc, 108 ch-1 spaces)
Fasten off and weave in ends. The skirt will naturally ruffle and wave outward around the bottom of the dome.
Checkpoint
Your ruffle should flare outward evenly around the circumference. It should not pull the bell out of shape. The cream and orange tones should frame the bell beautifully. The skirt diameter should be approximately 4 inches (10 cm) across when laid flat.
Part Four: The Tentacles
Make 8 tentacles total. Vary the colors for visual variety: approximately 2 in Color A, 2 in Color B, 2 in Color C, and 2 in Color D.
For each tentacle:
Using your chosen color, ch 21.
Starting in the second ch from hook, work 2 sc in each ch back to the starting point. (40 sc)
Fasten off, leaving a 10 inch (25 cm) tail for sewing.
The strip will immediately begin to curl and spiral. This is correct and exactly what you want.
Make all 8 tentacles before sewing.
Attaching the Tentacles
Thread the tail of each tentacle onto a yarn needle. Turn the bell so the skirt faces you and the bottom of the bell faces down.
Arrange the 8 tentacles evenly around the inside edge of the skirt, sewing each one through the sc stitches of Skirt Round 2 or directly through the lower body of the bell just above the skirt attachment. Space them at approximately every fourth or fifth stitch of the skirt base.
Alternate colors as you place them so no two adjacent tentacles are the same. A suggested order working clockwise: Color A, Color D, Color C, Color B, Color A, Color D, Color C, Color B.
Pass the needle through the attachment point at least twice and knot securely. Weave remaining tails through several stitches of the bell body before trimming.
Final Checkpoint
Hold the keychain by the ring and let it hang. All tentacles should fall downward and outward naturally. The curling spirals should extend 3 to 3.5 inches (7.5 to 9 cm) below the skirt edge.
Size Customization Tips
For a larger jellyfish: Use worsted weight yarn with a US size G-6 (4.0 mm) or H-8 (5.0 mm) hook. Same stitch counts, but finished size scales up to approximately 4 inches wide and 9 inches tall.
For a smaller keychain: Use fingering weight yarn held as a single strand with a US size B-1 (2.25 mm) hook. The dome will be approximately 1.75 inches wide.
For more tentacles: Increase from 8 to 12 by making 4 additional tentacles and spacing all 12 at every third stitch of the skirt base.
For longer tentacles: Increase the starting chain from 21 to 31 and work 2 sc into each chain back.
Finishing Your Jellyfish Keychain
Weave all remaining yarn ends through the inside of the bell or through the back loops of the skirt. Pass each tail through at least 4 stitches in two directions before trimming close.
Light blocking is optional but can help the skirt lay evenly. Mist the skirt lightly with water and gently spread the ruffles with your fingers into an even circular arrangement. Let dry completely before handling.
Do not block the tentacles. The natural curl comes from tension and extra stitches, and you want to preserve that springy spiral.
Check that your keychain hardware is secure before gifting or using.
Care Instructions
Hand wash in cool water with gentle soap. Do not wring. Press lightly between clean towels to remove excess water. Reshape the ruffle and air dry completely away from direct sunlight. Do not machine wash or dry. Do not iron. Store loosely to preserve the tentacle curl.
You Did It!
Thank you so much for making this pattern with me. I really hope you love your little sunset jellyfish as much as I loved designing it. These make the sweetest gifts, and they’re so cheerful dangling from a bag or backpack.
If you make one, I would absolutely love to see it. Tag me on Instagram or share a photo in my Facebook group. Seeing your finished projects genuinely makes my day.
Don’t forget to save this crochet pattern to your Pinterest boards so you can find it again later. And if you have any questions or just want to share how yours turned out, leave me a comment below. Happy crocheting!
You Might Also Like
- Charcoal Gray Button Cuff Slipper Boots Free Crochet Pattern
- Black White Cow Print Crochet Joggers Pattern
- Sunset Ombre Butterfly Bloom Charm Free Crochet Pattern
- Soft Lavender Purple Crochet Backpack Free Pattern
