
This is one of the EASIEST amigurumi projects I have ever designed, and it looks absolutely stunning hanging in a window or above a crib. You can finish one of these adorable jellyfish in a single afternoon. Seriously, we are talking 5 to 8 hours total, and most of that is the relaxing repetition of those curly tentacles.
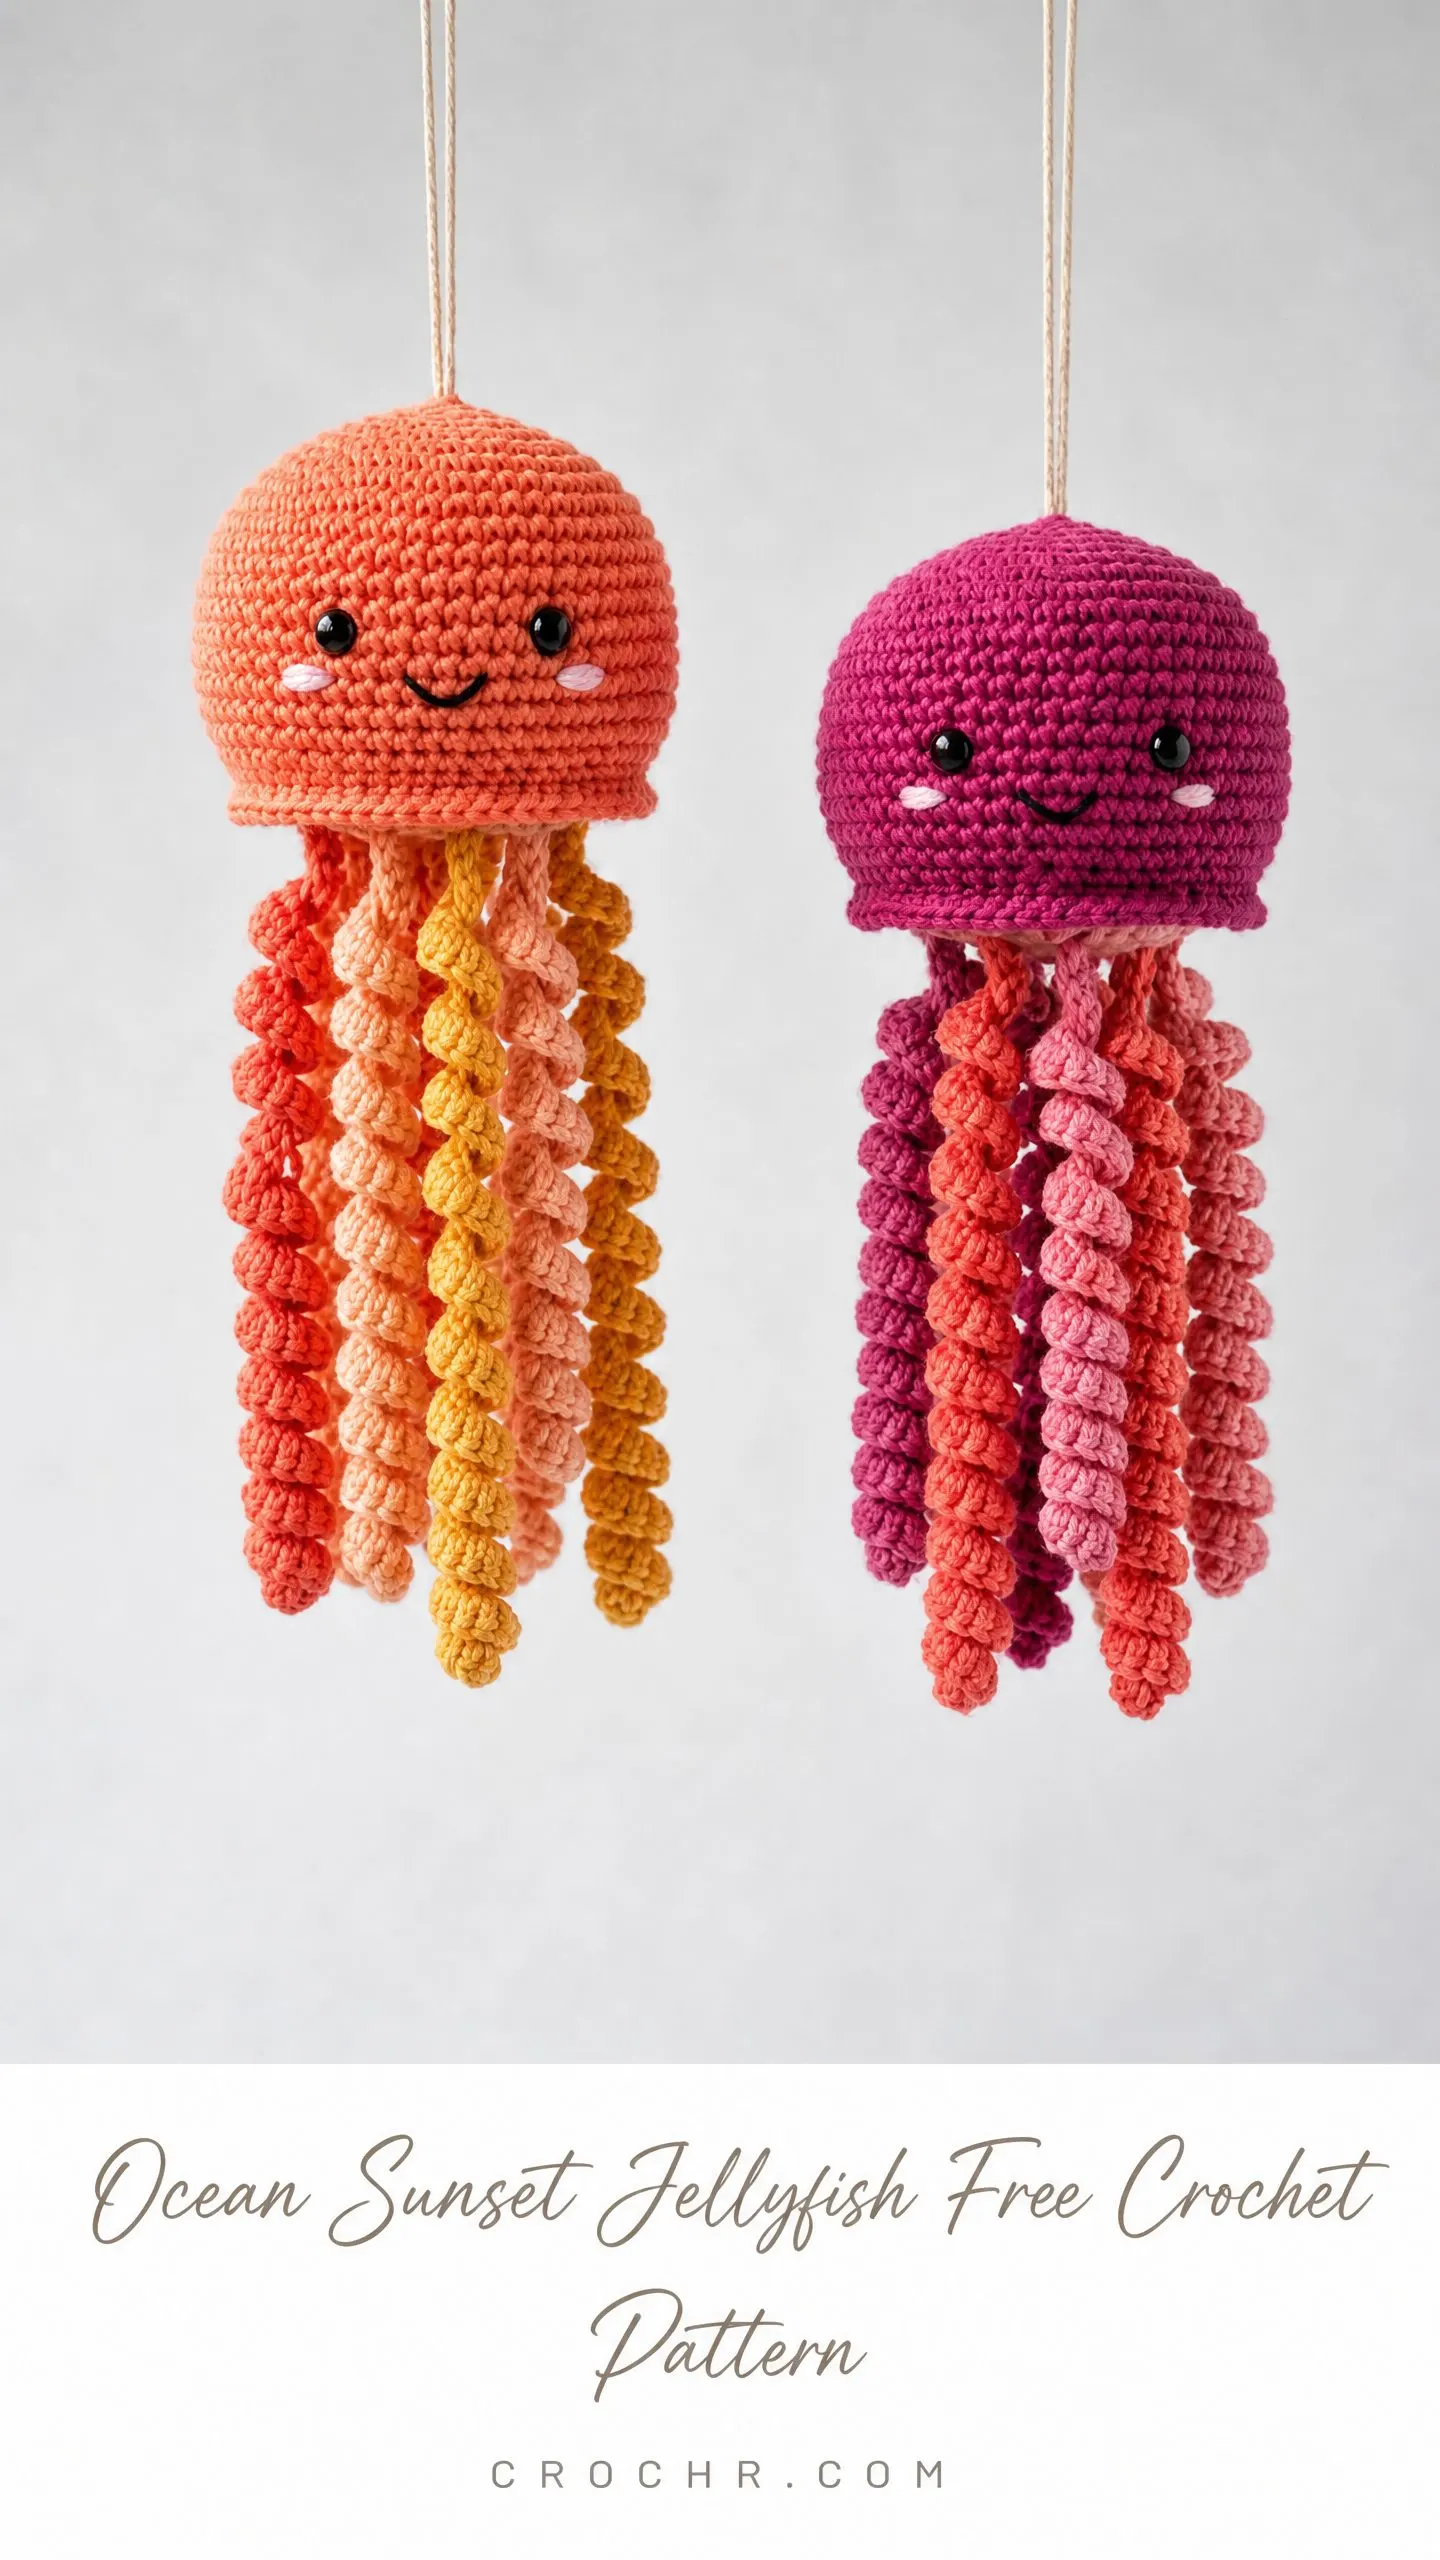
If you have been wanting to try amigurumi but felt intimidated by complex shaping, this is your project. The bell is just basic increases and decreases worked in continuous rounds. The tentacles use a clever slip stitch technique that creates perfect spirals every single time.
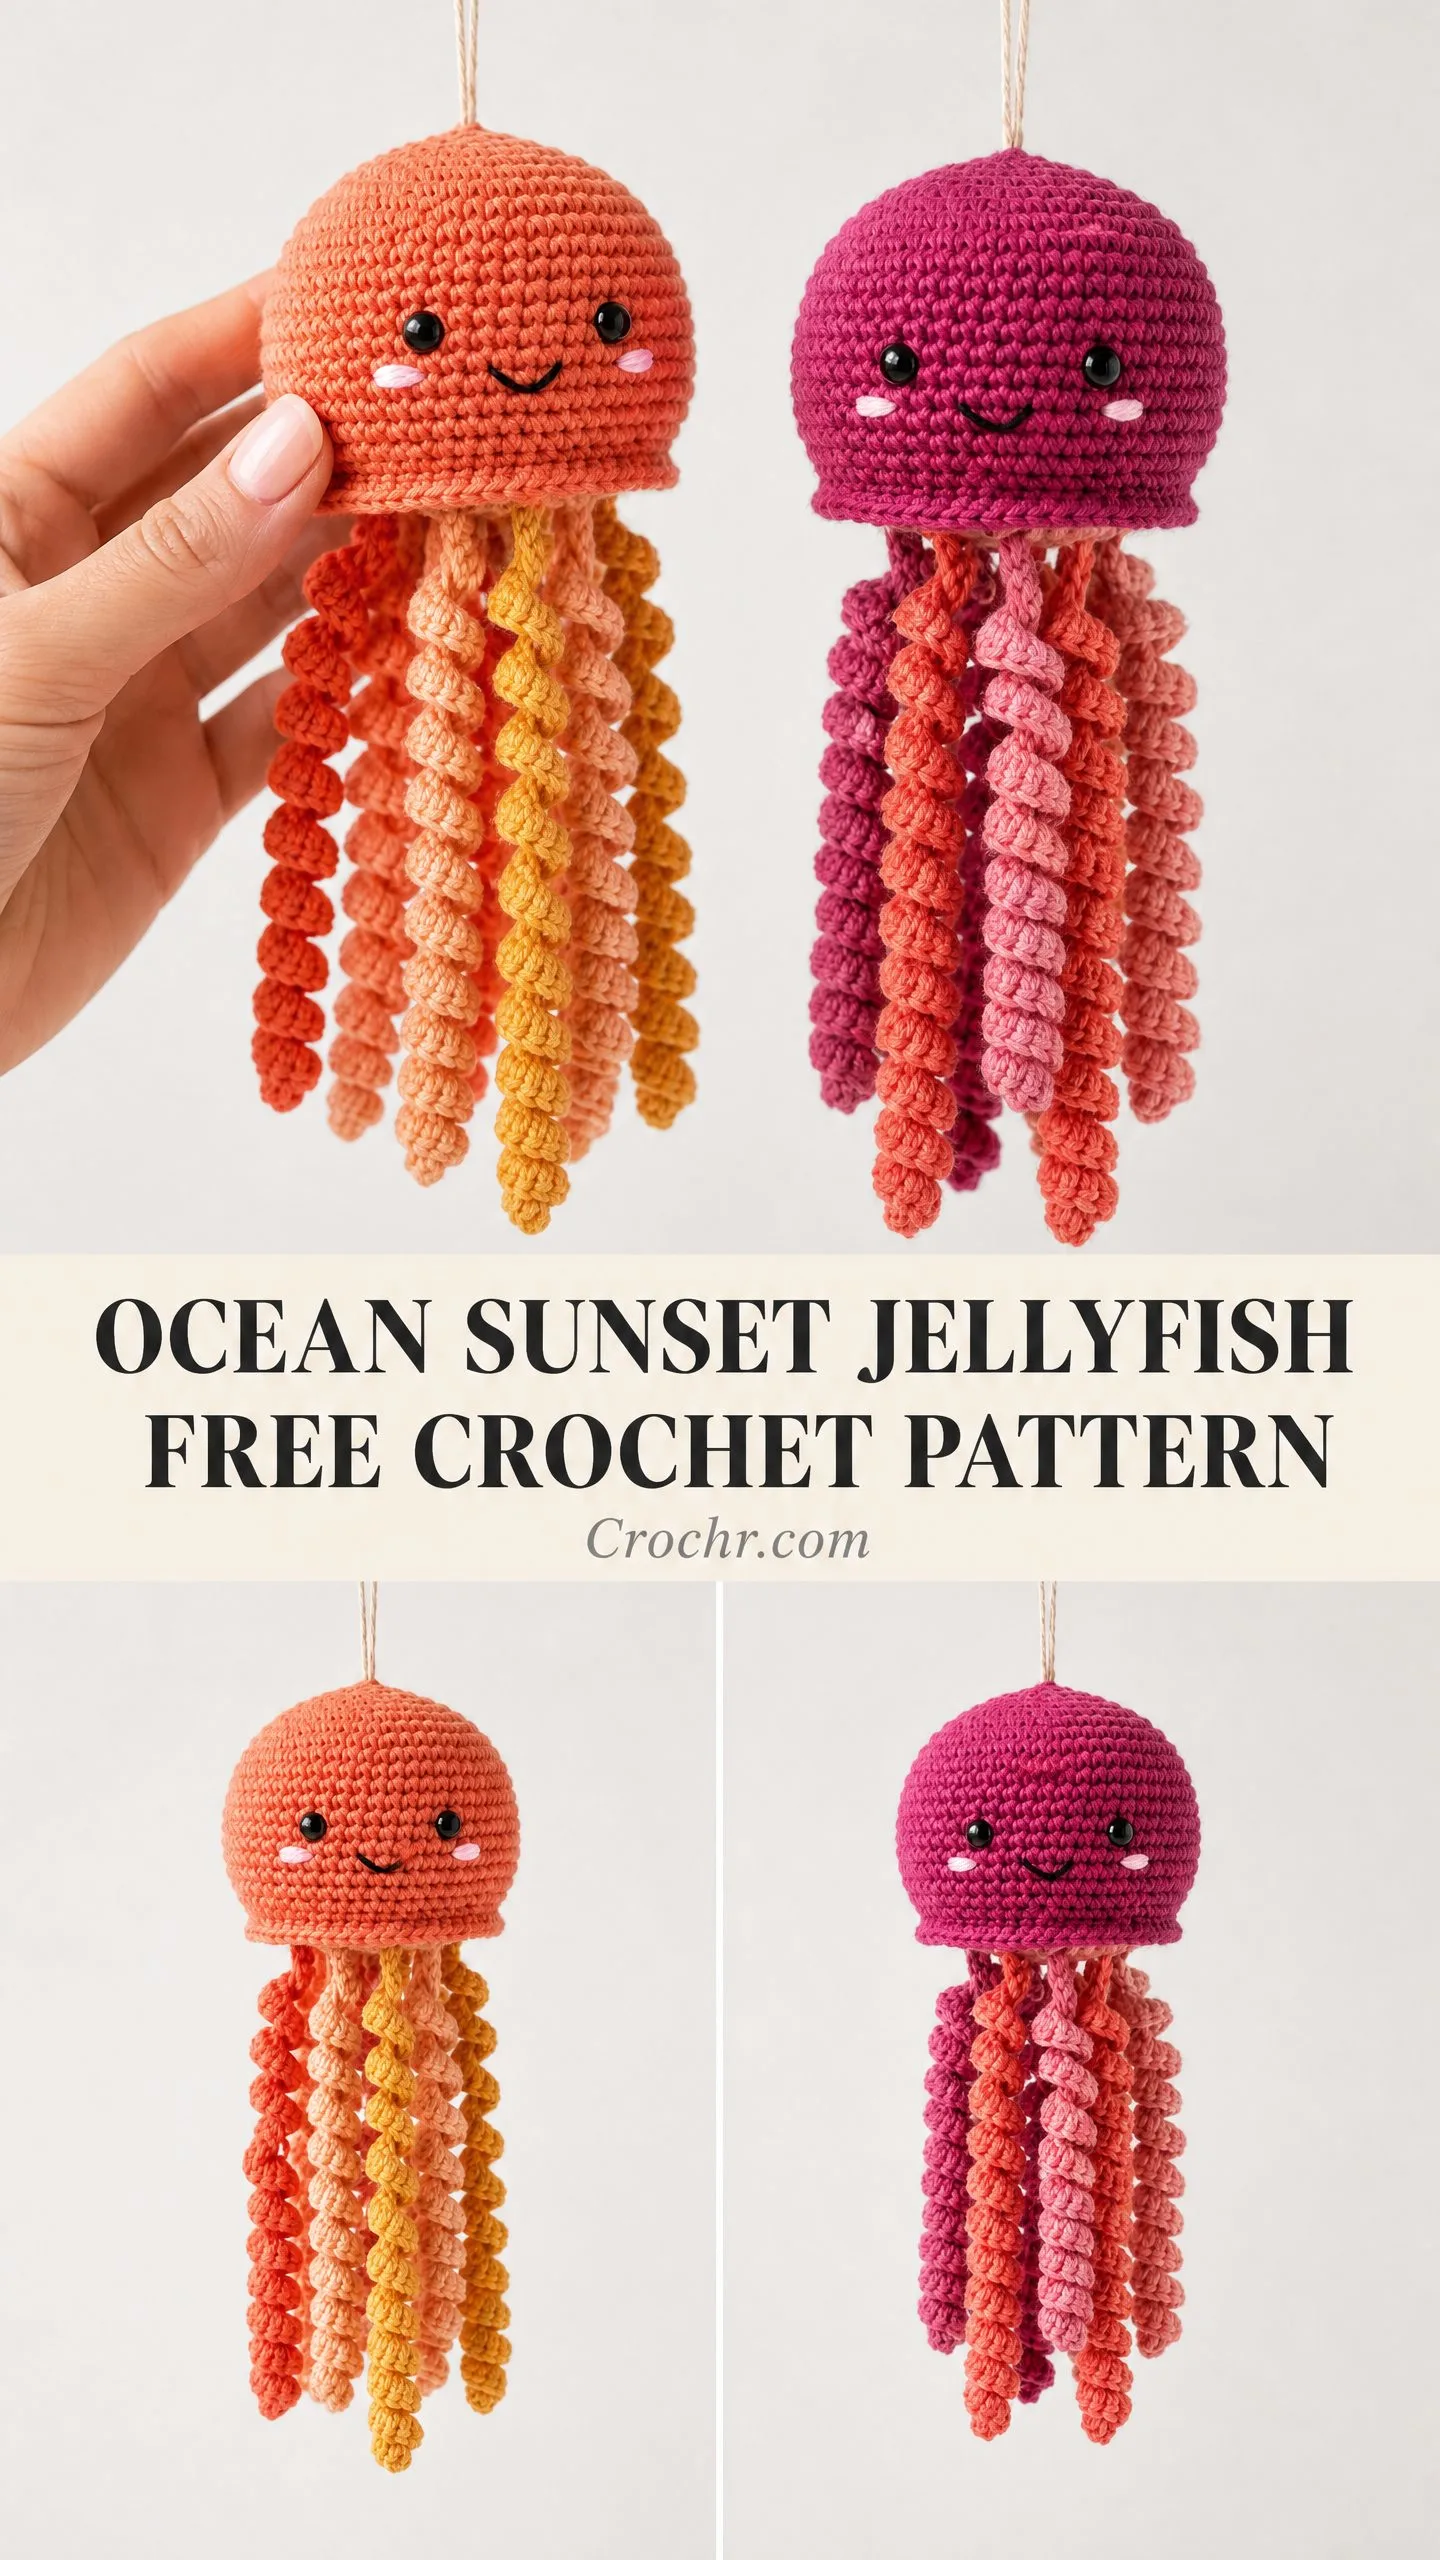
These jellyfish make incredible gifts for baby showers, nursery decor, or ocean lovers of any age. The two colorways I am sharing today are Sunset and Dusk, but you can customize with any colors that make your heart happy. Let me walk you through everything.
About This Jellyfish Crochet Pattern
This amigurumi jellyfish features a beautifully domed bell worked from the top down in continuous rounds. You will stuff it firmly to create that perfect rounded shape, then attach twelve curly spiral tentacles around the lower rim. The face gets finished with safety eyes, an embroidered smile, and the cutest little pink cheek blush marks.
A simple jute twine loop at the top lets you hang your finished jellyfish wherever you want to display it. The construction order is straightforward. You work the bell first, add the face embellishments, create all twelve tentacles separately, then assemble everything together.
The finished size measures approximately 4.5 inches wide by 9 inches tall, not counting the hanging cord. The bell alone is about 4.5 inches wide by 3.5 inches tall. Those gorgeous tentacles hang approximately 5.5 inches below the bell rim.
Skill Level
I would call this intermediate level, but a confident beginner can absolutely tackle it. The bell uses basic amigurumi shaping that you probably already know if you have made any stuffed toys before. The spiral tentacles require working slip stitches back into a foundation chain to create that coiled effect. This demands consistent tension and a bit of patience, but I promise the technique is not complicated once you get the rhythm.
You should be comfortable working in continuous rounds, making color changes, and attaching embellishments before starting this project.
Materials You Will Need
Yarn: Worsted weight yarn, which is category 4. I recommend 100 percent cotton or a cotton-acrylic blend for the best stitch definition and light drape. You will need approximately 50 yards per color.
For the Sunset Colorway:
For the Dusk Colorway:
Hook: US size E-4, which is 3.5 mm
Notions:
Yarn Suggestions
Lion Brand 24/7 Cotton works beautifully for this project. Try Coral, Mango, Peach, and Goldenrod for the Sunset colorway. For Dusk, look for Magenta, Raspberry, Candy Pink, and Rose. This 100 percent mercerized cotton gives excellent stitch definition and holds its shape perfectly for amigurumi.
Paintbox Yarns Simply DK also works well when used at a tighter tension on the E hook. It is slightly lighter weight but produces a firm, neat fabric at this hook size.
Scheepjes Catona 4-ply held double throughout is another option if you want a firmer, denser fabric with vivid color saturation.
Quick substitution note: Any smooth worsted or heavy DK weight yarn that achieves the stated gauge will work. Avoid fuzzy or textured yarns because they obscure the stitch spiral detail on the tentacles. Cotton or cotton-blend yarns are strongly preferred over acrylic for the tentacles because they hold the curl without blocking.
Gauge
5 single crochet stitches by 5 rows or rounds equals 1 inch, worked in continuous rounds with a US E-4 hook.
To make a gauge swatch, work a magic ring (MR), which is an adjustable ring that lets you close the center tightly. Round 1: 6 single crochet (sc) into the ring. Round 2: 2 sc in each stitch around for 12 sc total. Round 3: sc in next stitch, 2 sc in next stitch, repeat around for 18 sc. Round 4: sc in each stitch around for 18 sc.
Your piece should measure approximately 1.5 inches across. Adjust your hook size up or down as needed. Tight, firm tension is essential to keep the stuffing from showing through.
Abbreviations
Special Stitches Explained
Magic Ring (MR)
Form a loop with the yarn, leaving a 6-inch tail. Insert the hook through the loop, yarn over and pull up a loop, chain 1 to secure. Work the stated number of stitches into the ring. Pull the tail end to close the ring tightly.
Increase (inc)
Work 2 single crochet stitches into the same stitch. This adds 1 stitch to the total count.
Single Crochet Two Together (sc2tog)
Insert hook into next stitch, yarn over, pull up a loop. You now have 2 loops on hook. Without completing, insert hook into following stitch, yarn over, pull up a loop. You now have 3 loops on hook. Yarn over and pull through all 3 loops. This removes 1 stitch from the total count.
Pattern Notes Before You Begin
The bell is worked in continuous spiral rounds. Do not join at the end of each round unless instructed. Use a stitch marker moved up each round to track your position.
All stitch counts appear in parentheses at the end of each round.
Safety eyes must be inserted and secured before stuffing the bell because access is lost once the opening is closed.
Stuff the bell firmly as you go. Add stuffing when the opening is large enough, then add more before closing completely.
The tentacles are worked separately and sewn to the bell after all embellishments are complete.
Color A is used exclusively for the bell. Colors B, C, and D are used for the tentacles. Each individual tentacle is worked in a single color. The multicolor effect is achieved by distributing the three tentacle colors around the rim.
How to Crochet the Jellyfish Bell
The bell is worked from the top down, beginning with a magic ring.
Rnd 1: MR, work 6 sc into ring, pull ring closed. (6 sc)
Rnd 2: Inc in each st around. (12 sc)
Rnd 3: Sc in next st, inc in next st, repeat 6 times. (18 sc)
Rnd 4: Sc in next 2 sts, inc in next st, repeat 6 times. (24 sc)
Rnd 5: Sc in next 3 sts, inc in next st, repeat 6 times. (30 sc)
Rnd 6: Sc in next 4 sts, inc in next st, repeat 6 times. (36 sc)
Rnd 7: Sc in next 5 sts, inc in next st, repeat 6 times. (42 sc)
Rnd 8: Sc in next 6 sts, inc in next st, repeat 6 times. (48 sc)
Checkpoint: After round 8, the bell should measure approximately 3.5 inches across at its widest point and should lie flat like a shallow dome. If it cups upward, your tension is too tight and you should move up one hook size.
Rnd 9: Sc in each st around. (48 sc)
Rnd 10: Sc in each st around. (48 sc)
Rnd 11: Sc in each st around. (48 sc)
Rounds 9 through 11 form the straight side wall of the bell. This is where the bell transitions from domed to cylindrical. The three even rounds allow the sides to drop down rather than continue flaring.
Rnd 12: Sc in next 6 sts, sc2tog, repeat 6 times. (42 sc)
Rnd 13: Sc in next 5 sts, sc2tog, repeat 6 times. (36 sc)
Adding the Face
Attach safety eyes between rounds 9 and 10, spaced approximately 7 to 8 stitches apart and centered on the front of the bell. Secure the backings firmly before proceeding.
Embroider the smile between rounds 11 and 12 using a yarn needle and a short length of dark yarn or black embroidery floss. Work a gentle curved line of 5 to 6 small straight stitches in a shallow U shape approximately 6 stitches wide. Embroider the cheek blush ovals on each side of the smile in light pink, using 4 to 5 satin stitches per cheek.
Rnd 14: Sc in next 4 sts, sc2tog, repeat 6 times. (30 sc)
Begin adding stuffing at this point. Pack the bell firmly, shaping it as you go.
Rnd 15: Sc in next 3 sts, sc2tog, repeat 6 times. (24 sc)
Add more stuffing to maintain firm shape.
Rnd 16: Sc in next 2 sts, sc2tog, repeat 6 times. (18 sc)
Rnd 17: Sc in next st, sc2tog, repeat 6 times. (12 sc)
Rnd 18: Sc2tog 6 times. (6 sc)
Fasten off leaving a 6-inch tail. Thread the tail onto a yarn needle and weave through the front loop of each remaining stitch, pull to close the gap completely, and secure. Weave in the end inside the bell.
Checkpoint: The finished bell should measure approximately 4.5 inches wide and 3.5 inches tall. It should feel firmly stuffed when squeezed gently and spring back to a dome shape.
How to Crochet the Spiral Tentacles
Each jellyfish has 12 tentacles total: 4 in Color B, 4 in Color C, and 4 in Color D.
The spiral curl is created by working 3 slip stitches into every 1 chain stitch of the foundation chain. Because the slip stitches are compressed into fewer physical stitches, the strip naturally curls into a tight spiral. The tighter you work, the tighter the curl. A consistent rhythm produces even curling.
Foundation chain length: 30 chains per tentacle.
To Work One Tentacle
Step 1: With the appropriate color, make a slip knot and ch 31. This gives 30 working chains plus 1 turning chain equivalent at the base.
Step 2: Starting in the 2nd chain from the hook, work 3 sl sts into each chain across. To work 3 sl sts into one chain: insert hook into chain, YO, pull through chain and loop on hook (first sl st). Insert hook into same chain, YO, pull through (second sl st). Insert hook into same chain, YO, pull through (third sl st). Move to the next chain and repeat.
Total slip stitches worked: 3 sl sts x 30 chains = 90 sl sts per tentacle.
Step 3: At the end of the row, fasten off leaving a 10-inch tail for sewing.
Step 4: The strip will automatically coil into a corkscrew spiral. Gently encourage the spiral by twisting the strip between your fingers if needed. Do not pull the spiral straight. Let it remain coiled.
Make 4 tentacles in Color B, 4 in Color C, and 4 in Color D for 12 tentacles total.
Checkpoint: Each finished tentacle should measure approximately 5 to 5.5 inches in total length when hanging naturally with the coils relaxed. If the tentacle is significantly shorter or the curl is too tight to hang, work the slip stitches more loosely.
Assembly Instructions
Step 1: Thread the hanging cord. Cut a 12-inch length of jute twine. Thread it onto a yarn needle and pass the needle down through the top center of the bell, from outside to inside through the closed top, then back up approximately 0.25 inch away. Tie the two ends of the twine together in a double knot on the outside to form a loop. Trim ends neatly. The knot should sit on top of the bell.
Step 2: Arrange tentacles around the base rim. The last round of sc at the base of the bell has 42 stitches. Space 12 tentacles evenly around this edge, every 3 to 4 stitches.
For color balance, alternate the colors in a repeating pattern of B, C, D, B, C, D, B, C, D, B, C, D going around the circumference. This gives 4 of each color evenly distributed.
Step 3: Sew each tentacle to the bell. Thread the long tail of a tentacle onto a yarn needle. Align the uncoiled base end of the tentacle against the inside lower rim of the bell, with the tentacle hanging downward on the outside. Sew through the base of the tentacle and through 2 to 3 stitches of the bell rim. Bring the needle back through the base of the tentacle in the opposite direction and tie off securely on the inside of the bell. Weave in the tail inside the bell. Repeat for all 12 tentacles.
Step 4: Give the tentacles a gentle tug to make sure all are secure. Adjust any spirals that have become tangled.
Step 5: Final check. The jellyfish should hang level from the cord, with the face centered on the front and tentacles hanging freely and evenly around the base.
Care Instructions
Hand wash gently in cool water with mild detergent. Press out excess water without wringing. Reshape the bell dome and allow to dry flat or hanging. If the safety eyes need protection, avoid submerging for extended periods. Do not machine wash or tumble dry. Do not iron directly over safety eyes or stuffed sections. Store hanging or loosely coiled to prevent tentacles from becoming permanently kinked.
Final Thoughts on This Jellyfish Crochet Tutorial
I hope you love making these jellyfish as much as I enjoyed designing them. They really are the perfect project for when you want something satisfying without being overwhelming. The combination of the smooth bell and those bouncy curly tentacles is just so cheerful.
Thank you so much for choosing this pattern. I would absolutely love to see your finished jellyfish! Tag me on Instagram or share in our Facebook group so I can admire your work and maybe feature it.
If you found this jellyfish crochet pattern helpful, go ahead and save it to your Pinterest boards so you can find it again whenever you are ready to make your next one. And please drop a comment below if you make it. I love hearing which colorways you choose!
You Might Also Like
- Sage Green Natural Minimalist Braided Bag Free Crochet Pattern
- Sunny Yellow Dahlia Tote Free Crochet Pattern
- Tropical Fish Charm Bracelet Free Crochet Pattern
- Mustard Sunflower Bow Bucket Bag Free Crochet Pattern
