This crochet tote bag features a honeycomb mesh body, a firm rectangular base, padded handles, and three dimensional dahlia flowers with textured leaves. The construction is straightforward once you get the rhythm of the mesh stitch. You will work from the bottom up, pick up stitches around the base, and build the body in joined rounds.
Get the Ad-Free PDF Pattern
You can find the free pattern below, or you can purchase the ad-free printable PDF from my shop.
Get the Printable PDF →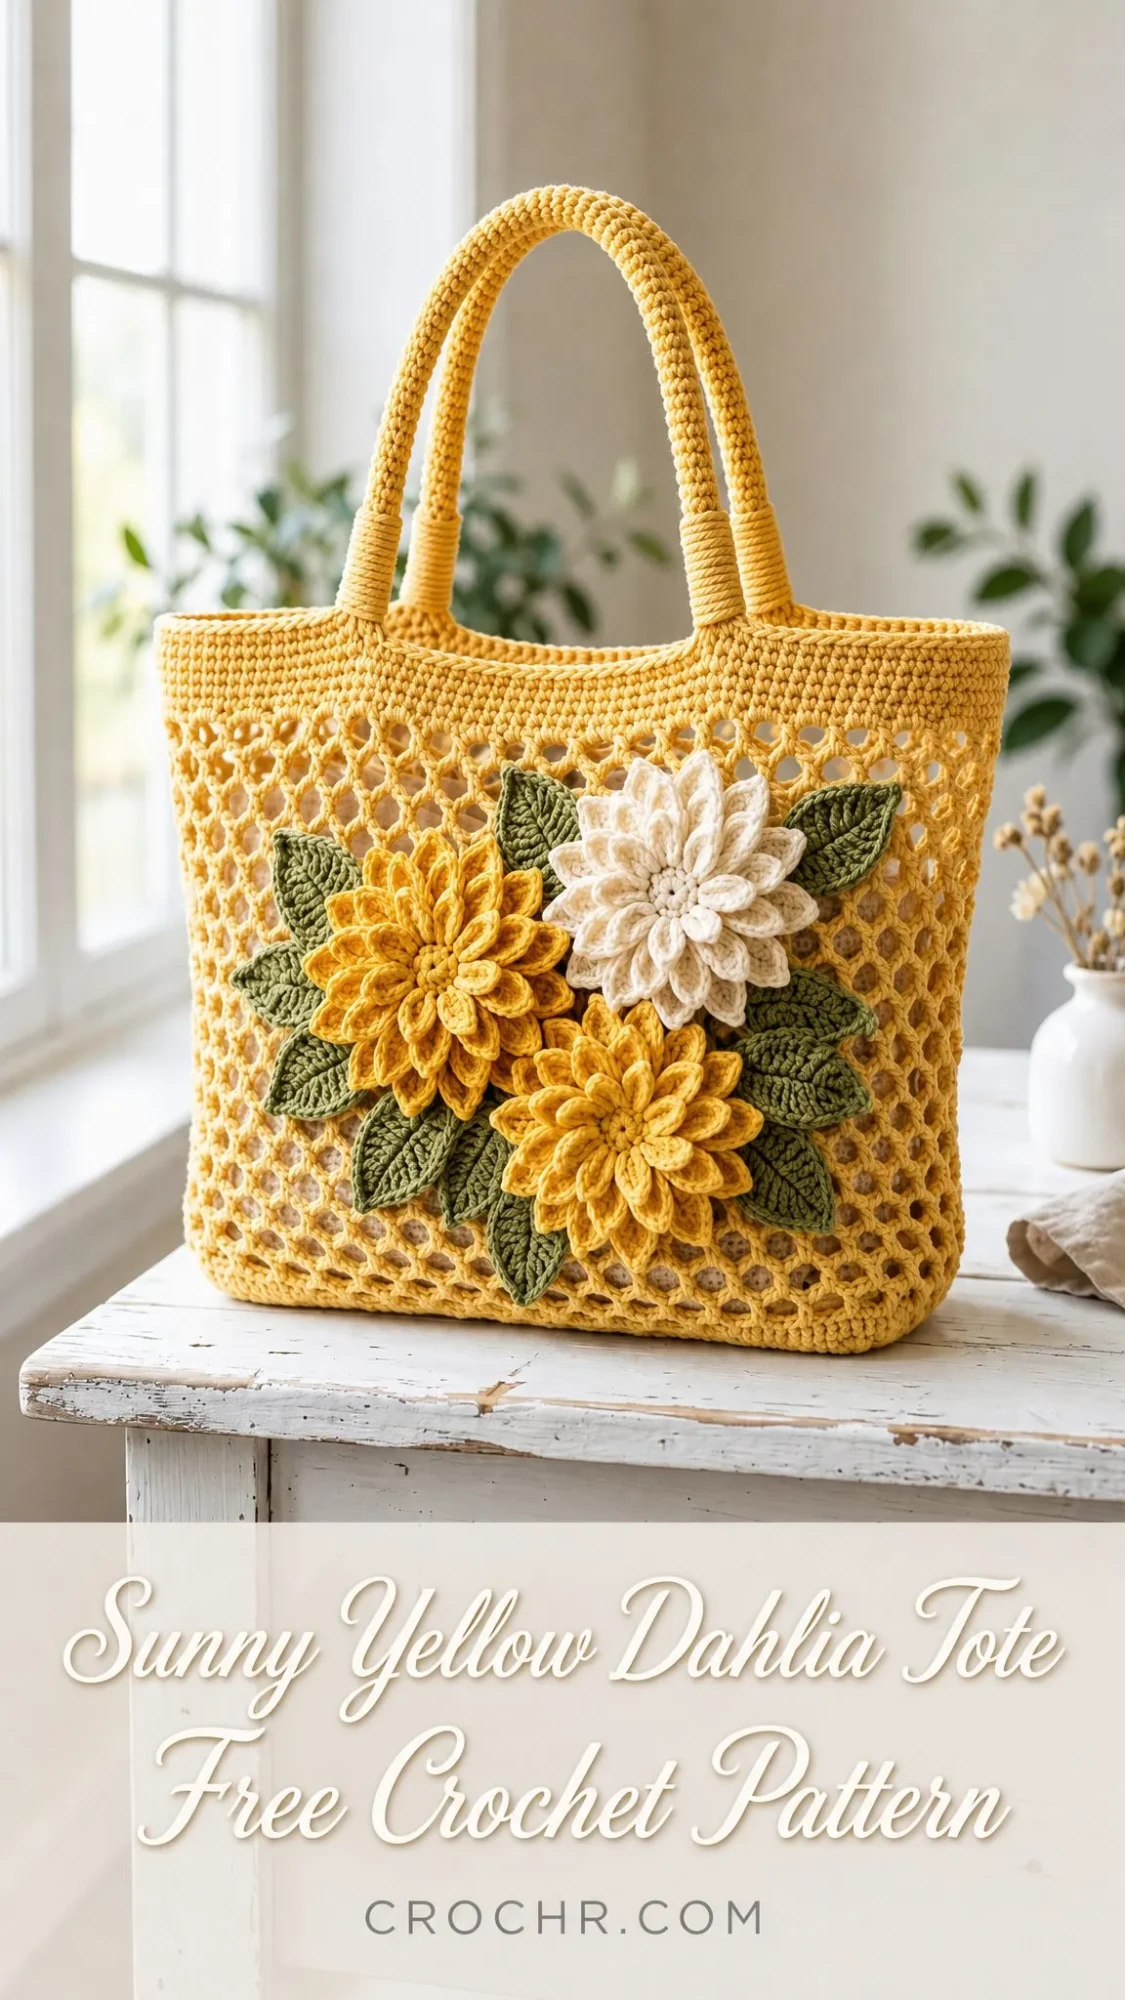
The bag measures approximately 12 inches wide by 11.5 inches tall by 3 inches deep, excluding the handles. The handle drop is 6.5 inches. It is a practical size for farmers market trips, beach days, or everyday errands. The floral appliques are made separately and sewn on at the end, so you can customize the placement to your liking.
If you have worked basic stitches in the round before, you can absolutely tackle this project. The mesh section uses a simple chain and single crochet repeat that becomes second nature after a few rounds.
Skill Level
This pattern is rated intermediate. You should be comfortable working mesh in the round, constructing a sturdy bag base, sewing handles securely, and assembling layered appliques. If you have made a market bag or granny square tote before, you have the skills for this project.
Finished Measurements
The completed tote measures approximately 12 inches wide by 11.5 inches tall by 3 inches deep (30.5 cm x 29 cm x 7.5 cm), excluding handles. The handle drop is 6.5 inches (16.5 cm).
Materials You Will Need
Yarn:
Hooks:
Notions:
Yarn Suggestions
These cotton yarns work beautifully for this project:
When substituting yarn, choose a firm cotton or cotton blend that matches gauge. Softer acrylics may stretch over time and might need a lining or smaller hook. For a lighter weight bag, use category 3 cotton and expect a smaller finished tote unless you add extra repeats.
Gauge
Getting gauge right matters for this project because the bag needs to hold its shape and the mesh cells need to be even.
| Area | Measurement |
|---|---|
| Solid single crochet | 16 sc x 18 rows = 4 inches / 10 cm, blocked |
| Mesh body | 5 mesh repeats x 8 rounds = 4 inches / 10 cm, lightly blocked |
| Motif gauge | Large dahlia approximately 3.75 inches / 9.5 cm across with smaller hook |
Please swatch and match gauge before starting. Individual results may vary depending on your yarn, tension, hook size, and finishing technique. You may need to make small adjustments to achieve the closest possible result to the finished project shown.
Abbreviations and Stitch Guide
Here are all the abbreviations used in this pattern:
UK Terminology Note: This pattern uses US terms. US sc equals UK dc. US dc equals UK tr. US hdc equals UK htr.
Special Stitches
Honeycomb Mesh Repeat
On the first mesh round: chain 3, skip 2 stitches, single crochet in the next stitch. On following mesh rounds: single crochet in the next chain 3 space, chain 3. Each repeat creates one open mesh cell.
Single Crochet 2 Together (sc2tog)
Insert hook in the next stitch, yarn over and pull up a loop. Insert hook in the following stitch, yarn over and pull up a loop. Yarn over and pull through all 3 loops on hook.
Picot Petal Point
Chain 2, slip stitch in the second chain from hook. Continue down the petal chain as instructed. This adds a neat pointed tip to each petal.
Surface Slip Stitch
Hold yarn on the wrong side. Insert hook through the fabric, pull up a loop, insert hook in the next position, pull up a loop and pull it through the loop on hook.
Pattern Notes Before You Begin
Left Handed Note: Work the same stitch counts and measurements. Your rounds will travel in the opposite direction. Place the floral cluster on the front after the tote is blocked so the layout is visually centered.
Tote Instructions: Base and Mesh Body
Base Rectangle
Foundation: Chain 43. Single crochet in the 2nd chain from hook and in each chain across. (42 sc)
Rows 2 through 12: Chain 1, turn, single crochet in each stitch across. (42 sc each row)
At the end of Row 12, your base should measure approximately 10.5 x 2.75 inches (26.5 x 7 cm).
Pick Up Round: Do not turn. Work around the rectangle as follows: 42 single crochet across the top edge, 12 single crochet down the side, 42 single crochet across the foundation edge, 12 single crochet up the remaining side. Join with a slip stitch. Place 4 corner markers. (108 sc)
Solid Lower Band
Round 1: Chain 1, single crochet in each stitch around. Join. (108 sc)
Rounds 2 and 3: Repeat Round 1. (108 sc each round)
Your lower wall should measure approximately 0.75 inches (2 cm) tall.
Honeycomb Mesh Body
Round 4: Chain 1, single crochet in the first stitch. Chain 3, skip 2 stitches, single crochet in the next stitch. Repeat from * around, ending with chain 3, skip the last 2 stitches. Join to the first single crochet. (36 mesh cells)
Rounds 5 through 21: Slip stitch into the first chain 3 space. Chain 1, single crochet in the same space, chain 3. Single crochet in the next chain 3 space, chain 3. Repeat from * around. Join to the first single crochet. (36 mesh cells each round)
Checkpoint: After Round 21, your tote body should measure about 10 inches (25.5 cm) from the base bottom to the upper mesh edge. You should have 36 even mesh cells around. The fabric should stand softly but not flare outward.
Top Band and Handles
Top Band
Round 22: Chain 1, work 3 single crochet in each chain 3 space around. Join. (108 sc)
Rounds 23 through 27: Chain 1, single crochet in each stitch around. Join. (108 sc each round)
Your top band should measure approximately 1.25 inches (3 cm).
Round 28: Work reverse single crochet or slip stitch around for a firm rim. Join and fasten off. (108 sts)
Padded Handles (Make 2)
Step 1: Chain 70. Single crochet in the 2nd chain from hook and in each chain across. Chain 1, turn. (69 sc)
Steps 2 through 5: Single crochet in each stitch across. Fasten off at the end of Step 5, leaving a long sewing tail. (69 sc each row)
Your handle strip should measure approximately 17 inches (43 cm) long.
Padding: Lay the optional cord along the wrong side center of the handle. Fold the long edges around the cord and whipstitch closed to form a rounded handle. The finished handle should be approximately 0.5 inches (1.3 cm) thick.
Marking Handle Placement: On the front top band, count across the 42 front stitches: 6 stitch side margin, 6 stitch handle end, 18 stitch center gap, 6 stitch handle end, 6 stitch side margin. Repeat on the back.
Sewing: Pin each handle end over 6 top band stitches, extending 1.25 inches (3 cm) down the inside of the bag. Sew a rectangle with an X through it for maximum security. Make sure handles are not twisted.
Handle Tip: For a heavy use market bag, add a fabric lining and stitch through both the crochet and the lining at the handle tabs for extra durability.
Dahlia Flowers and Leaves
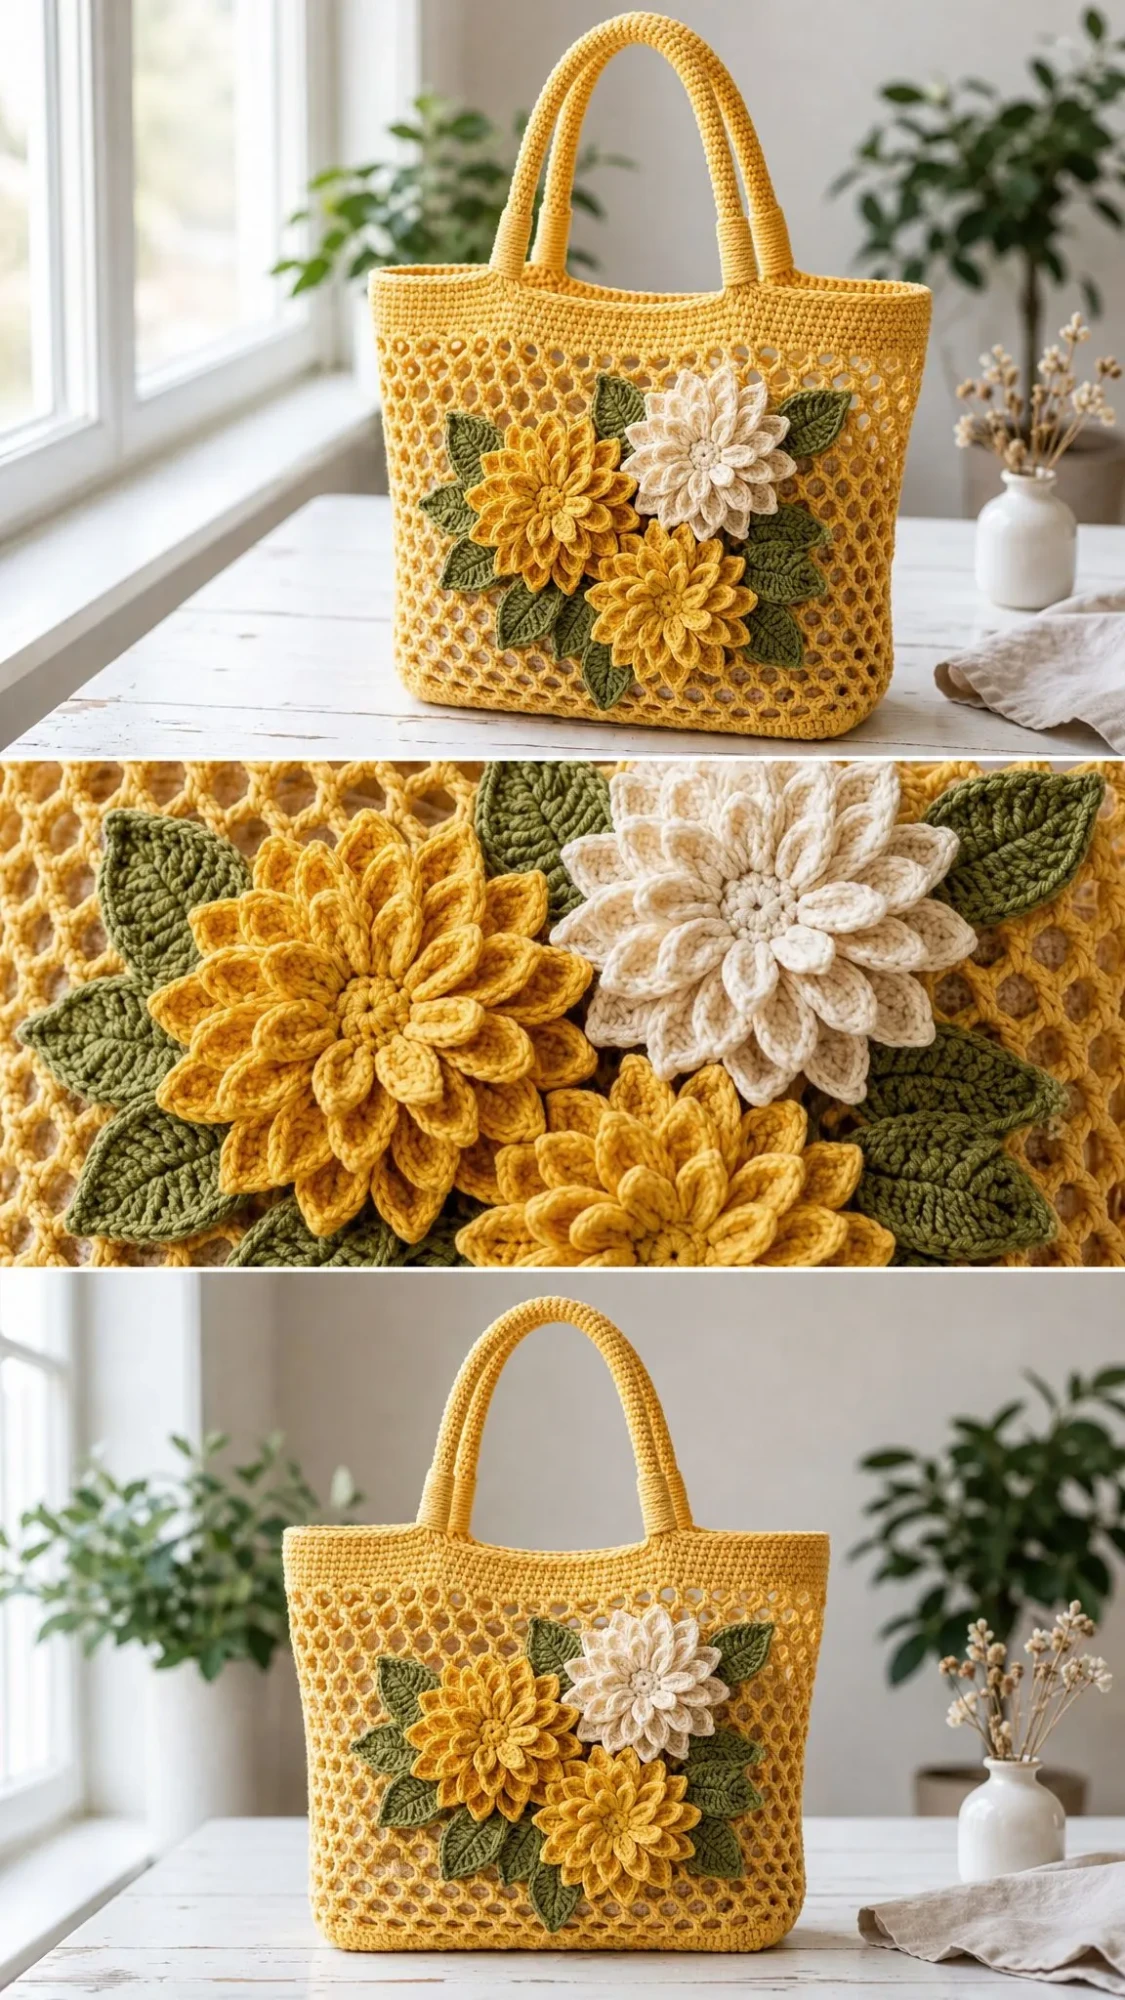
Make 1 large mustard dahlia, 1 large cream dahlia, and 1 smaller golden flower.
Large Dahlia (Make 2)
Round 1: With your flower color, work 6 single crochet in a magic ring. Join. (6 sc)
Round 2: Chain 1, 2 single crochet in each stitch around. Join. (12 sc)
Round 3: In BLO, chain 1, single crochet in each stitch around. Join. (12 sc)
Front Petals: Working in the remaining FLO from Round 2: Slip stitch in the next loop, chain 6, picot, working down the chain make single crochet, half double crochet, double crochet, half double crochet, single crochet. Repeat from * around. (12 petals)
Back Petals: Working around Round 3: Slip stitch at the next stitch base, chain 8, picot, working down the chain make single crochet, half double crochet, double crochet, treble crochet, double crochet, half double crochet, single crochet. Repeat from * around. (12 petals)
Small Dahlia (Make 1)
Round 1: Work 8 single crochet in a magic ring. Join. (8 sc)
Round 2: Chain 1, 2 single crochet in each stitch around. Join. (16 sc)
Petals: Slip stitch in the next stitch, chain 6, picot, working down the chain make single crochet, half double crochet, double crochet, half double crochet, single crochet. Repeat from * around using every other stitch as the anchor. (8 petals)
Textured Leaves (Make 10)
Leaf: Chain 12. Slip stitch in the 2nd chain from hook, single crochet, half double crochet, double crochet in the next 5 chains, half double crochet, single crochet, slip stitch in the last chain. Chain 1, rotate to work on the opposite side of the chain. Slip stitch, single crochet, half double crochet, double crochet in the next 5 chains, half double crochet, single crochet, slip stitch. Fasten off. (22 side stitches plus center chain)
Vein: With a tapestry needle or surface slip stitch, add one center vein from the base to the tip of each leaf. (1 vein)
Each finished leaf should measure approximately 2.5 inches (6.5 cm) long.
Motif Placement
Arrange the two large flowers diagonally across the front of the bag, with the smaller flower positioned in the lower right area. Tuck leaves behind the flower edges until the cluster fills about 7 x 5.5 inches (18 x 14 cm). Sew the leaves first, then attach the flowers.
Assembly and Finishing
Blocking: Block the tote body over a box or folded towels to square the base and open the mesh evenly.
Attaching Motifs: Mark the center front. Arrange leaves and flowers while the bag is stuffed so the mesh is not distorted. Sew each motif through several hidden points only. Avoid sewing every petal flat so the flowers keep their dimensional appearance.
Final Steps: Weave in all ends securely. Steam lightly if your yarn allows it, but do not flatten petals aggressively.
Size Customization Tips
Want to adjust the size? Here is how:
Troubleshooting Common Issues
| Issue | Fix |
|---|---|
| Mesh flares outward | Use a smaller hook for mesh rounds or block more gently. Confirm you have 36 cells around |
| Top edge tightens | Work Round 22 loosely. Each chain 3 space needs exactly 3 single crochet |
| Handle stretches | Add cord padding, sew larger tabs, or line the bag |
| Motifs curl | Block petals flat for 10 to 15 minutes, then shape by hand before sewing |
Care Instructions
At a Glance Stitch Counts
Use these checkpoints as you work through the pattern:
| Section | Counts |
|---|---|
| Base | Rows 1 through 12: 42 sc per row. Pick up round: 108 sc |
| Lower band | Rounds 1 through 3: 108 sc each round |
| Mesh | Round 4: 36 cells. Rounds 5 through 21: 36 cells each round |
| Top band | Round 22: 108 sc. Rounds 23 through 27: 108 sc each. Round 28: 108 edging sts |
| Handles | Each strip: 69 sc across x 5 rows. Each end sewn over 6 top band stitches |
| Large flowers | 12 center stitches, 12 front petals, 12 back petals. Make 2 |
| Small flower | 16 center stitches, 8 petals. Make 1 |
| Leaves | Make 10, each about 2.5 inches (6.5 cm) long |
Estimated Time to Complete
Plan for approximately 12 to 16 relaxed hours for this project, including motif assembly and blocking. The mesh body works up quickly once you get into a rhythm, and the flowers are satisfying to make in shorter sessions.
Final Thoughts on the Sunny Yellow Dahlia Tote Crochet Pattern
This sunny tote is the kind of project that looks impressive but is genuinely achievable for anyone comfortable with basic crochet skills. The honeycomb mesh creates a beautiful texture, the padded handles make it comfortable to carry, and those layered dahlia flowers add a special handmade touch that will get compliments everywhere you go.
Match your gauge, keep the mesh count even, and block before placing the flower cluster. Small changes to motif placement are welcome. The dimensional flowers should look full and organic, so do not worry about perfection.
Thank you so much for choosing this pattern for your next project. I truly hope you enjoy making it as much as I enjoyed designing it. If you make this tote, I would absolutely love to see your finished bag! Share your photos on Instagram or in our Facebook group, and tag me so I can celebrate your work with you.
If you loved this pattern, save it to your Pinterest boards so you can find it easily when you are ready to start. And please drop a comment below if you make one. I read every single comment and it makes my day to hear from you!
Want a Quick & Easy Printable Version?
Get a clean, beautifully formatted PDF of this pattern — easy to follow step by step, ready to print or save on any device. No scrolling, no distractions, just the pattern.
Get the Printable PDF →