
Go dig through your yarn stash right now. I know you have that gorgeous cotton yarn you have been saving for something special. This is the project for it.
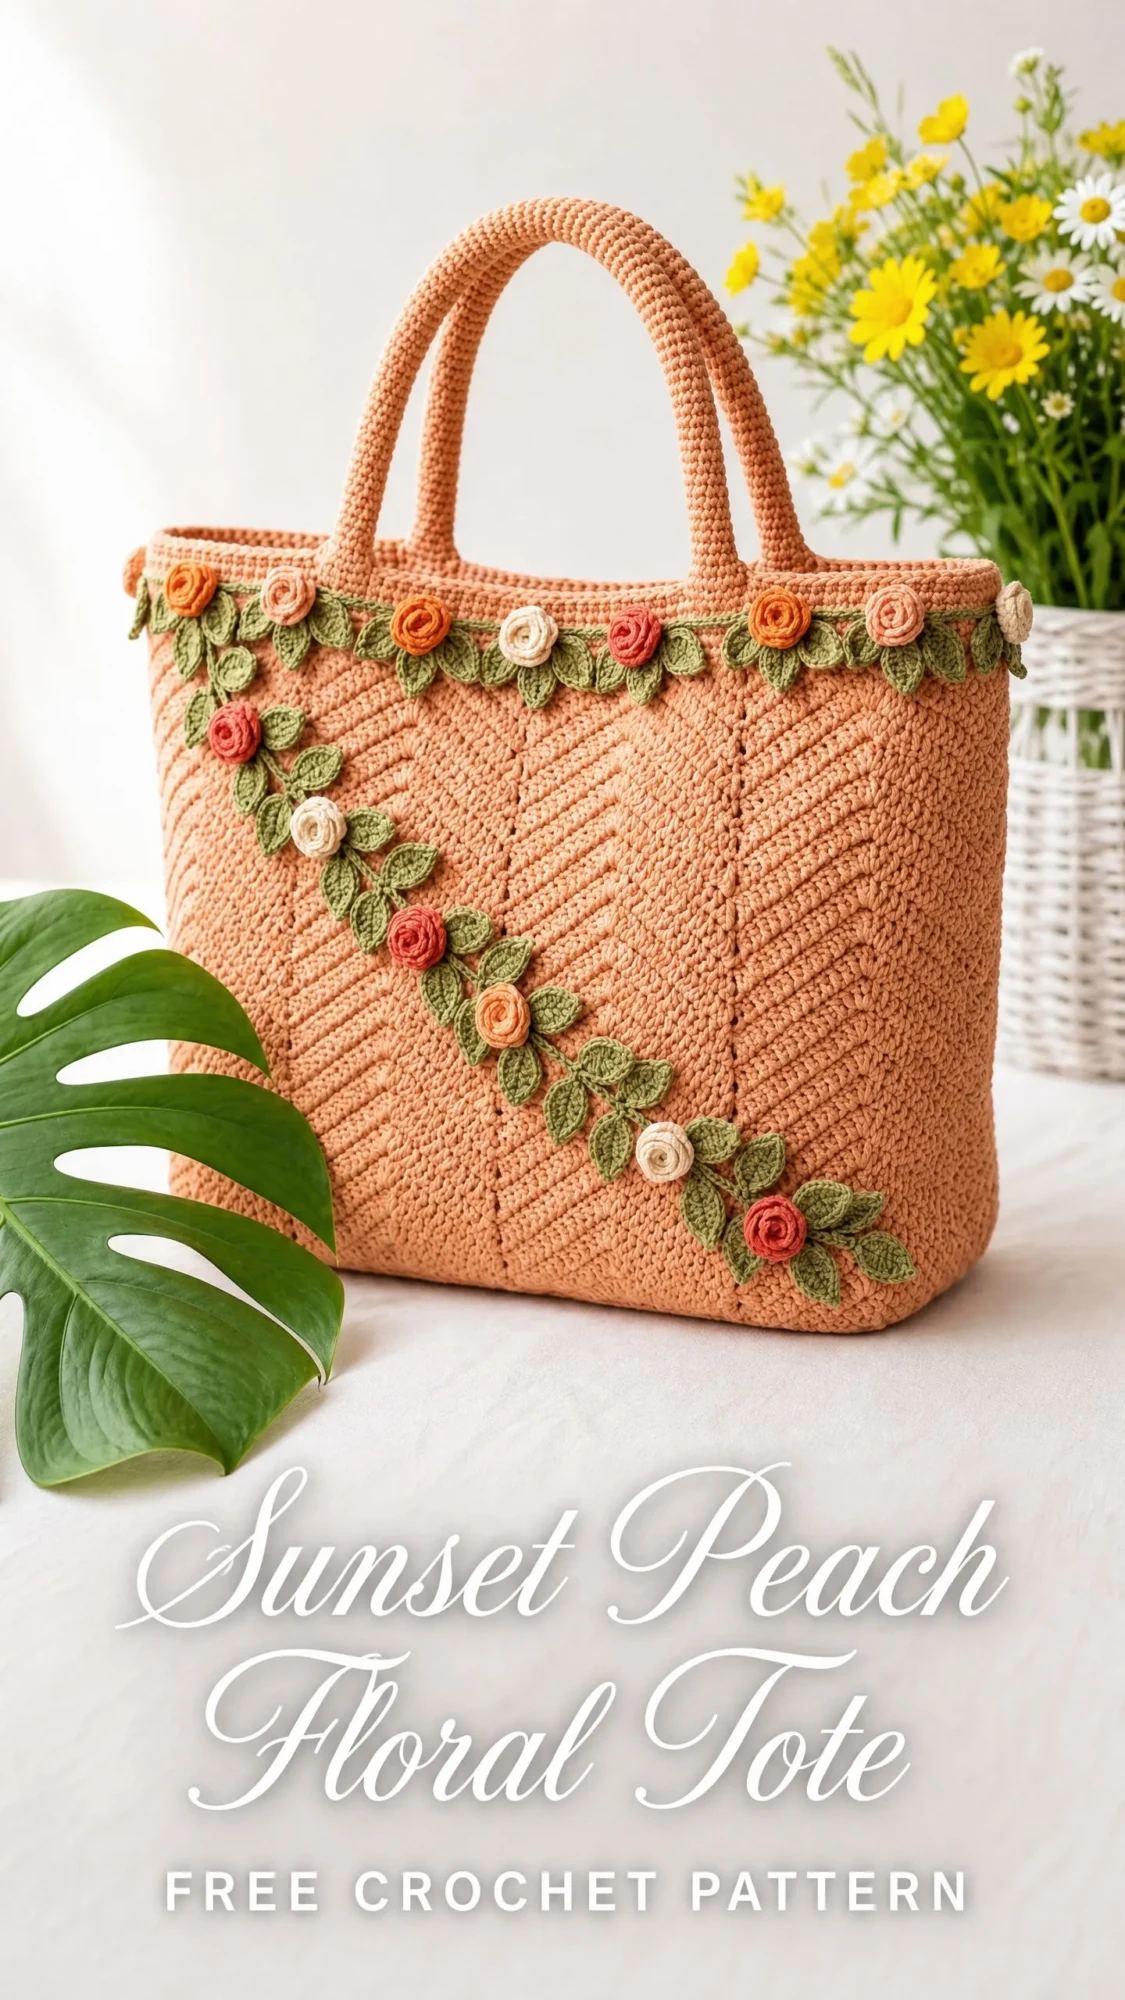
This tote bag combines a textured herringbone body with the sweetest rolled rose embellishments. The construction is more straightforward than it looks. You will work a flat rectangular base, then pick up stitches around the perimeter and crochet upward in continuous rounds. The diagonal vine and floral garland get sewn on at the end.
I will be honest with you. This is an intermediate project. The herringbone single crochet stitch takes a round or two to click, but once you get the rhythm, it becomes almost meditative. If you have never tried it before, practice on a small swatch first. You will be surprised how quickly your hands figure it out.
Why This Crochet Tote Pattern Works So Well
The structure of this bag comes from two things. First, working at a firm gauge with cotton yarn creates stiff fabric that holds its shape. Second, the flat rectangular base gives you a proper bottom that sits nicely on any surface.
The herringbone texture running across the body creates those beautiful diagonal lines you see in the photos. It looks complicated but uses the same stitch count as regular single crochet. You are just changing how you pull the yarn through.
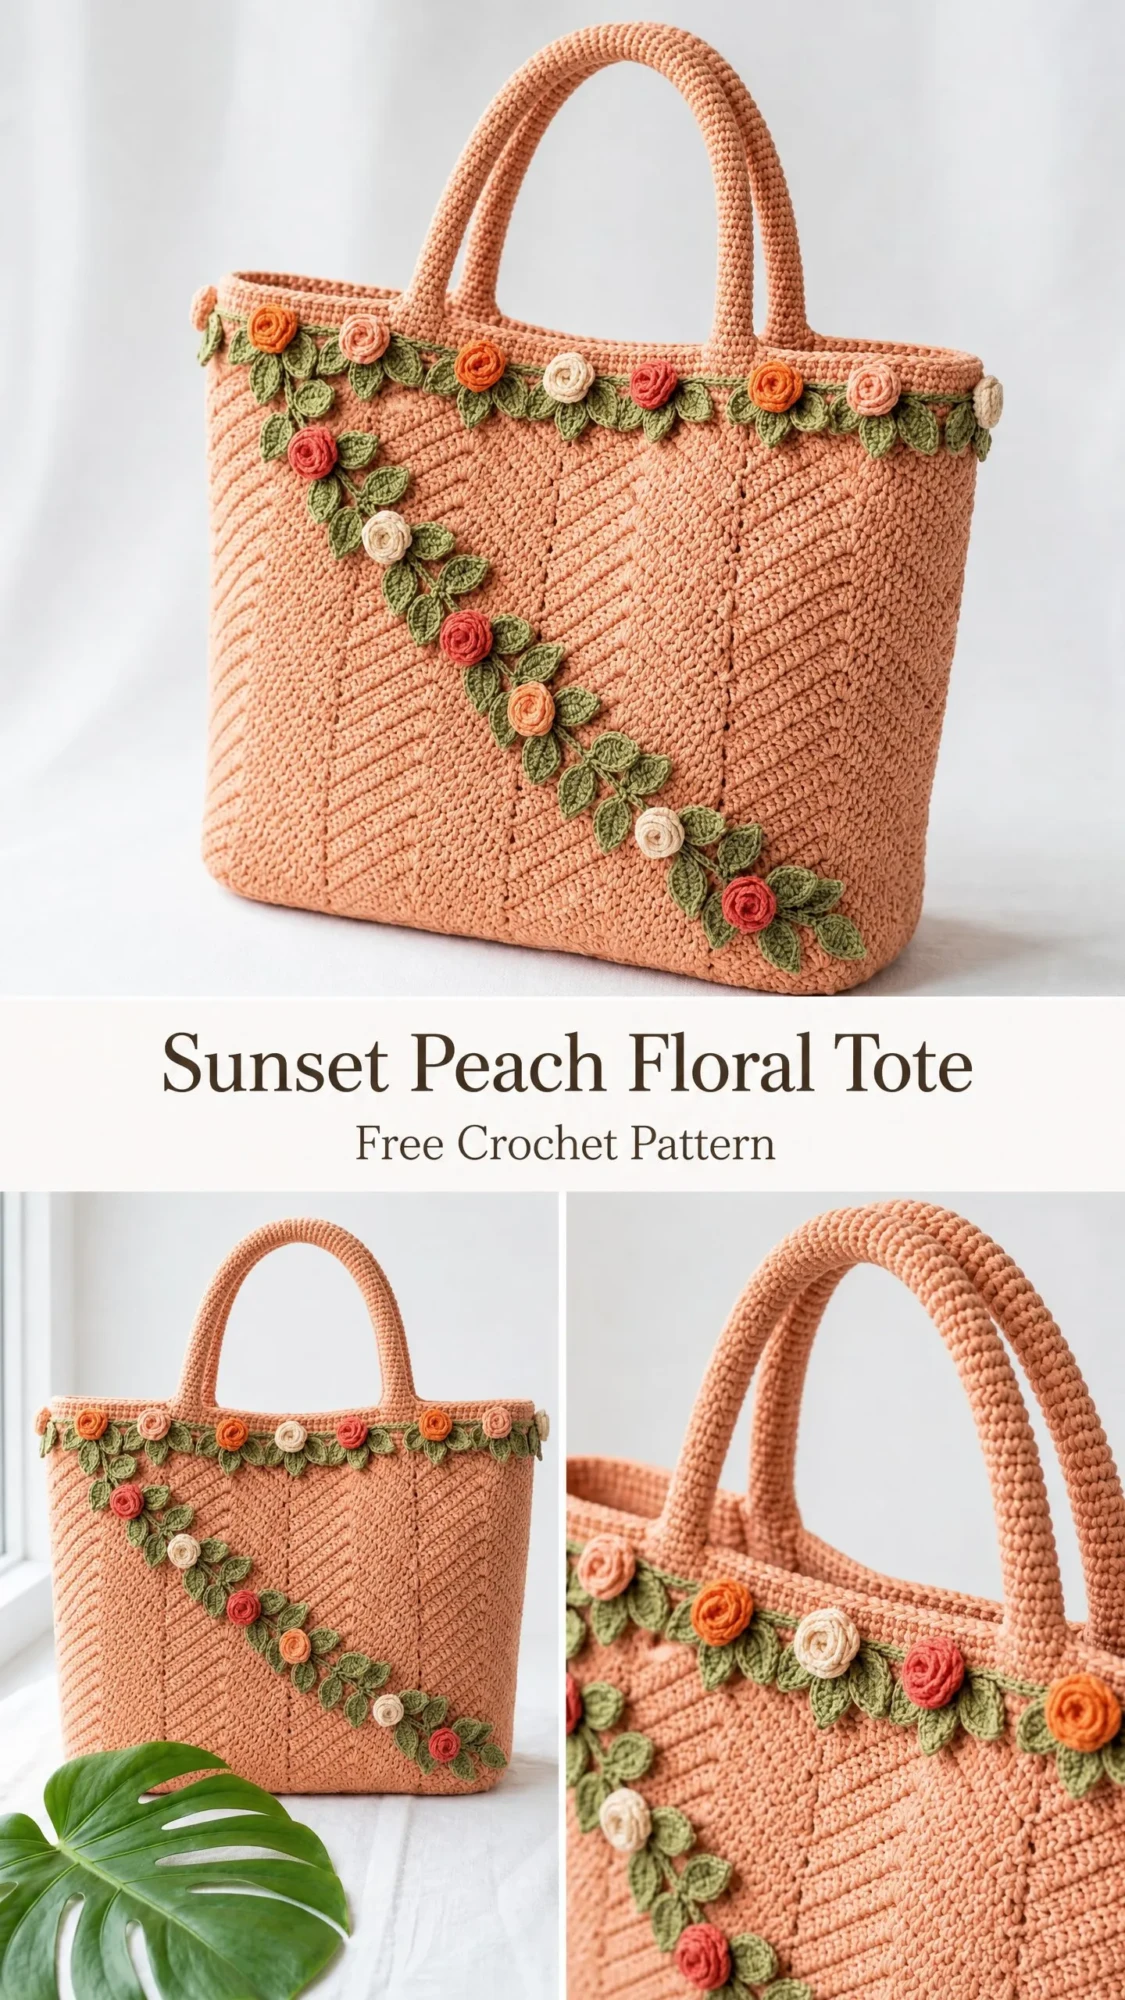
What I love most about this design is the layered floral details. The rolled roses are tiny coiled strips that look like actual rosebuds. The leaf clusters add dimension around the top edge. And that diagonal vine across the front? It transforms a simple tote into a statement piece.
Materials You Will Need
Yarn:
Hooks:
Notions:
Yarn Suggestions That Work Beautifully
Lion Brand 24/7 Cotton in Peach, Succulent, Terracotta, Ecru, and Pumpkin. This mercerized cotton holds stitch definition beautifully and washes well.
Paintbox Yarns Simply DK used at a tight gauge in Blush Pink, Grass Green, Melon Sorbet, Vanilla Cream, and Tangerine. Excellent stitch clarity with a matte finish.
WeCrochet Comfy Worsted in Tutu, Clover, Conch, Bare, and Grapefruit. The cotton and acrylic blend makes it soft, durable, and perfect for a bag that will see regular use.
Choose a smooth, plied cotton yarn. Avoid fuzzy or halo yarns because they will hide that gorgeous herringbone texture.
Finished Size
Approximately 14 inches wide x 11 inches tall x 5 inches deep, not including handles. The handles add approximately 9 inches of rise from the top edge.
Gauge
Using MC and G-6 hook in Herringbone Single Crochet:
18 stitches x 20 rows = 4 inches x 4 inches
To check your gauge, chain 24 and work herringbone single crochet across for 22 rows. Block lightly and measure the center 4 inches. Adjust your hook size if needed.
Gauge matters here. Too loose and your bag will be floppy. Too tight and it will be smaller than intended.
Abbreviations Used in This Crochet Tutorial
Special Stitches Explained Step by Step
Herringbone Single Crochet (HBsc)
This stitch creates the diagonal texture across the bag body. Here is how to work it:
Step 1: Insert your hook into the designated stitch.
Step 2: Yarn over and draw up a loop. You now have 2 loops on your hook.
Step 3: Instead of completing a normal single crochet, draw through only the first loop on your hook (the one closest to the tip). You still have 2 loops.
Step 4: Yarn over and draw through both remaining loops to complete the stitch.
The offset pull-through creates a diagonal slant. When you work this stitch continuously in rounds, you get that beautiful chevron texture.
Small Rolled Rose
Step 1: With your rose color and E-4 hook, ch 16.
Step 2: Sc in 2nd ch from hook, hdc in next ch, (2 dc in next ch) 6 times, (2 hdc in next ch) 3 times, sc in last 3 ch. (21 sts)
Step 3: Fasten off, leaving a 10-inch tail.
Step 4: Starting from the sc end, roll the strip tightly into a coil.
Step 5: Thread the tail onto a yarn needle and stitch through the base of the coil multiple times to secure the rolled shape.
Step 6: Keep the tail attached to sew the rose to the bag later.
Three-Leaf Cluster
Step 1: With CA and E-4 hook, ch 10.
Step 2: Sl st in 2nd ch from hook, sc in next ch, hdc in next ch, dc in next 2 ch, hdc in next ch, sc in next ch, sl st in next ch. (8 sts for first leaf)
Step 3: Ch 10 again from the same base point.
Step 4: Repeat Step 2 for a second leaf.
Step 5: Ch 8 from the same base.
Step 6: Sl st in 2nd ch from hook, sc in next ch, hdc in next 2 ch, sc in next ch, sl st in last ch. (6 sts for smaller third leaf)
Step 7: Fasten off leaving a 10-inch tail for attachment.
Single Leaf
Step 1: With CA and E-4 hook, ch 9.
Step 2: Sl st in 2nd ch from hook, sc in next ch, hdc in next ch, dc in next 2 ch, hdc in next ch, sc in next ch, sl st in last ch. (8 sts)
Step 3: Ch 1, do not turn. Working back along the opposite side of the foundation chain: sl st in first ch, sc in next, hdc in next, dc in next 2, hdc in next, sc in next, sl st in last.
Step 4: Fasten off leaving a tail for attachment.
Pattern Instructions
Section 1: The Base
The base is rectangular and worked flat in rows.
Foundation: With MC and G-6 hook, ch 62.
Row 1 (RS): Sc in 2nd ch from hook and in each ch across. Ch 1, turn. (61 sc)
Rows 2-18: Sc in each st across. Ch 1, turn. (61 sc)
After Row 18, do not ch 1 and do not turn.
Your base should measure approximately 14 inches wide x 4.5 inches deep.
Section 2: Body Sides
Now you will pick up stitches around the entire perimeter of the base and work upward in continuous rounds.
Setup Round: With RS facing and continuing from the last stitch of Row 18:
Work 1 sc in the end of each row along the right short side: 18 sc.
Work 1 sc in each of the 61 foundation chain stitches along the bottom: 61 sc.
Work 1 sc in the end of each row along the left short side: 18 sc.
Work 1 sc in each of the 61 sts across Row 18: 61 sc.
Place marker, sl st to join. (158 sc total)
Round 1: Ch 1 (does not count as a st). HBsc in each st around. Pm at beginning of round. (158 HBsc)
Rounds 2-30: HBsc in each st around. (158 HBsc)
After Round 30, your body wall height should be approximately 6 inches. Total bag height including base should be approximately 11 inches.
Round 31 (Top Edge Preparation): Sc in each st around. Sl st to join. (158 sc)
Fasten off, leaving a 6-inch tail. Weave in the tail.
Section 3: Handles (Make 2)
Foundation: With MC and G-6 hook, ch 62.
Row 1: Sc in 2nd ch from hook and in each ch across. Ch 1, turn. (61 sc)
Rows 2-4: Sc in BLO of each st across. Ch 1, turn (except after Row 4). (61 sc)
After Row 4, do not turn. Work around the entire piece:
Work 3 sc in the last st (corner), sc in the end of each of the 3 rows along the short edge (3 sc), 3 sc in corner st at the foundation chain end, sc back along the opposite side of the foundation chain for 61 sc, 3 sc in corner, sc in the 3 row ends along the other short edge, 3 sc in corner, sl st to join.
Fold the strip lengthwise so the two long edges meet. Sl st through both layers along the entire length to create a rounded tube. Fasten off.
Attachment: Position each handle centered on the front and back panels. The inner edges should be approximately 3 inches apart. Sew handle ends securely with whipstitch, reinforced with cross-stitches for durability.
Section 4: Top Edge Floral Garland Trim
Garland Row 1: Join CA to any st of the top edge with sl st. Ch 1, sc in each st around. Sl st to join. (158 sc)
Garland Row 2 (Leaf Tab Row): Ch 1. Working into Garland Row 1 sts:
Ch 5, sl st in 2nd ch from hook, sc in next ch, hdc in next ch, dc in last ch of ch-5, sl st in same base sc, sl st in next sc. Repeat around. Sl st to join.
Fasten off CA. (79 leaf tabs around)
Rose Placement: Make the following roses:
Space these 18 roses evenly around the top edge, approximately every 8 to 9 stitches. Alternate colors so no two adjacent roses match.
Make 9 Three-Leaf Clusters in CA and sew them between rose groupings with leaves extending slightly downward.
Section 5: Diagonal Vine Applique
The diagonal vine runs from the upper left of the front panel to the lower right.
Components needed:
Mark your diagonal path with pins before sewing. Start approximately 1 inch from the top edge and 1 inch from the left side seam. End approximately 1 inch from the bottom edge and 1 inch from the right side seam.
Space leaves and roses at approximately 2 to 2.5 inch intervals along the diagonal. Position 2 leaves flanking each rose, with solo leaves between roses.
Sew each piece through both layers of the bag body for durability.
Total Rose and Leaf Count
Roses needed:
Leaves needed:
Finishing and Blocking Your Crochet Tote
Weave in all yarn ends securely. For each rose tail, pass through the base at least twice before weaving in to prevent unrolling.
Lightly mist the finished bag with cool water. Do not soak. Gently shape by hand to ensure the sides are straight and the base corners are square.
Insert a folded towel or plastic canvas cut to base dimensions inside the bag to hold its shape while drying. Allow to air dry completely, about 24 hours.
For extra structure, apply a light spray of bag stiffener to the exterior.
Care Instructions
Machine wash on gentle cycle in cold water using a mesh laundry bag. Or hand wash in cool water with gentle detergent. Do not wring. Press out excess water in a clean towel.
Reshape while damp and air dry flat. Do not tumble dry on high heat. Store flat or stuffed with tissue paper to maintain the bag’s shape.
Size Customization Tips
For a smaller bag (approximately 11 x 9 x 4 inches): Reduce the starting chain to ch 48. Work 12 rows for the base. Your perimeter pickup will yield approximately 122 sts. Work 22 rounds of HBsc for the sides.
For a larger bag (approximately 16 x 13 x 6 inches): Increase the starting chain to ch 74. Work 22 rows for the base. Your perimeter pickup will yield approximately 190 sts. Work 35 rounds of HBsc for the sides.
I hope you love making this beautiful floral tote as much as I enjoyed designing it. If you create one, I would absolutely love to see it. Tag me on Instagram or share a photo in my Facebook group.
Go ahead and save this pattern to your Pinterest boards so you can find it when you are ready to start. And if you make this bag, please leave a comment below. I read every single one and your photos make my day.
You Might Also Like
- Sunny Sunflower Crochet Pot Free Crochet Pattern
- Lavender and Lilac Baby Dress Free Crochet Pattern
- Sage Green Granny Square Tote Free Crochet Pattern
- Christmas Peppermint Granny Square Blanket Free Crochet Pattern
