Okay, yarn lovers. This is your sign to dig into that stash and finally use those gorgeous sunset-toned skeins you’ve been saving. The Sunset Glow Granny Square Tote brings together cream, coral, gold, and terracotta in a classic four-round sunburst square, then joins them with a soft blush lattice that makes the whole bag glow.
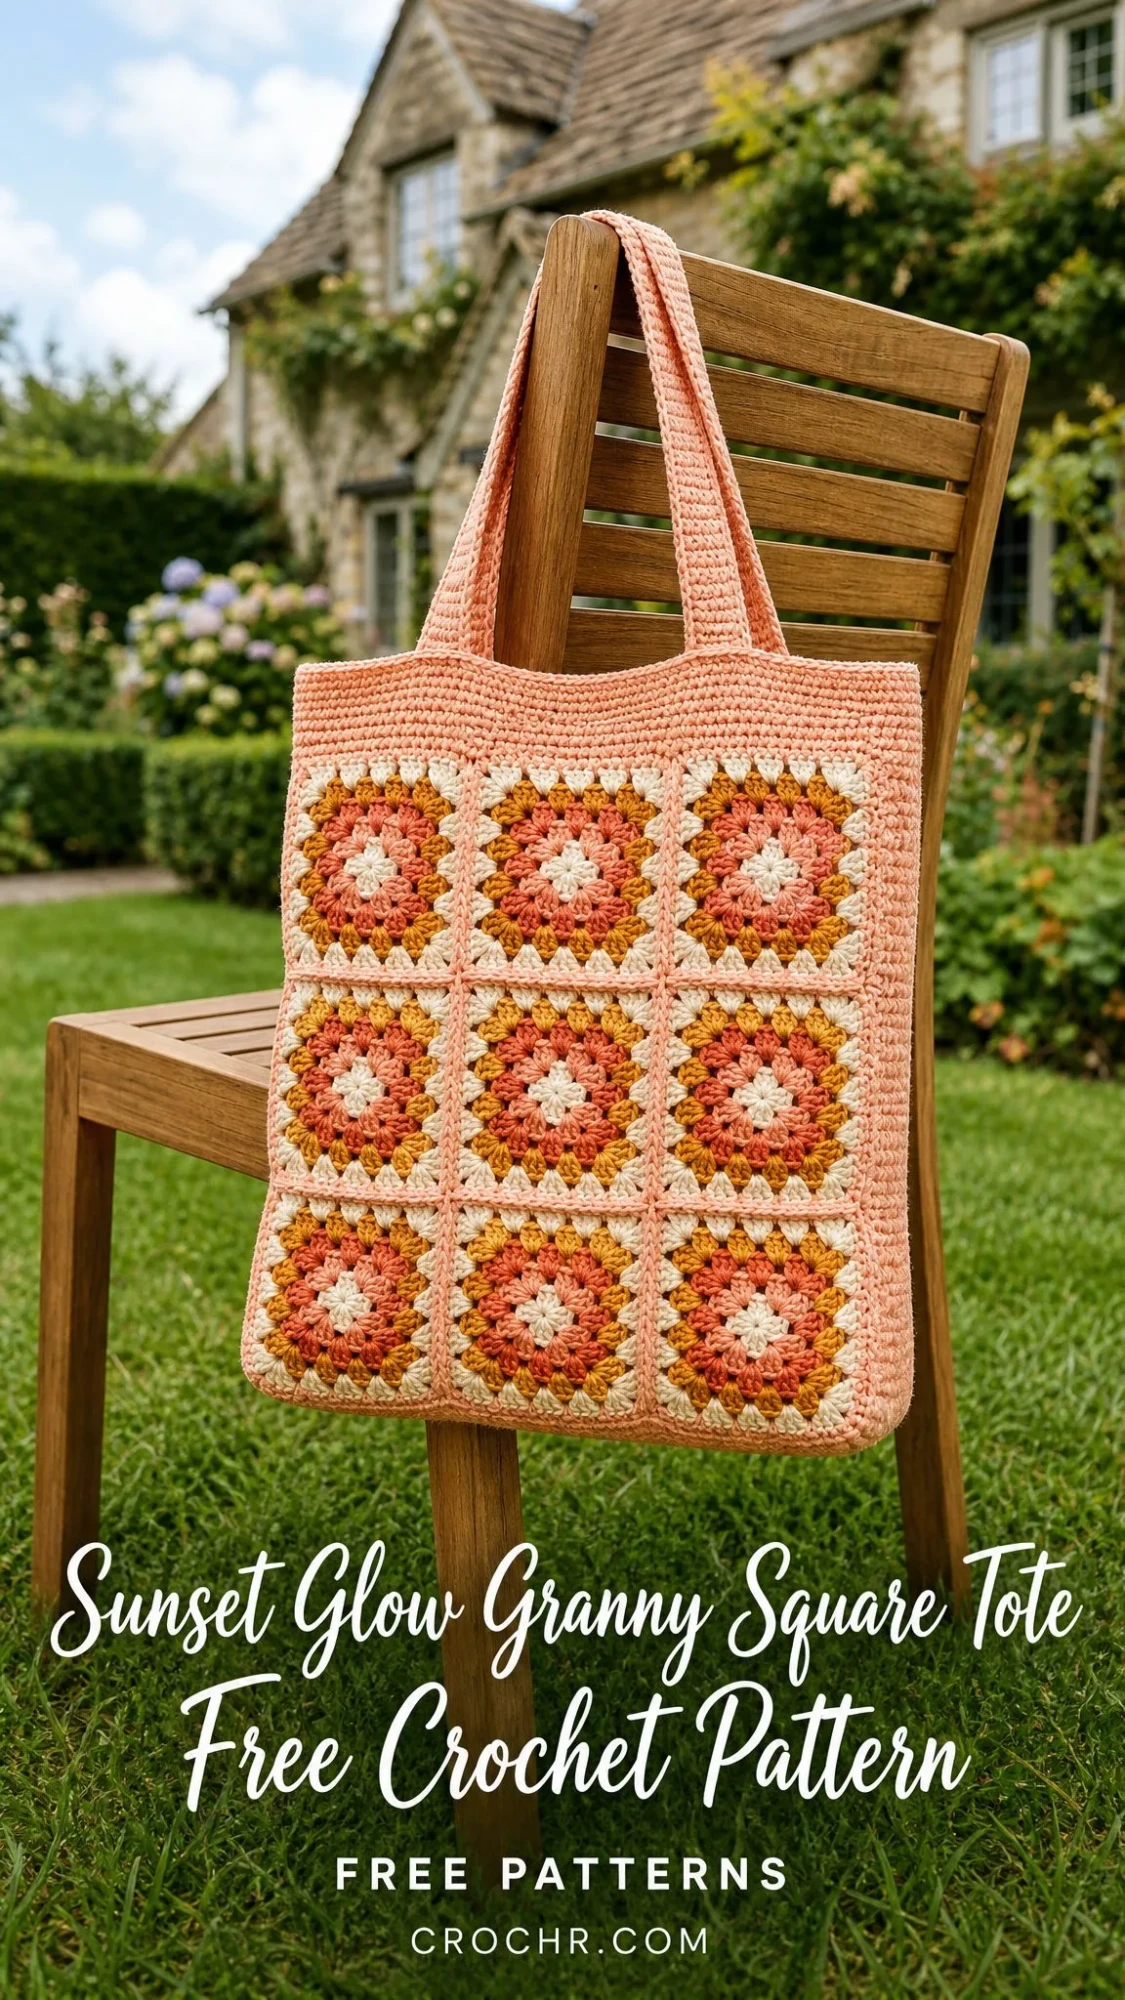
The construction is surprisingly straightforward. You’ll make 27 identical squares, join them into flat panels, then wrap a single-square gusset around the sides and base for real depth and structure. If you can work a basic granny square and a simple seam, you’re ready for this one.
I’ll be honest with you. This project takes some time, around 10 to 14 hours total. But those squares are perfect for stitching anywhere, and the assembly comes together in an afternoon. The finished tote stands on its own, holds its shape beautifully, and looks absolutely stunning at the farmer’s market or beach.
Why You’ll Love This Granny Square Tote Pattern
This isn’t your grandmother’s floppy granny square bag. The single-square gusset gives the tote genuine depth, so it stands upright and holds more than you’d expect. The solid blush band at the top keeps the opening tidy and gives the straps a sturdy anchor point.
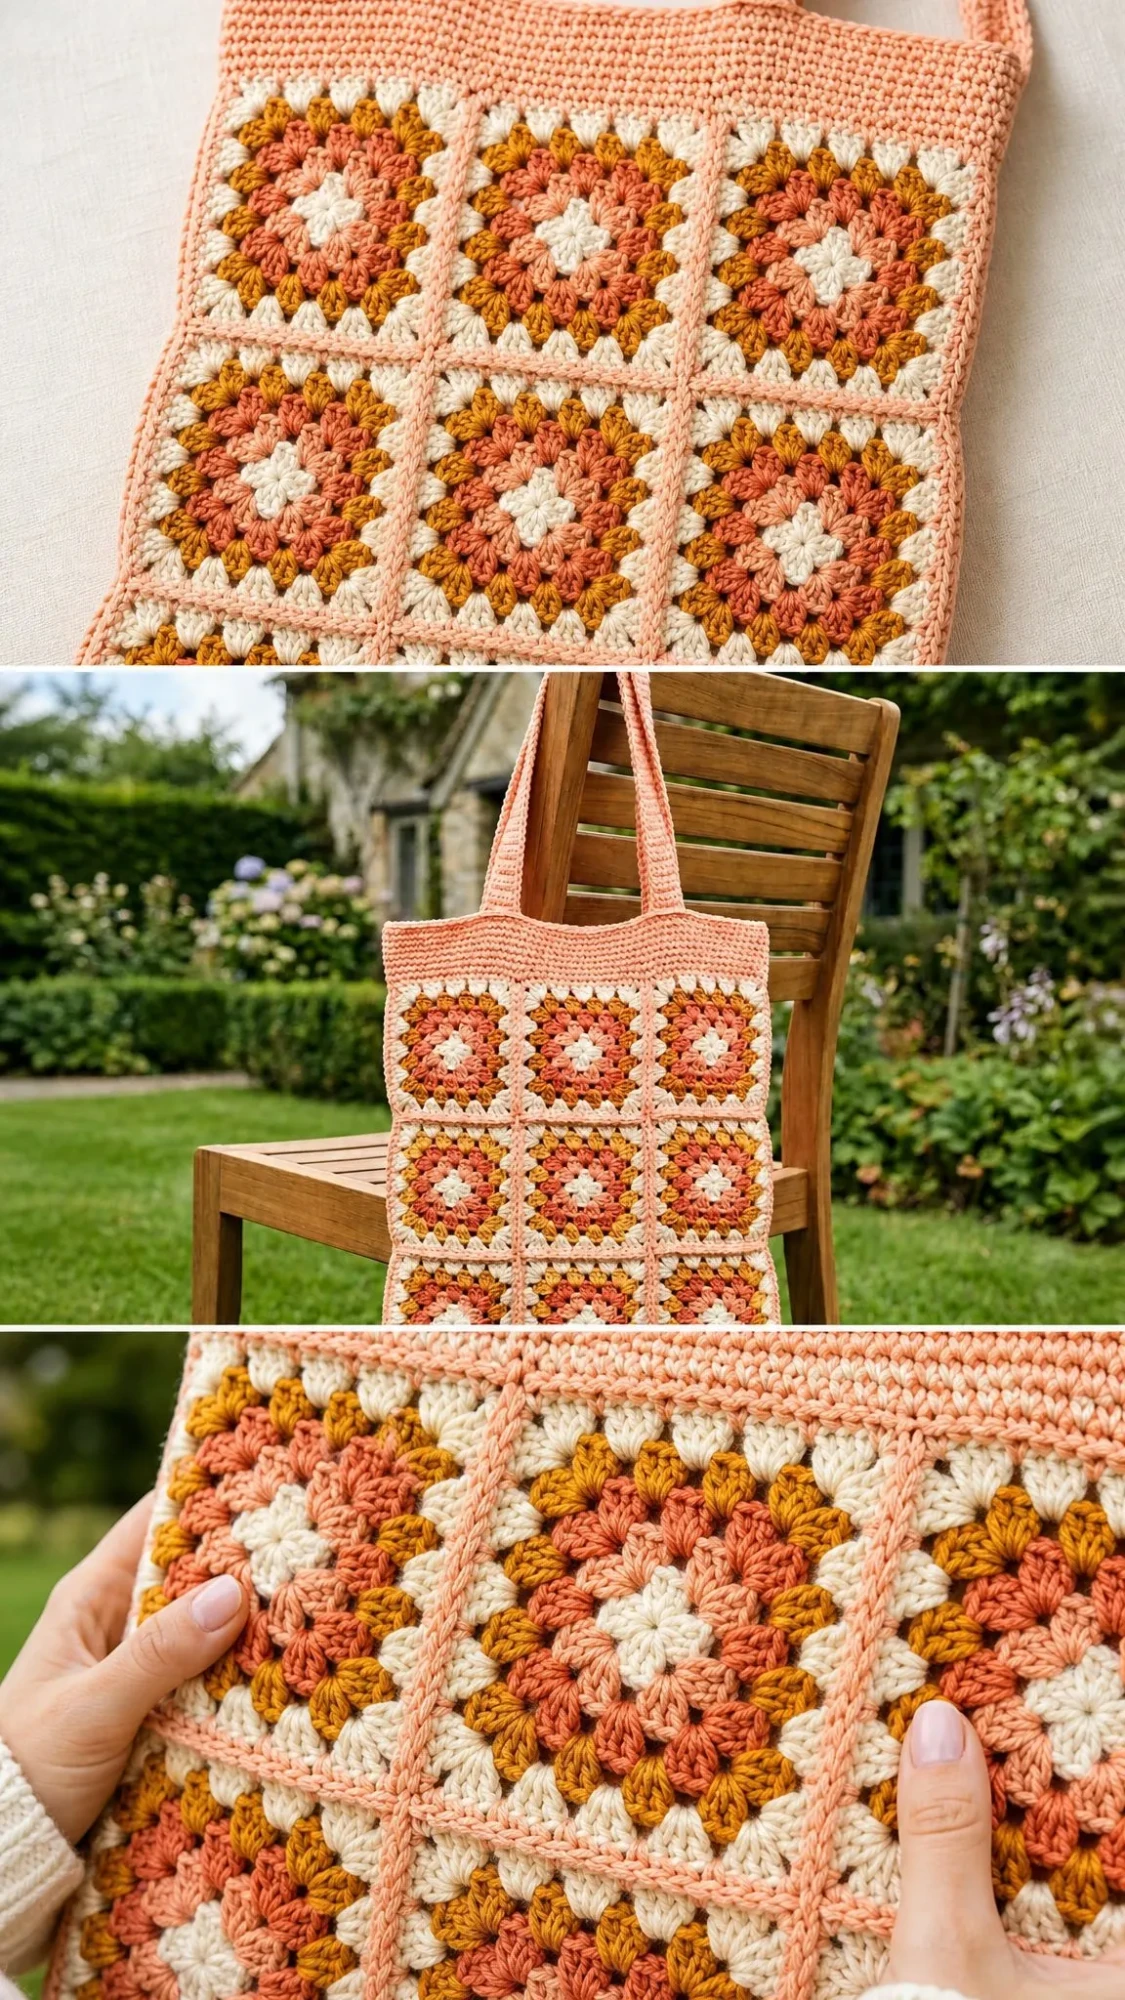
The ridge join technique creates that beautiful raised lattice you see on the outside of the bag. It’s worked in single crochet through both layers with wrong sides together, so the seam sits proudly on the right side. This detail transforms the bag from homemade to handcrafted.
The color palette feels warm and summery without being overwhelming. Each square builds from a cream center outward through coral, gold, and terracotta, with the soft peach joining yarn tying everything together.
Finished Dimensions
Your completed tote will measure:
The bag is built from 27 four-round squares arranged as follows: 9 for the front panel, 9 for the back panel, and 9 in a wraparound gusset that forms both sides and the base.
Materials You’ll Need
Yarn
This pattern uses aran-weight cotton (also called worsted or 10-ply) for crisp stitch definition and a tote that holds its shape. Cotton softens beautifully with use while maintaining structure.
You’ll need five colors:
Yarn suggestions: Paintbox Yarns Cotton Aran, Drops Paris, or Lily Sugar’n Cream (worsted). Any aran cotton that meets gauge will work. Choose five warm sunset tones you love.
Tools
Gauge
Getting gauge right is essential here because the whole bag is sized from one 4-inch square.
One completed four-round square should measure 4 inches × 4 inches (10 × 10 cm) with a 5.0 mm hook in aran cotton.
For the band: 14 double crochet (dc) and 8 rounds should equal 4 inches (10 cm).
Take a moment to make one square and measure it. This simple step sets the size of your entire bag and ensures your panels will match up perfectly during assembly.
Abbreviations and Stitch Guide
This pattern uses US crochet terms throughout. UK crocheters should read every sc as UK dc, and every dc as UK tr.
Special Stitches
3-dc cluster (granny group): Work 3 double crochet stitches into the same space. This is the building block of every square.
Corner: Work (3 dc, ch 2, 3 dc) all into one corner space. This creates the characteristic granny square corner with its chain-2 space.
Ridge join (RS join): Hold two squares with wrong sides together and work single crochet through both pieces. The seam sits proud on the right side, forming the soft peach lattice visible on the finished bag.
Pattern Notes Before You Begin
Each round of the square is worked in a new color. Fasten off and join the next color at any corner space. Weave in your ends as you go to save yourself a mountain of finishing work later.
The beginning chain-3 counts as the first double crochet of a round unless otherwise noted. Join each round with a slip stitch to the top of that chain-3.
All 27 squares follow identical color order. If you prefer a scrappier sunset look, you can rotate the order of coral, gold, and terracotta from square to square. The stitch counts remain the same either way.
Every round ends with its stitch count in parentheses to help you check your work, for example (48 dc).
Step 1: The Sunburst Square (Make 27)
Work each square from the center outward in four rounds. Begin with a magic ring, or chain 4 and join into a ring.
Round 1 (Cream)
Into the ring: ch 3 (counts as dc), 2 dc, ch 2, [3 dc, ch 2] 3 times. Join to top of ch 3. Fasten off. (12 dc, 4 corner spaces)
Round 2 (Coral)
Join in any corner sp. Ch 3, (2 dc, ch 2, 3 dc) in same sp; ch 1, (3 dc, ch 2, 3 dc) in next corner sp; rep from twice; ch 1. Join. Fasten off. (24 dc, 4 corners)
Round 3 (Gold)
Join in any corner sp. Ch 3, (2 dc, ch 2, 3 dc) in same sp; ch 1, 3 dc in next ch-1 sp, ch 1, (3 dc, ch 2, 3 dc) in corner; rep from twice; ch 1, 3 dc in last ch-1 sp, ch 1. Join. Fasten off. (36 dc, 4 corners)
Round 4 (Terracotta)
Join in any corner sp. Ch 3, (2 dc, ch 2, 3 dc) in same sp; [ch 1, 3 dc in next ch-1 sp] twice, ch 1, (3 dc, ch 2, 3 dc) in corner; rep from twice; [ch 1, 3 dc in next ch-1 sp] twice, ch 1. Join. Fasten off. (48 dc, 4 corners)
Make 27 squares in total. Block them all to a tidy 4 inches (10 cm). Even squares make assembly effortless and the lattice crisp.
Step 2: Joining the Panels
All joins use Soft Peach and the ridge join technique. Hold squares with wrong sides together and single crochet through both pieces so the seam sits proudly on the right side.
Build the Front Panel
1. Arrange 9 squares in a 3×3 grid.
2. Join into 3 rows of 3 first. Hold two squares with WS together, then sc evenly across one edge. Work approximately 14 sc per square edge.
3. Join the three rows along their long edges to complete the Front panel. Match corners neatly. Work approximately 42 sc per long seam.
Build the Back Panel
Repeat the same process with another 9 squares for an identical Back panel.
Build the Gusset
Ridge-join 9 squares end to end into one long 1×9 strip. This single strip becomes both sides and the base. The finished strip measures approximately 36 inches long.
Tidy corners tip: Where four square corners meet, work the center sc through all layers once to lock the join flat and prevent gaps.
Step 3: Assembling the Body
Now the gusset wraps around the Front and Back panels to give the tote its depth and standing base.
Mark the U
Along the Front panel, the join path forms a U shape: up the left side (3 squares), across the bottom (3 squares), up the right side (3 squares). That’s 9 square edges total, matching the gusset’s 9 squares.
Join Gusset to Front
Hold the gusset strip and Front panel with wrong sides together. Starting at the top-left corner, ridge-join down the left side, around the base, and up the right side using Soft Peach. Ease a few extra single crochet stitches at each base corner so the turn sits squarely. Work approximately 126 sc total.
Join Gusset to Back
Repeat along the gusset’s free long edge, joining it to the Back panel the same way. Your bag now has shape. Work approximately 126 sc total.
Check the Opening
The top edge forms a rectangle: Front top (3 squares) + Back top (3 squares) + the two gusset ends (1 square each). This creates approximately a 32-inch (81 cm) perimeter ready for the band.
Step 4: Top Band and Handles
Top Band (Soft Peach, Worked in Joined Rounds)
Round 1: Join Soft Peach at a top corner. Work sc evenly around the whole opening, keeping the count even. Join. (112 sc)
Rounds 2 through 6: Ch 3 (counts as dc), dc in each st around. Join. Repeat for five rounds total to build a firm band approximately 2½ inches tall. (112 dc each round)
Round 7: Sc in each st around. Join, fasten off. (112 sc)
Handles (Soft Peach, Make 2)
Row 1: Ch 71. Sc in 2nd ch from hook and each ch across. (70 sc)
Rows 2 through 6: Ch 1, turn, sc in each st across. (70 sc each row)
Fold and close: Fold the strip in half lengthwise. Single crochet the long edges together for a sturdy strap. Fasten off, leaving a long tail for sewing. (70 sc seam)
Attaching the Handles
Pin each handle to the inside of the band with ends about 5 inches (13 cm) apart. Center them over the Front panel, aligned above the gaps between squares 1 and 2, and squares 2 and 3. Sew firmly through the band twice for security. Repeat on the Back. Weave in all remaining ends.
Care Instructions for Your Finished Tote
Washing: Hand wash cool or machine wash gentle in a mesh bag. Cotton softens beautifully with use.
Drying: Reshape while damp and dry flat. Avoid the tumble dryer to keep your squares true to size.
Lining: For heavier loads, consider slip-stitching a fabric lining inside the band. This prevents small items from slipping through the lattice.
Storage: Store flat or loosely stuffed so the gusset keeps its shape.
Customization Tips for Your Crochet Tote
Want to make this pattern your own? Here are some easy modifications:
Bigger tote: Go to a 4×4 grid (16 squares per panel) and a 1×11 gusset. Each added square row adds 4 inches (10 cm) of width or height.
Deeper bag: Widen the gusset to 2 squares for an 8-inch (20 cm) base. This makes an ideal beach bag or project bag.
Longer straps: Add chains in multiples of approximately 3.5 stitches per inch. Adding 10 chains gives you roughly 3 extra inches of strap before folding.
Tighter fabric: Drop to a 4.5 mm hook for a denser tote that carries more weight without stretching.
Remember, because the whole bag is sized from one 4-inch square, a quick gauge swatch is the single best way to land at your desired dimensions.
Troubleshooting Common Issues
Squares coming out different sizes? Check your tension and make sure you’re using the same hook throughout. Block all squares before joining.
Gaps at the corners where squares meet? Work that center single crochet through all layers once to lock everything flat.
Band pulling in or flaring out? Adjust your stitch count slightly. You want the band to sit straight without gathering or rippling.
Handles stretching over time? Cotton straps can relax with heavy loads. Drop to a 4.5 mm hook for the handles, or reinforce with a second layer of stitching.
Final Thoughts on This Granny Square Tote Crochet Pattern
This Sunset Glow Granny Square Tote hits that sweet spot between impressive and achievable. The squares work up quickly and travel well, making them perfect for stitching during your commute or while watching TV. The assembly transforms those 27 little sunbursts into something genuinely useful and beautiful.
The ridge join technique gives you that professional-looking lattice without any complicated skills. And the gusset construction means your tote actually holds things without flopping over, which is more than I can say for some of my early granny square bag attempts.
Whether you’re making this for yourself or as a gift, it’s the kind of project that gets noticed. People will ask where you bought it, and you’ll get to say you made it yourself.
Thank you so much for choosing this pattern! I really hope you enjoy making your Sunset Glow Tote as much as I enjoyed designing it. If you make one, I would absolutely love to see it. Tag me on Instagram or share a photo on Facebook so I can cheer you on.
If this pattern is calling your name, go ahead and pin it to your Pinterest boards so you can find it when you’re ready to cast on. And please drop a comment below if you make one. I love hearing how your projects turn out!
