
This bag is STUNNING and I am so excited to share it with you! Seriously, if you have been wanting to level up your crochet skills while making something truly showstopping, this is the project. The dimensional daisies, the structured shape, that perfect sage green color. It all comes together into a bag that looks like it belongs in a boutique window.
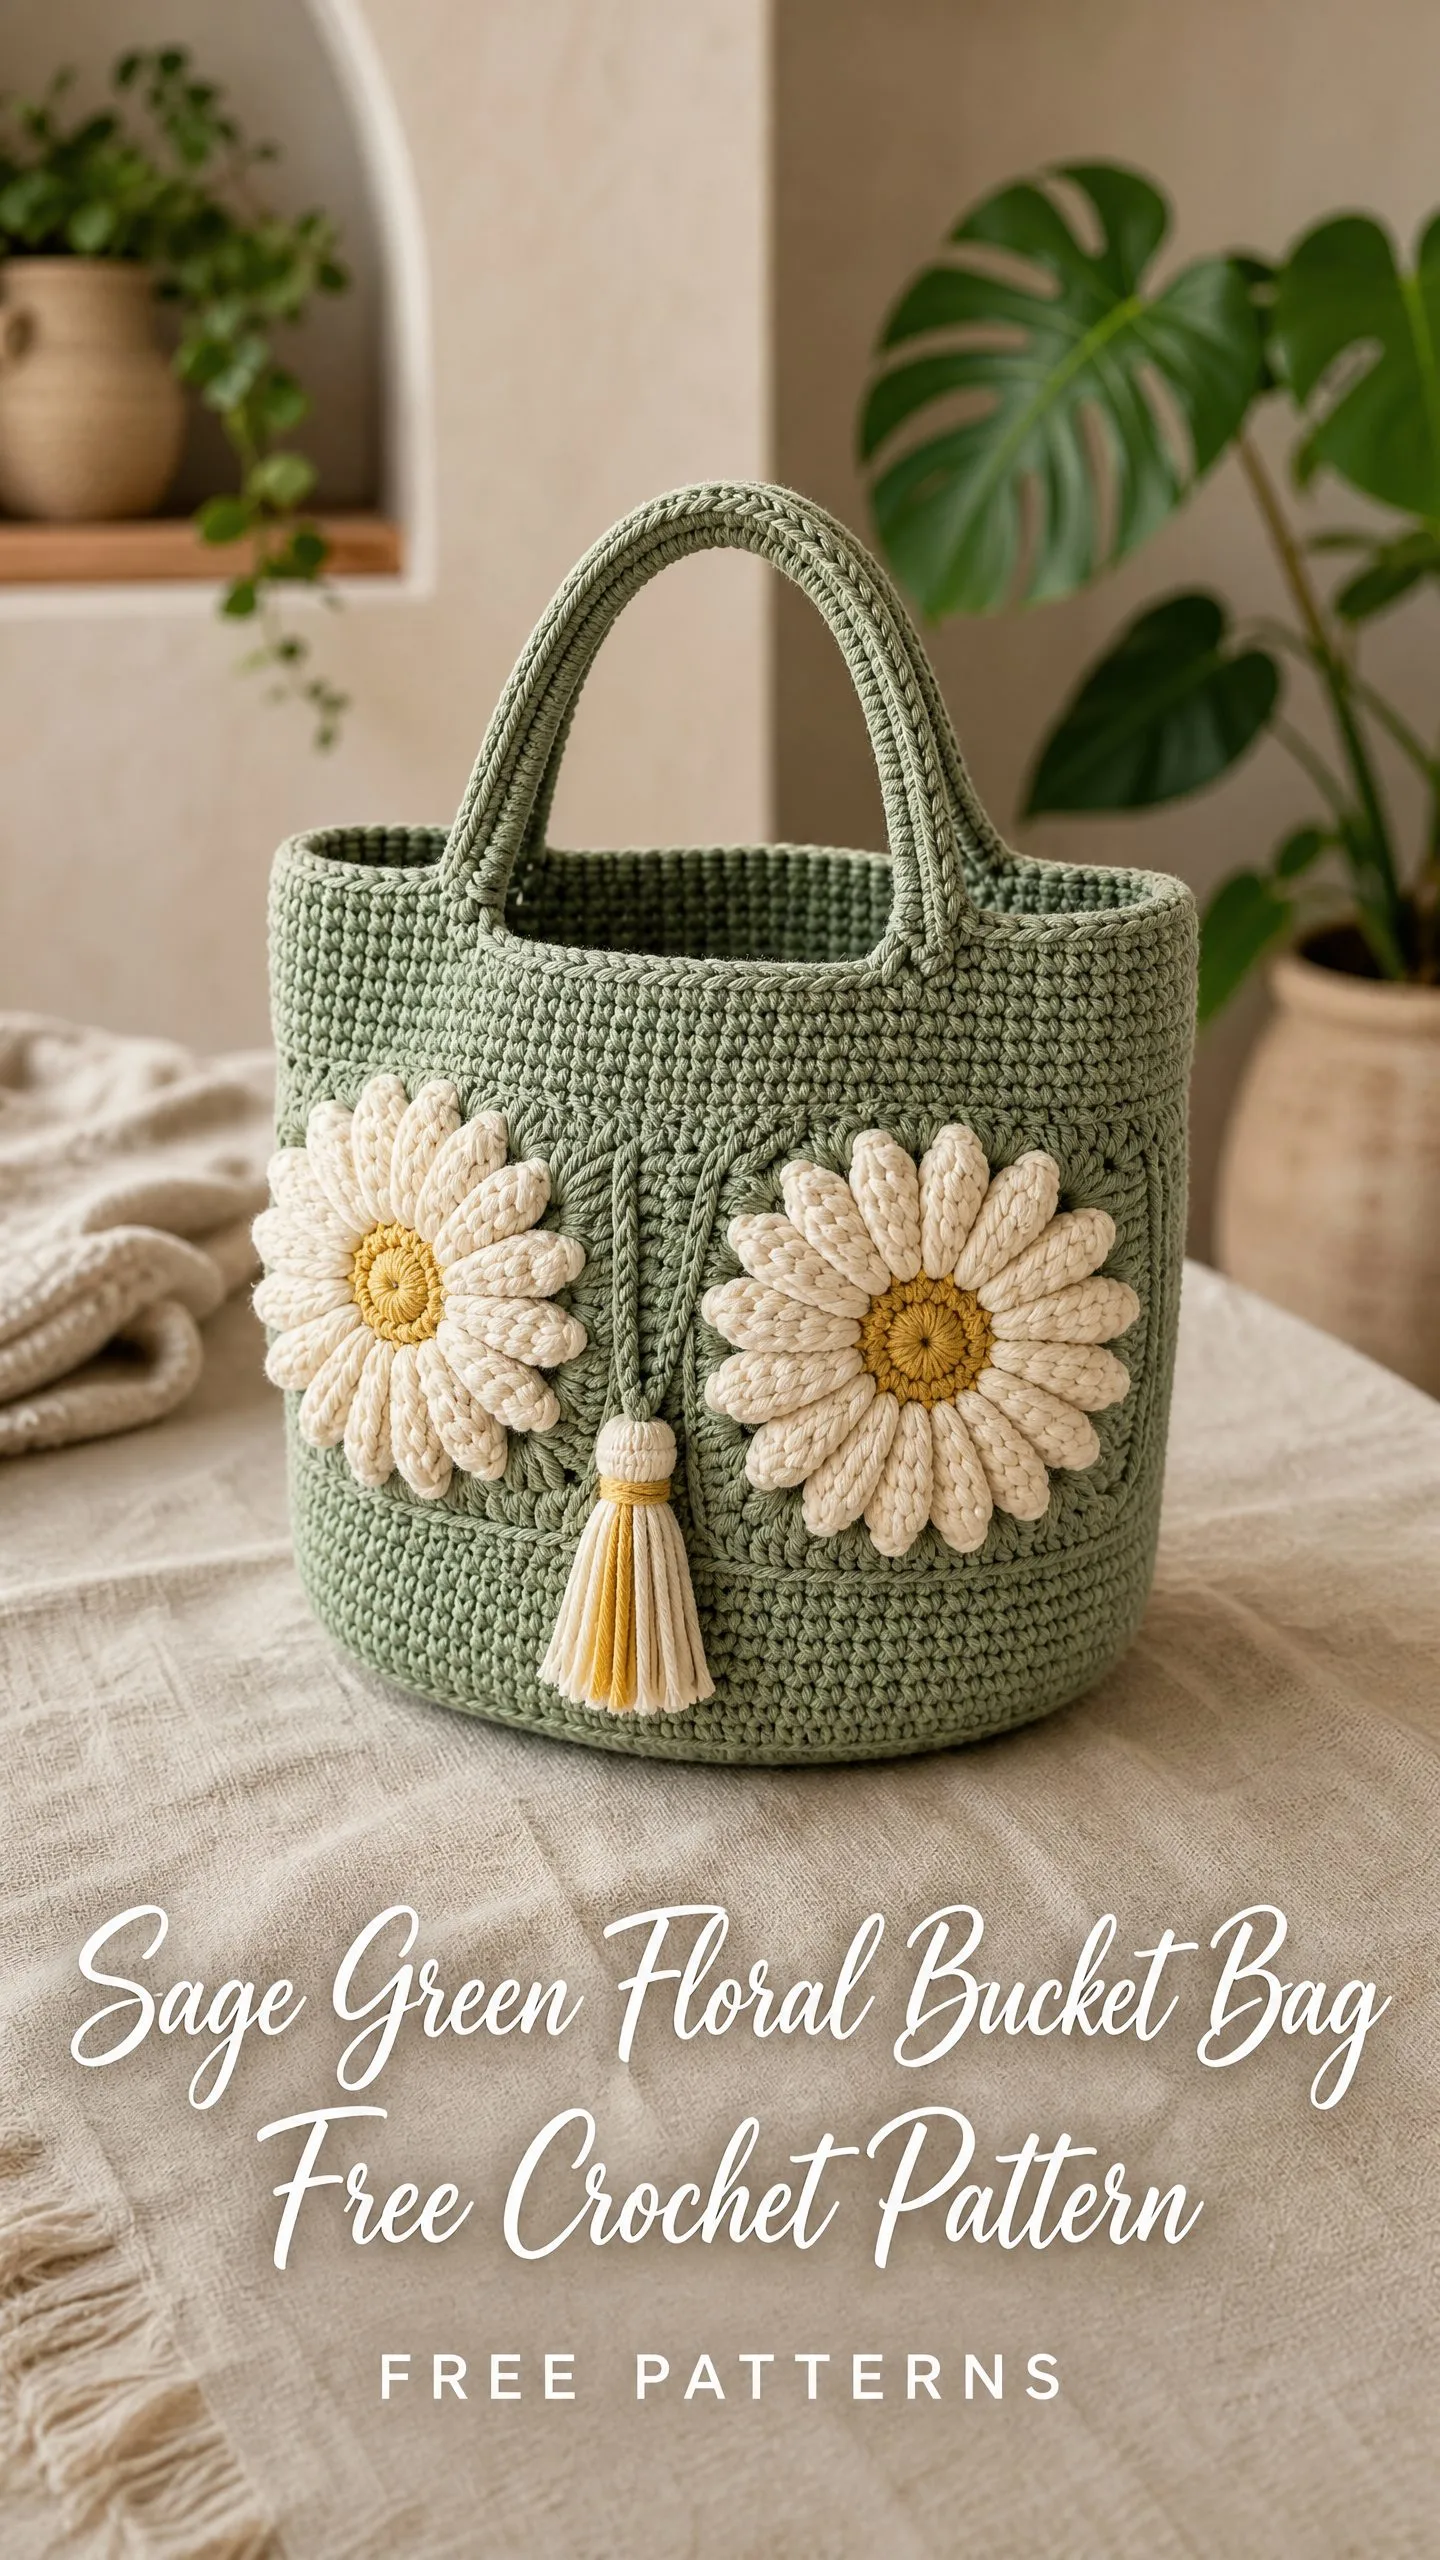
I know what you might be thinking. A bucket bag with 3D flowers and granny squares sounds complicated. But here is the thing. Every single element of this bag uses stitches you probably already know. Single crochet for the body. Double crochet for the squares. The magic is really in how we layer everything together.
This pattern makes an incredible gift for someone special, including yourself. It works up over a weekend or two of dedicated stitching, and the finished result is something you will reach for again and again. Let me walk you through every step.
Why You Will Love This Crochet Bucket Bag Pattern
This sage green floral bucket bag combines everything I love about crochet into one satisfying project. The body is worked in simple continuous rounds, which means no joining at the end of each round. Just smooth, meditative stitching that builds into a sturdy cylindrical shape.
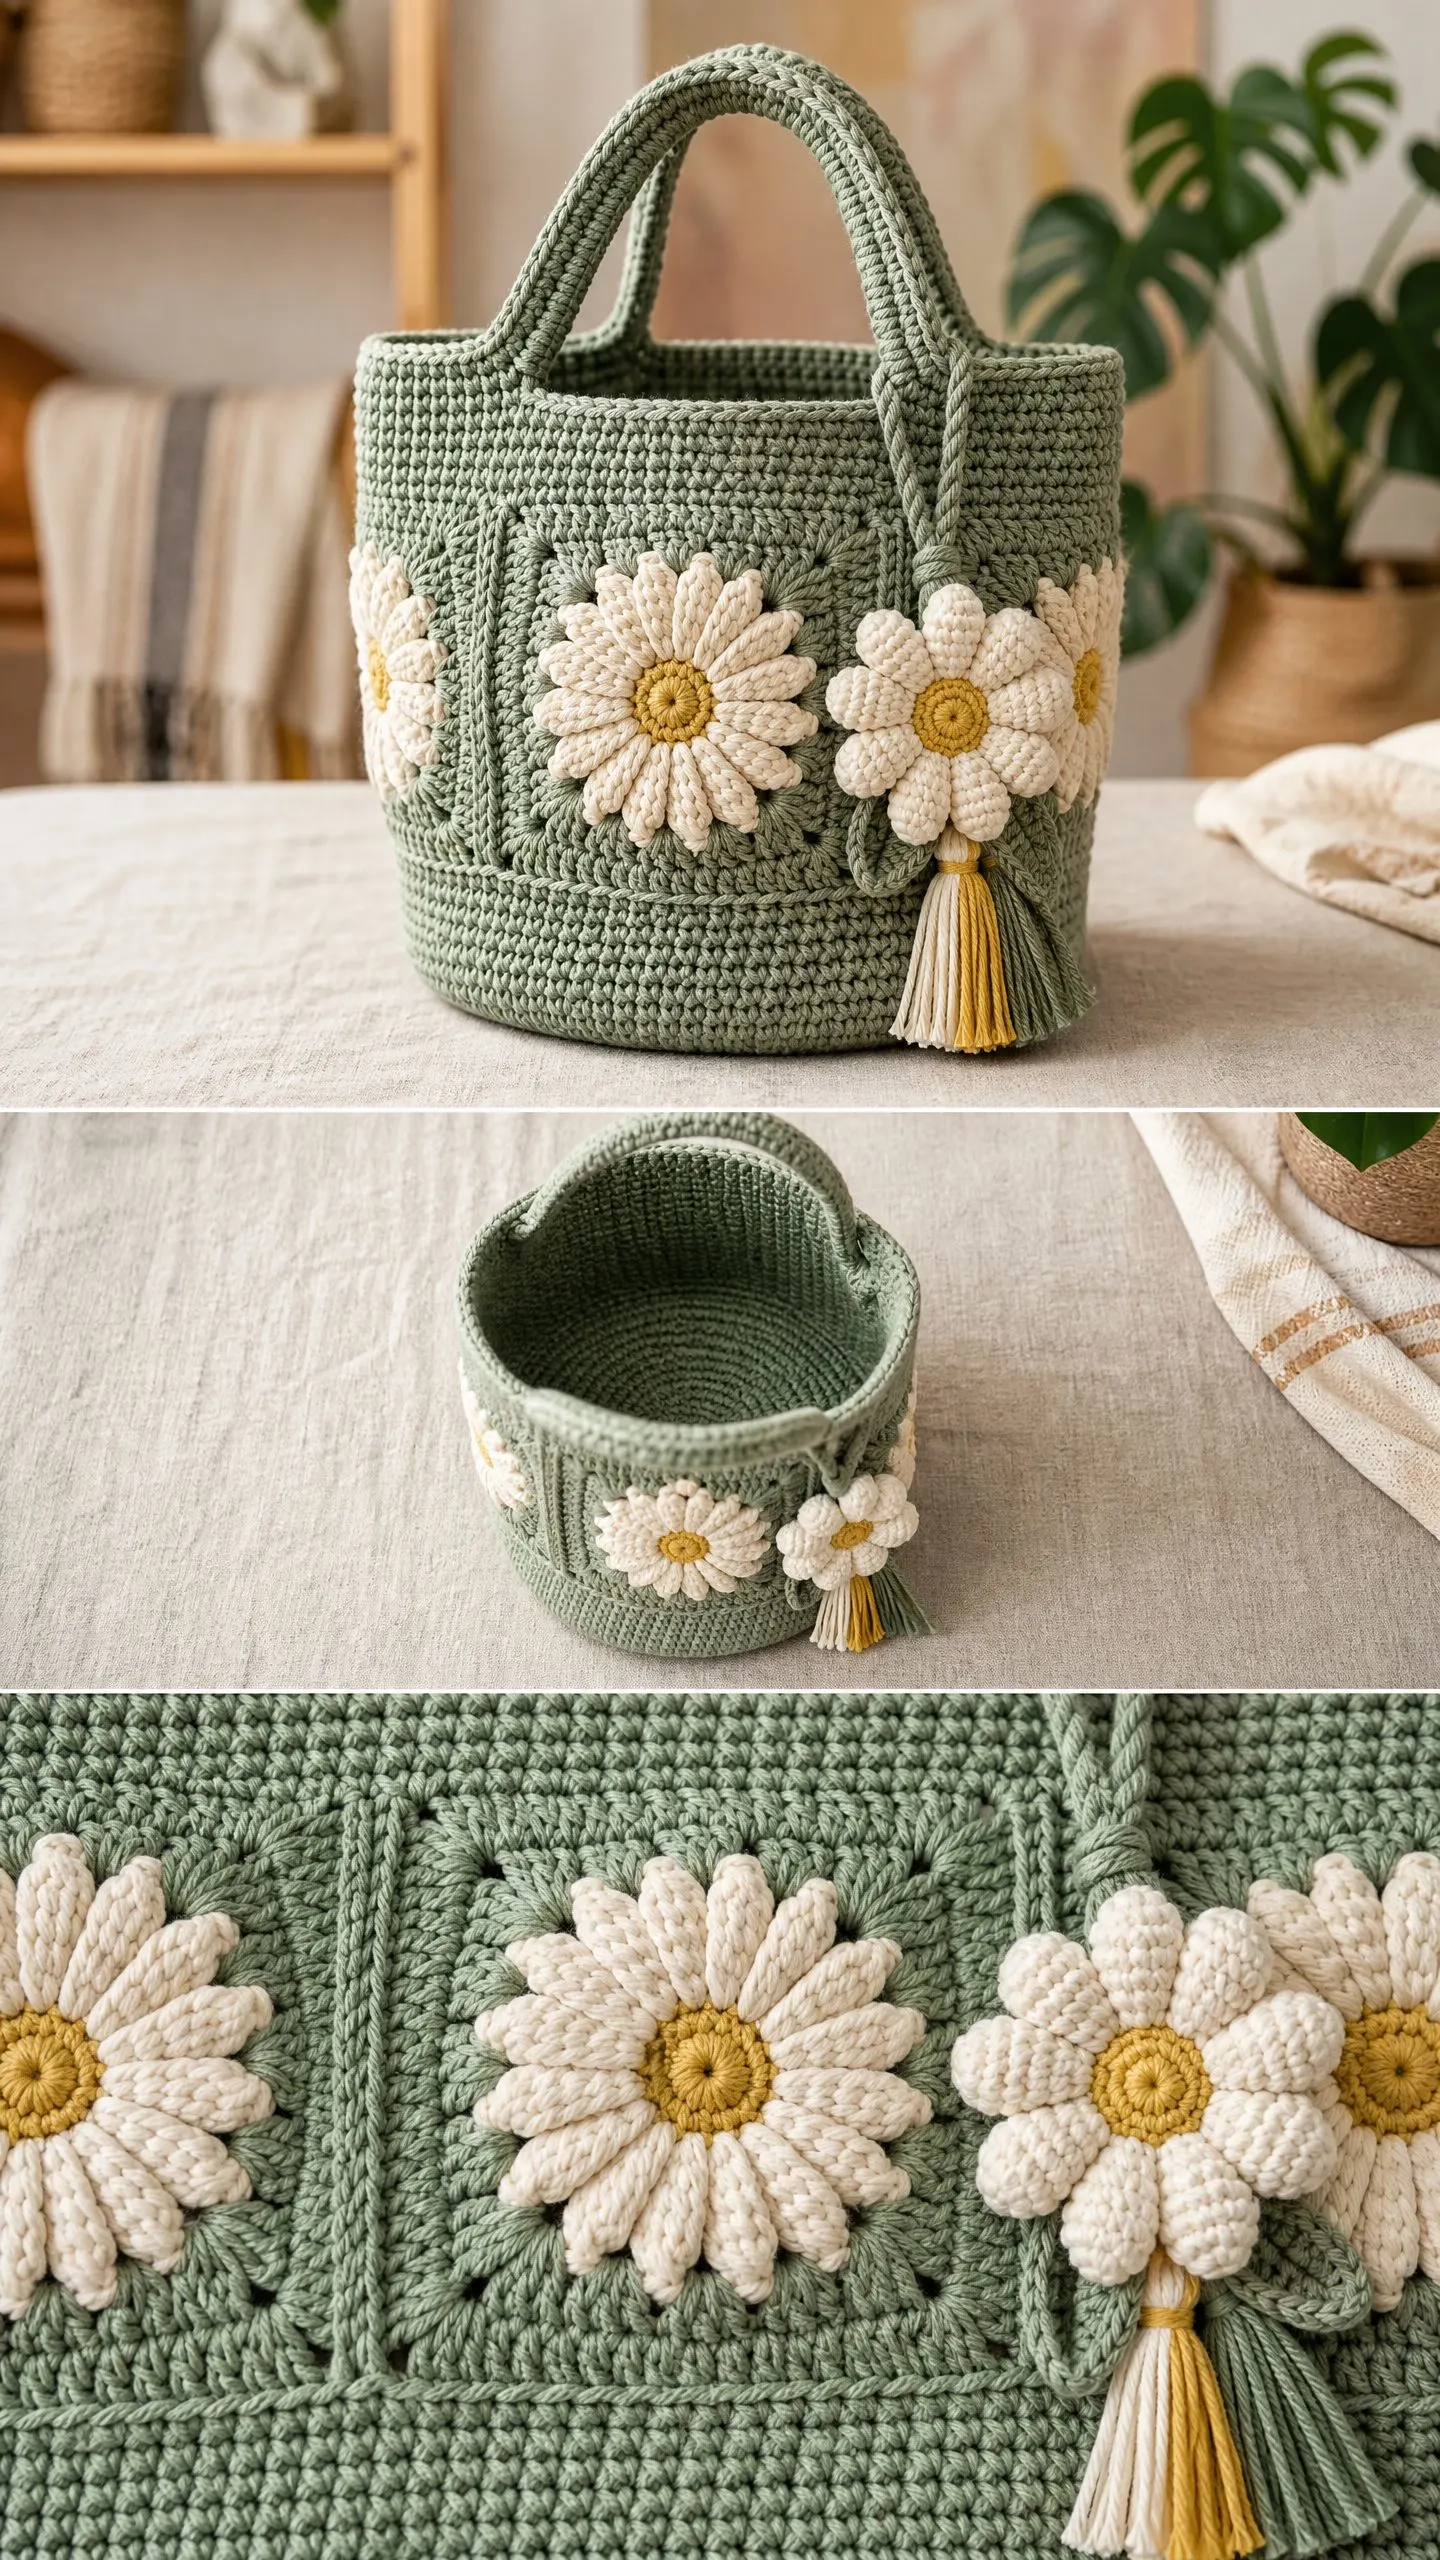
The daisy granny squares add visual interest without overwhelming the design. They sit on top of the bag body like decorative panels, giving you that layered artisan look that is so popular right now. And those 3D raised daisy appliques? They are honestly easier than they look. Once you get the rhythm of the petal stitch, they work up quickly.
The finished bag measures approximately 10 inches wide by 9.5 inches tall, not including the handles. That is a generous size for everyday use. You can fit your wallet, phone, keys, a water bottle, and still have room for a small crochet project to work on the go.
Materials You Will Need
Before you start, gather all your supplies. Having everything ready makes the process so much smoother.
Yarn:
Tools:
Yarn Suggestions
Choosing the right yarn matters for this project. You want something with good stitch definition that will hold its shape over time.
Lion Brand 24/7 Cotton in Jade, Ecru, and Goldenrod works beautifully. This 100% mercerized cotton creates a firm fabric perfect for bags.
Paintbox Yarns Cotton Aran in Spearmint, Champagne White, and Buttercup Yellow is another excellent option. The tight twist produces clean, crisp stitches.
We Are Knitters The Pima Cotton in Sage, Raw White, and Mustard gives you a slightly thicker hand with beautiful drape.
Important: Stick with 100% cotton or cotton-dominant blends. Avoid acrylic or stretchy yarns, as they will cause your bag to lose its shape over time. Skip fuzzy or textured yarns too since they will obscure your beautiful stitch work.
Gauge
Getting gauge right ensures your bag turns out the correct size and your granny squares fit properly against the body.
14 single crochet stitches by 16 rows equals 4 inches (10 cm) when worked in continuous rounds using Yarn A.
One daisy granny square through Round 5 equals 4.5 inches by 4.5 inches (11.5 cm by 11.5 cm).
Make a swatch before starting. If your swatch is too small, go up a hook size. Too large? Go down a hook size. This step is worth the extra few minutes.
Abbreviations and Stitch Definitions
Let me walk you through every abbreviation used in this pattern. Even if you are familiar with these stitches, a quick refresher never hurts.
Special Stitches
This crochet bucket bag pattern uses a few special techniques. Do not let these intimidate you. I will explain each one clearly.
3D Raised Petal Stitch
This creates the puffy petals that stand away from your fabric. Work into the chain space indicated as follows:
Insert hook, yarn over, pull up a loop (3 loops on hook), yarn over, pull through 2 loops (2 loops on hook). This is one half double crochet made. Without fastening off, work 3 double crochet into the same space. Then work one half double crochet into the same space. You now have 5 stitches in the space (1 hdc, 3 dc, 1 hdc). Slip stitch into the same space to close and anchor the petal at its base.
The petal naturally curls away from the fabric. That is exactly what you want.
Corner Shell
Work (3 dc, ch 2, 3 dc) into the same corner chain-2 space. This creates the crisp corners on your granny squares.
Twisted Cord (for the Tassel)
Cut 6 strands of yarn each approximately 24 inches long. Hold all strands together and anchor one end to a fixed point. Twist the strands tightly in one direction until they begin to kink. Fold the twisted length in half and allow it to twist around itself. Knot both ends to secure.
Pattern Instructions
Now for the fun part. Let us make this beautiful bag step by step.
Part One: The Base
Using Yarn A and your 6.5 mm hook, make a magic ring.
Round 1: Ch 1 (does not count as a stitch), work 8 sc into the magic ring, pull ring closed snugly. Do not join. Place a stitch marker in the last stitch to mark the end of the round. (8 sc)
Round 2: Work 2 sc in each sc around. Move marker up. (16 sc)
Round 3: (Sc 1, 2 sc in next st) rep 8 times around. (24 sc)
Round 4: (Sc 2, 2 sc in next st) rep 8 times around. (32 sc)
Round 5: (Sc 3, 2 sc in next st) rep 8 times around. (40 sc)
Round 6: (Sc 4, 2 sc in next st) rep 8 times around. (48 sc)
Round 7: (Sc 5, 2 sc in next st) rep 8 times around. (56 sc)
Round 8: (Sc 6, 2 sc in next st) rep 8 times around. (64 sc)
Round 9: (Sc 7, 2 sc in next st) rep 8 times around. (72 sc)
Round 10: (Sc 8, 2 sc in next st) rep 8 times around. (80 sc)
Checkpoint: Your base should measure approximately 9 inches in diameter. If it is significantly smaller or larger, check your gauge.
Part Two: The Body Walls
Do not cut yarn. Continue working into the stitches of the base.
Round 11: Working in BLO of each sc around, sc in each st around. (80 sc)
This creates a crisp fold at the junction between your base and walls. You will feel the bag start to stand up on its own.
Rounds 12-38: Sc in each st around. (80 sc)
Continue working in continuous rounds with no joining. Keep moving your stitch marker up at the end of each round to track your progress.
Checkpoint: After Round 38, your body walls should measure approximately 9.5 inches tall from the base fold.
Top Border
Round 39: Working in BLO, sc in each st around. (80 sc)
Round 40: Sc in each st around. (80 sc)
Sl st into next st to close round. Fasten off Yarn A and weave in ends.
Part Three: Handle Placement Markers
Before making handles, mark your attachment points. Divide the 80-stitch circumference into two halves of 40 stitches each. Mark stitch 20 (front center) and stitch 60 (back center). Your handle attachment points will be at stitches 15 and 25 on the front panel, and stitches 55 and 65 on the back panel.
Part Four: Handles (Make 2)
Using Yarn A, ch 80.
Row 1: Sl st in second ch from hook and in each ch across. (79 sl st)
Fasten off, leaving a 20-inch tail for sewing.
Fold the handle in half along its length so the beginning and ending tails align. Thread your tapestry needle with the tail and whipstitch the two layers together along the entire length. Pull firmly to create a dense, stable handle approximately 10 inches long.
Attach handles: Align one handle end at stitch 15 and the other at stitch 25 on the front panel. Sew each handle end securely to the interior of the top edge over at least 4 stitches in each direction. Repeat for the back panel using stitches 55 and 65.
Part Five: Daisy Granny Square (Make 2)
Each square uses Yarn B with Yarn C for the center only.
Using Yarn C, make a magic ring.
Round 1 (center): Ch 3 (counts as first dc), work 11 dc into magic ring, join with sl st to top of beg ch-3. Pull ring closed. (12 dc)
Fasten off Yarn C. Join Yarn B into any dc.
Round 2 (first ring of petals): Ch 1, sc into same st, (ch 4, sk 1 dc, sc into next dc) rep 5 times, ch 4, sl st into beg sc to join. (6 ch-4 loops)
Round 3 (3D petal round): Work one 3D Raised Petal Stitch into each ch-4 loop around. Do not join after last petal. Sl st carefully into the back of the sc base of the first petal to anchor. (6 raised petals)
Do not fasten off Yarn B.
Round 4 (first border round): Ch 4, sl st into back loop of the sc base of the next petal (working behind the petals), rep for each petal, creating a ch-4 loop behind each petal. At the end, sl st into base of first ch-4 to join. (6 ch-4 loops behind petals)
Round 5 (square shaping round): Sl st into first ch-4 sp, ch 3 (counts as dc), 2 dc in same sp, ch 2, 3 dc in same sp (first corner shell complete). Continue working corner shells and side groups as follows: work (3 dc, ch 2, 3 dc) into the first ch-sp, then 3 dc into each of the next 2 ch-sps, then (3 dc, ch 2, 3 dc) into the next ch-sp. Continue around until all 4 corners have corner shells. Join with sl st to top of ch-3. (4 corner ch-2 spaces, approximately 36 dc around)
Round 6 (evening the sides): Sl st into ch-2 corner sp, ch 3, (2 dc, ch 2, 3 dc) in same corner sp. Work 3 dc in each dc group along side to next corner. Work corner shell in next corner ch-2 sp. Rep for remaining sides and corners, ending with sl st to top of beg ch-3. (4 corner ch-2 spaces, approximately 12 dc per side between corners)
Round 7 (final border round): Sl st into corner ch-2 sp, ch 3, (2 dc, ch 2, 3 dc) in same corner sp. Work 3 dc in each space between dc groups along the side. Rep corner shell and side groups around, ending with sl st to top of beg ch-3. (4 corner ch-2 spaces, 9 dc per side between corners)
Fasten off Yarn B, leaving a 24-inch tail for seaming. Make 2 squares total.
Checkpoint: Both squares should measure approximately 4.5 inches by 4.5 inches.
Joining the Two Squares
Hold both squares with RS facing. Align them side by side along one edge. Using Yarn B and your tapestry needle, whipstitch the adjacent side edges together through both loops for a flat seam. This seam will fall at the right side of your finished bag.
Attaching the Squares to the Bag
Position the joined square panel against the exterior of the bag body, centered vertically. The top edge of the squares should sit approximately 1.5 inches below the top edge of the bag. Use stitch markers to pin in place.
Using Yarn B, sew the squares to the bag body using whipstitch through the outer loops of the granny square border and the sc stitches of the bag body. Sew all four edges of each square.
Part Six: 3D Daisy Applique (Make 2)
Using Yarn C, make a magic ring.
Round 1: Ch 1, work 10 sc into ring, pull ring closed, join with sl st to first sc. (10 sc)
Round 2: Ch 1, 2 sc in each sc around, join with sl st to first sc. (20 sc)
Fasten off Yarn C. Join Yarn B into any sc.
Round 3 (first petal layer): (Ch 7, sc into second ch from hook, hdc into next ch, dc into each of next 3 ch, hdc into last ch, sk 1 sc of Round 2, sl st into next sc) rep 10 times. After last petal, sl st into first sl st to secure. (10 petals)
Round 4 (second elevated petal layer): Turn the motif to access the back. Join Yarn B into the back loop of any sc in Round 2 that was skipped in Round 3. (Ch 8, sc into second ch from hook, hdc into next ch, dc into each of next 4 ch, hdc into last ch, sl st into back loop of next skipped sc of Round 2) rep 10 times. (10 longer back petals)
Fasten off Yarn B, leaving an 18-inch tail.
Center the daisy applique over the center of one granny square and sew it securely through the center disc. Stitch all around at least twice. Repeat for the second daisy.
Part Seven: Tassel
Cut 12 strands of Yarn B each 20 inches long. Cut 6 strands of Yarn C each 20 inches long. Hold all 18 strands together and fold in half. Using a separate 12-inch piece of Yarn B, tie firmly around the folded end approximately 0.75 inches from the fold. Trim all cut ends to approximately 2.5 inches below the tassel head. Unravel the individual plies to create a fluffy body.
Attach the tassel to the lower right corner where the two squares meet.
Size Customization Tips
Want to adjust the size? Here is how.
Wider bag: Work additional increase rounds after Round 10 before beginning the walls. Each additional round adds 8 stitches and approximately 0.55 inches to the circumference.
Taller bag: Add additional plain sc rounds between Round 12 and Round 38. Each round adds approximately 0.25 inches of height.
Smaller bag: Stop increasing at Round 7 (56 sc) for a small bag, or Round 8 (64 sc) for a medium bag.
Finishing and Care
Weave in all ends using your tapestry needle, running each tail through at least 6 stitches in different directions before trimming.
Blocking: Submerge the finished bag in cool water, gently squeeze, and roll in a towel to remove excess moisture. Shape over a balloon or large bowl while drying. Steam the granny squares lightly from the wrong side, but leave the 3D daisies to dry naturally in their raised position.
Care instructions: Hand wash only in cool water with gentle detergent. Do not machine wash or tumble dry. Reshape while damp and air dry. Store stuffed with tissue paper to maintain shape.
You Did It!
Thank you so much for choosing this crochet bucket bag pattern for your next project. I cannot wait to see your finished bags. The color combinations are endless, and I know each one will be uniquely beautiful.
If you loved making this sage green floral bucket bag, save this pattern to your Pinterest boards so you can find it easily when you are ready to make another one. And please drop a comment below when you finish yours. I would love to hear how it turned out and see photos of your beautiful work!
You Might Also Like
- Rust Terracotta Autumn Granny Cardigan Free Crochet Pattern
- Dusty Rose Bobble Purse Free Crochet Pattern
- Dusty Rose Gradient Crochet Mini Dress Free Pattern
- Sunset Ombre Granny Tote Free Crochet Pattern
