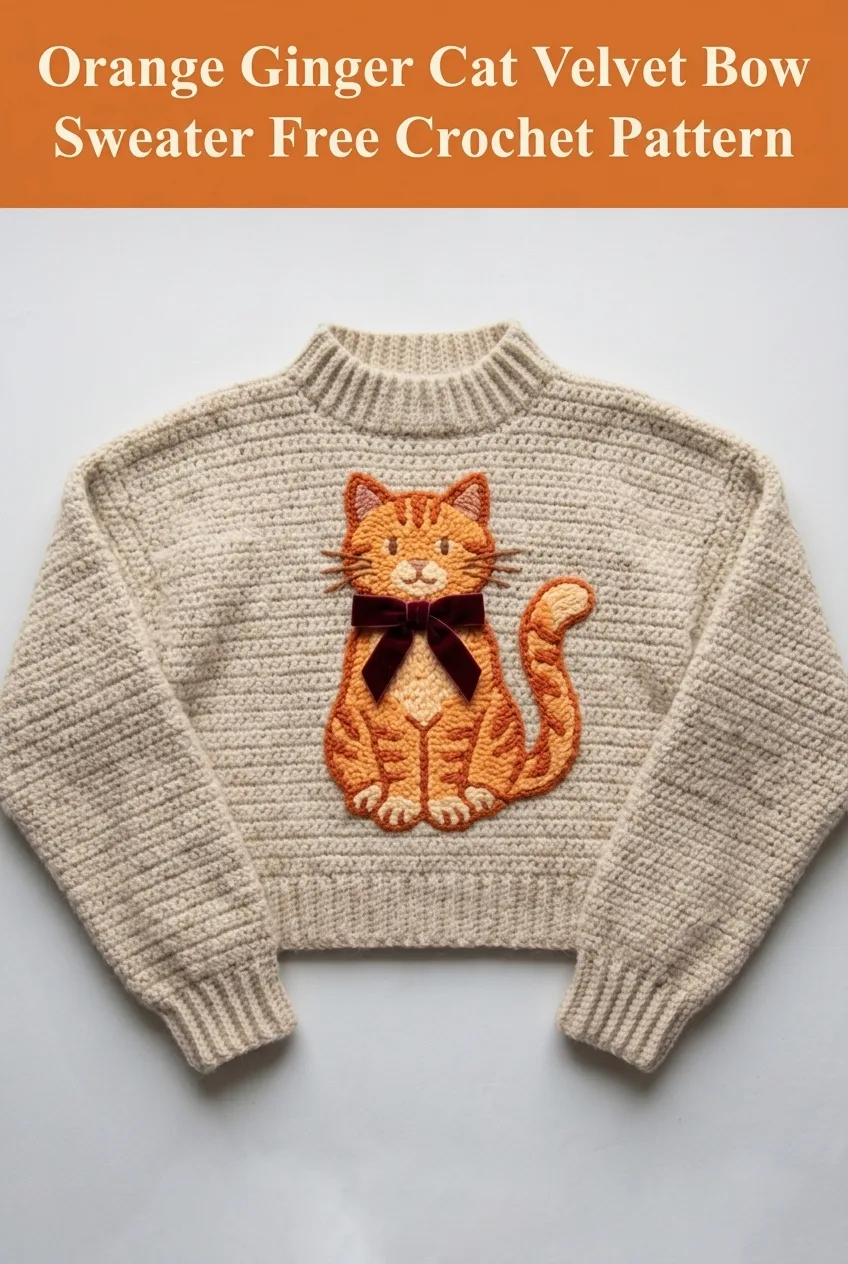
I don’t know about you, but I have a serious weakness for cozy sweaters with personality. Give me a classic pullover silhouette with an unexpected twist, and I’m completely sold. This Orange Ginger Cat Velvet Bow Sweater combines everything I love: a simple crocheted base, an adorable appliqué that makes people smile, and that luxurious velvet bow detail that elevates the whole piece. All the charm with a surprisingly straightforward construction.
If you’ve ever wanted to make a sweater that sparks joy every single time you pull it over your head, this is the one. Cat lovers, this pattern was made for you.
About This Crochet Cat Sweater Pattern
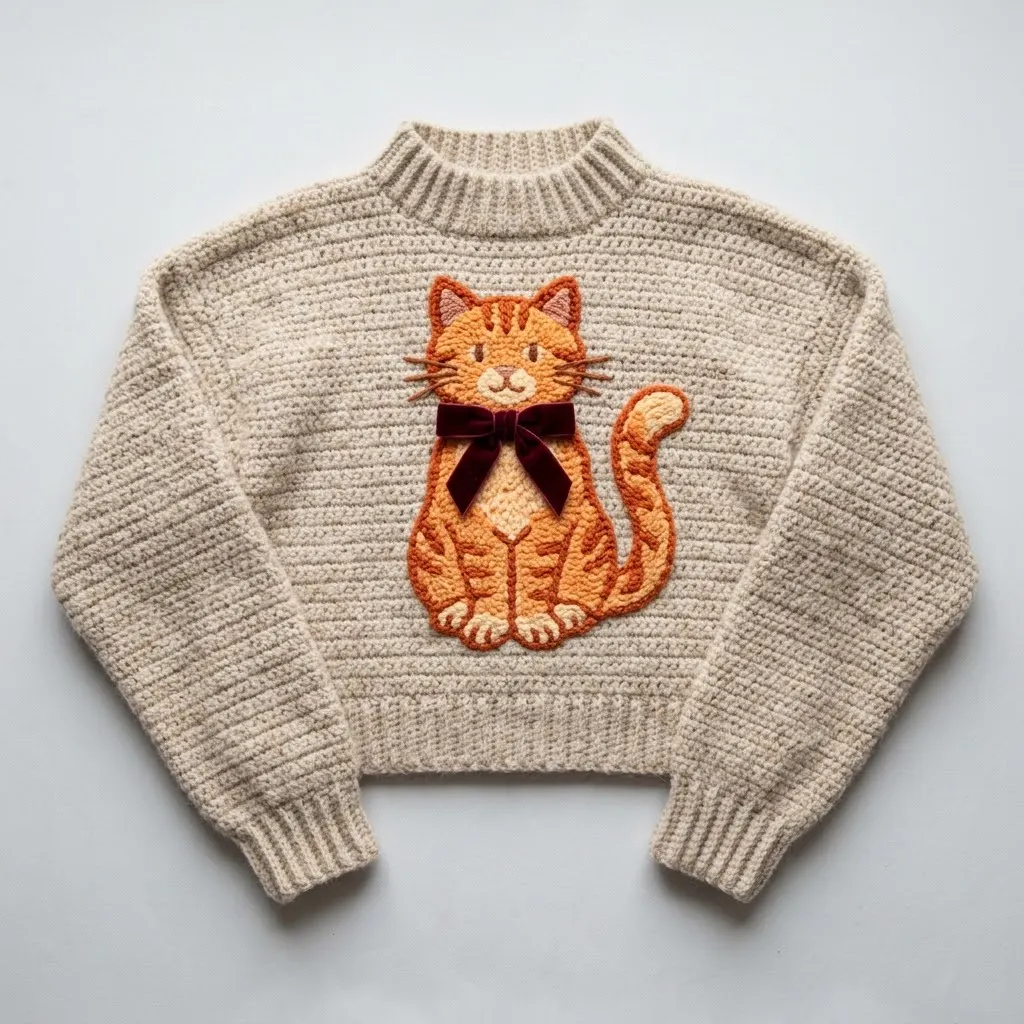
This cozy pullover features a relaxed cropped fit with a classic mock neck and set-in sleeves. The star of the show is the oversized orange tabby cat appliqué sitting proudly on the front, complete with embroidered stripes, a sweet face, and a gorgeous burgundy velvet bow at the neck.
The sweater body uses simple stitches throughout, making the base accessible even if you’re newer to garment construction. The cat appliqué is worked separately and sewn on, which means you can customize placement or even make extra cats for other projects.
Skill Level: Intermediate
This pattern is perfect for crocheters who have made a few accessories and feel ready to tackle their first sweater. The construction is logical, the shaping is minimal, and I’ll walk you through every step.
Materials Needed
Yarn:
Other Supplies:
Gauge (Very Important!)
Sweater body gauge with 5.0mm hook:
14 stitches and 16 rows = 4 inches in half double crochet
Appliqué gauge with 4.0mm hook:
16 stitches and 18 rows = 4 inches in single crochet
Please, please take time to check your gauge. Sweaters that don’t fit are heartbreaking after all that work. Make a 5-inch square, wash and block it, then measure. Adjust your hook size up or down until you match.
Finished Measurements
This pattern is written for size Medium with a finished bust of approximately 40 inches and a cropped length of 18 inches from shoulder to hem. The sleeves measure approximately 18 inches from underarm to cuff.
For size adjustments, add or subtract multiples of 4 stitches to the foundation chain.
Abbreviations and Stitch Definitions
Let me break down every stitch and term you’ll see in this pattern:
Sweater Back Panel Pattern
The back panel is worked flat from the bottom up.
Foundation: With MC and 5.0mm hook, ch 72. (70 sts)
Row 1 (RS): Hdc in 3rd ch from hook and in each ch across. Turn. (70 hdc)
Row 2: Ch 2 (does not count as a stitch throughout), hdc in each st across. Turn. (70 hdc)
Rows 3 through 50: Repeat Row 2. (70 hdc)
Your back panel should measure approximately 14 inches long at this point.
Armhole Shaping:
Row 51: Ch 2, skip first st, hdc in next 68 sts, leave last st unworked. Turn. (68 hdc)
Row 52: Ch 2, skip first st, hdc in next 66 sts, leave last st unworked. Turn. (66 hdc)
Rows 53 through 54: Repeat Row 52, decreasing 2 sts per row. (62 hdc after Row 54)
Rows 55 through 70: Ch 2, hdc in each st across. Turn. (62 hdc)
Shoulder Shaping:
Row 71: Ch 2, hdc in first 18 sts. Fasten off. Skip center 26 sts for neck. Rejoin yarn, hdc in last 18 sts. Fasten off.
Sweater Front Panel Pattern
Work exactly as the back panel through Row 54. (62 hdc)
Rows 55 through 62: Ch 2, hdc in each st across. Turn. (62 hdc)
Neck Shaping (worked in two sections):
Row 63 (Right Shoulder): Ch 2, hdc in first 24 sts. Turn. Leave remaining sts unworked for now.
Row 64: Ch 2, skip first st, hdc in remaining 23 sts. Turn. (23 hdc)
Row 65: Ch 2, hdc in first 22 sts, leave last st unworked. Turn. (22 hdc)
Rows 66 through 68: Continue decreasing 1 st at neck edge every row. (19 hdc after Row 68)
Rows 69 through 71: Ch 2, hdc in each st across. Turn. (19 hdc)
Fasten off.
Row 63 (Left Shoulder): Skip center 14 sts for front neck opening. Rejoin yarn to next st. Ch 2, hdc across remaining 24 sts. Turn.
Work Rows 64 through 71 as a mirror image of the right shoulder, decreasing at the neck edge.
Sleeve Pattern (Make 2)
The sleeves are worked from the cuff up.
Foundation: With MC and 5.0mm hook, ch 38. (36 sts)
Rows 1 through 4: Work in BLO hdc to create the ribbed cuff. Ch 2, hdc in BLO of each st across. Turn. (36 hdc)
Row 5: Ch 2, 2 hdc in first st, hdc in each st to last st, 2 hdc in last st. Turn. (38 hdc)
Rows 6 through 8: Ch 2, hdc in each st across. Turn. (38 hdc)
Row 9: Repeat Row 5. (40 hdc)
Continue in this manner, increasing 2 sts every 4th row until you have 52 hdc.
Work even until sleeve measures approximately 16 inches from cuff.
Sleeve Cap Shaping:
Decrease 2 sts at each end every row for 4 rows. (44 hdc)
Then decrease 1 st at each end every row for 6 rows. (32 hdc)
Fasten off, leaving a long tail for seaming.
Neckband Pattern
After seaming the shoulders, pick up stitches around the neck opening.
Round 1: With RS facing, join MC at left shoulder seam. Ch 1, work approximately 70 sc evenly around the neck opening. Join with sl st to first sc. (70 sc)
Rounds 2 through 8: Ch 1, sc in BLO of each st around. Join. (70 sc)
The back loop only technique creates that beautiful ribbed texture you see on the finished sweater. Don’t skip this detail!
Fasten off and weave in ends.
Orange Tabby Cat Appliqué Pattern
Now for the fun part! The cat is worked in several pieces and assembled.
Cat Body (Main Piece)
Foundation: With CC1 (orange) and 4.0mm hook, ch 2.
Round 1: 6 sc in 2nd ch from hook. Do not join, work in continuous rounds. Place marker. (6 sc)
Round 2: 2 sc in each st around. (12 sc)
Round 3: *Sc in next st, 2 sc in next st* repeat around. (18 sc)
Round 4: *Sc in next 2 sts, 2 sc in next st* repeat around. (24 sc)
Rounds 5 through 8: Continue increasing 6 sts per round. (48 sc after Round 8)
Rounds 9 through 20: Sc in each st around. (48 sc)
Begin shaping the shoulders by decreasing gradually over the next 6 rounds.
Round 21: *Sc in next 6 sts, sc2tog* repeat around. (42 sc)
Continue decreasing every other round until you have 30 sc.
Work even for 4 more rounds to create the neck area.
Fasten off, leaving a long tail.
Cat Head
Work as for body through Round 8. (48 sc)
Rounds 9 through 14: Sc in each st around. (48 sc)
Begin decreasing to close the head.
Round 15: *Sc in next 6 sts, sc2tog* repeat around. (42 sc)
Continue decreasing until the head is nearly closed. Stuff lightly with yarn scraps or fiberfill if desired for dimension, then close completely.
Ears (Make 2)
Row 1: With CC1, ch 8. Sc in 2nd ch from hook and in each ch across. Turn. (7 sc)
Row 2: Ch 1, skip first st, sc in next 5 sts, skip last st. Turn. (5 sc)
Row 3: Ch 1, skip first st, sc in next 3 sts, skip last st. Turn. (3 sc)
Row 4: Ch 1, sc3tog. Fasten off. (1 sc)
Inner Ears (Make 2)
With CC2 (peach), work as for ears but start with ch 6. These will be slightly smaller. Sew inner ears to the front of each ear.
Muzzle
Round 1: With CC2, ch 2. 6 sc in 2nd ch from hook. (6 sc)
Round 2: 2 sc in each st around. (12 sc)
Round 3: *Sc in next st, 2 sc in next st* repeat around. (18 sc)
Fasten off.
Tail
Foundation: With CC1, ch 20.
Row 1: Sc in 2nd ch from hook and in each ch across. (19 sc)
Work 3 more rows, then curve and shape by decreasing at one end to create the curl. The tail should curve naturally when sewn on.
Front Paws (Make 2)
Round 1: With CC2, ch 2. 6 sc in 2nd ch from hook. (6 sc)
Round 2: *Sc in next st, 2 sc in next st* repeat around. (9 sc)
Rounds 3 through 5: Sc in each st around. (9 sc)
Fasten off.
Embroidery Details
This is where your cat comes to life!
Using burnt orange or rust yarn and a yarn needle, embroider the tabby stripes using long straight stitches. Study a reference photo of a ginger tabby for placement. The stripes should curve around the body naturally.
For the face, embroider:
Take your time with the face. It really makes or breaks the character of your cat!
Assembly Instructions
Sweater Assembly
1. Block all sweater pieces to measurements.
2. Seam shoulders using mattress stitch or whip stitch.
3. Attach the neckband.
4. Set in sleeves, matching the center of the sleeve cap to the shoulder seam.
5. Sew side seams and sleeve seams in one continuous line.
6. Weave in all ends.
Cat Appliqué Assembly
1. Sew the head to the body.
2. Attach ears to the top of the head.
3. Sew the muzzle to the lower center of the face.
4. Complete all embroidery.
5. Attach the tail to the back side of the body.
6. Position paws at the bottom front.
Attaching the Cat to the Sweater
Position your completed cat appliqué on the front of the sweater, centering it approximately 3 inches below the neckband. Pin securely and try the sweater on to check placement before stitching.
Using matching yarn, whip stitch around the entire edge of the appliqué, catching only the back of the sweater fabric to keep stitches invisible from inside.
Creating the Velvet Bow
Take your burgundy velvet ribbon and tie a classic bow. Trim the tails at an angle to prevent fraying. Hand stitch the bow to the cat’s neck area, securing it at the center knot and at several points on the loops to keep it in place during wear.
You can also make the bow removable by attaching a small safety pin to the back. This makes washing easier.
Care Instructions
Hand wash your sweater in cool water with mild detergent. Lay flat to dry, reshaping while damp. The velvet bow can be removed before washing if you made it detachable.
Store folded rather than hanging to prevent stretching at the shoulders.
Pattern Customization Ideas
Different cat colors: Try gray yarn for a Russian Blue, black for a sleek panther look, or calico patches for a multicolored kitty.
Bow variations: Swap the velvet for satin, grosgrain, or even a crocheted bow. Red for the holidays, pink for Valentine’s Day, or green for a preppy vibe.
Sweater length: Add more rows to the body panels before armhole shaping for a longer, less cropped fit.
Size adjustments: Remember to add or subtract in multiples of 4 stitches, and adjust your yarn quantities accordingly.

Final Thoughts on This Crochet Cat Sweater Pattern
This Orange Ginger Cat Velvet Bow Sweater is honestly one of my favorite projects. There’s something so satisfying about creating a garment that makes people do a double take and then break into a huge smile. The combination of the cozy oatmeal base and that cheerful orange cat just works.
The construction is more approachable than it looks, I promise. Take it one piece at a time. The body panels are just rectangles with a little shaping. The sleeves are straightforward tubes. And the cat? Pure creative fun.
Don’t rush the embroidery on the cat’s face. That’s the soul of the piece. Put on your favorite show, pour yourself a cup of tea, and enjoy adding those details.
Thank you so much for choosing this pattern for your next project. I genuinely hope you love making it as much as I loved designing it. When you finish your sweater, I would absolutely love to see it! Tag me on Instagram or share a photo in my Facebook group. Seeing your creations is the best part of my day.
If this pattern made you smile, go ahead and save it to your Pinterest boards so you can find it easily when you’re ready to start. And if you make this cozy cat sweater, please leave a comment below! I read every single one and would love to hear how your project turned out.
