Surface crochet sounds intimidating, right? Those diagonal lines crisscrossing a finished fabric look like something only advanced crocheters would attempt. But here’s the truth: if you can work a slip stitch, you can absolutely do surface crochet. This Ocean Blue Seashell Motif Tote breaks down into simple, manageable pieces. You’ll make two flat panels using basic single crochet, add the textured grid one line at a time, then sew on adorable shell appliques. The whole bag comes together in sections, so you’re never overwhelmed. Whether you’re a confident beginner ready to stretch your skills or an intermediate crocheter looking for a satisfying project, this tote is completely within your reach.
Get the Ad-Free PDF Pattern
You can find the free pattern below, or you can purchase the ad-free printable PDF from my shop.
Get the Printable PDF →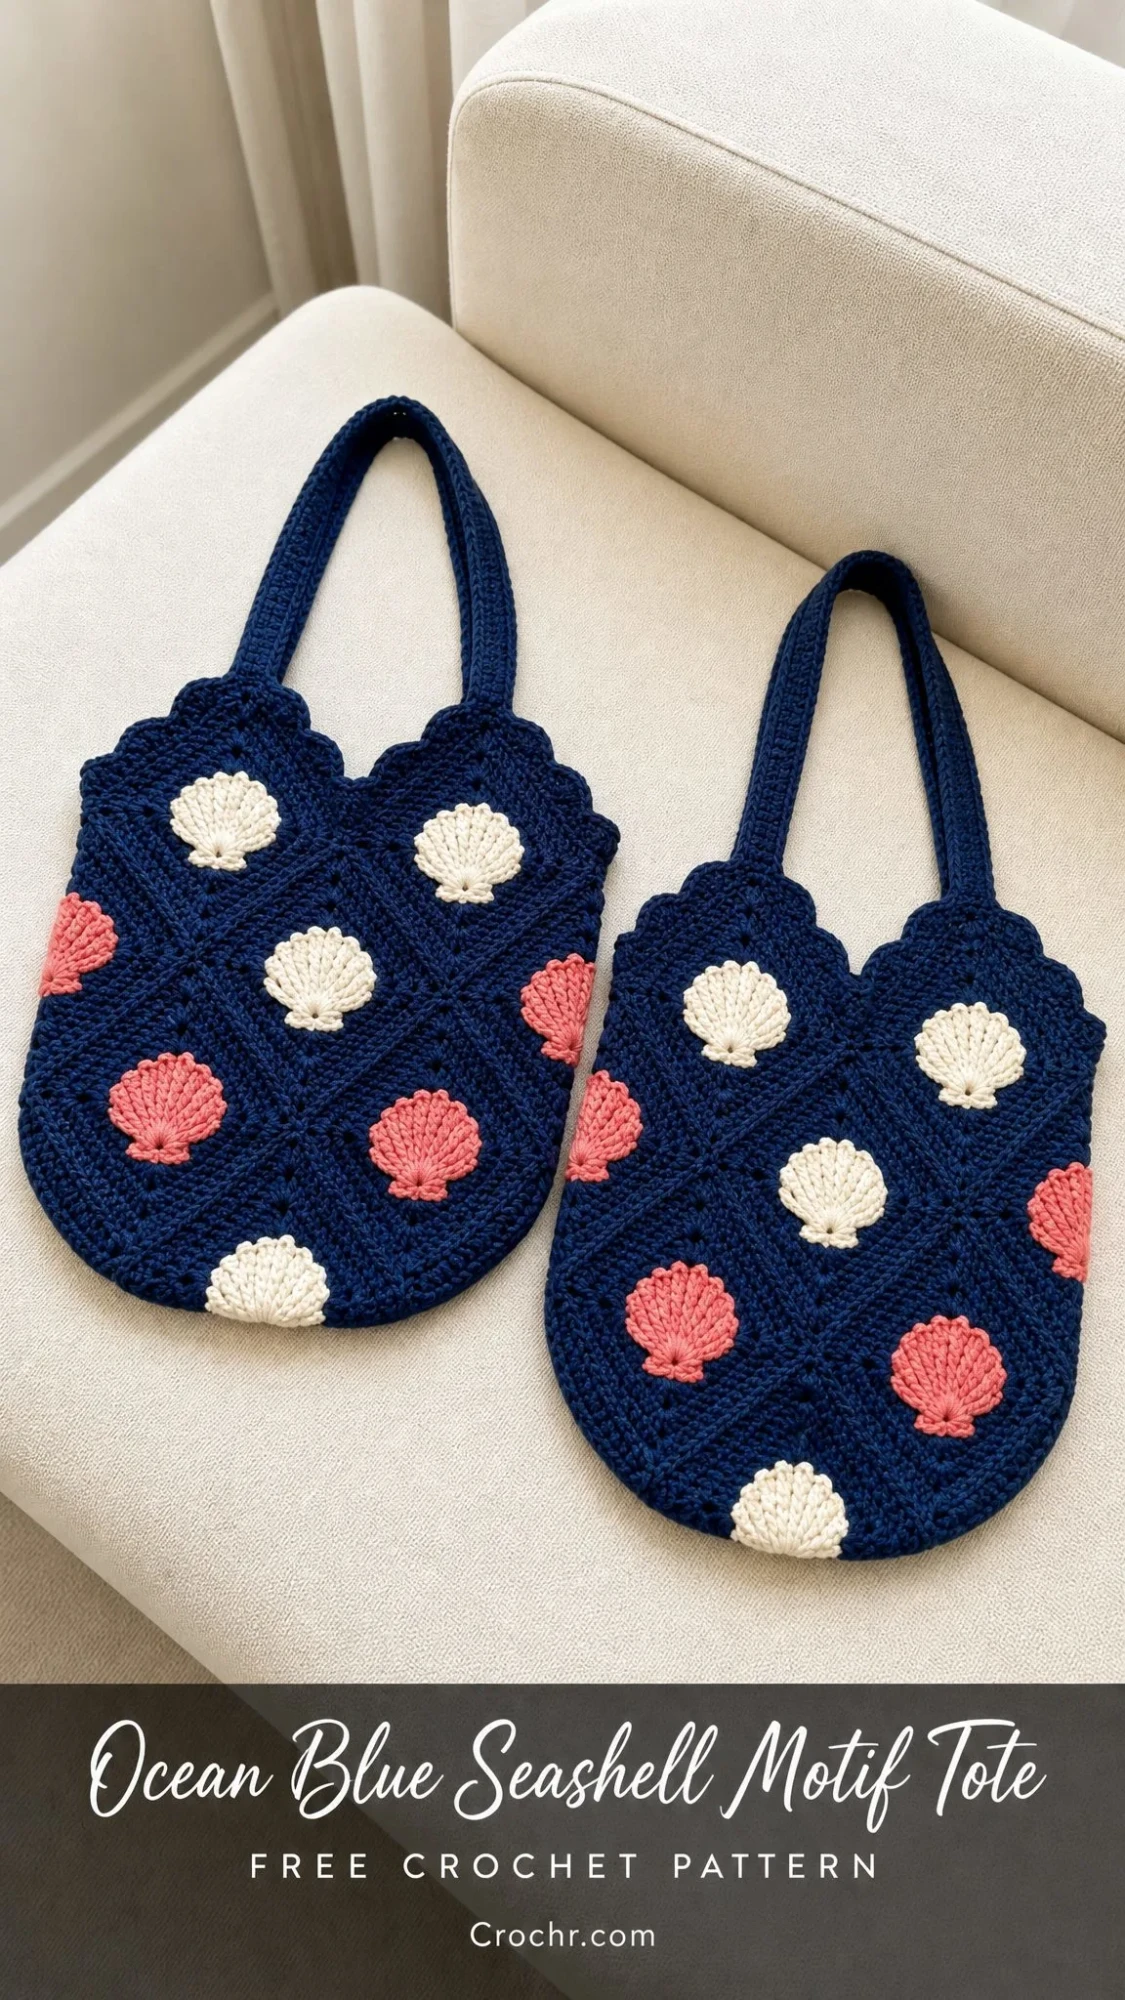
About This Pattern
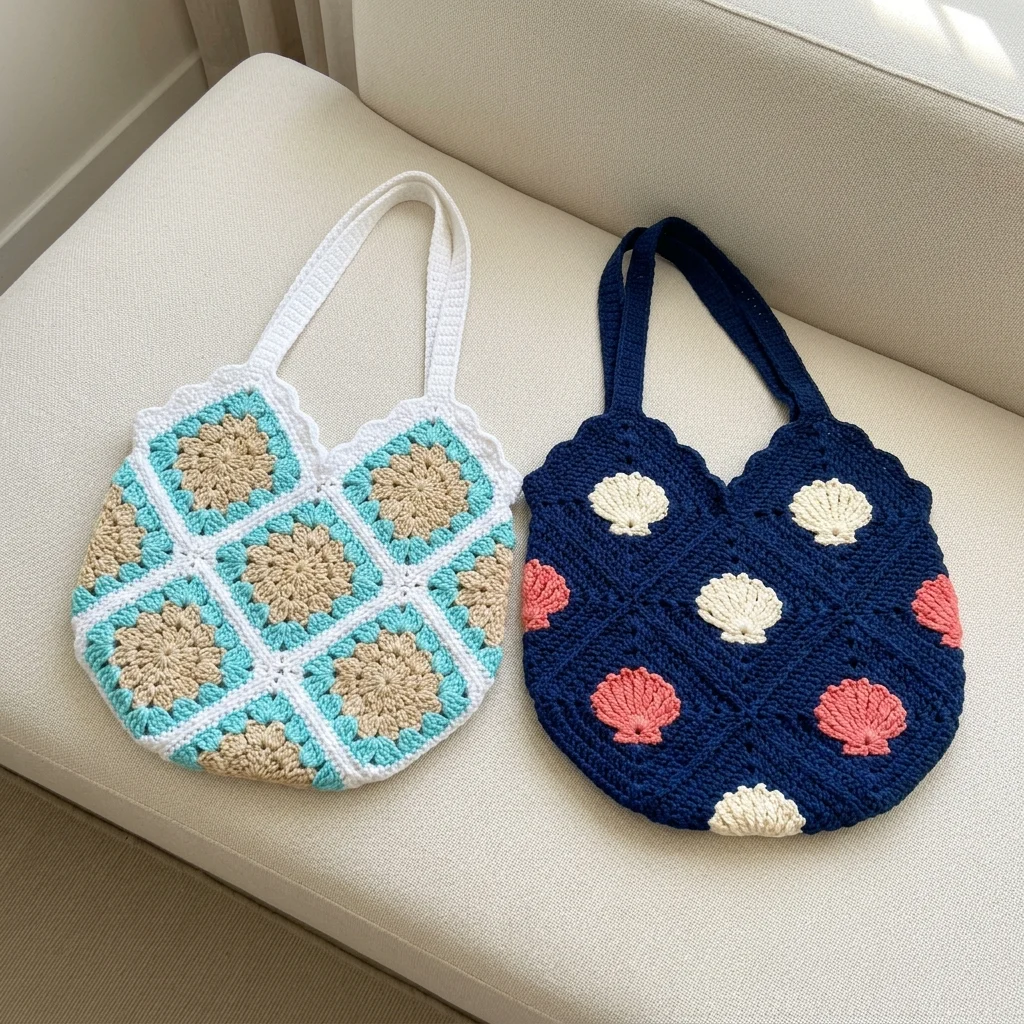
This stunning beach-ready tote features a navy textured body with a raised diagonal diamond grid and sweet cream-and-coral seashell appliques. The softly scalloped top edge gives it a feminine, coastal feel that’s perfect for summer outings, farmers market trips, or casual everyday use.
Finished Dimensions:
Skill Level: Adventurous beginner to intermediate. You should be comfortable working flat, counting rows, doing surface slip stitch, sewing pieces together, and simple applique shaping.
Time Estimate: 8 to 12 hours, plus blocking and finishing time.
Materials You’ll Need
Gathering your supplies before you start makes the whole process smoother. Here’s everything you’ll need for this crochet tote pattern.
Yarn:
Recommended Yarns:
When substituting yarn, choose a non-stretchy worsted cotton that reaches gauge and creates a firm fabric. If your fabric feels floppy, go down a hook size.
Tools:
Gauge
16 single crochet (sc) x 18 rows = 4 inches (10 cm) in single crochet, blocked lightly.
A finished body panel after Row 48 should measure about 10.75 inches wide x 10.6 inches tall (27.5 x 27 cm) before seaming.
Always make a gauge swatch before starting. This ensures your tote turns out the right size and the seashell appliques fit properly in the diamond grid.
Stitch Abbreviations and Definitions
Let me walk you through every stitch you’ll use in this pattern. If you’re newer to crochet, read through these definitions before starting.
Surface sl st: Hold yarn under the fabric. Insert hook from front to back at the marked spot, pull up a loop, insert hook at next marked spot, pull up a loop and draw it through the loop on hook. Keep tension loose.
UK Crocheters Note: US sc = UK dc, US dc = UK tr.
Pattern Notes
Before diving into the step by step instructions, keep these tips in mind:
Left-handed crocheters: Work the same instructions. Your surface crochet diagonal lines will lean in the opposite direction first. Make the second set crossing the first to form diamonds.
Body Panels (Make 2)
Work flat in navy yarn. The panel begins narrow at the lower curve, grows to full width, then continues even.
Row 1: Ch 10, sc in 2nd ch from hook and each ch across. Turn. (9 sc)
Rows 2-9: Increase 4 stitches each row as follows: work 3 sc in first st and 3 sc in last st. Turn after each row.
Row 10: Increase 2 sts by working 2 sc in first st and 2 sc in last st. Turn. (43 sc)
Rows 11-48: Sc evenly across each row. Turn after each row. (43 sc each row)
Checkpoint
After Row 10, the panel should be about 10.75 inches (27.5 cm) wide. After Row 48, it should be about 10.75 inches wide x 10.6 inches tall (27.5 x 27 cm).
Top Shaping Markers
With RS facing, place markers along the final row at stitches 1, 11, 22, 33, and 43. These guide the scalloped top edge and strap placement later.
Surface Diamond Grid
This is the part that looks fancy but is actually straightforward. On each panel, use navy yarn and surface slip stitch on the right side.
1. Make one diagonal set from lower left to upper right.
2. Then make one diagonal set from lower right to upper left.
3. Space lines about 8 rows or 8 stitches apart.
4. Keep the fabric flat. Do not pull the surface stitches tight.
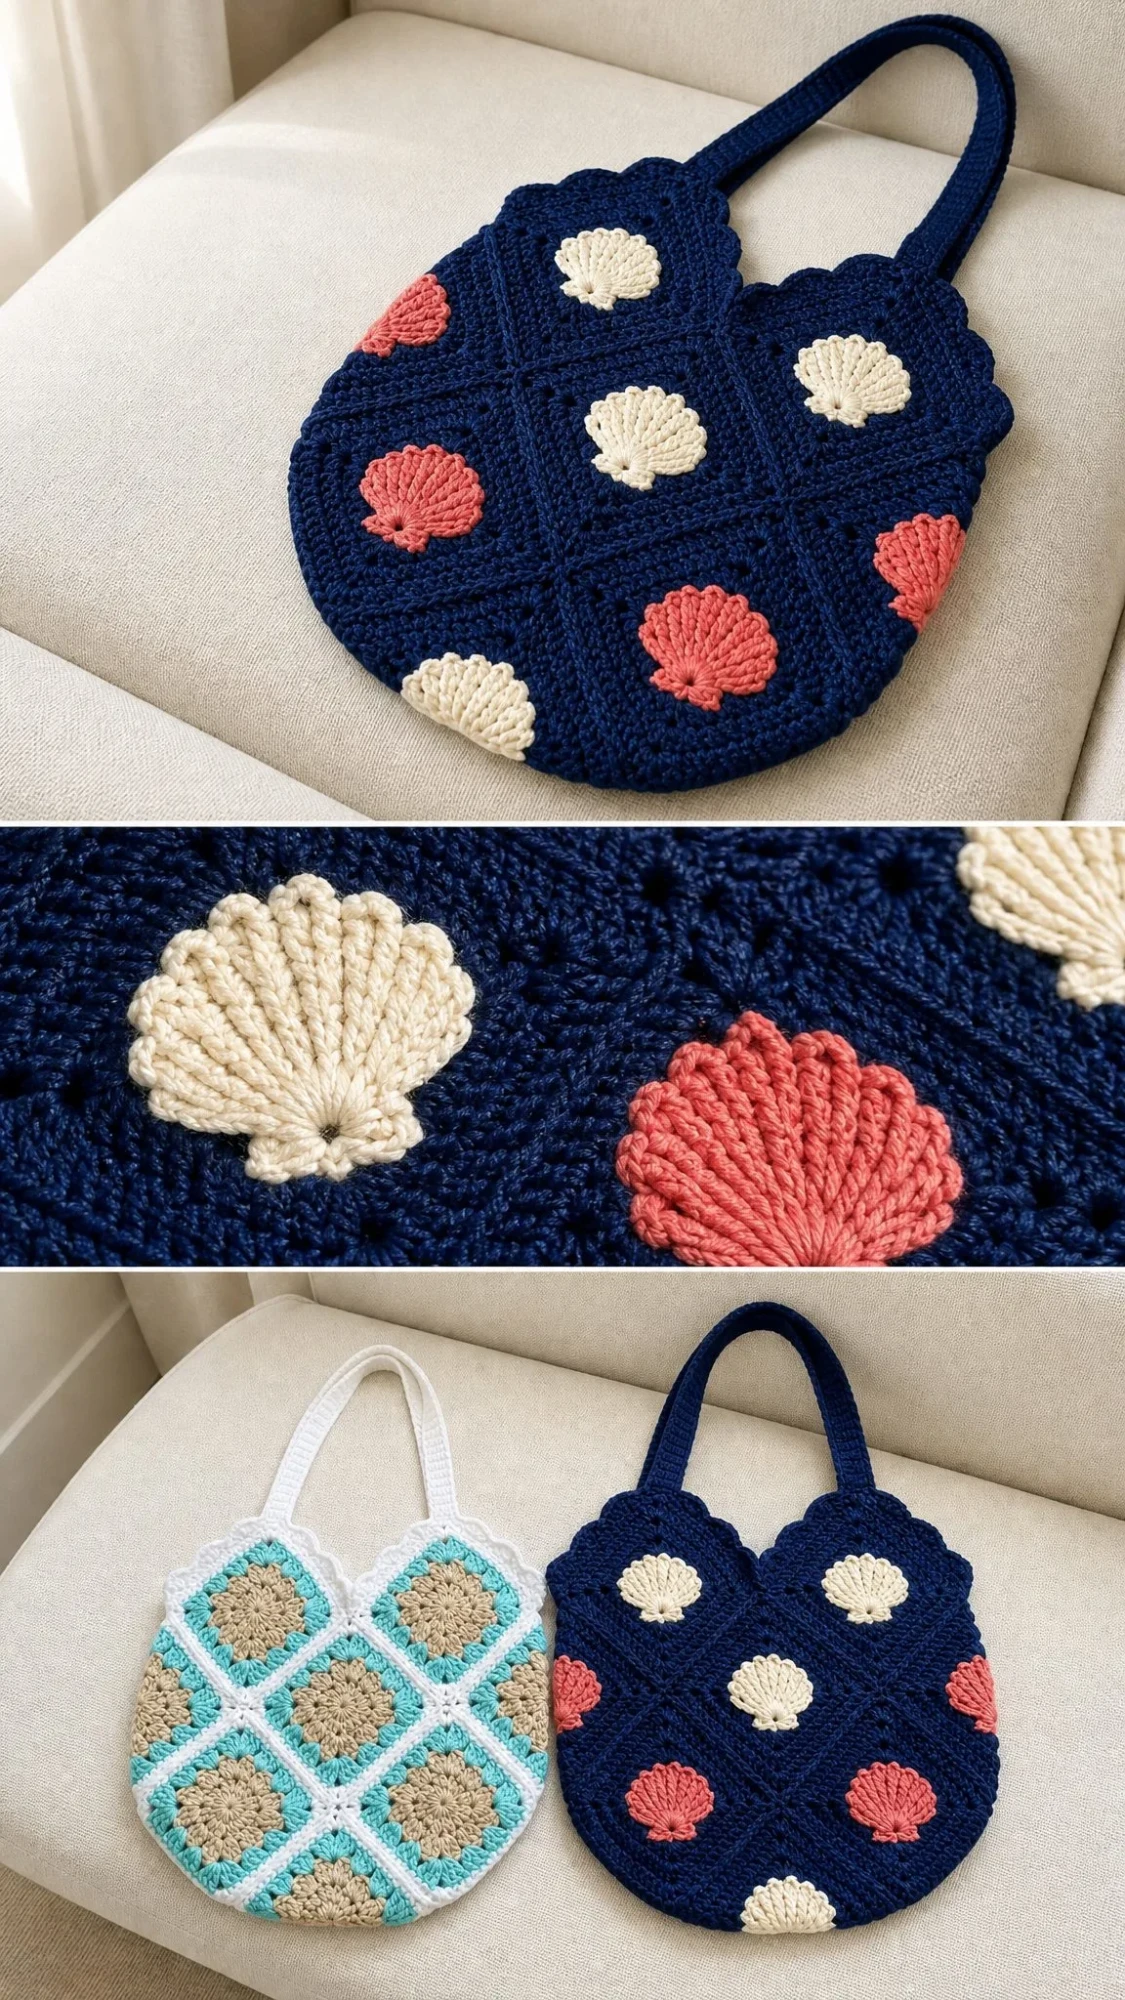
Checkpoint: The center panel should show a balanced diamond grid with about 3 full diamonds across and 4 diamonds vertically.
If your grid is puckering, loosen your surface slip stitches or move up a hook size for surface work only.
Joining the Panels
Now you’ll transform two flat pieces into a bag shape.
1. Hold panels with wrong sides together.
2. Starting at upper left side, whipstitch or slip stitch through both layers down the side, across the bottom, and up the other side.
3. Leave the top open.
4. Ease the lower corners into a rounded tote shape as you seam.
Optional depth: Seam 1.2 inches (3 cm) across each lower corner inside the bag to create a 2.4 inch (6 cm) boxed base. This gives your tote structure and allows it to stand on its own.
Top Opening Rounds
Round 1: With RS facing, join navy at a side seam. Pick up and sc 43 sts across the front top edge, 5 sts along side depth, 43 sts across the back top edge, and 5 sts along the other side depth. Join with sl st. (96 sc)
Round 2: Ch 1, sl st in next st, skip 1 st, 5 dc in next st, skip 1 st; rep from around. Join with sl st to first sl st. (24 scallops)
Round 3: Ch 1, sc in each sl st and dc around, placing 1 sc in each skipped-st gap if needed to keep the edge relaxed. Join and fasten off.
Seashell Appliques (Make 12)
These sweet little shells are what make this tote so special. Make 6 in cream and 6 in coral.
Row 1: With MR, ch 3 (counts as dc), work 9 dc in ring. Pull ring snug, turn. (10 dc)
Row 2: Ch 3, dc in same st, 2 dc in each st across. Turn. (20 dc)
Row 3: Ch 1, sc in first st, FPdc around next dc from Row 1, sc in next st; rep from across, ending sc in last st. (20 sts)
Edge: Ch 1, work 14 sc evenly around curved edge and 3 sc along the straight base. Fasten off, leaving a sewing tail. (17 sc)
Shell size after blocking: About 1.6 inches wide x 1.25 inches tall (4 x 3 cm).
Placement
Front side: Place cream shells at upper left, upper right, and center. Place coral shells at lower left, lower right, and one side accent.
Back side: Repeat the layout, mirroring the front.
Pin shells first, then sew with matching yarn through the applique edge only. Take your time with placement to ensure the shells sit centered within the diamond grid sections.
Straps (Make 2)
Row 1: Ch 93, sc in 2nd ch from hook and each ch across. Turn. (92 sc)
Rows 2-4: Ch 1, sc in each st across. Turn. (92 sc)
Edging: Ch 1, sc evenly around all strap edges, placing 3 sc in each corner. Join and fasten off.
Finished strap length before sewing: about 23 inches (58.5 cm).
Attaching Straps
1. Mark strap points on each panel at about 2.6 inches (6.5 cm) from each side seam.
2. Overlap each strap end 1.25 inches (3 cm) inside the tote.
3. Sew a reinforced rectangle with an X through each strap end using navy yarn.
This reinforced stitching is important. It prevents the straps from pulling away when the bag carries weight.
Finishing and Blocking
Almost done! These final steps make a big difference in how polished your tote looks.
1. Weave in all ends securely.
2. Steam-block or wet-block lightly to even the grid and shells.
3. Do not overstretch the straps.
4. Optional lining: Hand sew lining below the top edging to protect the crochet fabric.
Care Instructions
Hand wash cool with mild soap. Press in a towel, reshape flat, and dry away from direct heat. Store flat or hanging with lightweight contents only. Cotton yarn is durable but can stretch under heavy weight, so be mindful of what you carry.
Customization Options
Want to make this pattern your own? Here are some easy modifications.
Wider tote: After Row 10, continue the increase section in +4-st rows until the panel reaches your desired width. Keep the top opening count divisible by 4 for the scallop edging.
Taller tote: Add even rows after Row 48 before seaming.
Longer strap drop: Add 4 chains for about 1 inch (2.5 cm) extra strap length at this gauge.
More shells: Keep motifs at least 1 inch (2.5 cm) from seams and strap stitching.
Troubleshooting Common Issues
Panel cups or ripples: Check Row 2-10 increase counts and block flat before seaming.
Top edge ruffles: Reduce picked-up side-depth stitches or work Round 3 more loosely without adding gap stitches.
Surface grid puckers: Loosen surface slip stitches or move up a hook size for surface work only.
Straps stretch: Sew in a ribbon backing or make the straps one row wider.
Maker Checkpoints
Use these numbers to verify you’re on track throughout the project:
You Did It!
Thank you so much for making this Ocean Blue Seashell Motif Tote with me! I hope you love how it turned out. This crochet tote pattern combines so many satisfying techniques, and the finished bag is genuinely useful and beautiful.
If you make this tote, I would absolutely love to see it! Tag me on Instagram or share a photo in our Facebook group. Seeing your finished projects honestly makes my whole day.
Don’t forget to save this crochet pattern to your Pinterest boards so you can find it easily when you’re ready to start. And if you have any questions or want to share how yours turned out, drop a comment below. I read every single one and love connecting with fellow makers!
Want a Quick & Easy Printable Version?
Get a clean, beautifully formatted PDF of this pattern — easy to follow step by step, ready to print or save on any device. No scrolling, no distractions, just the pattern.
Get the Printable PDF →