
I don’t know about you, but I have always been a sucker for wearable crochet that actually looks elegant enough for special occasions. Finding that sweet spot between handmade charm and sophisticated style can feel impossible sometimes.
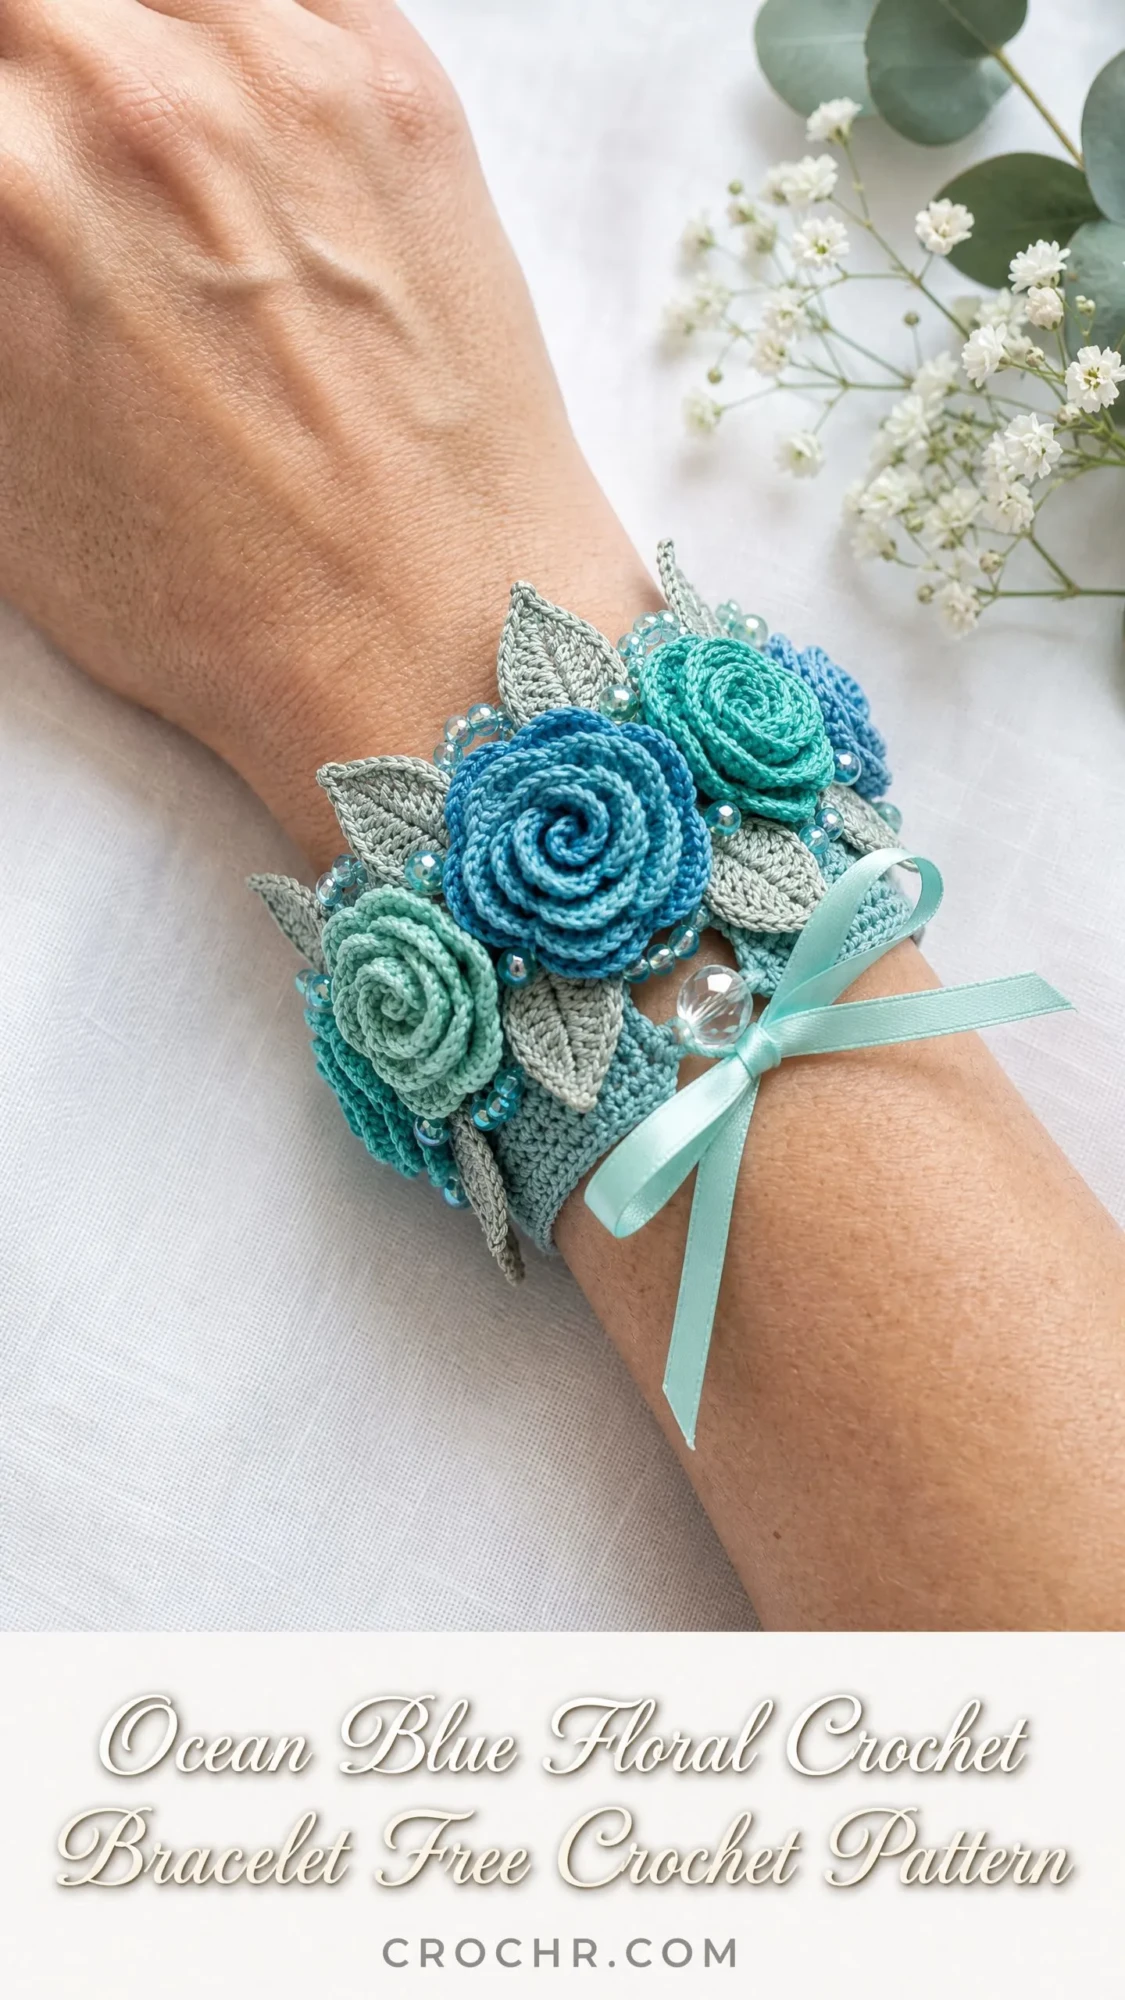
Well, this bracelet nails it. Three-dimensional roses in gorgeous ocean blues, delicate sage leaves, tiny sparkling beads, and a satin ribbon bow all come together in one stunning wrist cuff. It looks like something from a bridal boutique, but you can make it yourself with a small hook and some fingering weight cotton.
Whether you are planning a wedding, attending a formal event, or just want to create a meaningful handmade gift, this floral crochet bracelet delivers serious wow factor. Let me walk you through every single step.
About This Floral Crochet Bracelet Pattern
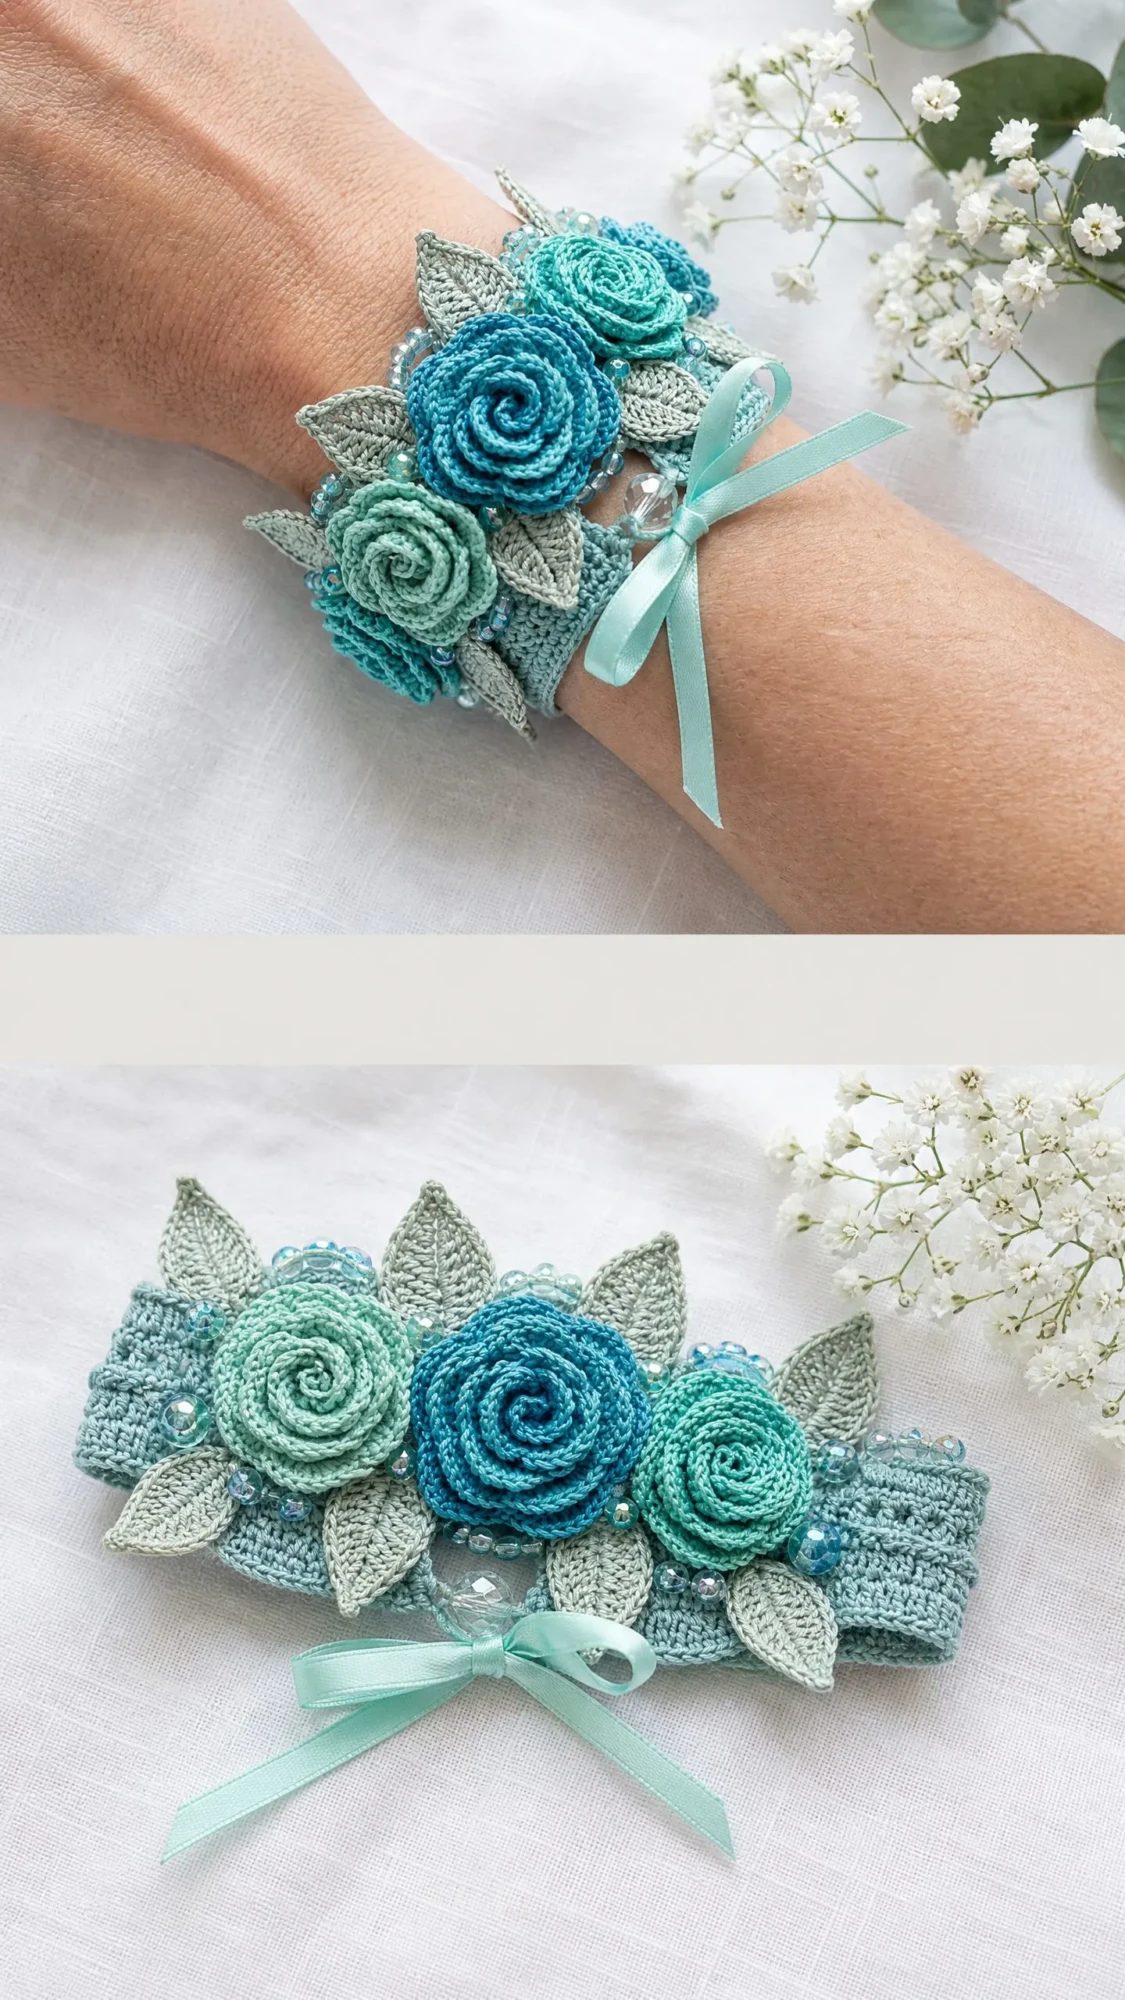
This wide cuff bracelet features a crocheted band base decorated with spiral roses in three shades of blue and teal. Textured leaf motifs in sage gray-green surround the flowers, and clear glass beads plus tiny seed beads add sparkle throughout. A satin ribbon threads through the band and ties in a pretty bow at the front.
The bracelet is constructed in separate parts. You will work the base band flat in rows, create the roses as flat spirals that get rolled and stitched, make the leaves flat with surface texture, and then assemble everything together. The result is a statement piece that looks far more complicated than it actually is.
Finished measurements: The band measures approximately 6.5 inches (16.5 cm) long, not including the ribbon ties which add about 5 inches (12.5 cm) per side. The band height is approximately 1.75 inches (4.5 cm), and the decorative top section with leaves and roses extends about 2.25 inches (5.75 cm) above the band. This fits wrists measuring 6 to 7.5 inches (15 to 19 cm) depending on how tightly you tie the ribbon.
Skill level: Intermediate. The base band uses basic stitches only, but you will need to be comfortable working small three-dimensional rose spirals, crocheting into chain spaces, sewing assembled motifs securely, and threading beads onto yarn before working certain rows.
Time estimate: Approximately 6 to 9 hours total. This breaks down to about 45 minutes for the base band, 3 to 4 hours for all roses and leaves, 1 hour for assembly, 30 minutes for beading, and 15 minutes for finishing with the ribbon.
Materials You Will Need
Yarn (all fingering weight cotton):
Cotton is strongly recommended for stiffness and stitch definition. The finished piece needs to hold its sculptural shape, so avoid fuzzy, stretchy, or acrylic yarns.
Hook: US B-1 / 2.25 mm steel or aluminum crochet hook. This is smaller than standard for fingering weight yarn, which creates the dense, firm fabric needed for the floral shapes.
Notions:
Gauge
With US B-1 / 2.25 mm hook and fingering weight cotton yarn:
Gauge swatch: Chain (ch) 26. Work single crochet (sc) in rows for 26 rows. Block and measure. The fabric should feel dense and hold its shape without curling significantly.
Gauge is critical for this project. If your gauge is looser, the band will be too long and the flowers will not hold their form. If your gauge is tighter, the band will be too short. Adjust your hook size until your gauge matches before beginning.
Abbreviations and Stitch Definitions
Let me explain each abbreviation before we dive in. I will use US crochet terminology throughout.
Numbers in parentheses at the end of each row indicate your stitch count. Instructions in brackets [ ] should be repeated the number of times indicated.
Special Stitches
Bead Single Crochet (bsc): Before beginning any row requiring beads, pre-thread the required number of beads onto your working yarn using a fine wire needle. To place a bead, insert hook into stitch as normal for sc, yarn over and draw up a loop, slide one bead up snug against the right side of the work, yarn over and draw through both loops on hook. The bead sits on the RS of the fabric.
Surface Leaf Vein: After the leaf is completed, with RS facing, join yarn at the base of the leaf. Work a slip stitch along the center of the leaf from base to tip, inserting the hook under one strand of the center stitches as you go. This creates a raised vein line down the middle. Fasten off and weave in ends.
Step-by-Step Instructions
Section 1: Base Band
The band is worked flat, lengthwise, in double crochet rows.
Foundation: Using Color E and US B-1 / 2.25 mm hook, ch 73.
Row 1 (RS): Dc in 4th ch from hook (ch-3 counts as first dc), dc in each ch across. Turn. (71 dc)
Row 2 (WS): Ch 3, dc in each st across, working into the top of the turning ch at the end. Turn. (71 dc)
Row 3 (RS): Ch 3, dc in each st across. Turn. (71 dc)
Row 4 (WS): Ch 1, sc in first st, sc in each st across. Do not turn at end of row. Fasten off Color E. Turn. (71 sc)
After Row 4, your band should measure approximately 6.5 inches (16.5 cm) wide and 0.75 inch (1.9 cm) tall.
Section 2: Bottom Border
With RS facing, join Color D to the bottom left corner of the band (the foundation chain edge).
Border Row 1: Ch 1, work 71 sc evenly across the foundation chain edge. Turn. (71 sc)
Border Row 2 (RS): Ch 1, sc in blo of each st across. Turn. (71 sc)
Border Row 3 (WS): Ch 1, sc in each st across. Fasten off Color D. (71 sc)
Section 3: Bead Edging and Upper Accent Row
Pre-thread approximately 68 seed beads onto a length of Color D yarn (prepare at least 2 yards).
With RS facing, join beaded Color D yarn to the top right corner of the band (the Row 4 edge).
Bead Row 1 (WS facing, so beads show on RS): Ch 1, [bsc in next st] across entire top edge of band. Turn. (71 bsc, 71 beads placed)
If you run out of pre-threaded beads before the row ends, it is acceptable to place a bead in every other stitch instead, giving 36 beads total.
Bead Row 2: Ch 1, sc in each st across. Do not turn. Fasten off Color D.
Your band now has a beaded upper edge. The total band height is approximately 1.25 inches (3.2 cm).
Section 4: Ribbon Channels
Create two small openings at the front center of the band for threading the ribbon. You can either use a yarn needle and Color E to stitch small loops at the left and right of center, approximately 0.5 inch (1.3 cm) apart, or use a sharp tapestry needle to pierce two small holes in the dc rows at center front, reinforcing the edges with a whip stitch.
The ribbon will pass through from RS to WS through the left hole, across the WS of the band, and back through to the RS through the right hole.
Section 5: Large Rose (Color A, Make 1)
This is your central, largest rose.
Foundation: Using Color A, ch 41.
Row 1: Sc in 2nd ch from hook, sc in next ch, hdc in next ch, hdc in next ch, [dc in next 2 ch, tr in next 2 ch, dc in next 2 ch, hdc in next 2 ch, sc in next 2 ch] 3 times, hdc in next ch, dc in next ch, tr in next 2 ch, dc in next ch, hdc in next ch, sc in last ch. (40 sts)
Row 2: Ch 1, turn. Working back along the opposite side of the foundation chain, sc in each ch across. Fasten off, leaving a 10-inch (25 cm) tail for sewing. (40 sc)
Assembly: Hold the strip with RS facing. Starting at the end with the tallest stitches (the tr end), tightly roll the strip into a spiral, stitching through the base every few wraps with the yarn tail and a tapestry needle to secure. When fully rolled, the base of the rose is flat and the spiral shows on the RS. Stitch securely across the base several times. Fasten off and weave in ends on the base.
Finished diameter: approximately 1.25 inches (3.2 cm).
Section 6: Medium Rose (Color B, Make 2)
Foundation: Using Color B, ch 31.
Row 1: Sc in 2nd ch from hook, sc in next ch, hdc in next 2 ch, [dc in next 2 ch, tr in next 2 ch, dc in next 2 ch, hdc in next 2 ch, sc in next 2 ch] 2 times, hdc in next ch, dc in next ch, tr in next ch, sc in last ch. (30 sts)
Row 2: Ch 1, turn. Sc in each ch across the opposite side of foundation chain. Fasten off with 10-inch (25 cm) tail. (30 sc)
Assemble as for large rose. Finished diameter: approximately 1 inch (2.5 cm).
Section 7: Small Rose (Color C, Make 2)
Foundation: Using Color C, ch 21.
Row 1: Sc in 2nd ch from hook, sc in next ch, hdc in next 2 ch, dc in next 2 ch, tr in next 2 ch, dc in next 2 ch, hdc in next 2 ch, sc in next 2 ch, hdc in next ch, dc in next ch, tr in last ch. (20 sts)
Row 2: Ch 1, turn. Sc in each ch across opposite side of foundation chain. Fasten off with 10-inch (25 cm) tail. (20 sc)
Assemble as before. Finished diameter: approximately 0.75 inch (2 cm).
Total roses: 1 large Color A, 2 medium Color B, 2 small Color C. Five roses total.
Section 8: Large Leaf (Color D, Make 4)
Foundation: Using Color D, ch 12.
Row 1: Sc in 2nd ch from hook, sc in next ch, hdc in next 2 ch, dc in next 2 ch, hdc in next 2 ch, sc in next ch, 3 sc in last ch (this is the leaf tip). Now working back along the opposite side of the foundation chain, sc in next ch, hdc in next 2 ch, dc in next 2 ch, hdc in next 2 ch, sc in next ch, sl st in last ch (base of leaf). Do not fasten off. (22 sts around plus 1 sl st)
Row 2: Ch 1. Working in blo only, sl st in each st around to tip, 3 sl st in center tip st, sl st back to base. Fasten off with 6-inch (15 cm) tail.
Work surface leaf vein from base to tip as described in Special Stitches. Finished length: approximately 1.25 inches (3.2 cm).
Section 9: Medium Leaf (Color D, Make 4)
Foundation: Using Color D, ch 9.
Row 1: Sc in 2nd ch from hook, sc in next ch, hdc in next 2 ch, dc in next ch, hdc in next ch, sc in next ch, 3 sc in last ch. Working back along opposite side of foundation chain, sc in next ch, hdc in next ch, dc in next ch, hdc in next 2 ch, sc in next ch, sl st in last ch. (17 sts around plus 1 sl st)
Row 2: Ch 1. Working in blo, sl st around to tip, 3 sl st in center tip st, sl st back to base. Fasten off with 6-inch (15 cm) tail.
Work surface vein as before. Finished length: approximately 1 inch (2.5 cm).
Section 10: Small Leaf (Color D, Make 4)
Foundation: Using Color D, ch 7.
Row 1: Sc in 2nd ch from hook, sc in next ch, hdc in next ch, dc in next ch, hdc in next ch, 3 sc in last ch. Working back along opposite side of foundation chain, hdc in next ch, dc in next ch, hdc in next ch, sc in next ch, sl st in last ch. (13 sts around plus 1 sl st)
Row 2: Ch 1. Working in blo, sl st around to tip, 3 sl st in center tip st, sl st back to base. Fasten off with 6-inch (15 cm) tail.
Work surface vein as before. Finished length: approximately 0.75 inch (2 cm).
At this point you should have 5 roses and 12 leaves. Lay them out on the band before sewing to plan your arrangement.
Section 11: Upper Leaf Border
This creates the standing leaf edging along the very top of the band that gives the bracelet its crown-like silhouette.
With RS facing and Color D, join yarn to the top right edge of the band.
Leaf Border Row 1: Ch 1. Working across the top beaded edge of the band, [sc in next 4 sts, ch 10, sc in 2nd ch from hook, sc in next ch, hdc in next 2 ch, dc in next 2 ch, hdc in next ch, sc in next ch, sl st back into the base st of the ch-10 on the band edge] repeat across, ending with sc in remaining sts to fill the edge. Fasten off Color D.
Each ch-10 spike creates an upward-pointing standing leaf. Space them approximately every 4 stitches, which gives you 12 to 14 standing leaves across the top. Work a surface slip stitch vein up the center of each standing leaf, then add seed beads along the base of the leaf border with a hand-sewing needle and thread.
Section 12: Assembly
Step 1: Stiffen the band and all individual motifs before assembly if using fabric stiffener. Allow to dry completely, shaping leaves flat and roses in a cupped position.
Step 2: Lay the stiffened band flat with RS up. Position the large Color A rose at center front. Place one medium Color B rose to the right, slightly overlapping. Place one medium Color B rose to the far left as a side accent. Position the two small Color C roses on either side, tucking them under the larger roses.
Step 3: Distribute the 12 leaves among the roses. Place large leaves behind and around the large rose, medium leaves between the medium roses, and small leaves filling in gaps. Layer them so they radiate outward from beneath the roses.
Step 4: Using the yarn tails and a tapestry needle, sew each rose to the band with secure stitches through the base. Sew each leaf motif to the band through the base only, leaving the leaf body free for dimension.
Step 5: Sew additional clear glass beads and seed beads between the flowers and along the upper edge as desired.
Step 6: Thread the ribbon through the two ribbon channels at center front. Thread one clear glass bead onto the ribbon at center between the holes. This creates a decorative pendant at the bow center.
Size Customization Tips
To make the band longer for a larger wrist, add stitches to the foundation chain. Each additional stitch adds approximately 0.09 inch (0.23 cm). For an 8-inch wrist, chain 79 instead of 73.
To make the band taller, add additional rows of double crochet. Each dc row adds approximately 0.35 inch (0.9 cm) of height.
To make larger roses, increase the foundation chain by 10. To make smaller roses, decrease by 5 to 10.
Finishing and Care
After assembly, hold the bracelet over steam or lightly mist with water. Pin flat and allow to dry completely. If using commercial fabric stiffener, apply a light coat to the roses and leaves only so the band remains flexible enough to tie.
Weave in all remaining yarn ends securely on the WS, working ends in at least two directions. Trim ribbon ends at a 45-degree angle or seal with a lighter flame carefully.
For care, hand wash gently in cool water with mild soap if needed. Do not machine wash or dry. Lay flat to dry, reshaping as needed. Store flat or loosely rolled to maintain the three-dimensional shape.
You Did It!
Thank you so much for choosing this floral crochet bracelet pattern for your next project. I truly hope you love making it as much as I loved designing it. There is something incredibly satisfying about watching those little spiral roses come together and then seeing the whole piece transform into wearable art.
If you make one, I would absolutely love to see it! Tag me on Instagram or share a photo in our Facebook group. Seeing your finished projects is honestly the best part of my day.
Go ahead and pin this pattern to your Pinterest boards so you can find it easily when you are ready to start. And if you have any questions or want to share how yours turned out, drop a comment below. I read every single one and I am always here to help. Happy hooking!
You Might Also Like
- Modern Monstera Crochet Plant for Home Office Desk
- Mint Green Daisy Baby Dress Free Crochet Pattern
- Sage Green Boho Tiered Crochet Dress Free Pattern
- Blush Pink Feminine Shell Bag Free Crochet Pattern
