I don’t know about you, but I have killed more houseplants than I care to admit. Between forgetting to water them and putting them in spots with terrible lighting, my track record is honestly embarrassing. This crochet snake plant? It thrives on neglect. All the lush, vibrant greenery with absolutely zero guilt when you forget about it for months.
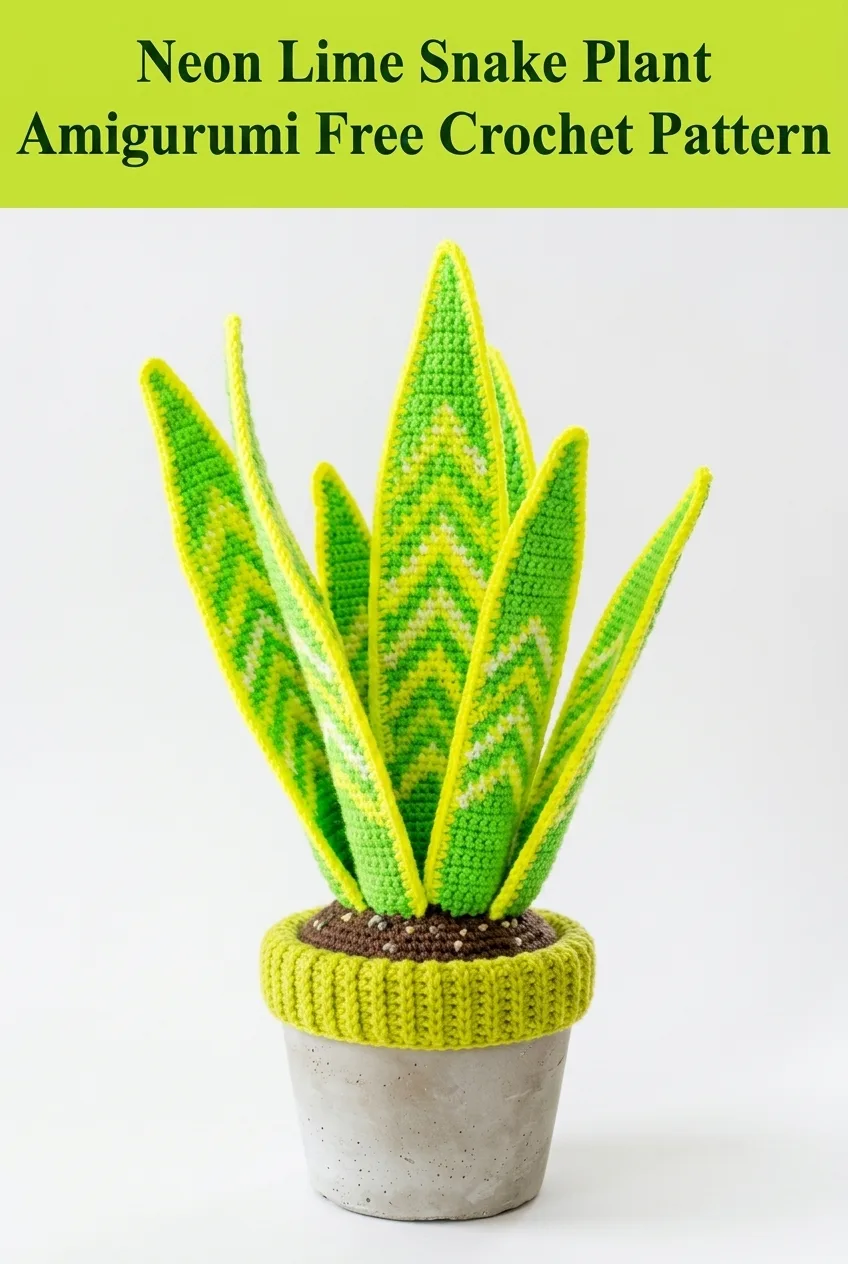
This neon lime snake plant amigurumi brings that trendy houseplant aesthetic into your home without any of the maintenance drama. The bright chevron stripes on each leaf give it a modern, eye-catching look that works in any room. And honestly, guests will do a double take trying to figure out if it’s real.
Why You’ll Love This Crochet Snake Plant Pattern
This snake plant amigurumi pattern creates a stunning decorative piece that stands approximately 12 to 14 inches tall when displayed in a standard 4-inch pot. The vibrant color work mimics the natural variegation of a real Sansevieria, commonly known as a snake plant or mother-in-law’s tongue.
What makes this crochet pattern special is the tapestry crochet technique used on the leaves. Tapestry crochet means you carry multiple yarn colors along as you work, switching between them to create bold graphic patterns. Don’t worry if that sounds intimidating. I’ll walk you through every color change step by step.
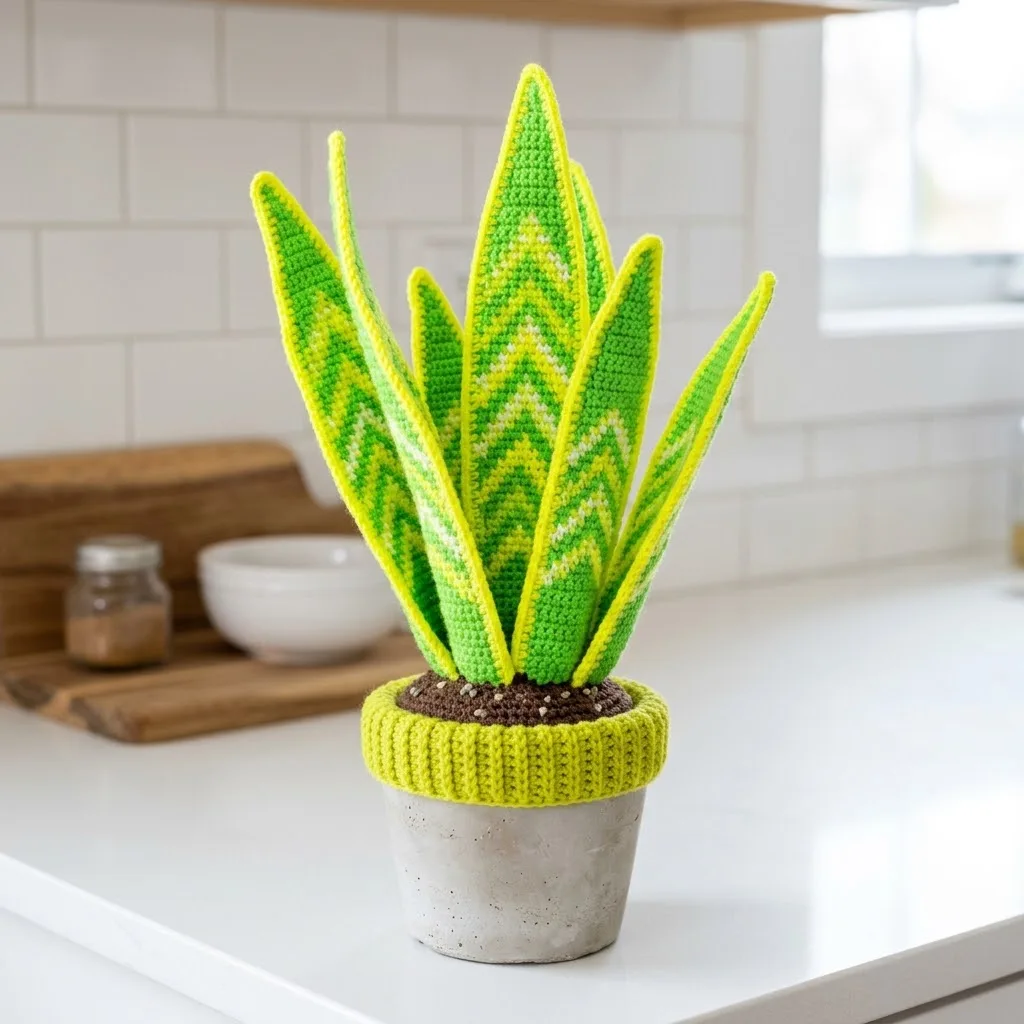
The finished piece makes an incredible housewarming gift, a cheerful addition to your office desk, or a playful statement piece for your kitchen counter. Plus, it’s completely pet-safe and child-friendly. No toxic leaves to worry about here.
Skill Level
Intermediate
This crochet tutorial requires comfort with basic amigurumi construction and willingness to learn tapestry crochet for the color work. If you’ve made a few stuffed animals or worked color changes before, you’re ready for this project.
Materials Needed
Yarn:
– Neon lime green (Color A), approximately 150 yards
– Kelly green (Color B), approximately 100 yards
– Cream or off-white (Color C), approximately 30 yards
– Chartreuse or yellow-green (Color D), approximately 80 yards
– Dark brown (Color E), approximately 40 yards
Hook:
Notions:
Gauge
Gauge is not critical for amigurumi, but you want a tight fabric so stuffing doesn’t show through. With a 3.5mm hook and worsted weight yarn, you should get approximately 5 single crochet stitches per inch.
Abbreviations and Stitch Definitions
Let me break down every stitch you’ll need for this pattern. Even if you know these already, a quick refresher never hurts.
ch = chain: Yarn over, pull through the loop on your hook. This creates the foundation for most crochet projects.
sl st = slip stitch: Insert hook, yarn over, pull through both the stitch and the loop on your hook in one motion. Used for joining rounds.
sc = single crochet: Insert hook into stitch, yarn over and pull up a loop (two loops on hook), yarn over and pull through both loops.
inc = increase: Work two single crochet stitches into the same stitch. This adds one stitch to your count.
dec = invisible decrease: Insert hook through the front loops only of the next two stitches, yarn over and pull through both front loops, yarn over and pull through both loops on hook. This creates a neater decrease for amigurumi.
BLO = back loop only: Work your stitch into only the back loop of the stitch below, leaving the front loop unworked. Creates a ribbed texture.
FLO = front loop only: Work your stitch into only the front loop of the stitch below.
MR = magic ring: An adjustable starting loop that closes completely with no hole in the center. Essential for amigurumi.
Pattern Notes
This snake plant consists of multiple leaves in varying sizes, a soil topper, and a decorative pot rim. All pieces except the pot rim are worked in continuous spiral rounds. Do not join rounds unless instructed. Use a stitch marker to track the beginning of each round.
For the chevron color work on the leaves, you’ll carry unused colors along inside your stitches. When switching colors, complete the last yarn over of your current stitch with the new color. Keep your tension consistent to avoid puckering.
I recommend making the smaller leaves first to practice the tapestry technique before tackling the larger center leaves.
Step by Step Crochet Pattern
Large Leaf (Make 3)
You’ll create each leaf as two flat panels, then join them together and stuff lightly. This creates that realistic pointed leaf shape.
Front Panel:
Using Color D (chartreuse) and your 3.5mm hook, ch 5.
Row 1: Sc in 2nd ch from hook and in each ch across, turn. (4 sts)
Row 2: Ch 1, 2 sc in first st, sc in next 2 sts, 2 sc in last st, turn. (6 sts)
Row 3: Ch 1, sc across, turn. (6 sts)
Row 4: Ch 1, 2 sc in first st, sc to last st, 2 sc in last st, turn. (8 sts)
Rows 5-6: Ch 1, sc across, turn. (8 sts)
Row 7: Ch 1, 2 sc in first st, sc to last st, 2 sc in last st, turn. (10 sts)
Now begin the chevron color work. This is where the magic happens.
Row 8: Ch 1 with Color A (neon lime). Sc 2 in A, switch to Color B (kelly green), sc 6 in B, switch to A, sc 2 in A, turn. (10 sts)
Row 9: Ch 1, sc 3 in A, sc 4 in B, sc 3 in A, turn. (10 sts)
Row 10: Ch 1, 2 sc in first st with A, sc 2 in A, switch to C (cream), sc 1 in C, switch to B, sc 2 in B, switch to C, sc 1 in C, switch to A, sc 2 in A, 2 sc in last st with A, turn. (12 sts)
Continue working the chevron pattern, increasing every 4th row until you have 16 stitches. The chevron "V" shapes should stack vertically, creating that distinctive snake plant variegation.
Rows 11-30: Continue in established chevron pattern, alternating the peak positions and adding cream accent stitches at each chevron point. Maintain 16 sts for the middle section.
Row 31: Begin decreasing. Ch 1, dec, sc to last 2 sts, dec, turn. (14 sts)
Rows 32-45: Continue decreasing every other row while maintaining color pattern until 4 sts remain.
Row 46: Ch 1, dec twice. (2 sts)
Row 47: Dec. Fasten off, leaving a long tail.
Back Panel:
Work the same as the front panel but using only Color A and Color D in simple stripes. No chevron needed. This saves time and the back won’t be as visible anyway.
Joining:
Hold front and back panels together with wrong sides facing. Using Color D, single crochet around the entire outer edge, working through both layers. When you reach the base, stop and stuff the leaf lightly with fiberfill. If using floral wire for stability, insert it now before closing. Continue sc around to join completely. Fasten off and weave in ends.
Medium Leaf (Make 3)
Work the same as the large leaf, but start with ch 4 and work only 35 rows total. Final leaf should measure approximately 8 inches.
Small Leaf (Make 2)
Work the same construction with ch 3, working 25 rows total. Final leaf should measure approximately 5 inches.
Soil Topper
Using Color E (dark brown) and your 3.5mm hook, create the soil that sits atop your pot.
Round 1: MR, 6 sc in ring. (6 sts)
Round 2: Inc in each st around. (12 sts)
Round 3: *Sc 1, inc* repeat around. (18 sts)
Round 4: *Sc 2, inc* repeat around. (24 sts)
Round 5: *Sc 3, inc* repeat around. (30 sts)
Round 6: *Sc 4, inc* repeat around. (36 sts)
Round 7: *Sc 5, inc* repeat around. (42 sts)
Round 8: *Sc 6, inc* repeat around. (48 sts)
Continue increasing until the circle fits snugly inside your pot opening. For a 4-inch pot, you’ll likely need 60-66 stitches total.
Final Round: Sc in BLO around. Sl st to join. Fasten off.
Pot Rim Cover
This ribbed piece wraps around the top edge of your pot for that finished look.
Using Color D and your 4.0mm hook, ch 9.
Row 1: Sc in 2nd ch from hook and across, turn. (8 sts)
Row 2: Ch 1, sc in BLO across, turn. (8 sts)
Repeat Row 2 until the piece stretches comfortably around your pot rim. Approximately 40-50 rows depending on your tension and pot size.
Sl st the short ends together to form a tube. Fasten off.
Assembly Instructions
Now comes the fun part. Putting it all together.
Step 1: If desired, place small pebbles or dried beans in the bottom of your pot for stability.
Step 2: Stuff a ball of fiberfill or plastic bags into the pot to create a base for your soil topper.
Step 3: Position your soil topper inside the pot opening, pressing the edges down around the filling.
Step 4: Slide the pot rim cover over the top edge of your pot. Adjust so it sits evenly.
Step 5: Arrange your leaves. Start with the three large leaves in the center, positioning them to fan outward naturally. The tallest should point straight up. Stitch the base of each leaf to the soil topper using your tapestry needle and matching yarn.
Step 6: Add the medium leaves around the large ones, angling them outward slightly. Secure to the soil.
Step 7: Tuck the small leaves at the outer edges, leaning them at wider angles. Secure all bases firmly.
Step 8: Weave in any remaining ends. Fluff and adjust your leaves until you’re happy with the arrangement.
Helpful Tips for Success
Tension matters. If your tapestry crochet looks bumpy or uneven, try relaxing your grip. The carried yarn should lie flat inside your stitches without pulling.
Color dominance is real. In tapestry crochet, the yarn carried below will be slightly more visible. Keep your main pattern color on top and your background color below for crisp chevrons.
Blocking helps. Lightly steam blocking your leaf panels before joining can smooth out any waviness from the color work.
Make it your own. Don’t love neon lime? Try sage green and cream for a more muted look. Dusty pink and burgundy create a gorgeous fantasy plant. Gray and white make a sophisticated neutral version.
Why This Pattern Works
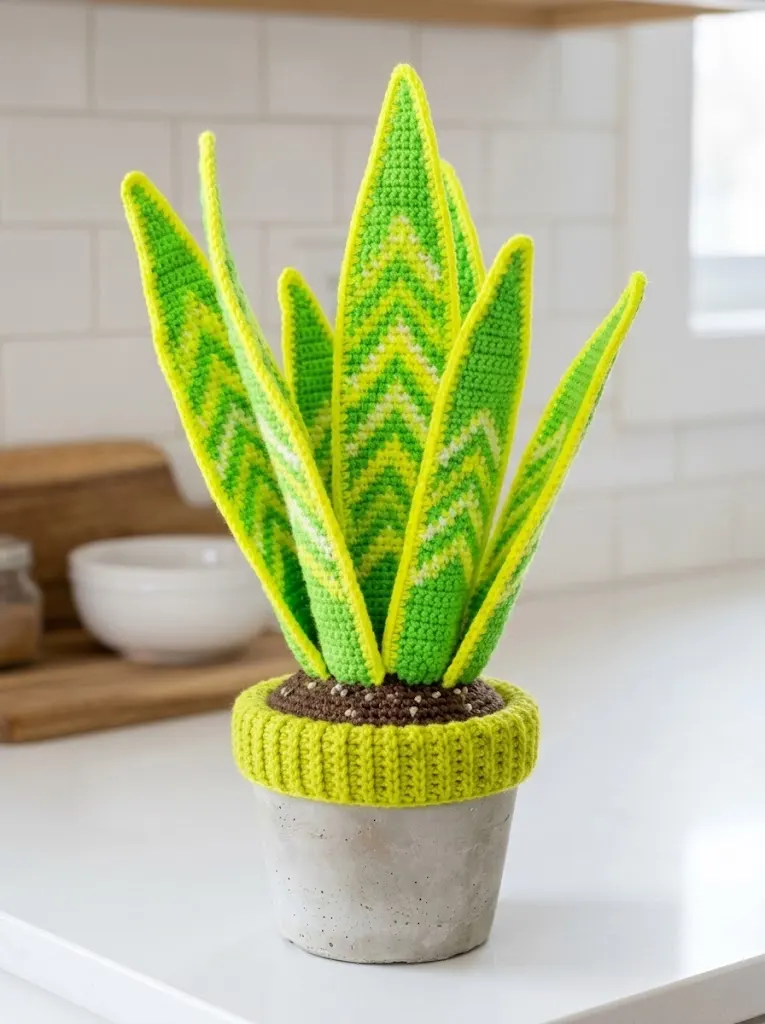
This snake plant amigurumi crochet pattern captures everything people love about the real plant. The upright architectural shape. The graphic striped leaves. The modern aesthetic that fits any decor style.
But unlike a real Sansevieria, this one never needs repotting. It won’t get leggy in low light or develop root rot from overwatering. It stays perfectly perky forever.
For crafters who love creating realistic home decor, this crochet tutorial opens up endless possibilities. Once you’ve mastered this technique, you could create an entire crochet houseplant collection. Monstera leaves, pothos vines, succulent arrangements. Your green thumb just got a lot more reliable.
Final Thoughts on Your Snake Plant Amigurumi
You now have everything you need to create this stunning neon lime snake plant amigurumi from start to finish. The tapestry crochet technique might feel challenging at first, but I promise it becomes rhythmic and meditative once you get going. Take your time with those first few color change rows.
This crochet pattern delivers maximum visual impact for your effort. The bright chevron stripes practically glow, and the finished piece looks impressive enough to fool visitors. At least until they try to water it.
Thank you so much for choosing this pattern for your next project. I genuinely appreciate you being here and trusting me to guide you through something new. If you make your own snake plant, I would absolutely love to see it. Tag me on Instagram or share in my Facebook group. Seeing your finished projects is honestly the best part of my day.
If you loved this snake plant amigurumi pattern, go ahead and save it to your Pinterest boards so you can find it easily when you’re ready to start. And please drop a comment below if you give it a try. I’d love to hear how yours turns out or answer any questions along the way. Happy crocheting!
