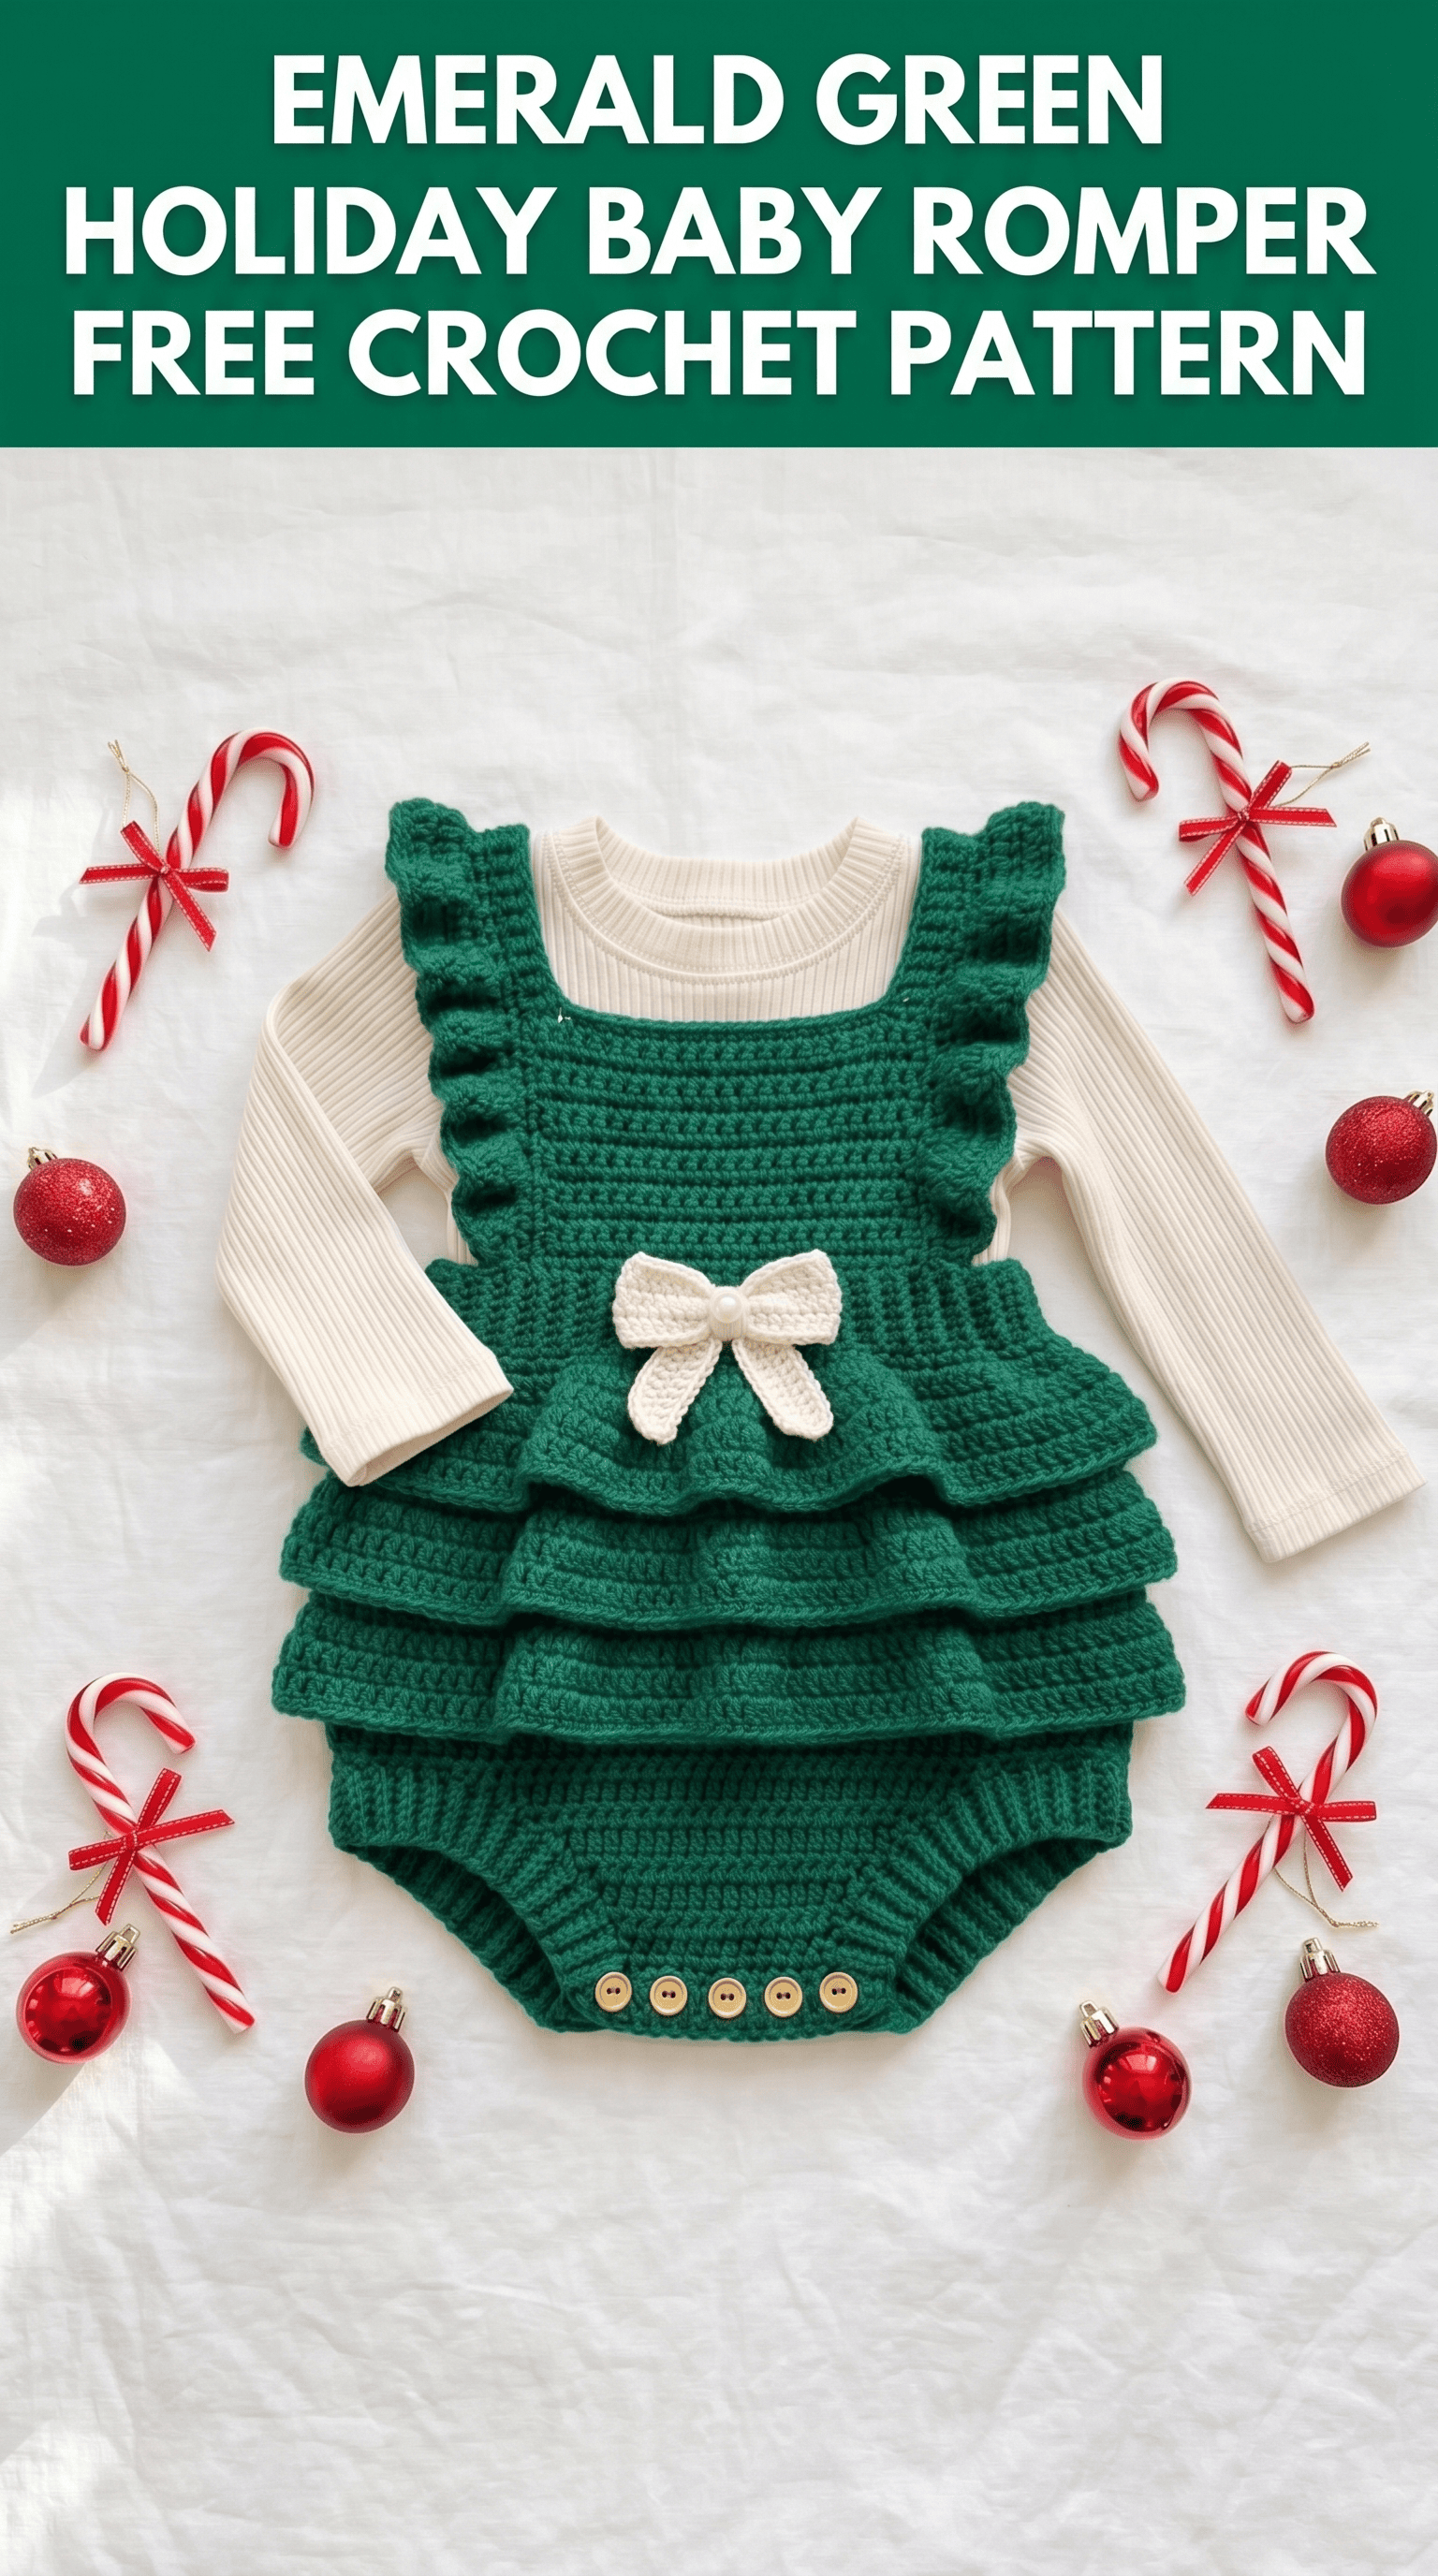
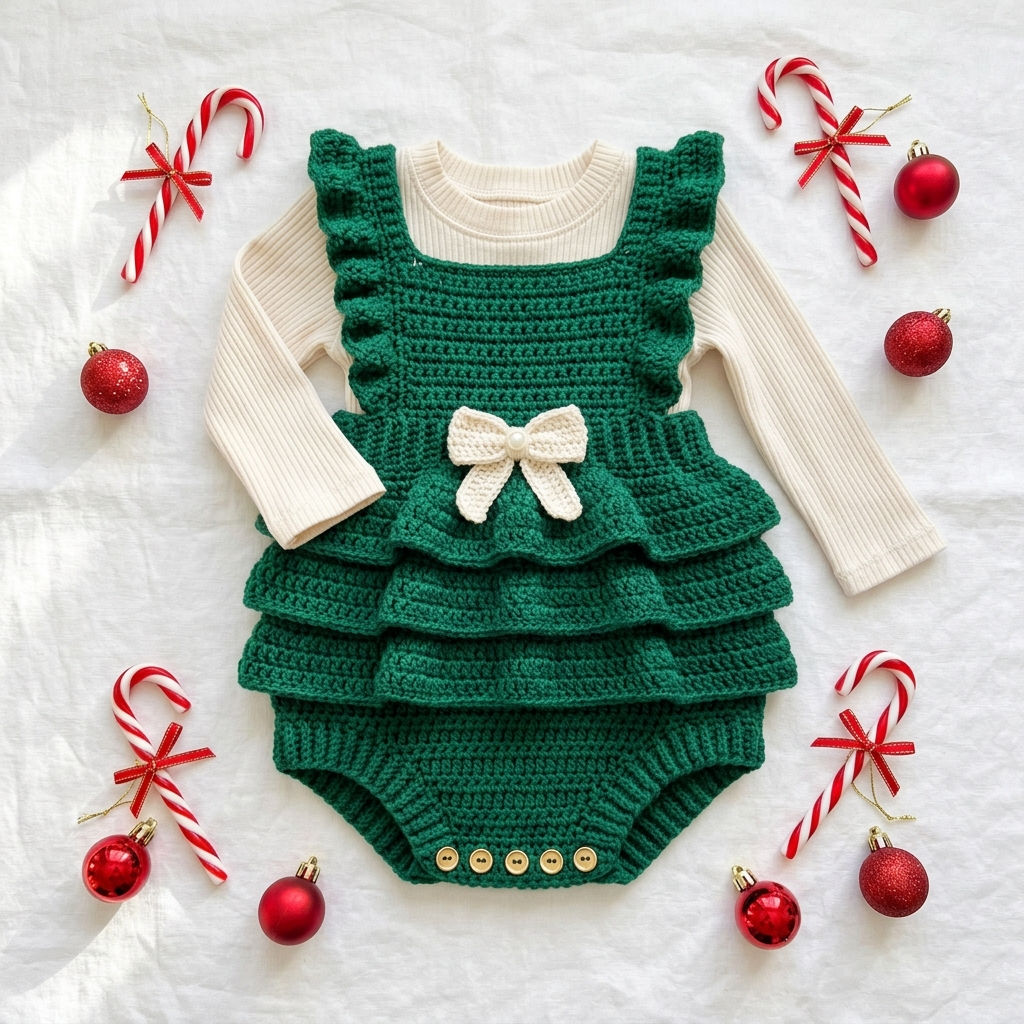
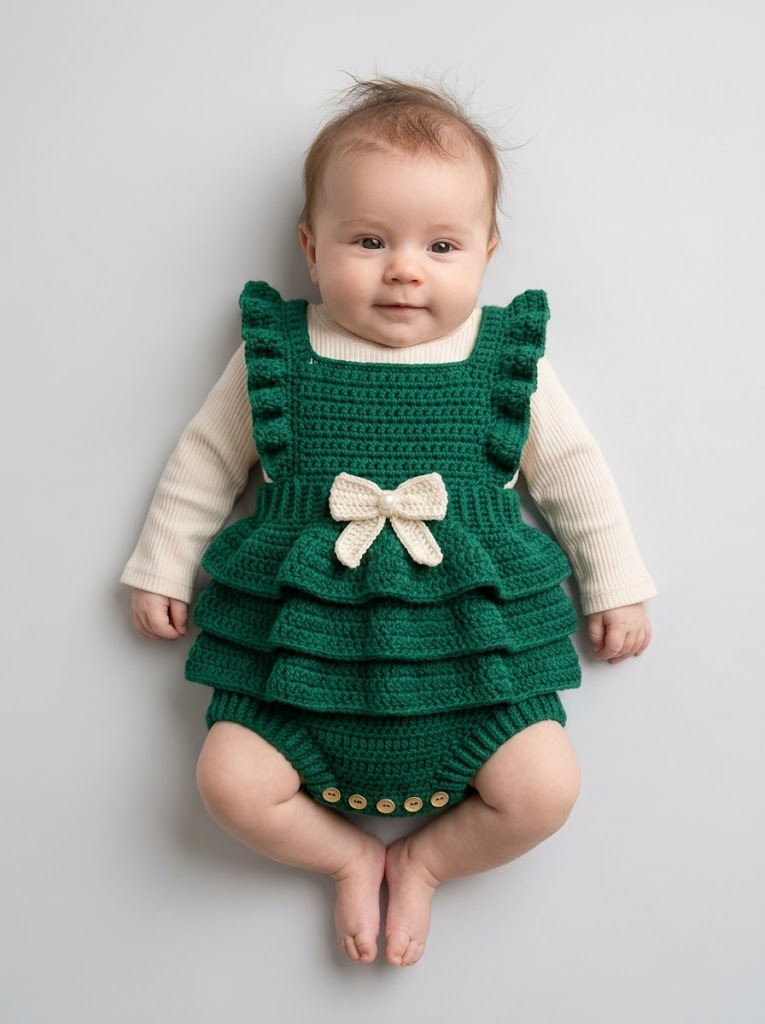
There is something magical about dressing little ones in handmade holiday outfits. This Emerald Green Holiday Baby Romper combines festive charm with practical design. The ruffled straps, tiered skirt, and sweet cream bow make it perfect for Christmas photos, family gatherings, or a special first holiday keepsake.
I designed this crochet pattern with intermediate crocheters in mind. If you can work basic stitches in rows and have made a few garments before, you can absolutely create this romper. The construction is more straightforward than it looks. Promise.
Let me walk you through everything you need to recreate this adorable piece from scratch.
Why This Holiday Baby Romper Pattern Works
This crochet tutorial breaks down what appears complex into manageable sections. You will work the bodice flat, add ruffled straps, create a ribbed waistband, build tiered ruffles for the skirt, and finish with a functional diaper cover bottom.
The emerald green yarn photographs beautifully. It pops against holiday backdrops and looks stunning paired with a simple cream bodysuit underneath.
Key features you will learn:
Materials Needed
Yarn:
Hook:
Notions:
Gauge:
14 stitches and 16 rows = 4 inches in half double crochet with 5.0mm hook
*Please check your gauge. Baby garments need accurate sizing for proper fit.*
Size Information
This pattern is written for 6 to 12 month size.
Finished measurements:
For smaller or larger sizes, adjust your starting chain count by multiples of 2.
Abbreviations and Stitch Definitions
Let me define every stitch before we begin. Refer back here anytime.
ch – Chain: Yarn over, pull through loop on hook. This creates your foundation.
sl st – Slip stitch: Insert hook, yarn over, pull through stitch AND loop on hook in one motion. Used for joining and surface work.
sc – Single crochet: Insert hook, yarn over, pull up a loop (2 loops on hook), yarn over, pull through both loops. Creates a short, dense stitch.
hdc – Half double crochet: Yarn over, insert hook, yarn over, pull up a loop (3 loops on hook), yarn over, pull through all 3 loops. Slightly taller than single crochet with nice drape.
dc – Double crochet: Yarn over, insert hook, yarn over, pull up a loop (3 loops on hook), yarn over, pull through 2 loops, yarn over, pull through remaining 2 loops. Taller stitch with good structure.
BLO – Back loop only: Work into only the back loop of the stitch, leaving front loop unworked. Creates ribbed texture.
inc – Increase: Work 2 stitches into the same stitch.
sk – Skip: Pass over the indicated stitch without working into it.
RS – Right side: The front, public-facing side of your work.
WS – Wrong side: The back, interior-facing side of your work.
Step by Step Crochet Pattern
Part 1: Bodice Front Panel
We start with the front bodice, working from bottom to top.
Using 5.0mm hook and emerald green yarn:
Row 1: Ch 33. Hdc in 3rd ch from hook and in each ch across. Turn. (31 sts)
Row 2: Ch 2 (does not count as stitch here and throughout), hdc in each st across. Turn. (31 sts)
Rows 3 through 18: Repeat Row 2. (31 sts each row)
Your front panel should measure approximately 9 inches wide and 4.5 inches tall.
Shape armholes:
Row 19: Ch 2, sk first 3 sts, hdc in next 25 sts, leave last 3 sts unworked. Turn. (25 sts)
Row 20: Ch 2, hdc in each st across. Turn. (25 sts)
Rows 21 through 24: Repeat Row 20. (25 sts)
Shape neckline:
Row 25: Ch 2, hdc in first 8 sts. Turn. Leave remaining stitches unworked for now. (8 sts)
Row 26: Ch 2, sk first st, hdc in remaining 7 sts. Turn. (7 sts)
Row 27: Ch 2, hdc in first 6 sts, sk last st. Turn. (6 sts)
Rows 28 and 29: Ch 2, hdc in each st across. (6 sts)
Fasten off first shoulder strap section.
Second shoulder:
Join yarn to the opposite side of Row 24, leaving center 9 stitches unworked for neckline.
Row 25: Ch 2, hdc in last 8 sts. Turn. (8 sts)
Row 26: Ch 2, hdc in first 7 sts, sk last st. Turn. (7 sts)
Row 27: Ch 2, sk first st, hdc in remaining 6 sts. Turn. (6 sts)
Rows 28 and 29: Ch 2, hdc in each st across. (6 sts)
Fasten off.
Part 2: Bodice Back Panel
Work exactly as Front Panel through Row 24.
For the back, we skip the deep neckline shaping. The back sits higher.
Row 25: Ch 2, hdc in first 8 sts. Turn. (8 sts)
Rows 26 through 29: Ch 2, hdc in each st across. (8 sts)
Fasten off first shoulder.
Skip center 9 stitches. Join yarn and work second shoulder:
Row 25: Ch 2, hdc in last 8 sts. Turn. (8 sts)
Rows 26 through 29: Ch 2, hdc in each st across. (8 sts)
Fasten off.
Part 3: Joining Bodice and Adding Ruffle Straps
Place front and back panels with right sides together. Whip stitch or slip stitch shoulder seams closed.
Whip stitch side seams from bottom of armhole down to bottom edge.
Adding the ruffle straps:
This is the signature detail. Do not skip it. The ruffles add charm and structure.
Working along the armhole edge with RS facing:
Round 1: Join emerald yarn at underarm seam. Ch 1, sc evenly around entire armhole opening, placing approximately 36 sc total. Sl st to first sc to join. (36 sts)
Round 2: Ch 3 (counts as dc), dc in same st, 2 dc in each st around. Sl st to top of ch-3. (72 sts)
Round 3: Ch 3, dc in same st, 2 dc in each st around. Sl st to join. (144 sts)
This aggressive increasing creates the ruffly, frilly edge you see in the design.
Fasten off. Repeat for second armhole.
Part 4: Ribbed Waistband
Switch to your 4.5mm hook. This creates a slightly tighter, stretchier ribbing.
The waistband is worked separately and attached.
Row 1: Ch 8. Sc in 2nd ch from hook and in each ch across. Turn. (7 sts)
Row 2: Ch 1, sc in BLO of each st across. Turn. (7 sts)
Rows 3 through 60: Repeat Row 2. (7 sts)
Your ribbed strip should stretch comfortably around the bodice bottom edge.
Sew short ends together to form a loop. Then whip stitch the waistband to the bottom of the bodice, easing fullness evenly. The ribbing sits at baby’s natural waist.
Part 5: Tiered Ruffle Skirt
Here is where the magic happens. The tiered ruffles create that adorable Christmas tree silhouette.
Working from the bottom of the waistband, with RS facing:
Join yarn to waistband bottom edge.
Tier 1 (bottom tier):
Round 1: Ch 1, sc evenly around waistband bottom, placing 60 sc total. Sl st to join. (60 sts)
Round 2: Ch 2, hdc in each st around. Sl st to join. (60 sts)
Rounds 3 through 8: Repeat Round 2. (60 sts)
Round 9 (ruffle edge): Ch 3, dc in same st, 2 dc in each st around. Sl st to join. (120 sts)
Round 10: Ch 3, dc in each st around. Sl st to join. (120 sts)
Fasten off Tier 1.
Tier 2 (middle tier):
Count up 3 rounds from bottom of Tier 1. Join yarn to any stitch in Round 6.
Round 1: Ch 1, working in front loops only, sc in each st around. Sl st to join. (60 sts)
Rounds 2 through 5: Ch 2, hdc in each st around. Sl st to join. (60 sts)
Round 6 (ruffle edge): Ch 3, dc in same st, 2 dc in each st around. Sl st to join. (120 sts)
Round 7: Ch 3, dc in each st around. Sl st to join. (120 sts)
Fasten off Tier 2.
Tier 3 (top tier, attached to waistband):
Join yarn directly to waistband bottom edge at any point.
Round 1: Ch 1, sc in each waistband st around. Sl st to join. (60 sts)
Rounds 2 through 4: Ch 2, hdc in each st around. Sl st to join. (60 sts)
Round 5 (ruffle edge): Ch 3, dc in same st, 2 dc in each st around. Sl st to join. (120 sts)
Round 6: Ch 3, dc in each st around. Sl st to join. (120 sts)
Fasten off.
Your three tiers should cascade beautifully, overlapping each other.
Part 6: Diaper Cover Bottom
This is worked from the front of the skirt, across the bottom opening.
Row 1: With WS of skirt facing, join yarn at center front of bottom tier. Ch 1, sc across 30 sts of the front. Turn. (30 sts)
Row 2: Ch 2, hdc in each st across. Turn. (30 sts)
Rows 3 through 12: Repeat Row 2. (30 sts)
Crotch shaping:
Row 13: Ch 2, sk first st, hdc in next 28 sts, sk last st. Turn. (28 sts)
Row 14: Ch 2, sk first st, hdc in next 26 sts, sk last st. Turn. (26 sts)
Rows 15 through 18: Repeat Row 14 decrease pattern. (18 sts after Row 18)
Rows 19 through 24: Ch 2, hdc in each st across. Turn. (18 sts)
Do not fasten off.
Bottom ribbing:
Switch to 4.5mm hook.
Row 1: Ch 7. Sc in 2nd ch from hook and in each ch across. Sl st to first st of diaper cover edge. Turn. (6 sts in ribbing)
Row 2: Sk the sl st, sc in BLO of each ribbing st. Turn. (6 sts)
Row 3: Ch 1, sc in BLO of each st. Sl st to next st of diaper cover edge. Turn. (6 sts)
Continue attaching ribbing across entire bottom edge of diaper cover, then continue around the back opening, connecting to the back of the skirt bottom tier.
Part 7: Button Placket
Along the front bottom ribbing, mark placement for 4 buttons, evenly spaced.
Sew buttons securely using yarn needle and matching thread or yarn.
On the back panel of the diaper cover, create button loops:
At each corresponding position, ch 4, sl st to same stitch to create a loop. These loops should fit snugly over your buttons.
Part 8: Cream Bow
This sweet detail finishes the romper beautifully.
Using cream yarn and 5.0mm hook:
Bow center:
Row 1: Ch 6. Hdc in 3rd ch from hook and in each ch across. Turn. (4 sts)
Rows 2 through 6: Ch 2, hdc in each st across. Turn. (4 sts)
Fasten off. This creates a small rectangle.
Bow loops:
Row 1: Ch 16. Hdc in 3rd ch from hook and in each ch across. Turn. (14 sts)
Rows 2 through 8: Ch 2, hdc in each st across. Turn. (14 sts)
Fasten off. Fold this rectangle in half, bringing short ends together. Sew short ends together to create a tube. Pinch the center to create bow shape.
Wrap the small center rectangle around the pinched middle. Sew in place on WS.
Attach completed bow to center front of romper, just below the waistband.
Optional: Add a small pearl bead or button to bow center.
Finishing Touches
Weave in all ends thoroughly. Baby garments get washed frequently, so secure those tails.
Block gently by laying flat and steaming lightly. Do not press down on ruffles.
Wash on gentle cycle in cool water before gifting.
Styling Your Holiday Baby Romper
This beginner friendly crochet pattern pairs perfectly with:
The romper works as a standalone piece for warmer climates or layered for cooler holiday celebrations.
Troubleshooting Tips
Ruffles look flat: Make sure you are increasing correctly in ruffle rounds. Every stitch should get 2 stitches worked into it.
Bodice too tight: Check your gauge. Go up a hook size if needed.
Tiers do not overlap nicely: Adjust where you join each tier. Moving up or down a round changes the overlap significantly.
Button loops too loose: Chain fewer stitches or use a smaller hook for the loop round only.
Final Thoughts on This Crochet Pattern
Creating handmade baby garments feels special. This Emerald Green Holiday Baby Romper captures the joy of the season while being completely practical for wiggly little ones.
The step by step construction builds your garment-making confidence. Each section teaches techniques you will use again and again.
I hope you enjoy making this as much as I enjoyed designing it.
Thank you so much for choosing this pattern for your holiday project. I would absolutely love to see your finished rompers. Tag me on Instagram or share in my Facebook group. Seeing your creations in different colors and your own creative touches makes my whole day.
Happy crocheting, and happy holidays to you and your little ones.
