
I’ve been looking for the perfect notebook cover pattern for ages, and this one finally checks every box. The soft mint green, the sweet scattered daisies, the clever button closure. This is my favourite kind of project: practical, pretty, and surprisingly satisfying to stitch up.
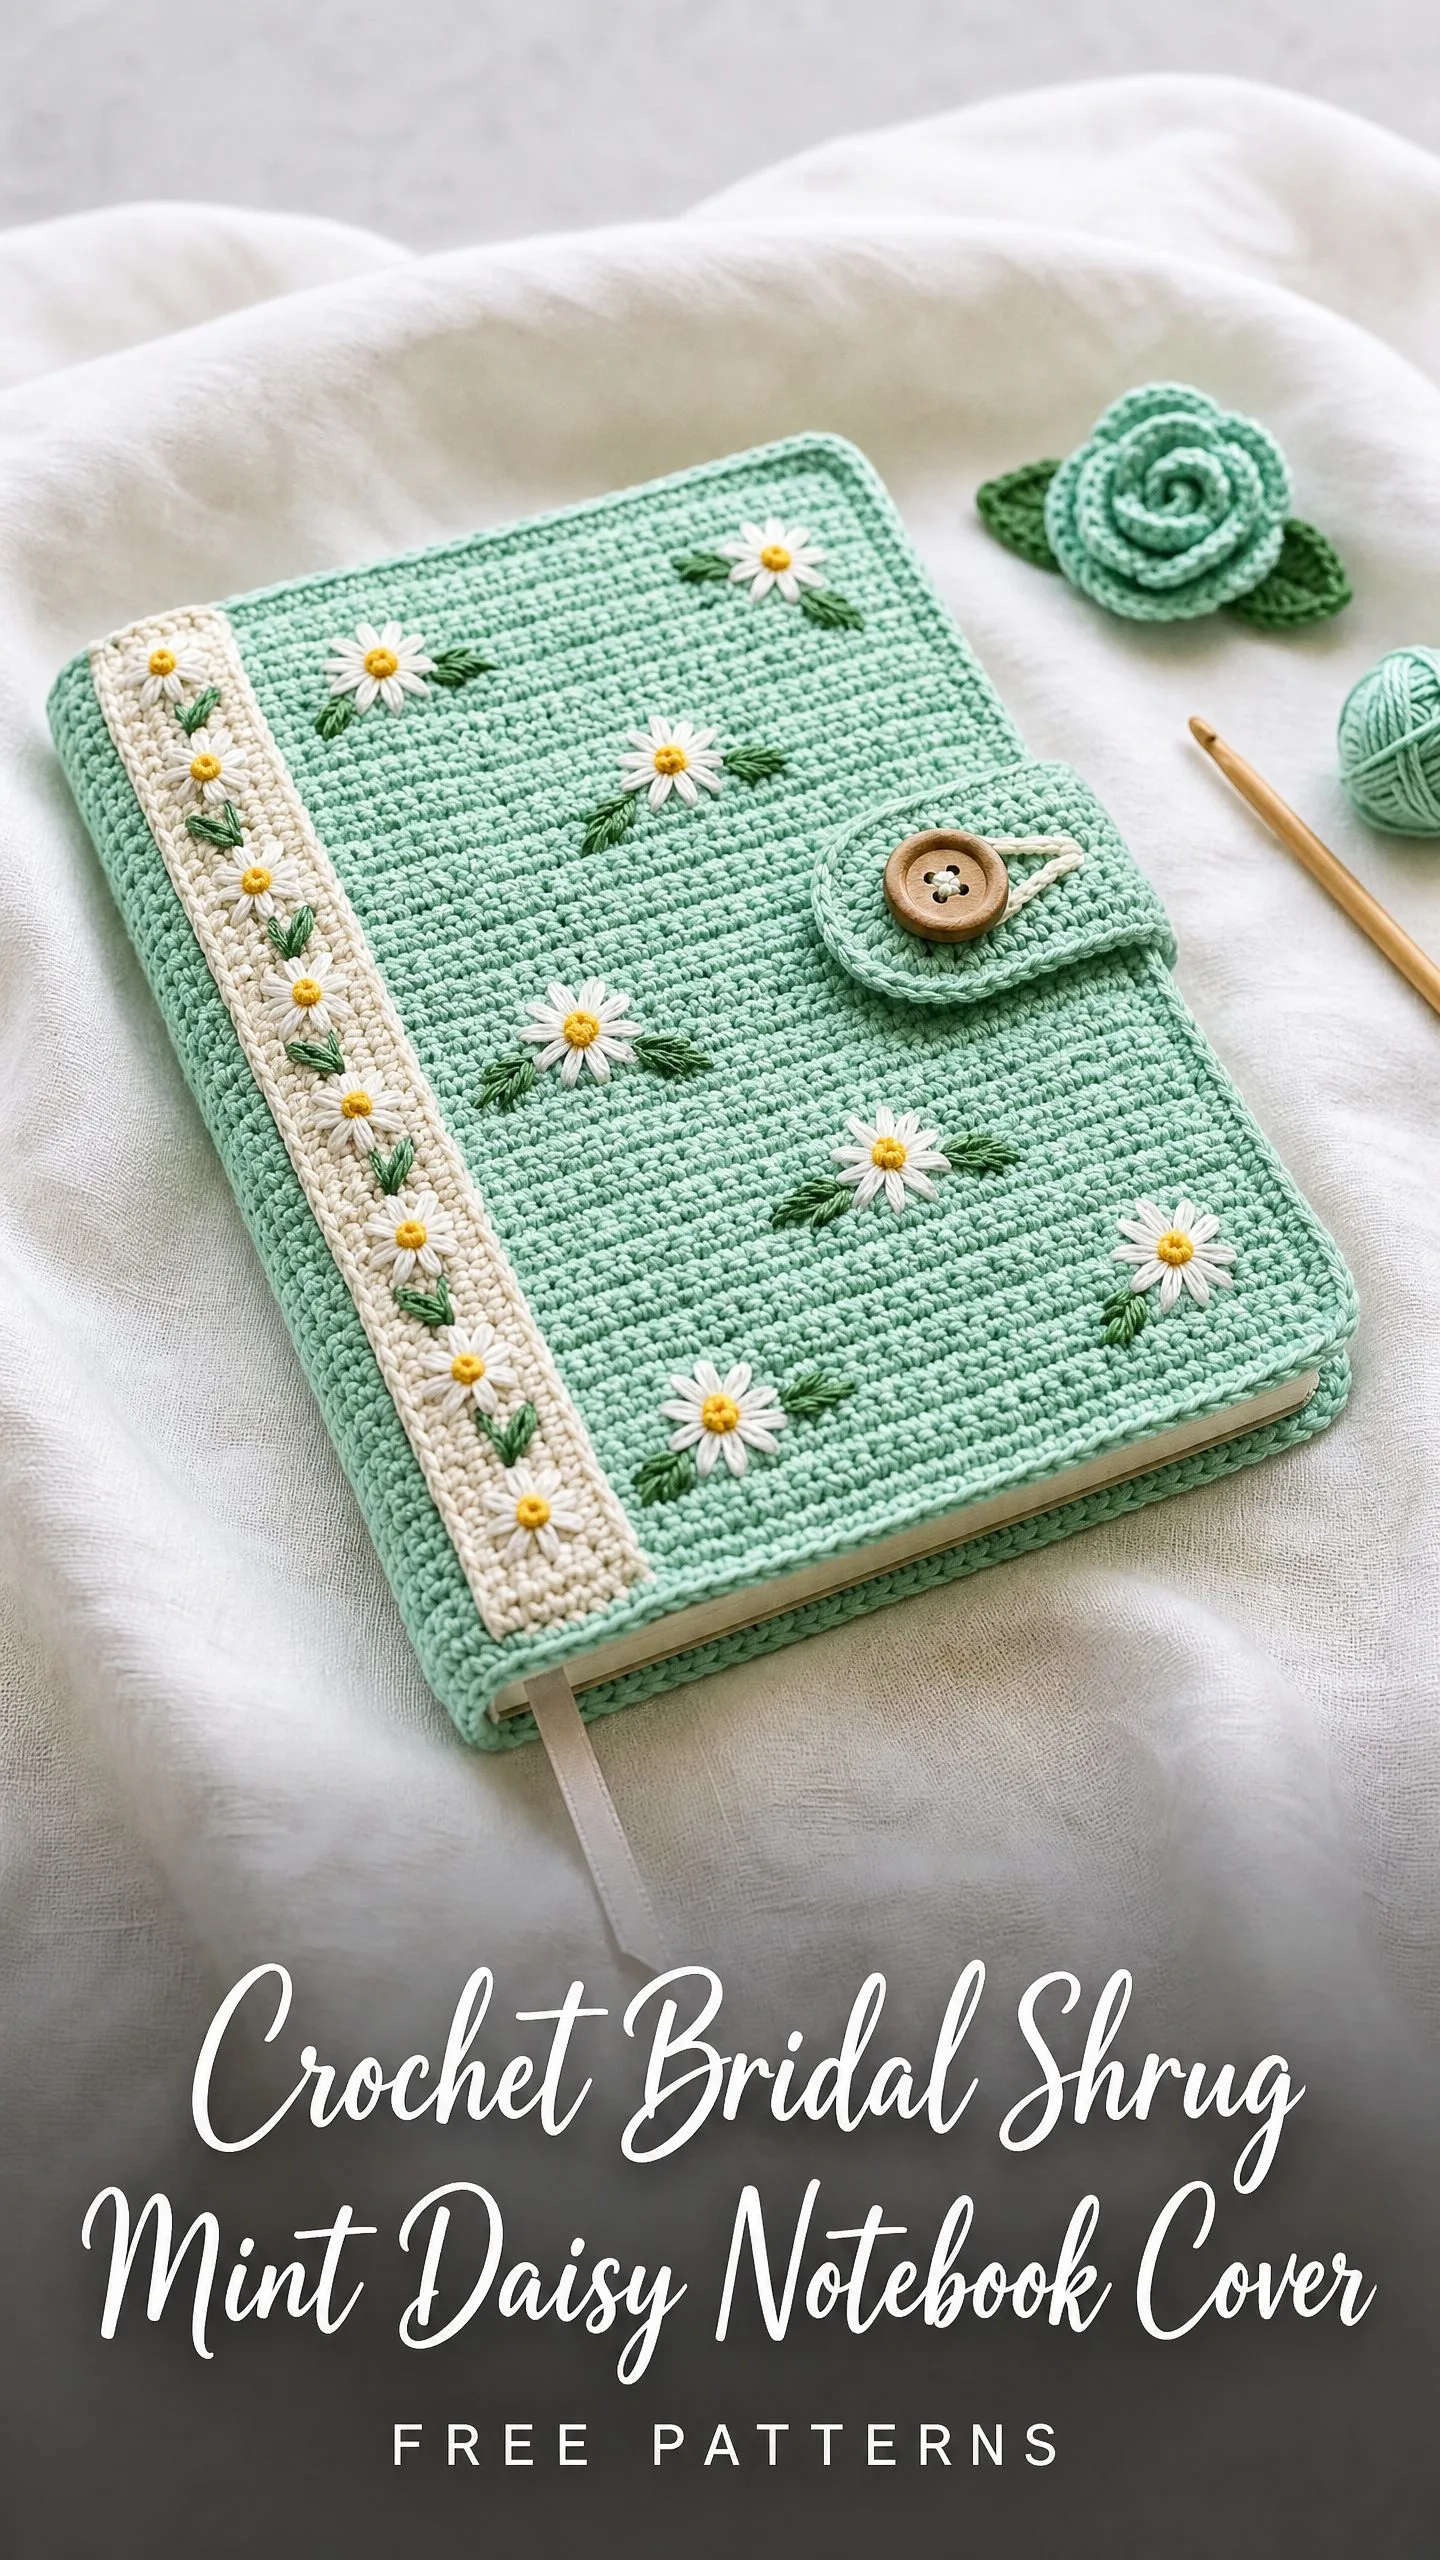
If you’ve ever wanted to dress up a plain journal or create a meaningful handmade gift for a stationery lover, this is the pattern for you. The construction is straightforward once you understand the layout, and the daisy embellishments add that special handcrafted touch without being fussy.
Whether you’re making this for yourself or for someone who loves a beautiful notebook, I think you’re going to enjoy every step. Let me walk you through exactly how to make it.
What You’re Making
This notebook cover wraps a standard A5 hardcover journal (approximately 5.5 x 8.25 inches or 14 x 21 cm) in a snug mint green crochet shell. The entire piece is worked flat in rows using single crochet (sc), which creates a dense, even fabric perfect for protecting your notebook.
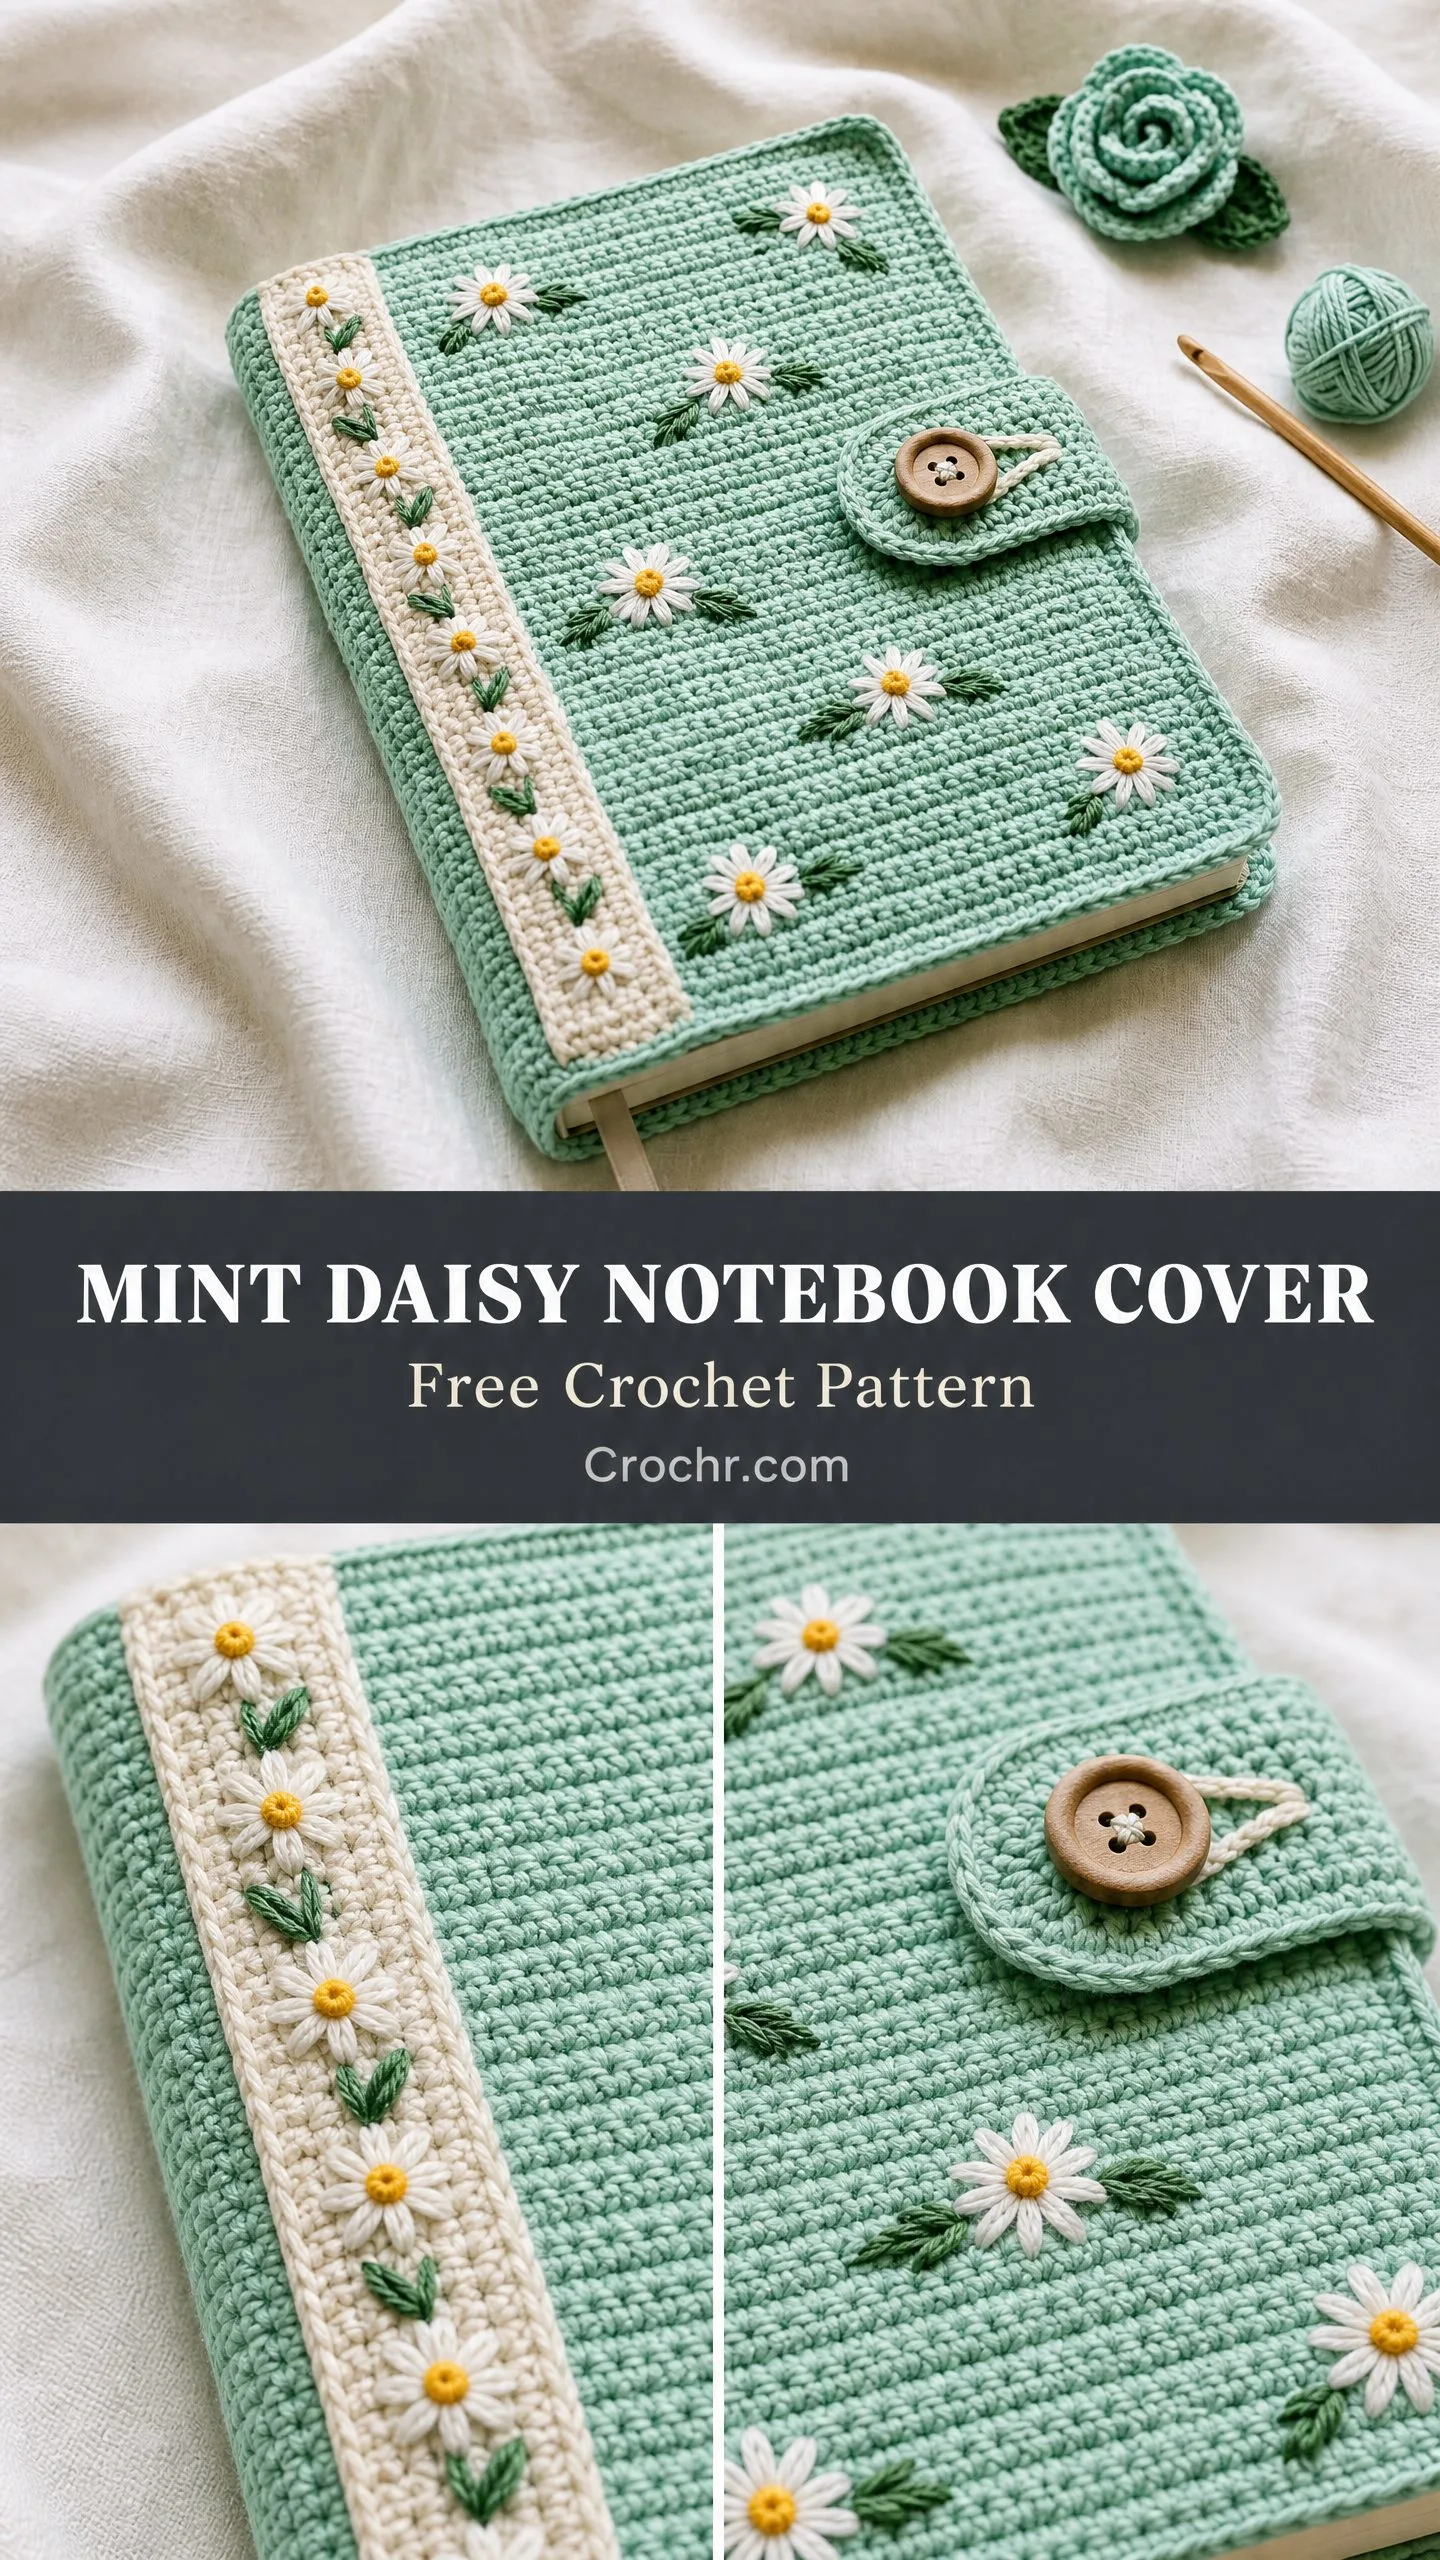
The design features a cream contrast border strip running vertically along the left edge of the front panel. Daisy motifs with embroidered green leaf pairs are scattered across the front and spine, giving it that charming cottage garden feel you see in the photos. A button and loop tab closure sits at the center right edge, keeping everything secure and tidy.
The back panel is plain mint, keeping the focus on that beautiful front. The cover slides onto your journal via interior pocket flaps at the top and bottom of each cover panel. No sewing directly to your book required.
Skill Level
This pattern is rated intermediate. You should be comfortable with single crochet worked in rows, joining pieces together, working small motifs in the round, and basic embroidery with yarn.
Don’t let that scare you if you’re a confident beginner. There’s no advanced shaping here. The main thing is hitting your gauge and taking your time with neat finishing. If you can make a rectangle and follow a simple motif, you can absolutely make this cover.
Finished Size
The cover fits a standard A5 hardcover notebook measuring approximately 5.5 x 8.25 inches (14 x 21 cm) with a spine of approximately 0.75 inches (2 cm).
Here are the key measurements:
Time Estimate
Plan for approximately 8 to 12 hours for an experienced crocheter, including all finishing and embellishment. If you’re newer to crochet or like to take your time with details, give yourself a relaxed weekend.
Materials Needed
Yarn:
Hook:
Notions:
Yarn Suggestions
Here are three excellent options that will give you beautiful results:
Option 1: Paintbox Yarns Simply DK in Spearmint (Yarn A) and Vanilla Cream (Yarn B). This is a 100 percent cotton DK with excellent stitch definition and a soft hand that holds embroidery well.
Option 2: Scheepjes Catona 50g in Apple Granny (Yarn A) and Old Lace (Yarn B). Mercerized cotton with a slight sheen that gives the daisies a crisp, fresh appearance.
Option 3: Lion Brand 24/7 Cotton in Mint (Yarn A) and Ecru (Yarn B). Widely available, machine washable, and holds its shape well over repeated use.
Substitution note: Any smooth DK weight cotton or cotton blend yarn will work. Avoid textured or fuzzy yarn, as it will obscure the daisy appliques and embroidery. Verify your gauge swatch before beginning, as cotton yarns vary significantly in thickness between brands even within the same weight category.
Gauge
22 sc x 26 rows = 4 x 4 inches (10 x 10 cm) worked in single crochet with US D-3 / 3.25 mm hook, blocked.
Gauge is critical for this project. The cover must fit snugly around the notebook without stretching or buckling. Work a swatch of at least 5 x 5 inches (13 x 13 cm), block it, and measure before beginning. Trust me on this one. A few extra minutes now saves frustration later.
Abbreviations (US Terms)
Before we dive in, here are all the abbreviations you’ll see in this pattern:
Special Stitches and Techniques
Daisy Motif
The daisy is a small flat circle with a raised center and six petals. You’ll make these separately and sew them on later.
Round 1: Using Yarn B, make a MR. Work 6 sc into the ring. Pull tail to close. Do not join. (6 sc)
Round 2: Ch 5, sl st into same st (first petal made). Ch 5, sl st into next st. Rep from * until 6 petals total are worked, ending with sl st into the first st of Round 2. Fasten off, leaving a 6-inch (15 cm) tail for sewing.
To add the center: Thread a length of yellow yarn onto a tapestry needle and work 3 to 4 satin stitches across the center hole of the motif. Alternatively, make a small French knot cluster in yellow. The center should be approximately 0.2 inches (0.5 cm) across.
Leaf Embroidery
Thread Yarn C onto a tapestry needle. Each leaf pair consists of two straight stitches angled outward from a shared base point, approximately 0.4 inches (1 cm) long each, forming a V shape. Work directly into the surface of the crochet fabric between or beside daisy appliques.
Button Loop
After working the closure tab, join Yarn A at the tip center stitch, ch 8, sl st back into the same stitch, fasten off and weave in ends. The loop should pass snugly over the button.
Pattern Notes
A few things to keep in mind as you work:
1. All pieces are worked flat in rows. Turn at the end of every row. A turning chain of 1 counts as the first sc throughout this pattern.
2. The main stitch texture is simple single crochet worked through both loops. This produces a dense, even fabric ideal for a structured cover.
3. The front panel, back panel, and spine are worked as one continuous horizontal strip (the full open cover), then the interior pocket flaps are worked by picking up stitches along the short ends.
4. The cream border strip is worked separately and sewn to the left edge of the front panel on the RS.
5. Daisy motifs are sewn on after all panels are assembled and blocked. Refer to the placement guide later in the instructions.
6. The button is sewn to the body of the front panel after the tab is attached.
7. Work all chains loosely to maintain even fabric tension.
8. When working the continuous cover strip, use stitch markers to delineate the front panel, spine, and back panel sections so you can track placement.
Step by Step Instructions
Section 1: Main Cover Strip
The main cover strip is worked as one flat rectangle spanning: front pocket flap + front panel + spine + back panel + back pocket flap. All worked horizontally in rows.
Total working width: 14.75 inches (37.5 cm)
Total height: 8.25 inches (21 cm)
Stitch count per row: 82 sts
Total rows: 54
Using Yarn A, ch 83. (This gives 82 working sts.)
Row 1 (RS): Sc in 2nd ch from hook and in each ch across. Turn. (82 sc)
Rows 2 through 54: Ch 1, sc in each st across. Turn. (82 sc)
After Row 54, fasten off Yarn A. Weave in ends.
Checkpoint: After completing the main cover strip, the piece should measure approximately 14.75 x 8.25 inches (37.5 x 21 cm). Place the open notebook on top to verify fit before continuing.
Place stitch markers to divide the strip into sections from right to left:
When the cover is assembled by folding, the pocket flap sections fold inward toward the WS to create the pockets that hold the notebook covers.
Section 2: Cream Border Strip
The cream border strip runs vertically along the left edge of the front panel section and is worked as a narrow rectangle.
Height: 8.25 inches (21 cm) = 54 rows
Width: approximately 0.85 inches (2.2 cm) = 5 sts
Using Yarn B, ch 6.
Row 1 (RS): Sc in 2nd ch from hook and in each ch across. Turn. (5 sc)
Rows 2 through 54: Ch 1, sc in each st across. Turn. (5 sc)
Fasten off Yarn B, leaving a long tail for sewing.
Checkpoint: The cream strip should measure approximately 0.85 x 8.25 inches (2.2 x 21 cm). Hold it against the left edge of the front panel section to verify it aligns.
Section 3: Closure Tab
The closure tab is a small pointed tongue worked in Yarn A.
Using Yarn A, ch 9.
Row 1 (RS): Sc in 2nd ch from hook and in each ch across. Turn. (8 sc)
Rows 2 through 6: Ch 1, sc in each st across. Turn. (8 sc)
Row 7: Ch 1, sc2tog, sc in each st to last 2 sts, sc2tog. Turn. (6 sc)
Row 8: Ch 1, sc in each st across. Turn. (6 sc)
Row 9: Ch 1, sc2tog, sc in each st to last 2 sts, sc2tog. Turn. (4 sc)
Row 10: Ch 1, sc in each st across. Turn. (4 sc)
Row 11: Ch 1, sc2tog twice. Turn. (2 sc)
Row 12: Ch 1, sc2tog. (1 sc)
Fasten off, leaving a tail for sewing. Add the button loop at this single tip stitch as described in Special Stitches.
Section 4: Daisy Motifs
Work 12 daisy motifs total following the Daisy Motif instructions in Special Stitches, using Yarn B for petals and yellow yarn for centers.
Assembly
Step 1: Block all pieces. Wet block or steam block the main cover strip and cream border strip. Pin to measurements and allow to dry completely. This step is essential for accurate fit.
Step 2: With RS facing, pin the cream border strip to the left portion of the front panel section of the main strip, centered vertically, aligned with the left edge of the front panel (just to the right of where the front pocket flap begins, at approximately stitch 74 of the main strip). Whipstitch or mattress stitch along both long edges of the cream strip using Yarn B.
Step 3: Fold the main strip so that the pocket flap sections fold to the WS. The front pocket flap (sts 74 through 82) folds back along the vertical fold line at stitch 74. The back pocket flap (sts 1 through 8) folds back along the vertical fold line at stitch 8. Pin in place.
Step 4: Using Yarn A and a tapestry needle, whipstitch the top and bottom edges of each pocket flap to the WS of the corresponding panel section, creating the pockets that will hold the notebook covers. Do not seam the vertical open edges of the flaps (these are the openings through which the notebook covers slide in).
Step 5: Pin the closure tab to the RS of the front panel at the center right edge (at approximately the midpoint of the right short edge of the front panel). The wide base of the tab aligns with the right edge. Sew the base (Row 1 of the tab) securely to the edge using whipstitch.
Step 6: Slide the notebook into the cover. The front cover of the notebook slides into the front pocket flap, and the back cover slides into the back pocket flap. The spine of the notebook sits inside the spine section of the cover.
Step 7: Mark the position of the button on the front panel where the loop rests naturally when the tab is closed flat. The button should sit approximately 0.75 inches (2 cm) from the right edge of the front panel at vertical center. Remove the notebook, sew the button securely through both layers of the front panel using a doubled thread or yarn, taking several passes through the button holes.
Daisy and Embroidery Placement
Using the images as reference, place daisies and leaf embroidery as follows on the front panel (RS facing). These are approximate positions; adjust to your taste.
On the cream border strip: Place 5 daisy motifs evenly spaced from top to bottom, centered on the strip width.
On the main front panel body (the mint green area to the right of the cream strip): Place 7 daisy motifs scattered at varying heights.
Suggested positions:
Sew each motif flat against the fabric using the tail, catching the sl st base of each petal to the fabric surface.
For leaf embroidery: Using Yarn C threaded on a tapestry needle, work a V-shaped pair of straight stitches (each approximately 0.4 inches or 1 cm) beside or below each daisy motif on the mint panel. On the cream strip daisies, work the same leaf pairs using Yarn C. The leaves should angle outward from a point just beneath each daisy.
Size Customization Tips
To fit a different notebook size, remeasure the notebook width, spine width, and height. Recalculate the stitch count by multiplying the new total width (including pocket flaps of at least 1.5 inches each) by your stitch gauge per inch. Recalculate the row count by multiplying the new height by your row gauge per inch.
All other construction steps remain identical. For a smaller A6 notebook, reduce the total stitch count proportionally. For a larger B5 notebook, increase accordingly. Always recheck gauge after any yarn substitution.
Finishing and Blocking
Weave in all remaining ends securely, burying tails at least 1 inch (2.5 cm) in multiple directions to prevent unraveling.
Wet block the finished cover by submerging in cool water, gently pressing out excess water in a towel (do not wring), and pinning to a foam mat at the correct measurements. Allow to dry completely before use. This sets the shape and evens out any tension inconsistencies around the daisy appliques.
Care Instructions
Hand wash in cool water with a gentle soap. Do not wring or twist. Lay flat to dry away from direct sunlight or heat sources to preserve the mint color. Remove the notebook from the cover before washing. The wooden button may be removed before washing if desired, or kept in place and allowed to air dry thoroughly.
Final Thoughts on This Notebook Cover Crochet Pattern
This mint daisy notebook cover is such a satisfying project from start to finish. The simple single crochet body works up quickly, and those little daisy appliques are the perfect way to use up scraps while adding personality. I love how the button closure gives it a polished, professional look.
This makes an absolutely beautiful gift for journal lovers, students, writers, or anyone who appreciates handmade touches on everyday items. You could easily customize the colors to match someone’s favorite palette or use school colors for a thoughtful graduation gift.
Thank you so much for choosing this pattern. I hope you love making it as much as I loved designing it. If you finish one, I would absolutely love to see it. Tag me on Instagram or share it in our Facebook group.
If this pattern is one you want to come back to later, save it to your Pinterest boards so you can find it easily when you’re ready to cast on. And if you make this notebook cover, please leave a comment below. I always love hearing how your projects turn out and seeing the color combinations you choose.
You Might Also Like
- Mint Green Lace Ruffle Dress Free Crochet Pattern
- Mint Green Summer Baby Romper Free Crochet Pattern
- Mint Chocolate Chameleon Amigurumi Free Crochet Pattern
- Blush Pink Ruffle Halter Dress Free Crochet Pattern
