
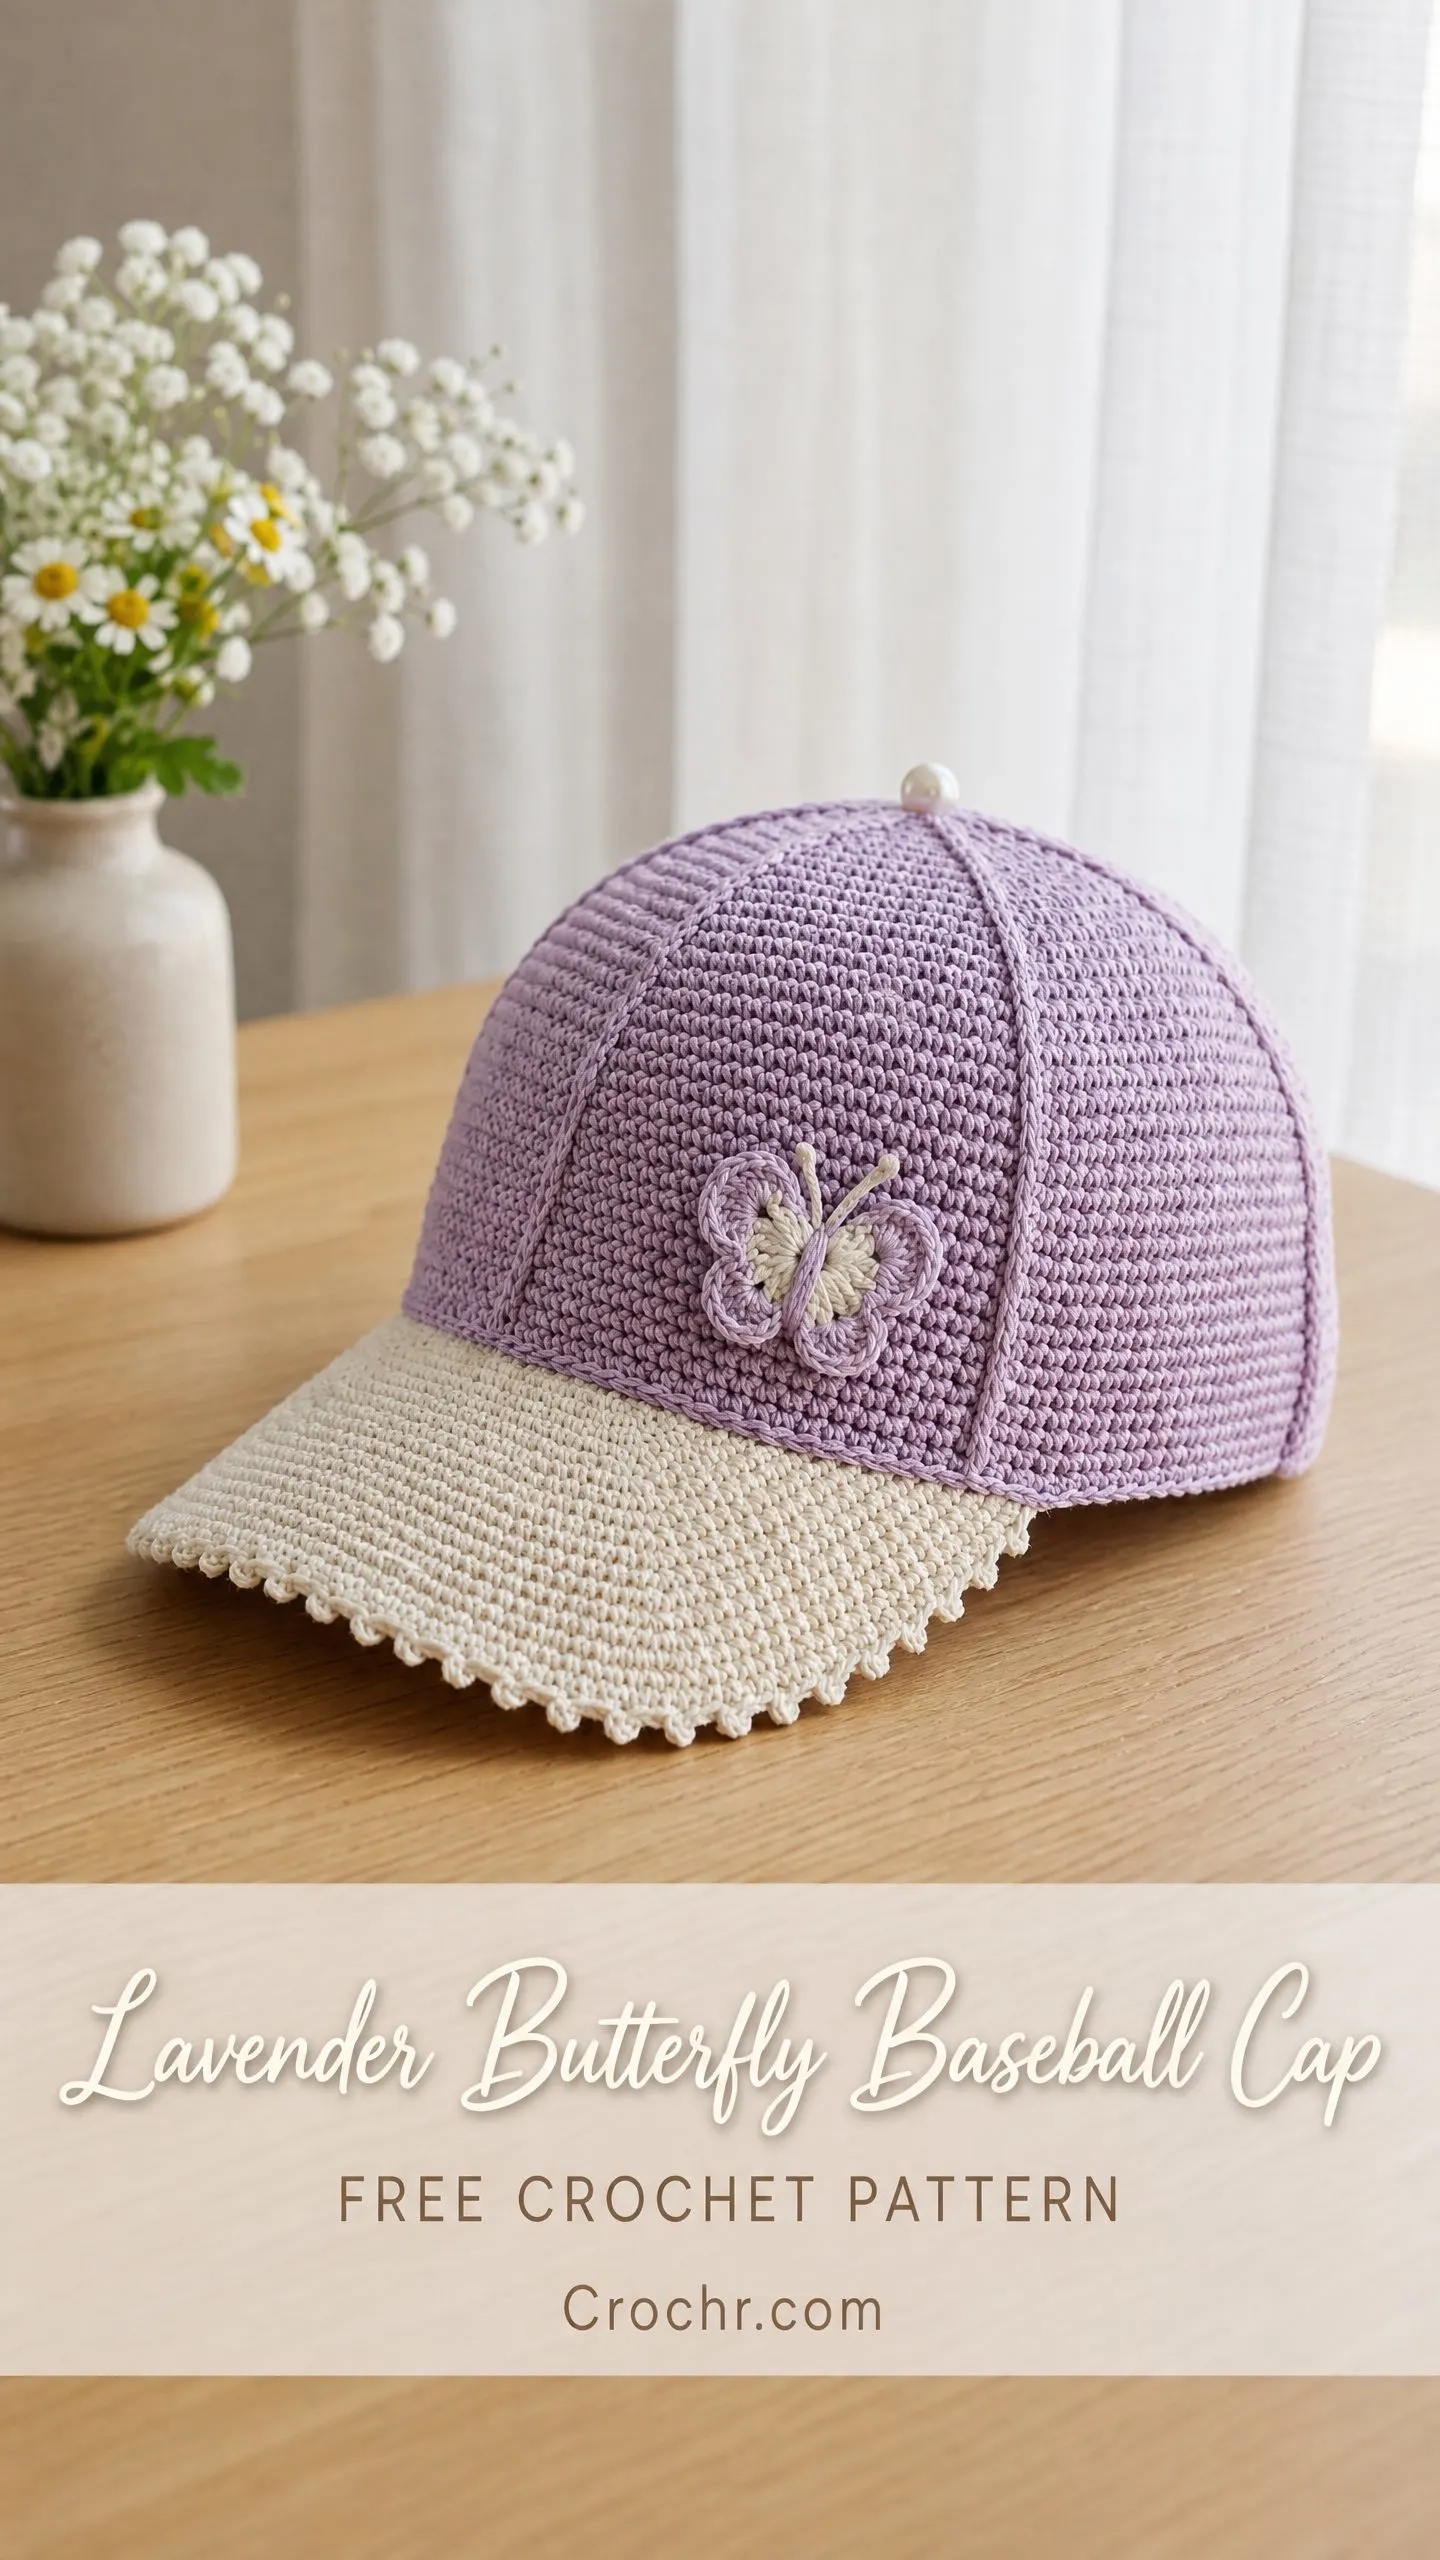
A crocheted baseball cap keeps you cool in warm weather while adding handmade charm to any outfit. This lavender butterfly design uses single crochet and basic increases to create a structured six-panel cap with a cream brim and sweet butterfly applique. It works up in about 8 to 12 hours and makes a wonderful gift for anyone who appreciates unique accessories.
The construction is surprisingly straightforward once you understand the method. You start at the crown and work downward in continuous rounds, then pick up stitches for the brim and work it flat. The butterfly is made separately and sewn on at the end.
If you have been wanting to try garment construction but felt intimidated, this cap is a perfect stepping stone. The shaping is logical, the stitch counts are manageable, and the finished piece looks far more complex than it actually is.
Why You Will Love This Crochet Baseball Cap Pattern
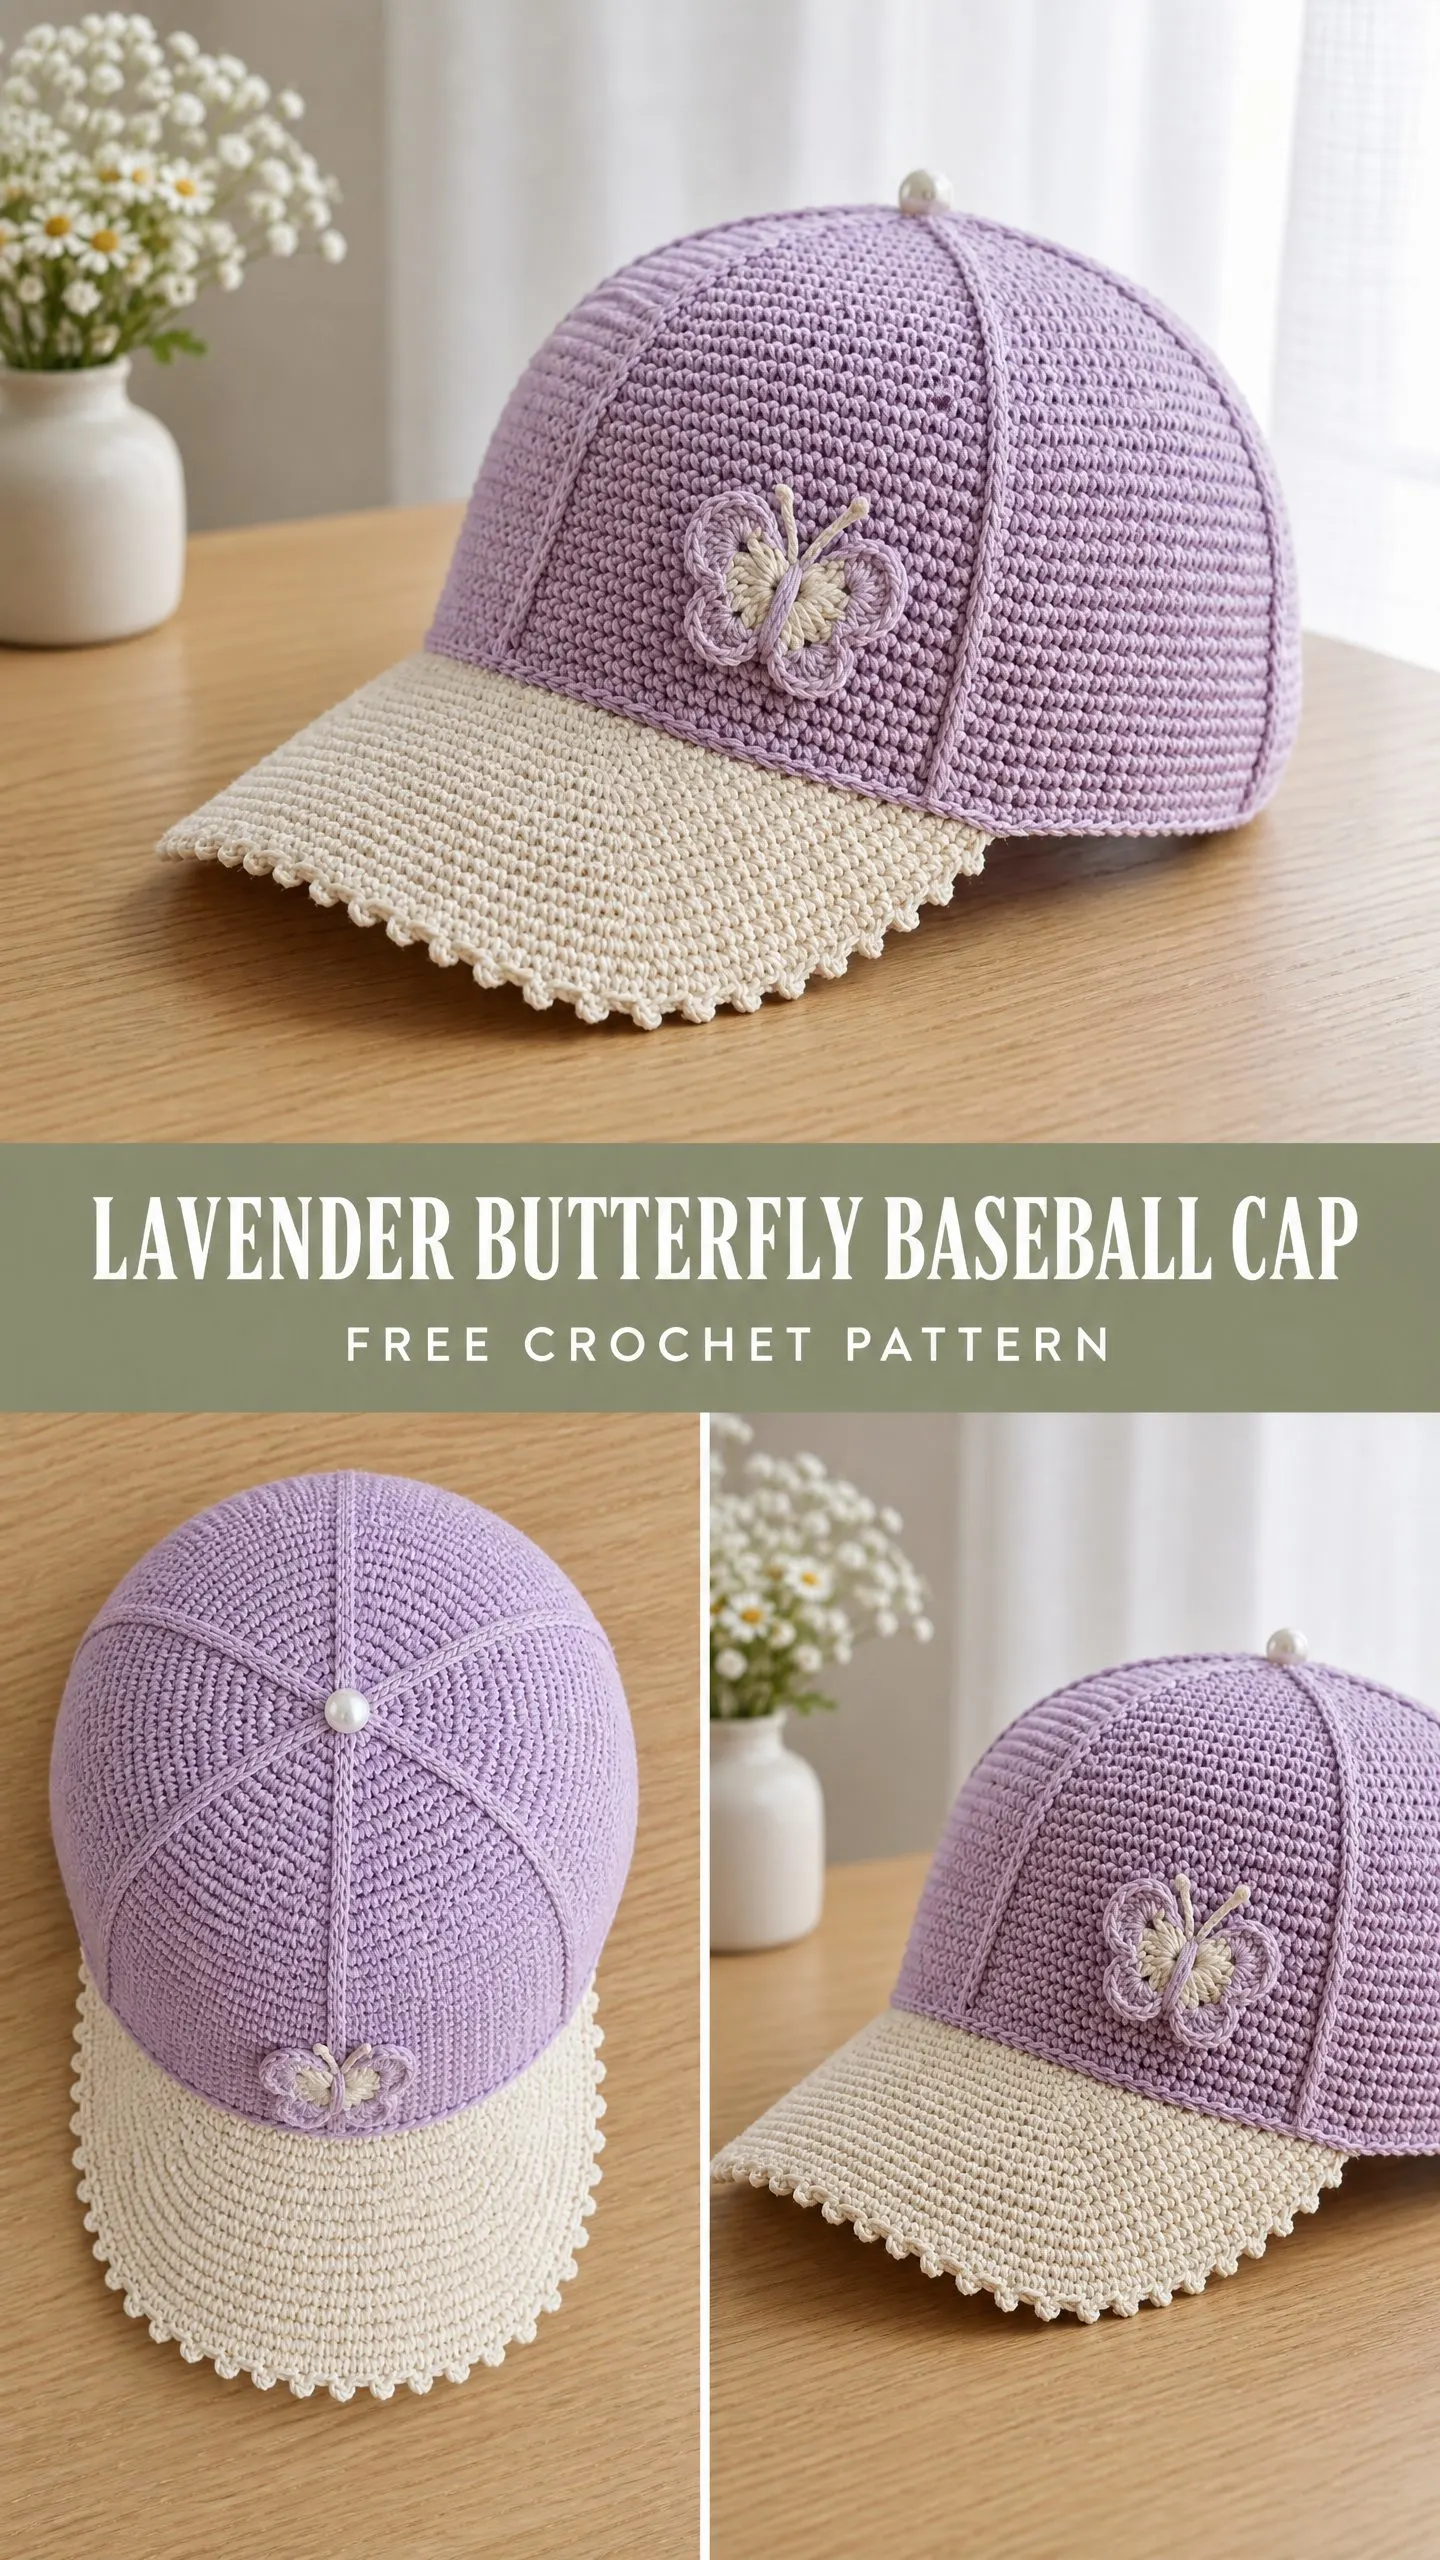
This is not your typical floppy sun hat. The dense single crochet fabric creates a firm, structured silhouette that actually holds its baseball cap shape. Six increase lines radiate from the crown to create defined panels, just like a store-bought cap. The pearl button at the top conceals where you started and adds a polished finishing touch.
The two-tone colorway keeps things interesting without requiring complicated colorwork. You simply switch from lavender to cream when you reach the brim. The scalloped picot edging along the outer brim adds feminine detail, and that little three-dimensional butterfly? It transforms the whole piece into something special.
Cotton yarn is the key to success here. It provides the stiffness needed for structure, washes beautifully, and keeps your head cool. Avoid fuzzy or stretchy yarns, as they will not hold the shape you need.
Materials You Will Need
Gather these supplies before you begin:
Yarn A (lavender): approximately 200 yards of DK weight cotton yarn
Yarn B (cream): approximately 80 yards of DK weight cotton yarn
Yarn C (cream or white): small amount of DK weight cotton yarn for butterfly body detail, approximately 5 yards
Hook: US size E-4 / 3.5 mm (adjust as needed to match gauge)
Notions: tapestry needle, at least 7 stitch markers, one pearl button approximately 10 mm diameter, sewing thread and needle, scissors
Optional: cardboard or buckram brim insert for extra stiffness
Recommended Yarn Options
Option 1: Paintbox Yarns Simply DK in Dusty Lilac and Champagne White. This 100 percent cotton yarn has excellent stitch definition.
Option 2: Lion Brand 24/7 Cotton DK in Lavender and Cream. The mercerized finish provides a slight sheen.
Option 3: Drops Safran DK in color 19 Light Purple and color 17 Off White. Widely available and produces a firm, durable fabric.
Gauge
20 single crochet stitches x 22 rows = 4 inches / 10 cm in single crochet worked in continuous rounds.
Gauge is critical for this project. If your stitches are too loose, the hat will be too big and floppy. If they are too tight, it will not fit. Crochet a swatch, measure it honestly, and adjust your hook size before starting. Going down a hook size tightens your gauge. Going up loosens it.
Finished Measurements
Head circumference: 22 inches / 56 cm (fits most adults 21 to 23 inches with slight stretch)
Cap height (crown to brim join): approximately 7 inches / 18 cm
Brim length (front to tip): approximately 3 inches / 7.5 cm
Brim width at base: approximately 11 inches / 28 cm
Abbreviations and Stitch Definitions
Before diving in, familiarize yourself with these terms. I define each one so you know exactly what to do.
ch: chain. Wrap yarn over hook and pull through the loop on your hook. This creates one chain stitch.
sl st: slip stitch. Insert hook into stitch, yarn over, pull through both the stitch and the loop on your hook in one motion.
sc: single crochet. Insert hook into stitch, yarn over and pull up a loop (2 loops on hook), yarn over and pull through both loops.
sc-inc: single crochet increase. Work 2 single crochet stitches into the same stitch. This adds one stitch to your count.
sc2tog: single crochet two together (decrease). Insert hook into first stitch and pull up a loop, insert hook into next stitch and pull up a loop (3 loops on hook), yarn over and pull through all 3 loops.
hdc: half double crochet. Yarn over, insert hook into stitch, yarn over and pull up a loop (3 loops on hook), yarn over and pull through all 3 loops.
dc: double crochet. Yarn over, insert hook into stitch, yarn over and pull up a loop (3 loops on hook), yarn over and pull through 2 loops (2 loops remain), yarn over and pull through remaining 2 loops.
tr: treble crochet. Yarn over twice, insert hook into stitch, yarn over and pull up a loop (4 loops on hook), yarn over and pull through 2 loops three times.
MR: magic ring. Create an adjustable loop to work your first round into, then pull it closed.
st(s): stitch(es)
rnd: round
rep: repeat
pm: place marker
RS: right side
WS: wrong side
Special Stitch: Picot
The picot stitch creates the decorative scalloped edge on the brim. Here is how to work it:
Insert hook into the indicated stitch, pull up a loop, yarn over and draw through both loops (you have completed 1 single crochet). Now chain 3, then slip stitch into the top of the single crochet you just made. This creates a small decorative loop. One picot equals one sc plus one ch-3 loop.
Step by Step Crochet Pattern Instructions
Crown Section
The crown is worked in continuous rounds from the top down. Do not join rounds unless told to. Use a stitch marker in the first stitch of each round and move it up as you work.
Begin with Yarn A.
Round 1: Make a magic ring. Work 6 sc into the ring. Pull ring closed. Do not join. Place marker in first st. (6 sc)
Round 2: Work 2 sc into each sc around. Place a stitch marker in the second sc of each sc-inc. These mark your 6 panel increase points. (12 sc)
Round 3: (1 sc in next st, sc-inc in marked st) 6 times. Move markers to new increase sts. (18 sc)
Round 4: (2 sc, sc-inc in marked st) 6 times. Move markers. (24 sc)
Round 5: (3 sc, sc-inc in marked st) 6 times. Move markers. (30 sc)
Round 6: (4 sc, sc-inc in marked st) 6 times. Move markers. (36 sc)
Round 7: (5 sc, sc-inc in marked st) 6 times. Move markers. (42 sc)
Round 8: (6 sc, sc-inc in marked st) 6 times. Move markers. (48 sc)
Round 9: (7 sc, sc-inc in marked st) 6 times. Move markers. (54 sc)
Round 10: (8 sc, sc-inc in marked st) 6 times. Move markers. (60 sc)
Round 11: (9 sc, sc-inc in marked st) 6 times. Move markers. (66 sc)
Round 12: (10 sc, sc-inc in marked st) 6 times. Move markers. (72 sc)
Round 13: (11 sc, sc-inc in marked st) 6 times. Move markers. (78 sc)
Round 14: (12 sc, sc-inc in marked st) 6 times. Move markers. (84 sc)
Round 15: (13 sc, sc-inc in marked st) 6 times. Move markers. (90 sc)
Round 16: (14 sc, sc-inc in marked st) 6 times. Move markers. (96 sc)
Round 17: (15 sc, sc-inc in marked st) 6 times. Move markers. (102 sc)
Round 18: (16 sc, sc-inc in marked st) 6 times. Move markers. (108 sc)
Round 19: (17 sc, sc-inc in marked st) 6 times. Move markers. (114 sc)
Checkpoint: Your crown should measure approximately 4.5 inches in diameter when laid flat.
Body Section
Continue with Yarn A in continuous rounds. The increase lines are finished. You can remove the 6 panel markers or keep them for visual reference. Keep only the round-start marker.
Rounds 20 through 38: Sc in each st around. (114 sc per round)
Work 19 plain rounds total. After Round 38, your cap body should measure approximately 7 inches from the center of the magic ring to the working edge.
At the end of Round 38, sl st to close the round. Cut Yarn A and pull tail through to secure.
Brim Setup
The brim covers approximately half the circumference, centered at the front. Lay the hat flat and find the front-center panel line. Count 28 stitches to the left of center and 28 stitches to the right, plus the center stitch. Mark this 57-stitch span.
Join Yarn B with a sl st in the rightmost marked stitch.
Brim Section
The brim is worked in turning rows, not rounds. Chain 1 at the start of each row does not count as a stitch.
Row 1 (RS): Ch 1, sc in same st as join, sc in each of next 56 sts. Turn. (57 sc)
Row 2 (WS): Ch 1, sc-inc in first st, sc in each st to last st, sc-inc in last st. Turn. (59 sc)
Row 3 (RS): Ch 1, sc in each st across. Turn. (59 sc)
Row 4 (WS): Ch 1, sc-inc in first st, sc in each st to last st, sc-inc in last st. Turn. (61 sc)
Row 5 (RS): Ch 1, sc in each st across. Turn. (61 sc)
Row 6 (WS): Ch 1, sc-inc in first st, sc in each st to last st, sc-inc in last st. Turn. (63 sc)
Row 7 (RS): Ch 1, sc in each st across. Turn. (63 sc)
Row 8 (WS): Ch 1, sc-inc in first st, sc in next 20 sts, sc-inc in next st, sc in next 19 sts, sc-inc in next st, sc in each st to last st, sc-inc in last st. Turn. (67 sc)
Row 9 (RS): Ch 1, sc in each st across. Turn. (67 sc)
Row 10 (WS): Ch 1, sc-inc in first st, sc in each st to last st, sc-inc in last st. Turn. (69 sc)
Row 11 (RS): Ch 1, sc in each st across. Turn. (69 sc)
Row 12 (WS): Ch 1, sc-inc in first st, sc in next 22 sts, sc-inc in next st, sc in next 21 sts, sc-inc in next st, sc in each st to last st, sc-inc in last st. Turn. (73 sc)
Row 13 (RS): Ch 1, sc in each st across. Turn. (73 sc)
Row 14 (WS): Ch 1, sc in each st across. Turn. (73 sc)
Do not fasten off.
Brim Edging
With RS facing and Yarn B still attached:
Step 1: Work sc evenly along the right short edge of the brim, approximately 14 sc (one per row end).
Step 2: Work picot edging across the outer curved edge: (work 1 picot stitch in next st, sc in next st) repeat across. Approximately 37 picot stitches and 36 plain sc.
Step 3: Work sc evenly along the left short edge, approximately 14 sc.
Sl st into the hat body to secure. Fasten off and weave in end.
Butterfly Applique Tutorial
This sweet butterfly is made in separate pieces and assembled.
Upper Wing (make 2)
Using Yarn A, make a magic ring. Ch 3 (counts as first dc), work 3 dc, 2 tr, 3 dc into the ring. Ch 2, sl st into ring to close. Pull ring closed. Fasten off, leaving a 6-inch tail. (9 sts plus ch-2 tip)
Lower Wing (make 2)
Using Yarn A, make a magic ring. Ch 2 (counts as first hdc), work 2 hdc, 2 dc, 2 hdc into the ring. Ch 1, sl st into ring to close. Pull ring closed. Fasten off, leaving a 6-inch tail. (7 sts plus ch-1 tip)
Body
Using Yarn B, ch 8.
Row 1: Sc in second ch from hook, sc in each ch across. (7 sc)
Row 2: Ch 1, turn, sc2tog, sc in next 3 sts, sc2tog. (5 sc)
Row 3: Ch 1, turn, sc in each st across. (5 sc)
Row 4: Ch 1, turn, sc2tog, sc in next st, sc2tog. (3 sc)
Row 5: Ch 1, turn, sl st in each st. Fasten off, leaving a 10-inch tail.
Assembly
Position the two upper wings with tips pointing outward. Place the two lower wings below them symmetrically. Lay the body piece vertically in the center. Using the tapestry needle and the body’s long tail, sew through all layers at the center. Stitch several times to secure. The finished butterfly measures approximately 1.5 inches wide.
Finishing Your Baseball Cap
Attach the butterfly: Position it on the front center panel, approximately 1.5 inches up from the brim join. Sew securely through the body and wing backs into the hat fabric.
Attach the crown button: Sew the pearl button over the magic ring at the very top of the crown. This conceals the starting point and adds polish.
Weave in all ends on the wrong side and trim tails.
Optional brim insert: For extra stiffness, cut cardboard or buckram slightly smaller than the brim shape. Insert it from the open edge and whipstitch closed.
Size Customization Tips
Smaller head (19 to 20 inches): Stop crown increases after Round 16 (96 sc). Work body to 6.5 inches total height. Work brim across 49 stitches.
Larger head (23 to 24 inches): Continue crown increases through Round 21 (126 sc). Work body to 7.5 inches. Work brim across 63 stitches.
Child size (18 to 20 inches): Stop after Round 14 (84 sc). Work body to 5.5 inches. Work brim across 43 stitches.
Blocking and Care Instructions
Lightly mist the finished hat with water and place it over a round form, such as a balloon inflated to the correct size or a bowl wrapped in plastic. Let it dry completely to set the structured shape.
Hand wash in cool water with gentle soap. Do not wring. Reshape while damp and air dry flat or on a form. Never put it in the dryer, as cotton will shrink.
Store on a head form or stuffed with tissue paper to maintain the shape.
Thank you so much for choosing this crochet pattern for your next project. I hope you love making it as much as I loved designing it. If you complete your butterfly baseball cap, I would absolutely love to see your finished piece! Tag me on Instagram or share a photo in my Facebook group.
If this pattern caught your eye, go ahead and pin it to your Pinterest boards so you can find it when you are ready to cast on. And please drop a comment below if you make one. I always love hearing how your projects turn out!
You Might Also Like
- Autumn Sunset Ombre Granny Square Cardigan Free Pattern
- Ocean Wave Butterfly Crochet Dress Free Pattern
- Sage Green Lace Baby Dress Free Crochet Pattern
- Sunset Orange Boho Crochet Ruffle Set Free Pattern
