
Granny square garments look intimidating. I get it. All those tiny squares, all that joining, all those color changes. But here is the truth: if you can crochet a basic granny square, you can absolutely make this romper. The construction breaks down into small, manageable pieces that come together in a way that feels almost like magic once you understand the flow.
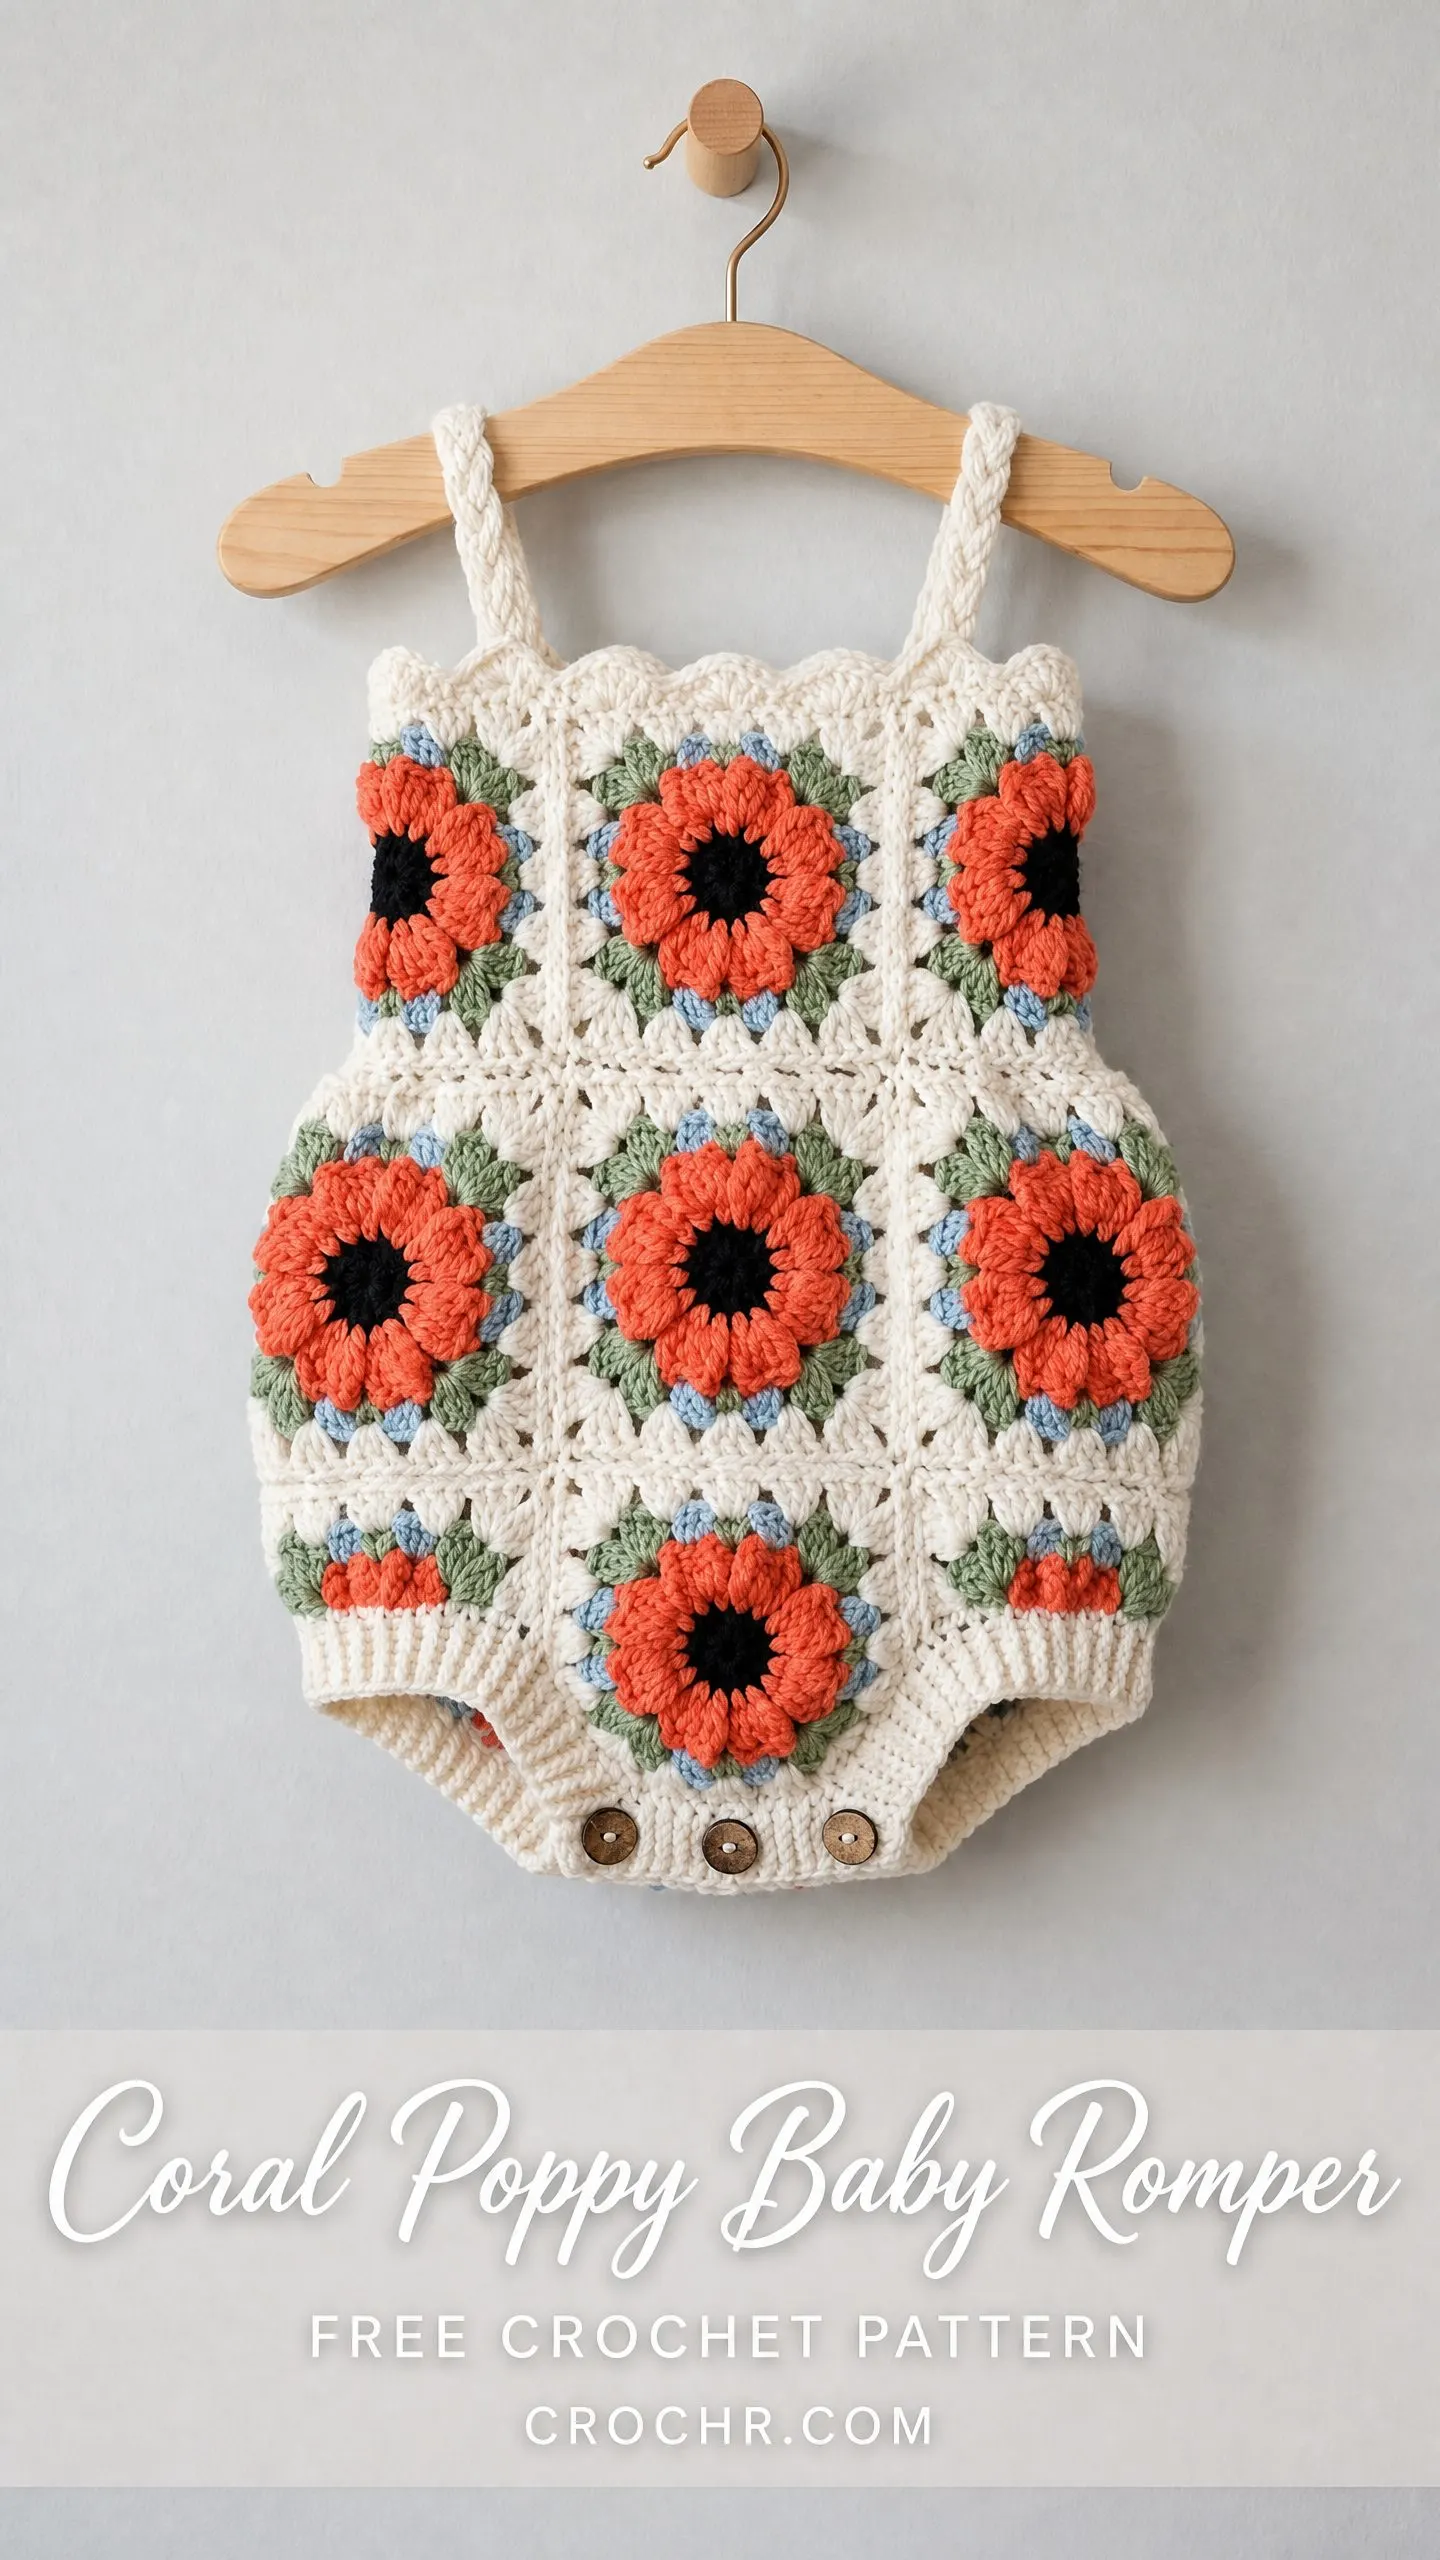
This Coral Poppy Baby Romper is built from just 12 identical squares. Twelve! That is fewer than most granny square blankets you have probably seen. Each square uses the same color sequence, so once you have made one, you have essentially learned the entire pattern. The joining happens as you go on the final round of each square, which means no marathon seaming session at the end.
Whether you are an intermediate crocheter ready for your first baby garment or a confident beginner looking to level up, this pattern meets you where you are. I have broken everything down step by step, defined every stitch, and included checkpoints so you know you are on track. Let us make something beautiful together.
Why This Crochet Pattern Works So Well
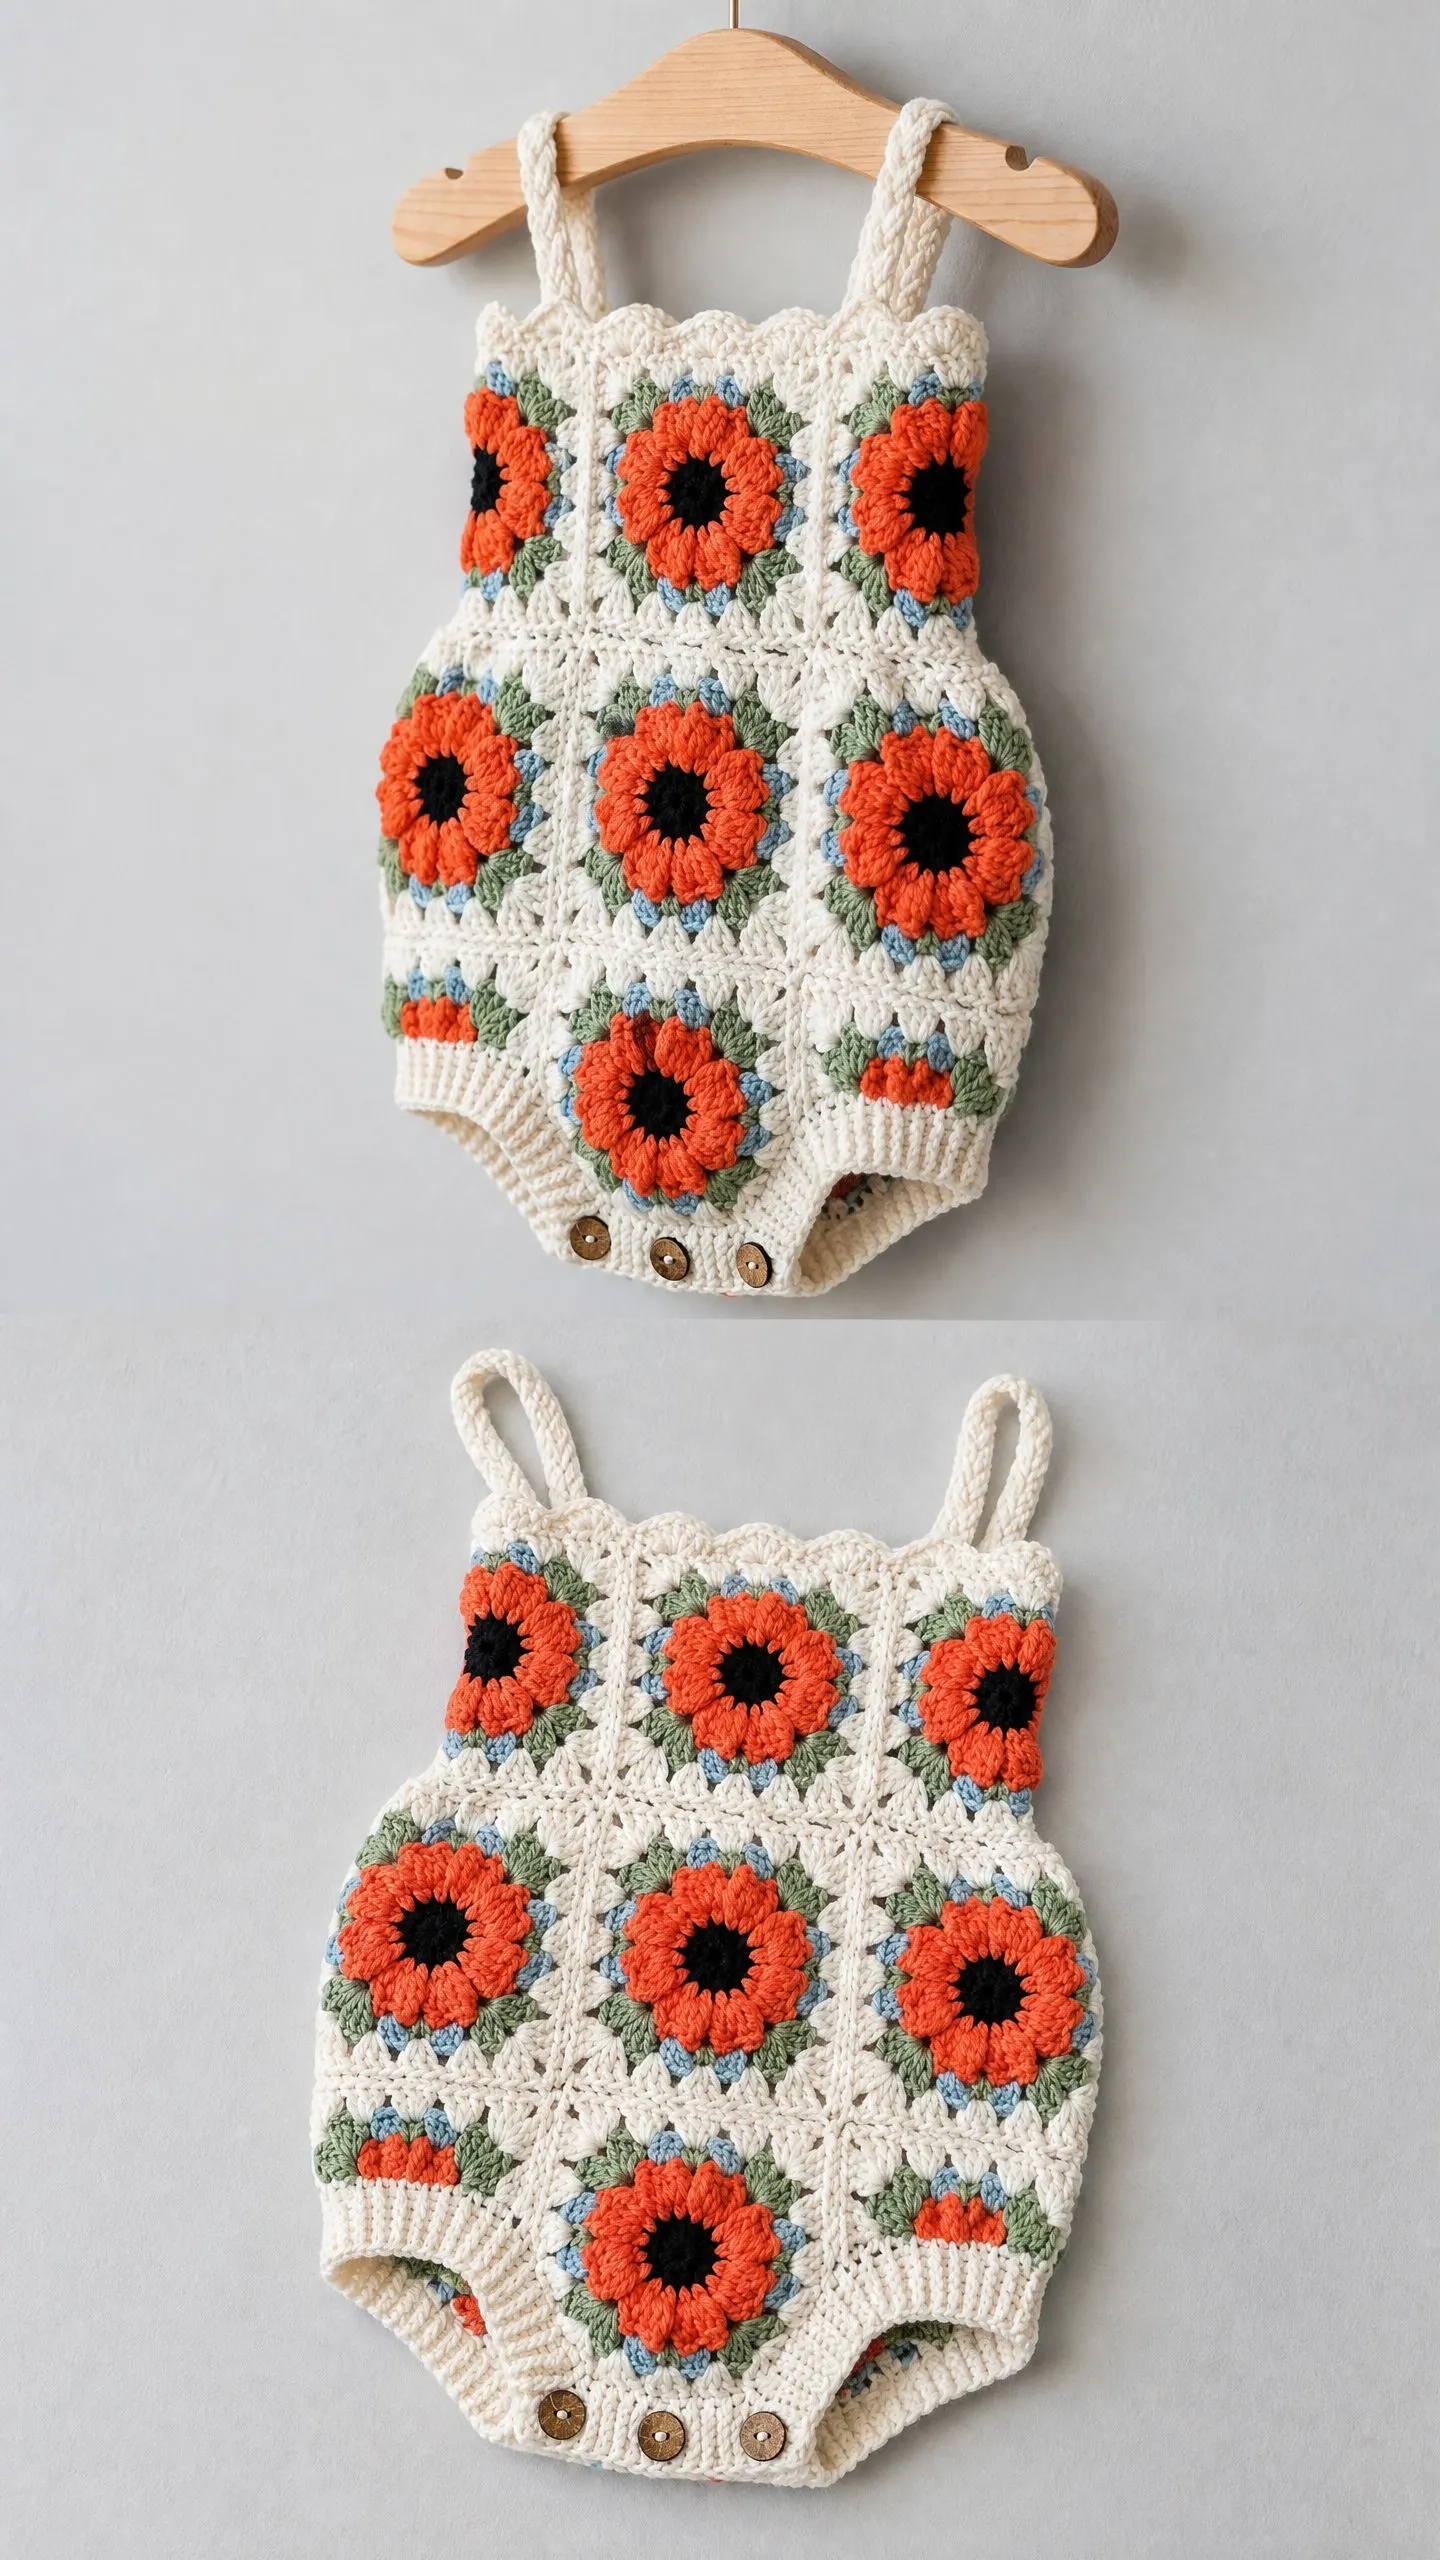
The secret to this baby romper’s charm is the balance between bold design and simple construction. Each granny square features a coral flower with a black center, surrounded by sage green and dusty blue accents, all finished in a creamy off-white border. The colors pop without overwhelming, and the vintage-inspired look works for any baby, any season.
The bloomer-style silhouette gives this romper its sweetness. The gathered lower body and ribbed leg openings create that classic vintage baby aesthetic while remaining completely practical for diaper changes. Three coconut shell buttons at the crotch make quick work of outfit changes, and the braided shoulder straps add a handmade touch that store-bought clothes simply cannot replicate.
Construction moves logically from individual squares to flat panels to three-dimensional shaping. You will never feel lost because each stage builds naturally on the last.
Skill Level and Time Estimate
This pattern sits comfortably at the intermediate level. The individual granny square is beginner-friendly, but the join-as-you-go assembly, leg opening shaping, braided strap construction, and ribbed leg band finishing require comfort with reading stitch counts and maintaining tension across joined pieces.
If you have completed at least two finished garments or several granny square projects, you will find this very manageable. Total time runs approximately 12 to 18 hours depending on your speed. Individual squares take roughly 15 to 20 minutes each, with assembly, straps, and finishing adding another 3 to 4 hours.
Finished Measurements
Size 6 to 12 months (primary sample size):
The pattern includes notes for sizing down to 3 to 6 months or up to 12 to 18 months in the customization section below.
Materials You Will Need
Yarn (Worsted Weight, Weight 4):
Total yarn needed: approximately 470 yards / 430 meters across all colors. I recommend 100% cotton or a cotton-acrylic blend for drape, breathability, and easy washing.
Hook: US size G-6 / 4.0 mm (or size needed to obtain gauge)
Notions:
Yarn Suggestions: Paintbox Yarns Simply DK Cotton, Lion Brand 24/7 Cotton, or WeCrochet Dishie all work beautifully. Choose a smooth, plied cotton with good stitch definition. Avoid fuzzy or highly textured yarns, which obscure the flower motif.
Gauge (Do Not Skip This)
One completed granny square through Round 4, blocked, should measure 3.5 inches x 3.5 inches / 9 cm x 9 cm.
In standard double crochet granny cluster stitch for ribbing: 16 stitches and 10 rows = 4 inches / 10 cm with G-6 hook.
Gauge is mandatory for a fitted garment. A square even 0.25 inches off gauge will shift the finished chest measurement by 1 inch or more across a full row of squares. Swatch, block, and measure before beginning.
Abbreviations
Special Stitches and Techniques
Granny Cluster: This is the foundational stitch unit of every granny square. To work a granny cluster, work 3 double crochets into the same chain space. Yarn over, insert hook into indicated chain space, yarn over and pull up a loop, yarn over and pull through 2 loops, yarn over and pull through remaining 2 loops. Repeat twice more into the same space. This group of 3 dc is one granny cluster.
Join-As-You-Go (JAYG): This method joins squares on the final round while crocheting, creating a nearly invisible flat seam. When you reach a joining point on the new square’s final round, drop one chain from the spacer count, insert hook into the corresponding chain space of the adjacent already-finished square, pull up a loop, then complete the remaining chain of the spacer.
Braided Strap: Cut 6 lengths of Color A yarn, each 30 inches / 76 cm long. Hold 2 strands together as one group. Braid the 3 groups to approximately 7.5 inches / 19 cm. Knot at both ends.
Scallop Edging: With RS facing, join yarn. Work (sc, ch 2, sc) into same stitch, skip 1 stitch, sl st into next stitch, skip 1 stitch. Repeat around.
Ribbing (worked sideways): Foundation chain of 6. Row 1: sc in 2nd ch from hook and in each ch across. (5 sc) Ch 1, turn. Row 2: Working through back loops only, sc in each st across. (5 sc) Ch 1, turn. Repeat Row 2 until strip reaches desired length.
Pattern Notes Before You Begin
1. The romper front and back are each constructed from a 3-column by 2-row arrangement of granny squares (6 squares per panel, 12 squares total).
2. Work all granny squares individually through Round 3, then join on Round 4 using JAYG.
3. Color sequence for each square: Round 1 in Color C (black center), Round 2 in Color B (coral petals), Round 3 in Colors D and E (sage and blue border), Round 4 in Color A (cream).
4. All rounds are worked with RS facing unless otherwise noted. Join each round with a slip stitch.
5. Turning chains do not count as stitches unless specifically stated.
Granny Square Instructions (Make 12)
Round 1 (Color C, Black Center):
Make a magic ring. Ch 3 (counts as first dc). Work 11 dc into the ring. Pull ring closed. Join with sl st to top of beginning ch-3. (12 dc)
Round 2 (Color B, Coral Petals):
Join Color B to any stitch with sl st. Ch 1, sc in same stitch. Ch 2, skip 1 st, (sc in next st, ch 2, skip 1 st) around. Join with sl st to first sc. (6 sc, 6 ch-2 spaces)
Now work the petal clusters: Sl st into first ch-2 sp. Ch 3, work 4 more dc into same ch-2 sp (5 dc petal). Sl st into next sc. (Sl st into next ch-2 sp, ch 3, 4 dc into same sp, sl st into next sc) 5 times. Join with sl st to base of first petal. (6 petals of 5 dc each)
Round 3 Part A (Color D, Sage Corners):
Join Color D to top of any petal center dc with sl st. Ch 3 (counts as dc). Dc in same st. Ch 2. 2 dc in same st. (This sets a corner cluster.) Sk remaining petal stitches and sl st between petals. (2 dc, ch 2, 2 dc, sl st into gap) 3 times. Join with sl st to top of beginning ch-3. (4 corner groups of 2 dc each)
Round 3 Part B (Color E, Dusty Blue Sides):
Join Color E to any corner ch-2 sp. Ch 3, 2 dc in same sp (half corner). Ch 1. 3 dc into gap between corner clusters on the flat side. Ch 1. (3 dc, ch 2, 3 dc) into next corner ch-2 sp. Ch 1. 3 dc into next side gap. Ch 1. Repeat for remaining corners with side clusters and ch-1 spaces. End with 3 dc back into starting corner sp. Ch 2. Join with sl st to top of beginning ch-3. (4 corners of 3 dc + ch-2 + 3 dc, 4 side clusters of 3 dc)
Round 4 (Color A, Cream Joining Round):
Join Color A to any corner ch-2 sp. Ch 3, 2 dc in same sp. Ch 2. 3 dc in same sp. (3 dc, ch 1, 3 dc in next ch-1 sp). (3 dc, ch 2, 3 dc in next corner ch-2 sp). Ch 1. 3 dc in next ch-1 sp. Ch 1. Repeat for all 4 corners, working 3 dc clusters into each ch-1 side space separated by ch-1. Join with sl st to top of beginning ch-3. Fasten off. (4 corners with 3 dc, ch 2, 3 dc; 8 side clusters total)
For squares 2 through 12, use the JAYG method at shared edges on Round 4.
Checkpoint: After completing all squares, you should have a front panel and back panel, each 3 squares wide by 2 squares tall, measuring approximately 10.5 inches / 26.5 cm wide by 7 inches / 18 cm tall.
Assembly
Join front and back panels at the side seams using a slip stitch seam worked with Color A on the wrong side. Align the panels with right sides facing outward. Work sl st through both layers along each side edge from top to bottom. Work approximately 40 sl sts per side seam. Do not seam the bottom edges. Fasten off.
After side seaming, the piece forms a tube approximately 21 inches / 53 cm in circumference.
Leg Opening Shaping
With RS facing, join Color A to the center-bottom edge of the front panel. Ch 1. Sc across the bottom edge of the right front square (approximately 12 sc). Work into the corner and sc down the inner-facing edge to form the inner leg seam (approximately 12 sc). Sl st the last sc of the front inner leg to the corresponding stitch of the back inner leg, joining 1.5 inches / 4 cm of the crotch center (approximately 6 sl sts). This creates two separate leg openings each approximately 8 inches / 20 cm in circumference.
Ribbed Leg Bands (Make 2)
Work the ribbing strip sideways. Foundation ch 6. Work in back-loop-only sc until the strip equals the leg opening circumference (approximately 8 inches / 20 cm, or about 20 rows). Join the short ends with sl st to form a ring. Attach to leg opening with sl st seam. Repeat for second leg.
Neckline Scallop Edging
With RS facing, join Color A to the top-right corner of the front panel. Work scallop edging across the entire neckline: (sc, ch 2, sc) into same st, sk 1 st, sl st in next st, sk 1 st. Repeat around. Adjust at side points with plain sl sts if needed to balance the repeat. Join and fasten off.
Straps (Make 2)
Cut 6 strands of Color A, each 30 inches long. Braid as described in special stitches. Attach beginning tails to back panel top corners. Attach finishing tails to front panel top corners, adjusting length for comfortable fit. Knot securely on WS.
Button Band
Row 1: With RS of front crotch edge facing, join Color A. Ch 1. Sc across front crotch edge (approximately 9 to 12 sc). Ch 1, turn.
Row 2: Sc in each st across. Ch 1, turn.
Row 3 (buttonhole row): Sc 2, ch 1, sk 1 (buttonhole), sc to 4 sts from end, ch 1, sk 1 (buttonhole), sc to last 2 sts, ch 1, sk 1 (buttonhole), sc in last st. Ch 1, turn. (3 buttonholes)
Row 4: Sc in each st and each ch-1 sp across. Ch 1, turn.
Row 5: Sc in each st across. Fasten off.
Work 5 rows of plain sc on back crotch edge without buttonholes. Sew 3 coconut shell buttons to back band at corresponding positions.
Size Customization Tips
3 to 6 months: Use a US F-5 / 3.75 mm hook to reduce each square to approximately 3 inches. Reduce strap length to 6.5 inches.
12 to 18 months: Add a 4th column of squares (8 squares per panel, 16 total). Increase strap length to 8.5 inches.
Finishing and Care
Wet block the finished romper by submerging in cool water for 10 minutes. Lay flat and pin each square to 3.5 inches. Allow to dry completely. Weave in all ends.
Machine wash cold on gentle in a mesh bag. Tumble dry low or lay flat.
Thank you so much for choosing this pattern for your next project. I hope these detailed instructions make the process enjoyable from start to finish.
If you love this Coral Poppy Baby Romper crochet pattern, save it to your Pinterest boards so you can find it whenever inspiration strikes. And please, if you make one, leave a comment below or tag me on Instagram. I would absolutely love to see your finished rompers and hear which color combinations you chose!
You Might Also Like
- Mint Green Spring Purse Free Crochet Pattern
- Sunny Sunflower Crochet Pot Free Crochet Pattern
- Black White Cow Print Crochet Joggers Pattern
- Sunny Yellow Dahlia Tote Free Crochet Pattern
