
I don’t know about you, but I love a good statement piece that nobody else is wearing. Something delicate, unexpected, and just a little bit whimsical. This cherry blossom nose cuff delivers all of that in a tiny package.
Get the Ad-Free PDF Pattern
You can find the free pattern below, or you can purchase the ad-free printable PDF from my shop.
Get the Printable PDF →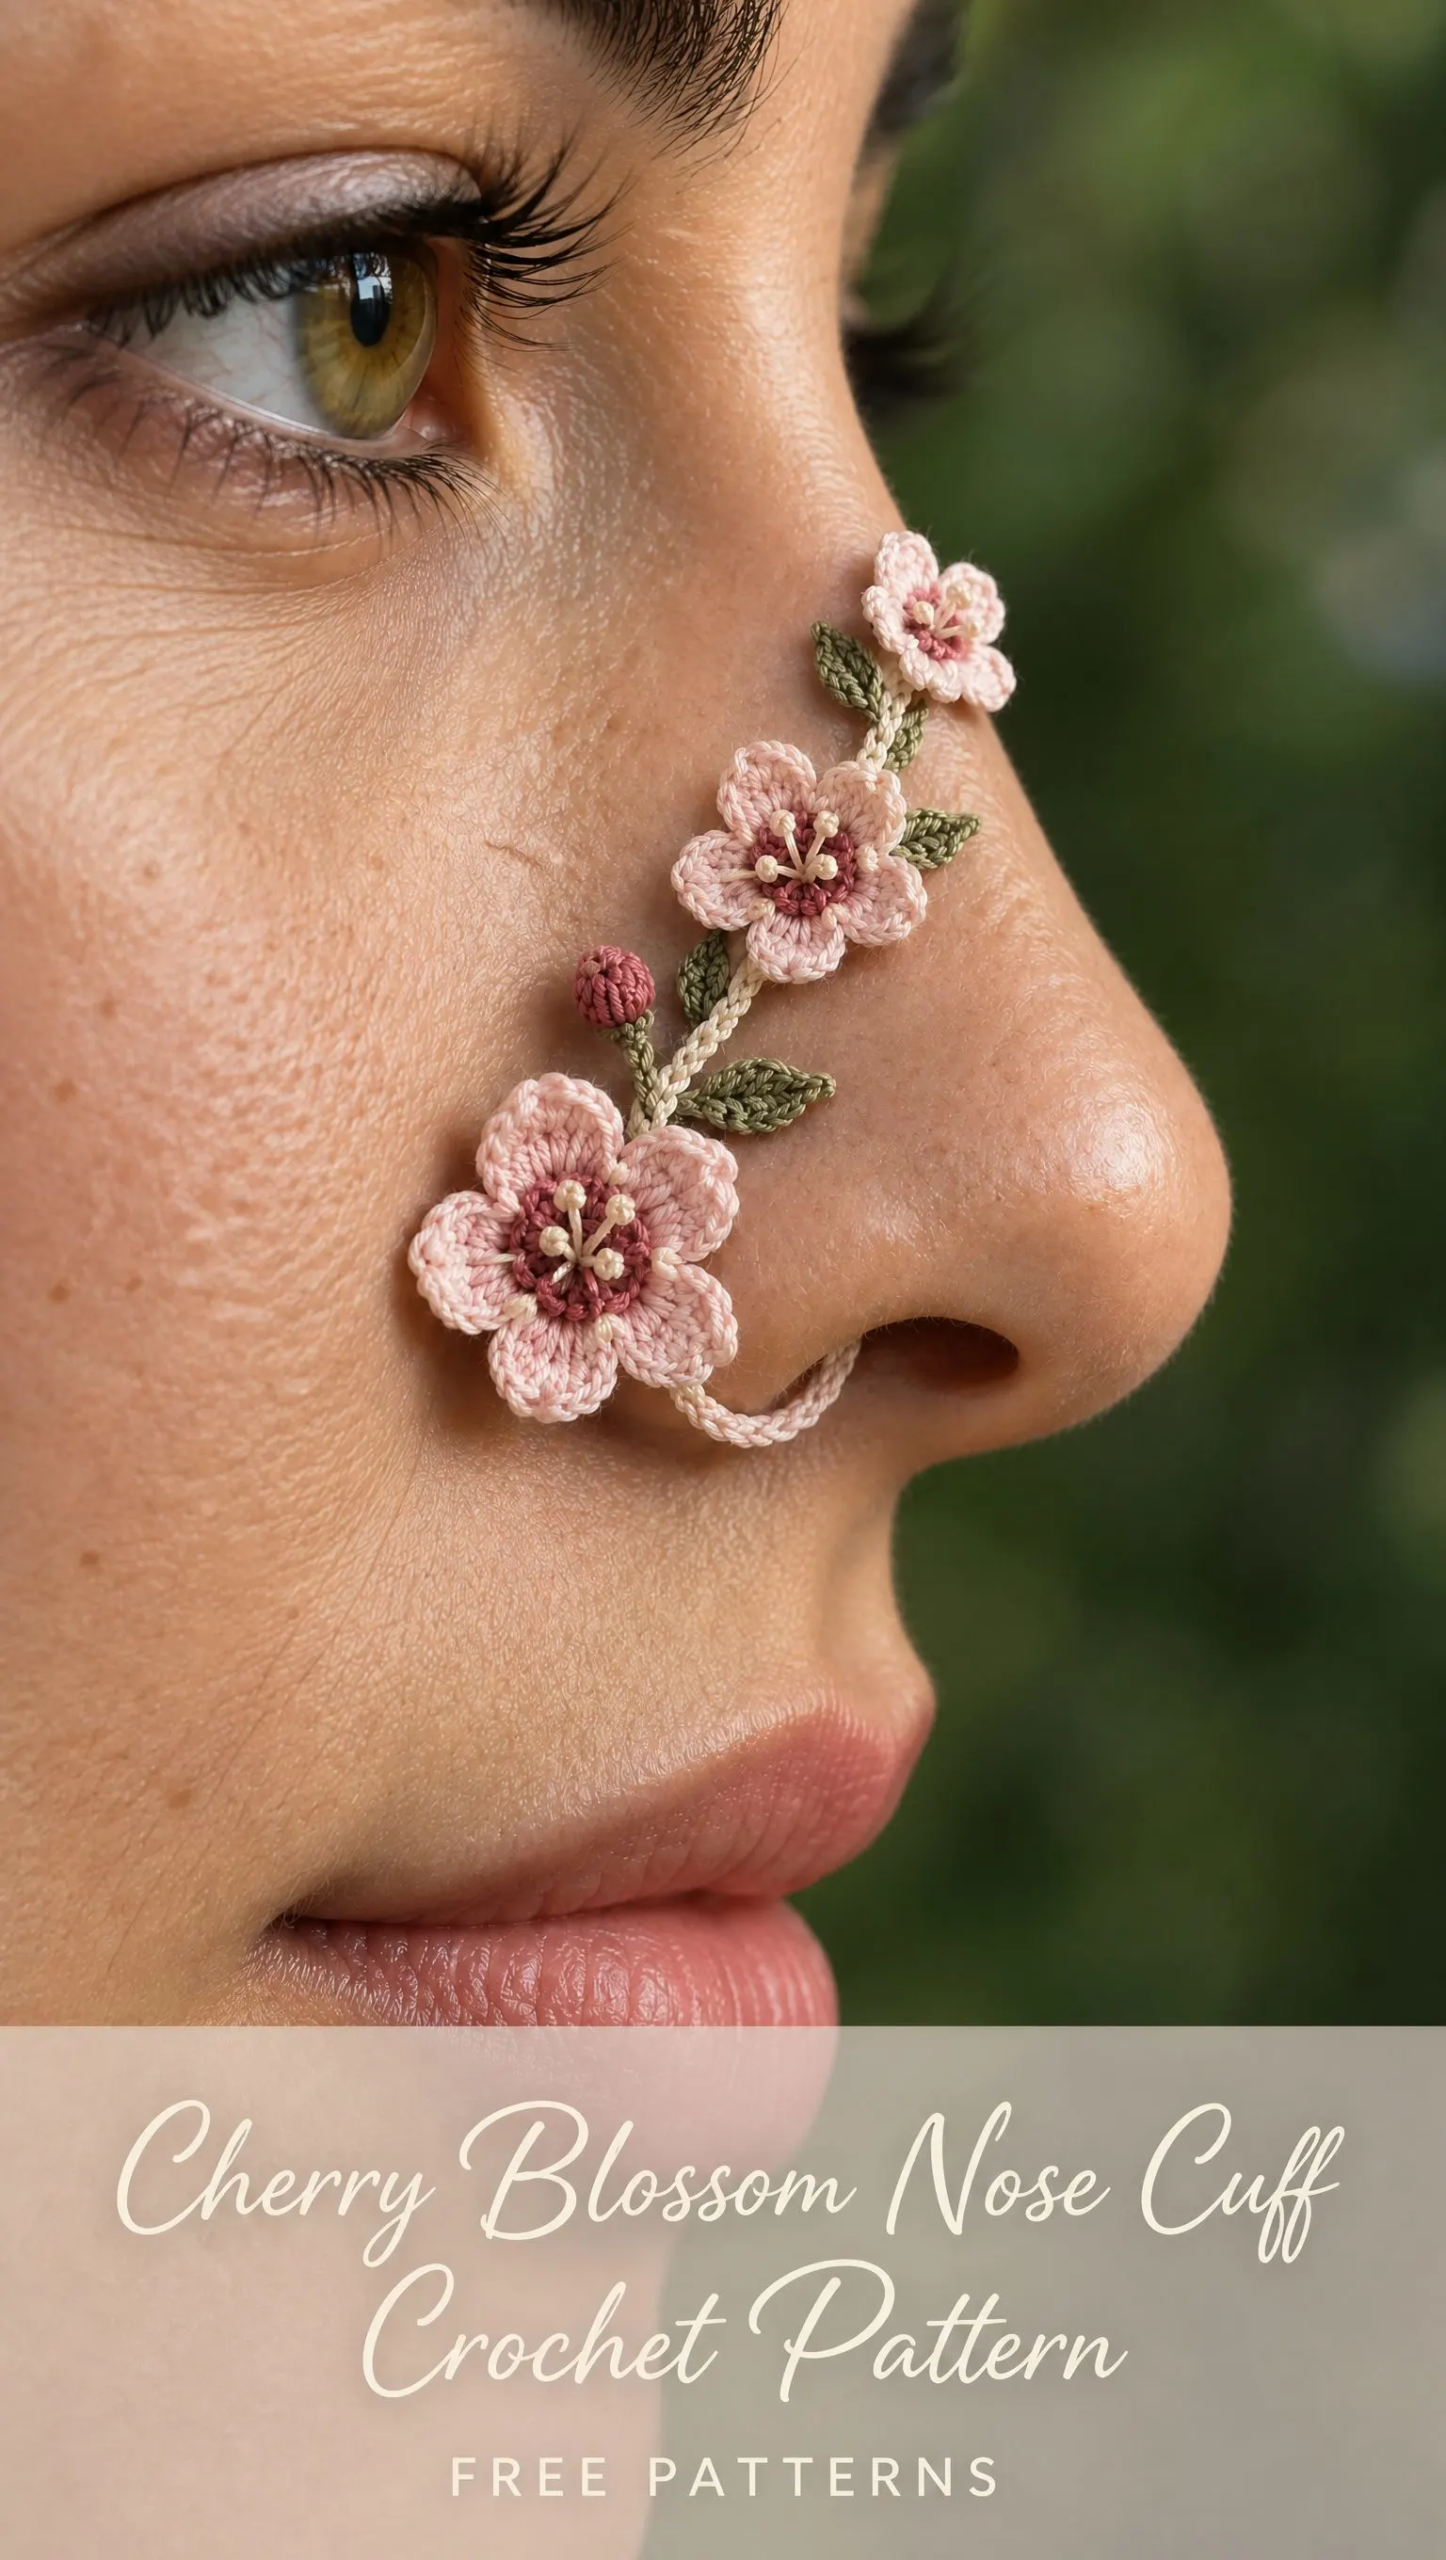
When I first saw this design, I knew I had to figure out how to make it. A crocheted accessory that sits along the side of your nose like a flowering branch? Yes please. It’s the kind of piece that makes people do a double take and ask where you got it.
The best part is that this nose cuff uses basic stitches worked in miniature. If you’ve ever wanted to try thread crochet or make something truly unique, this is your project. Let me walk you through every step.
About This Cherry Blossom Nose Cuff Pattern
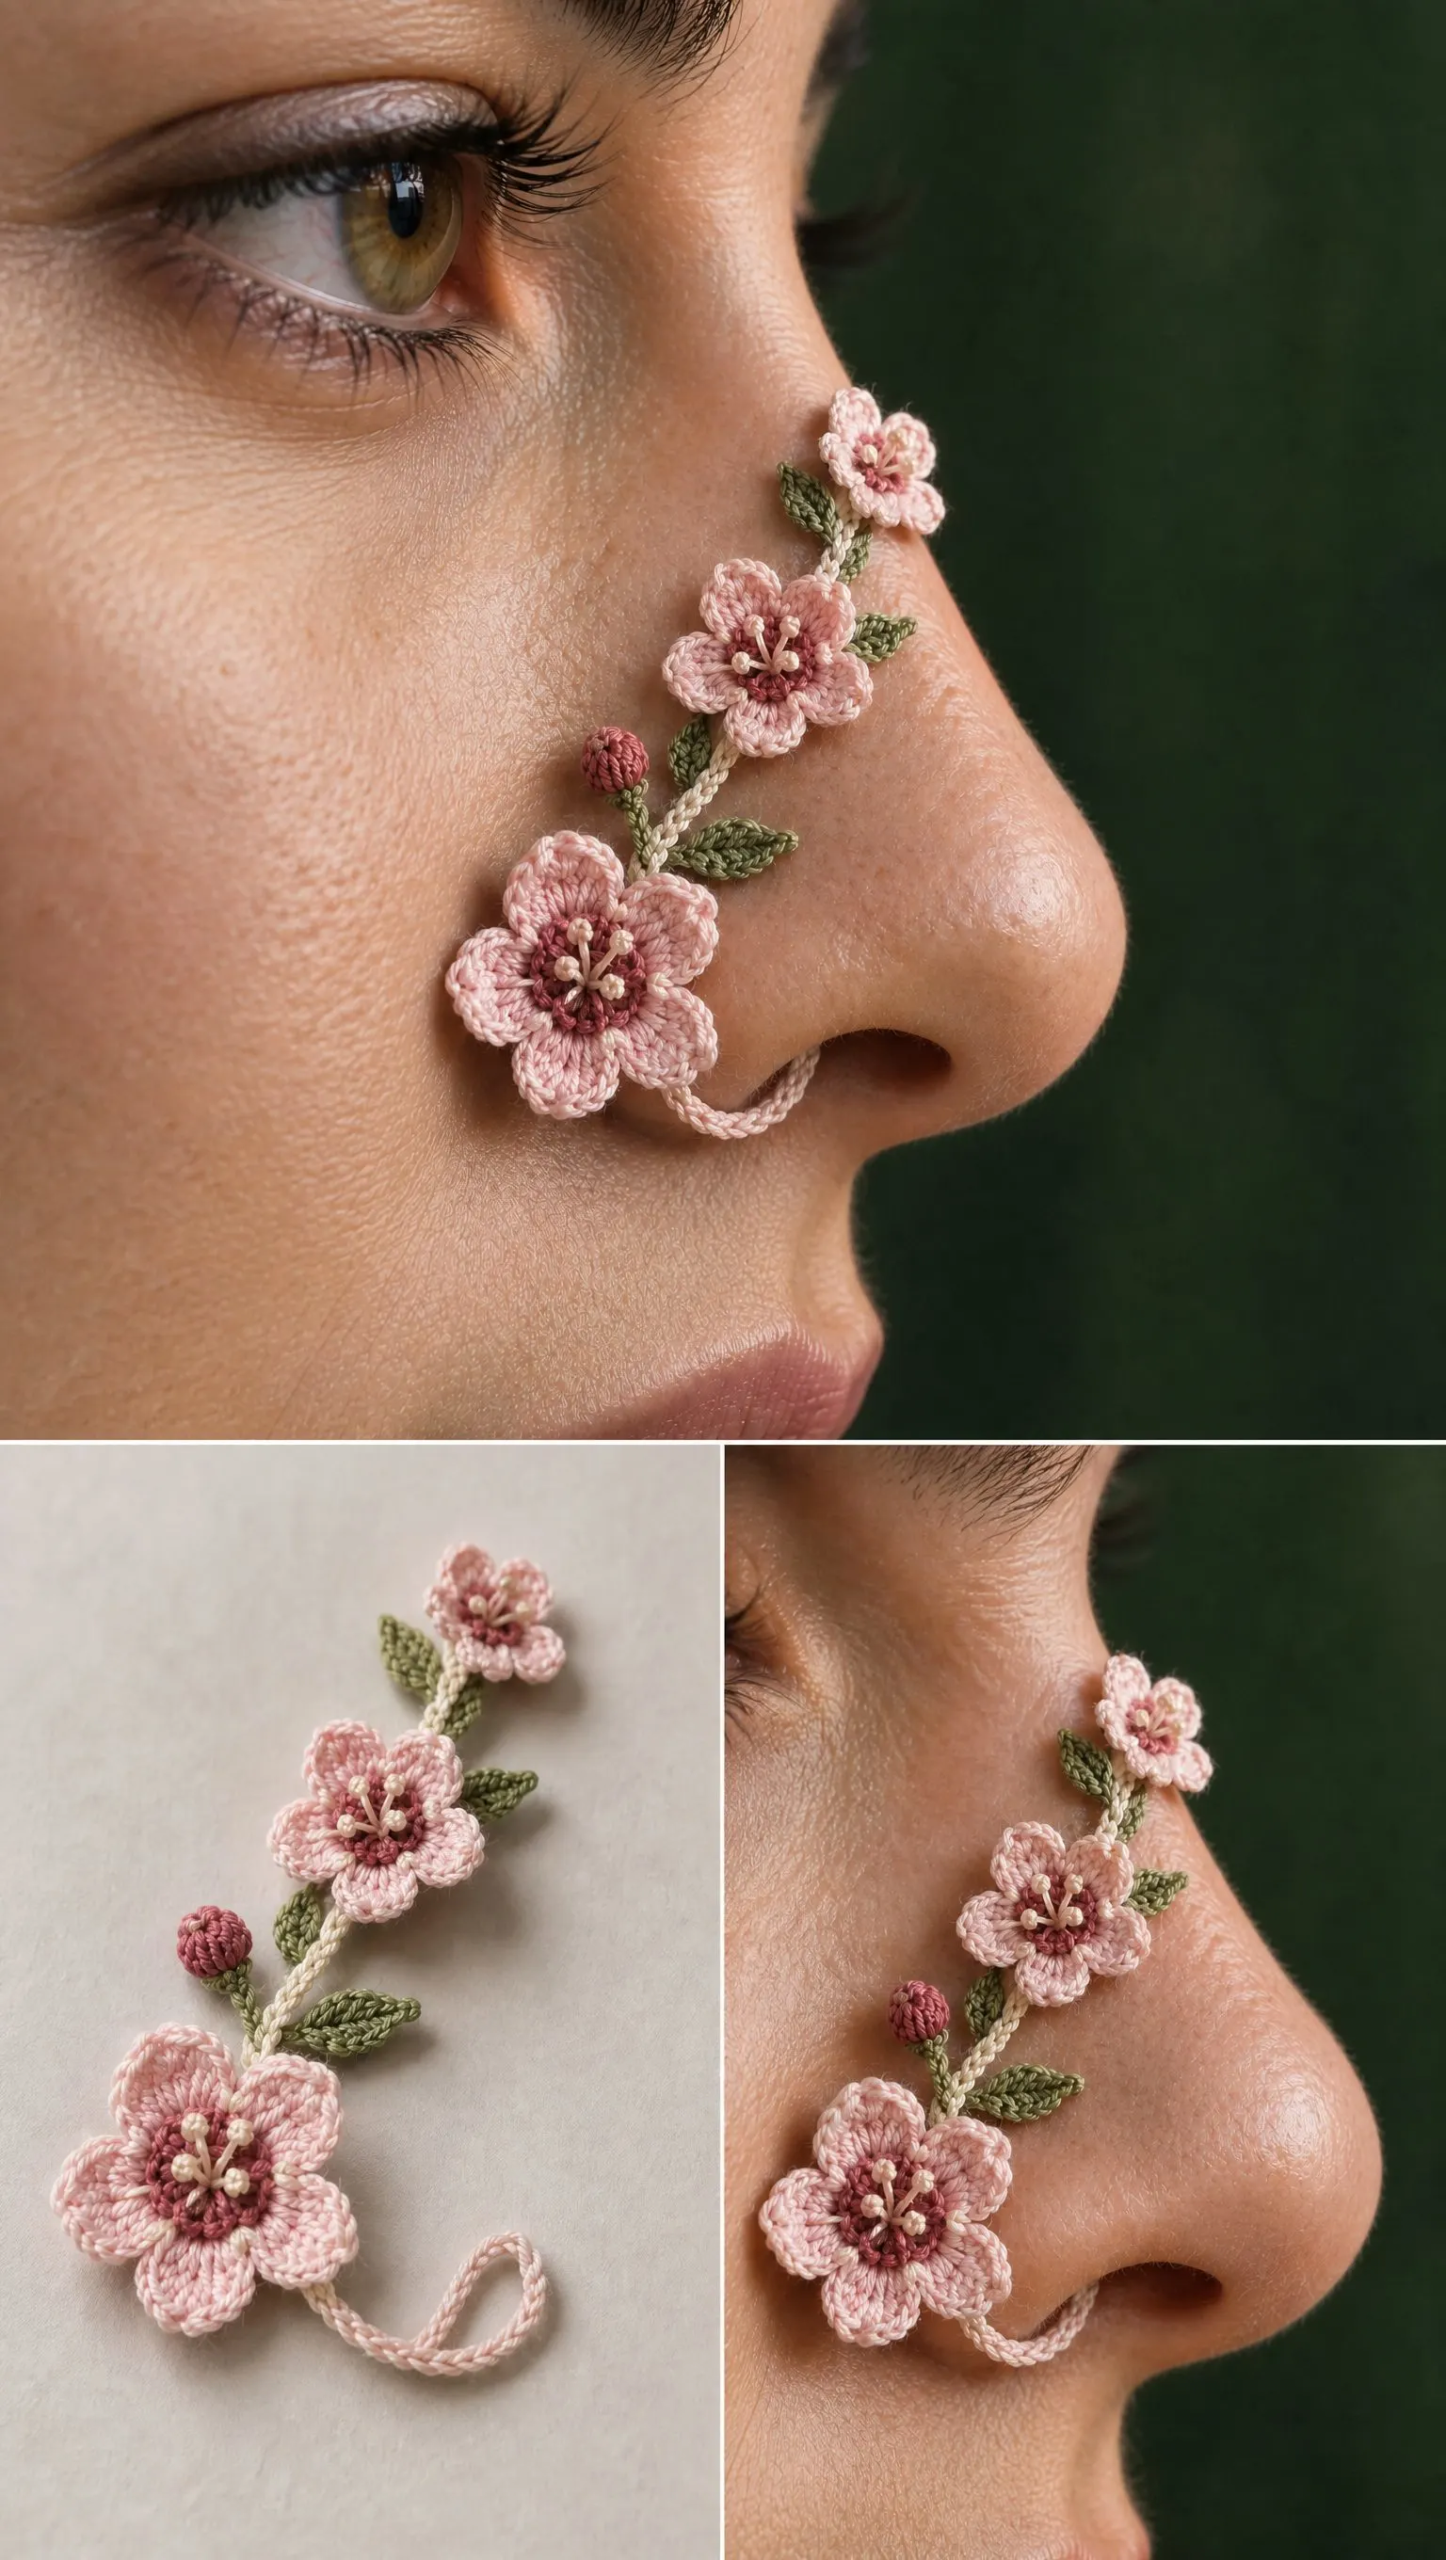
This pattern creates a lightweight decorative accessory featuring three softly cupped five-petal flowers, two raspberry-colored buds, pointed leaves, and an ivory foundation chain that follows your nose bridge. A pale pink loop rests beside your nostril to hold everything in place.
The finished floral strip measures approximately 42 to 55 millimeters, customized to the wearer. The nostril-side loop measures 18 to 28 millimeters in circumference, also adjusted to fit.
Skill level: Intermediate. The motifs use very small stitches, tight joining, surface shaping, and fine thread assembly. A confident beginner can absolutely make this by working slowly and using stitch markers throughout.
Materials You Will Need
Before you begin, gather these supplies. Using the right thread weight and hook size matters a lot for this project since scale is everything.
Crochet thread in warm ivory: Size 20 or similar smooth mercerized cotton, approximately 2 to 3 meters
Crochet thread in pale blush: Size 20, approximately 3 to 4 meters
Crochet thread in deeper rose: Size 20, approximately 1 meter
Crochet thread in raspberry: Size 20, approximately 1 meter
Crochet thread in muted green: Size 20, approximately 2 meters
Crochet thread in cream: Size 30 or split fine thread for stamens, approximately 50 centimeters
Hook: 0.60 to 0.75 millimeter steel crochet hook. Choose the size that gives you firm, tidy stitches.
Notions: Fine tapestry needle, sharp embroidery scissors, blocking mat, rustproof pins, optional fabric stiffener
Gauge and Finished Measurements
Gauge is not critical here, but scale definitely is. Use the smallest hook that still lets you work comfortably.
A sample five-petal blossom should measure about 11 to 14 millimeters across after shaping. If your flower is larger than 15 millimeters, move to a smaller hook or finer thread.
Here are your target sizes for each component:
Abbreviations
Let me define every stitch abbreviation before we dive in:
Five-Petal Cherry Blossom Pattern
Make 3 total: one large, one medium, and one small. Use pale blush for the petals and deeper rose for the center. The same stitch sequence works for all three sizes. You will change the scale through thread tension and one optional extra chain in the larger petals.
Round 1: With deeper rose, make a magic ring (MR). Ch 1, work 10 sc into the ring, pull the ring snug, then sl st to the first sc. Do not close the center so tightly that the petal bases buckle.
Round 2: Change to pale blush. Sl st in next sc, ch 3, work 2 dc in the same sc, ch 1, work 2 dc in the next sc, ch 3, sl st in that same second sc. Repeat from to 5 times around. You now have five rounded petals.
Round 3 (optional notched tip): To create the subtle notched tip on each petal, work with RS facing. Join blush at the upper edge of a petal, sl st along the first 2 top loops, ch 1, skip the center top loop, then sl st into the next 2 top loops. FO. Repeat on all petals only if the notch is not already visible from Round 2.
Shaping: Cup each petal gently by pinching the petal base between your thumb and forefinger, then rolling the upper edge outward. Do not press flat.
Size variations: For a larger blossom, replace each ch 3 at the petal sides with ch 4. For the smallest blossom, keep the side chains at ch 2 or work the motif with slightly tighter tension.
Cream Stitched Stamens
These tiny embroidered details bring your blossoms to life.
1. Thread a fine tapestry needle with cream thread. Bring the needle up near the rose center.
2. Make 3 to 5 short straight stitches that radiate toward the petal bases. Keep each stitch about 2 to 3 millimeters long.
3. At the end of each straight stitch, make a tiny French knot or one wrapped knot. Keep the knots delicate so they read as pollen tips rather than beads.
4. Anchor the thread securely on the back, weaving the tail under the rose center only. Trim closely.
Mini Raspberry Bud Pattern
Make 2 of these tiny closed buds with short green calyx stems.
Round 1: With raspberry thread, make an MR. Ch 1, work 6 sc into the ring. Do not join.
Round 2: Work 2 sc in each st around. (12 sc)
Round 3: Sc2tog around. (6 sts) Before closing, use the hook handle or needle tip to round the bud shape. Do not stuff.
Finishing: Cut a 10 cm tail. Thread the tail through the front loops of the remaining 6 sts and pull closed. Secure on the underside.
Calyx: Join muted green at the base. Ch 3, sl st in second ch from hook and next ch. Sl st back into the bud base. FO, leaving a sewing tail. This creates a tiny calyx and stem.
Slim Pointed Leaf Pattern
Make 4 to 6 leaves in muted green, varying the length slightly for a natural look.
For a small leaf: Ch 6.
For a longer leaf: Ch 8.
Row 1: Starting in second ch from hook, work: sl st, sc, hdc, sc, sl st. For ch 8 leaves, insert one dc in the center before descending again.
Row 2: Ch 1 at the tip, then work down the unused loops on the opposite side: sl st, sc, hdc (or dc in a long leaf), sc, sl st.
Finishing: Sl st into the starting chain. FO with a 10 cm sewing tail. Pin the leaf into a narrow pointed shape while lightly damp blocking.
Texture tip: Mercerized cotton gives crisp stitch definition. If your petals feel floppy, mist them lightly and block. Use fabric stiffener only on the motif backs and only sparingly so the flowers stay soft and sculptural.
Warm Ivory Bridge Chain Foundation
The foundation should bend naturally over your nose bridge without looking bulky. Make this to the wearer rather than using a fixed stitch count.
1. With warm ivory, ch 28 to 38, or enough to span the intended floral placement from the near lower side of the nose toward the far bridge. Typical foundation length is 42 to 55 mm.
2. Turn. Sl st into the second ch from hook and into each remaining chain. This creates a narrow, cord-like double chain that resists stretching.
3. At the far-bridge end, ch 3 and sl st back down these 3 chains to form a tiny finishing nub. FO and weave in securely.
4. Lay the chain on the side of your nose and mark the intended positions for the largest, medium, and smallest blossoms with removable thread markers. The largest flower should sit lowest on the near side, while the smallest sits toward the far bridge.
Pale Pink Nostril-Side Loop
1. Join pale blush at the near/lower end of the ivory foundation.
2. Ch 10 to 16, depending on the wearer. Form the chain into a soft rounded loop that curves beside the nostril rather than entering it.
3. Sl st back into the attachment point on the foundation. Try the piece on. The loop should lightly touch the side of the nose with no pinching and no obstruction.
4. If the loop is too loose, undo 1 to 2 chains. If it is tight, add chains. Once the fit is correct, work one sl st into each chain around the loop for extra smoothness and stability. FO and weave in.
Important fit note: This is a decorative textile accessory, not a piercing or medical device. Fit the loop loosely beside the nostril, never inside it. Make sure breathing is completely unobstructed. Remove the cuff if it causes pressure, itching, or irritation.
Branching Stem Detail
1. With muted green, join near the planned medium blossom position on the ivory foundation.
2. Ch 5 to 8 toward a bud or leaf position. Sl st back down the chain to make a slim branch, then sl st into the ivory foundation to anchor it.
3. Repeat for 2 to 4 short branches. Keep some ivory foundation visible between flowers, as in a natural flowering twig.
4. For a flatter back, do not crochet over the whole foundation. Use tiny branch segments only where needed for visual continuity.
Suggested Layout
Here is where to place each element:
Near side, lowest point: Large blossom. This is your main focal flower. Place it close to the loop but not touching the nostril opening.
Center: Medium blossom. Angle it slightly upward and leave a short visible stem section below it.
Far bridge: Small blossom. Keep this one smallest and lightest, angled toward the bridge.
Between large and medium: 1 raspberry bud plus 1 to 2 leaves. The bud can sit just off the main stem.
Between medium and small: 1 raspberry bud plus 2 leaves. Use shorter leaves here.
Optional accents: 1 to 2 extra leaves. Add only if the strip still looks light and balanced.
Step by Step Assembly
Do all assembly from the back of the work with fine matching thread. Keep every join small and flat. Test the curve against the nose frequently before securing the final knots.
1. Block the ivory foundation into a gentle shallow curve. Let it dry completely before adding motifs.
2. Place the large blossom at the near/lower end, slightly above the side loop. Sew through the rose center and foundation 3 to 4 times. Do not stitch through the outer petals.
3. Place the medium blossom approximately 12 to 18 mm above the large flower. Rotate it so the petals do not line up directly with the lower blossom. Sew only through the center.
4. Place the small blossom toward the far bridge. Keep enough ivory chain visible between it and the medium flower to preserve the branch-like look. Sew through the center.
5. Attach the first raspberry bud on a short green branch between the large and medium blossoms. Angle the bud slightly outward. Stitch the green stem to the foundation at one or two points.
6. Attach the second bud between the medium and small blossoms, slightly closer to the far bridge.
7. Add leaves one at a time. Sew only along the lower third of each leaf so the pointed tips can lift slightly from the skin. Alternate leaf direction for a natural spray.
8. Turn the piece over. Inspect the back. Cover any bulky crossing tails by weaving them under the ivory slip-stitch ridge. Trim all ends closely.
9. Try on the cuff. Adjust blossom rotation and loop size if needed. The accessory should rest lightly on the skin, with the back of the strip flat and all petal dimension facing outward.
10. Optional: Brush a tiny amount of diluted fabric stiffener onto the backs of the leaves and petal bases only. Shape, pin, and dry. Avoid soaking the loop or foundation because they need flexibility.
Finishing Checklist
Before wearing your nose cuff, verify these details:
Troubleshooting Common Issues
Flowers look flat: Your thread may be too soft or petals are not shaped. Lightly damp block them, pinch petal bases, and roll top edges outward.
Accessory twists: Motifs are sewn too tightly or off center. Remove one join, flatten the foundation, and resew through blossom centers only.
Loop pinches: Too few chains or slip stitches worked too tightly. Rework with 1 to 3 more chains and relaxed slip stitch tension.
Loop droops: Too many chains. Shorten by 1 to 3 chains and reinforce with slip stitches.
Strip feels bulky: Too many leaves, branches, or tails stacked together. Remove one accent and weave tails in opposite directions.
Flowers are oversized: Hook or thread is too large. Use finer cotton or a smaller steel hook.
Leaf tips curl inward: Uneven tension. Damp block the leaf flat, then bend only the very tip outward.
Care Instructions
Hand wash only in cool water with a drop of mild soap. Do not wring. Blot between clean towels, reshape the blossoms and leaves, and air dry flat.
Avoid makeup, oils, perfume, and hairspray directly on the thread when possible. Store flat in a small box so the stamens and leaf points are not crushed.
If the cuff will touch sensitive skin, wash the finished piece before first wear to remove handling residue.
Make It Yours
For a more delicate version, use size 30 crochet thread and a 0.50 to 0.60 mm hook. For a slightly bolder accessory, use size 10 thread and a 0.85 to 1.00 mm hook, then reduce the number of leaves so the composition stays balanced.
Final Thoughts on This Cherry Blossom Nose Cuff Crochet Pattern
I hope you have as much fun making this cherry blossom nose cuff as I did writing up this pattern. It is such a unique conversation starter and a wonderful way to practice thread crochet techniques on a small scale.
Thank you so much for being here and giving this unusual project a try. If you make one, I would absolutely love to see it! Tag me on Instagram or share in my Facebook group so I can admire your work.
If this pattern caught your eye, go ahead and save it to your Pinterest boards so you can find it when you are ready to start. And please drop a comment below if you make one. I love hearing how projects turn out and seeing your color combinations!
Want a Quick & Easy Printable Version?
Get a clean, beautifully formatted PDF of this pattern — easy to follow step by step, ready to print or save on any device. No scrolling, no distractions, just the pattern.
Get the Printable PDF →You Might Also Like
- Sunset Coral Gradient Braided Bag Free Crochet Pattern
- Mint Chocolate Chameleon Amigurumi Free Crochet Pattern
- Spring Bunny Floral Lace Sweater Free Crochet Pattern
- Sunshine Yellow Duckling Granny Square Blanket Free Pattern
