
Alright, fellow yarn hoarders. You know that gorgeous skein of fine mercerized cotton thread you have been saving for "something special"? This is it. Dig into your stash and pull out those deep emerald, jade, and mint greens because this botanical ear cuff is calling your name.
Get the Ad-Free PDF Pattern
You can find the free pattern below, or you can purchase the ad-free printable PDF from my shop.
Get the Printable PDF →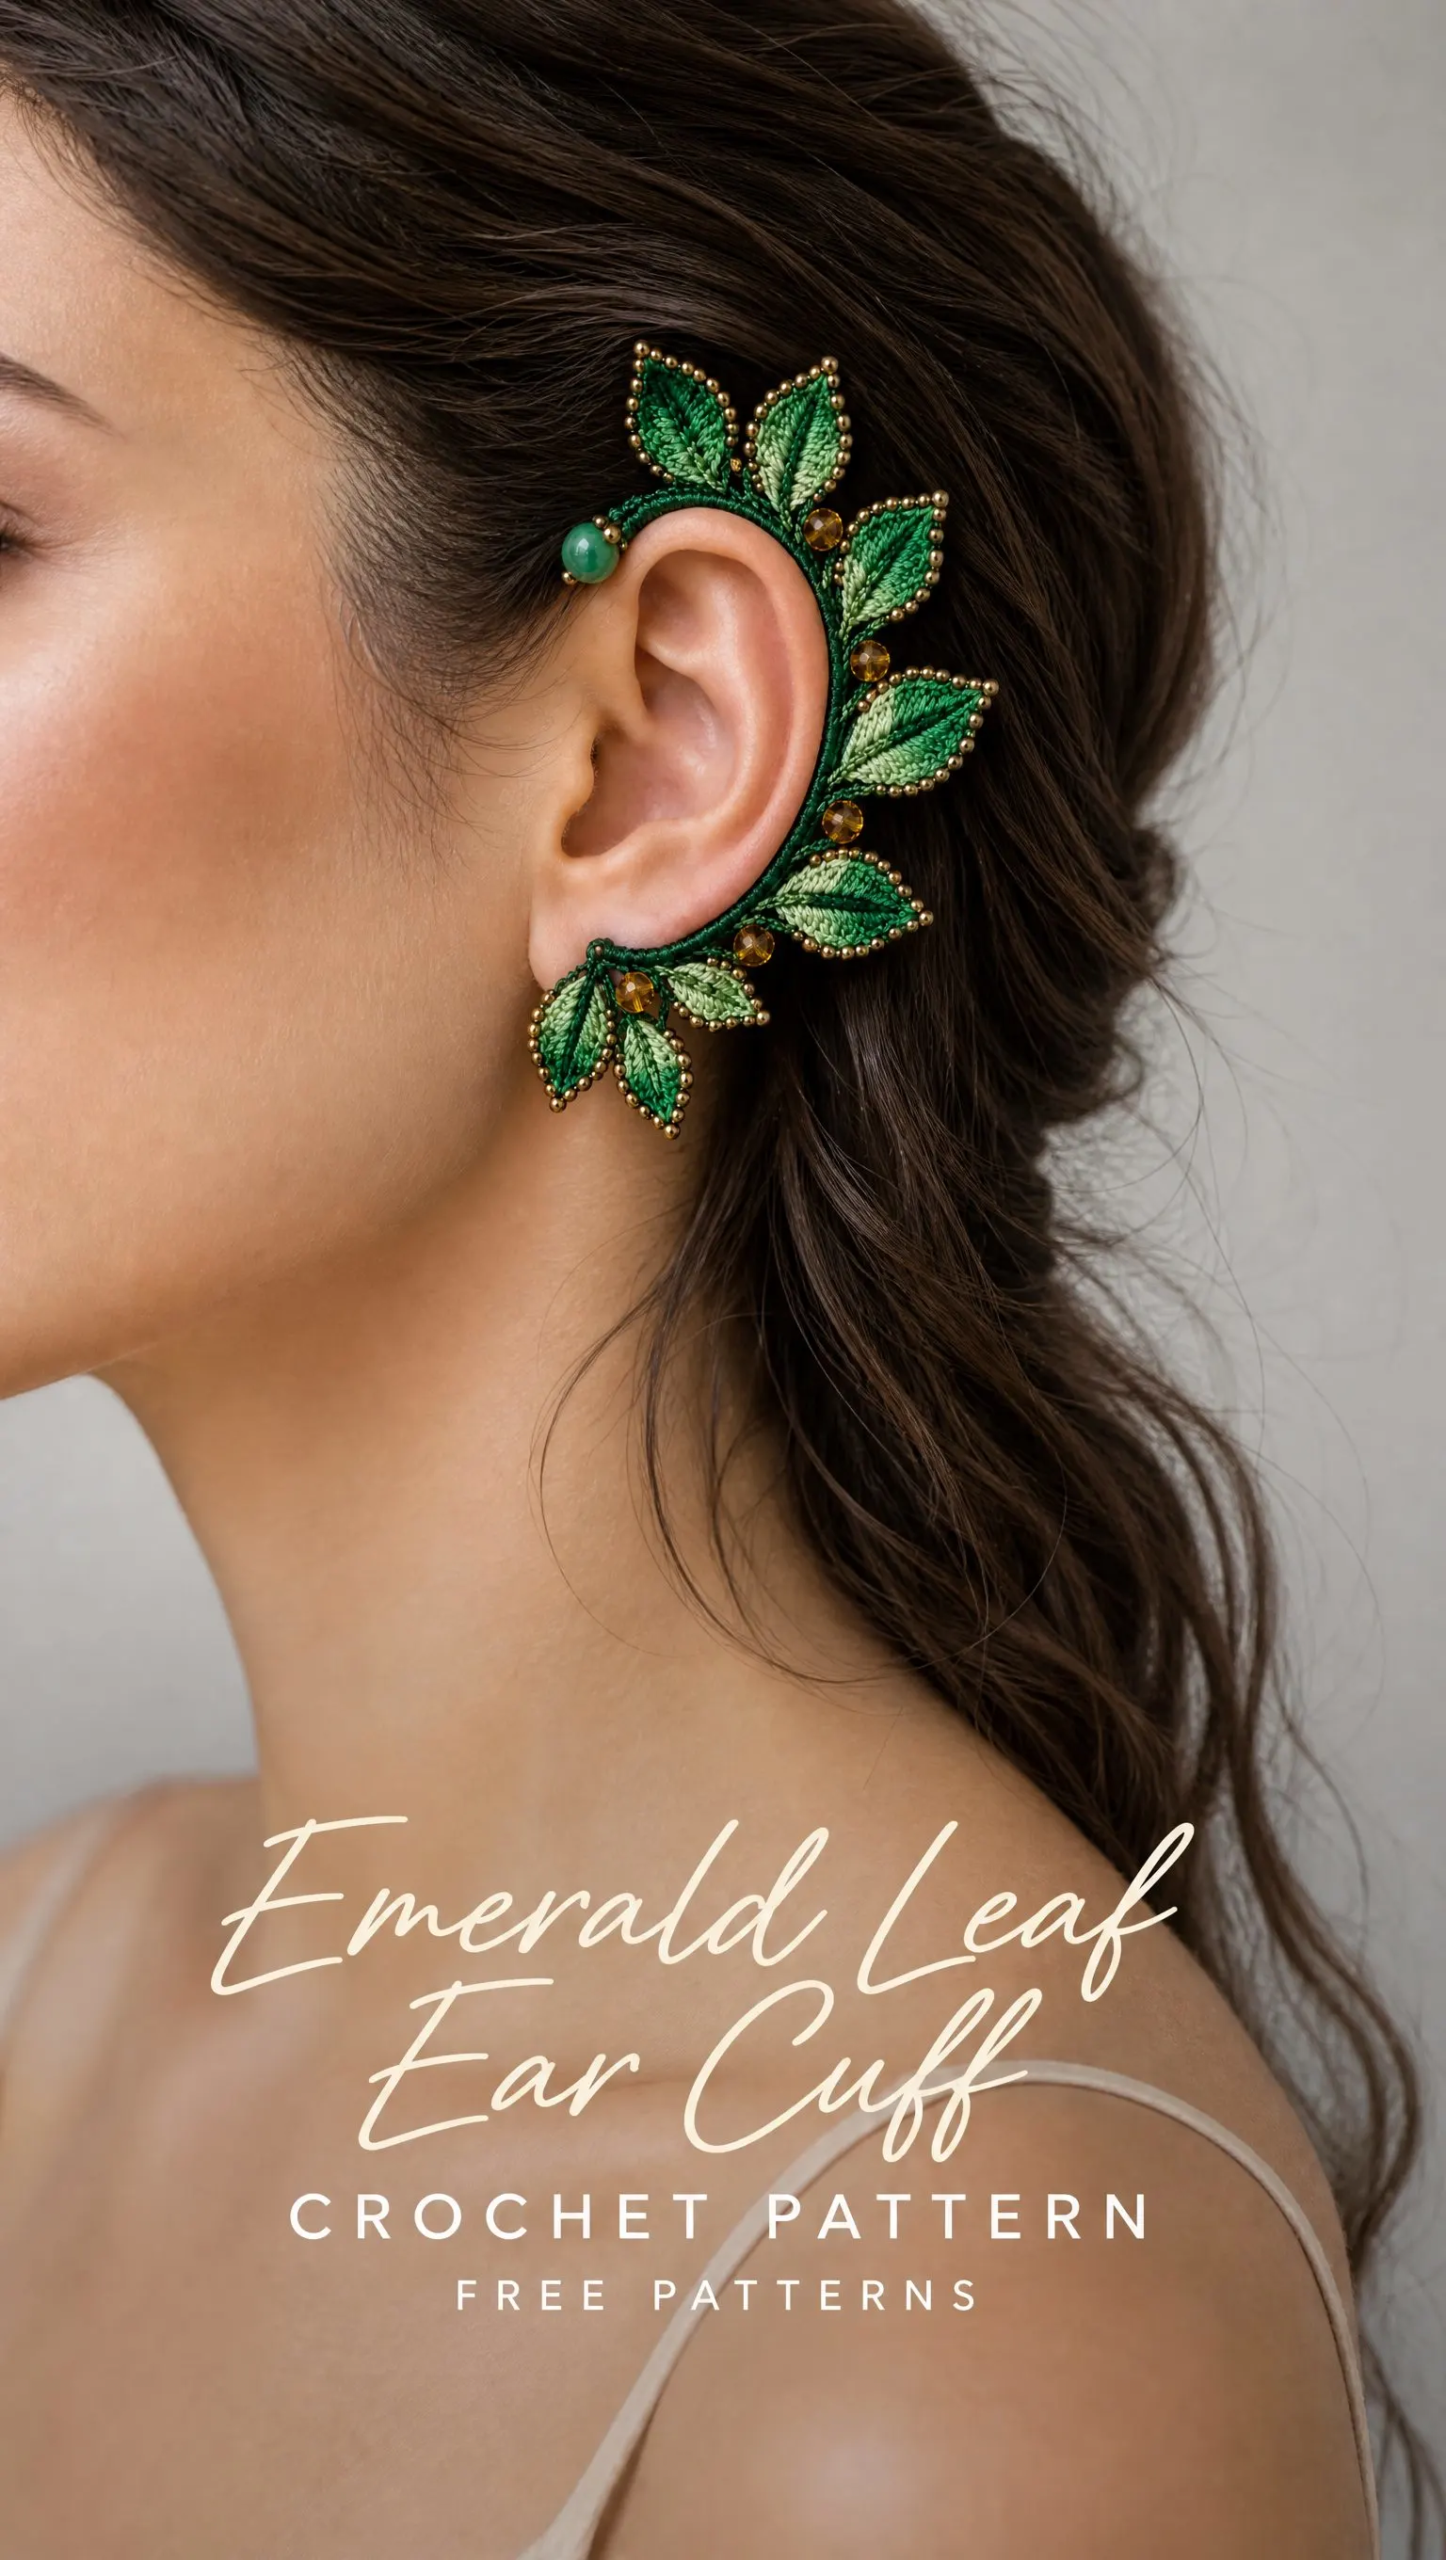
This project is not your typical crochet pattern, and I love that about it. You will be working tiny pointed leaves, wrapping wire frames, and adding delicate bronze seed bead edging. It is genuinely intermediate to advanced level work, so I will be honest with you upfront. But if you have experience with thread crochet and enjoy jewelry making, this Emerald Leaf Ear Cuff pattern will absolutely thrill you.
The construction is fascinating. Nine separate leaves in three sizes, a fully wrapped C-shaped support, chain bridges connecting everything, and beautiful bead accents throughout. When you are finished, you will have a sculptural statement piece that looks like it belongs in a fantasy film or a high-end jewelry boutique.
Why This Ear Cuff Design Works So Well
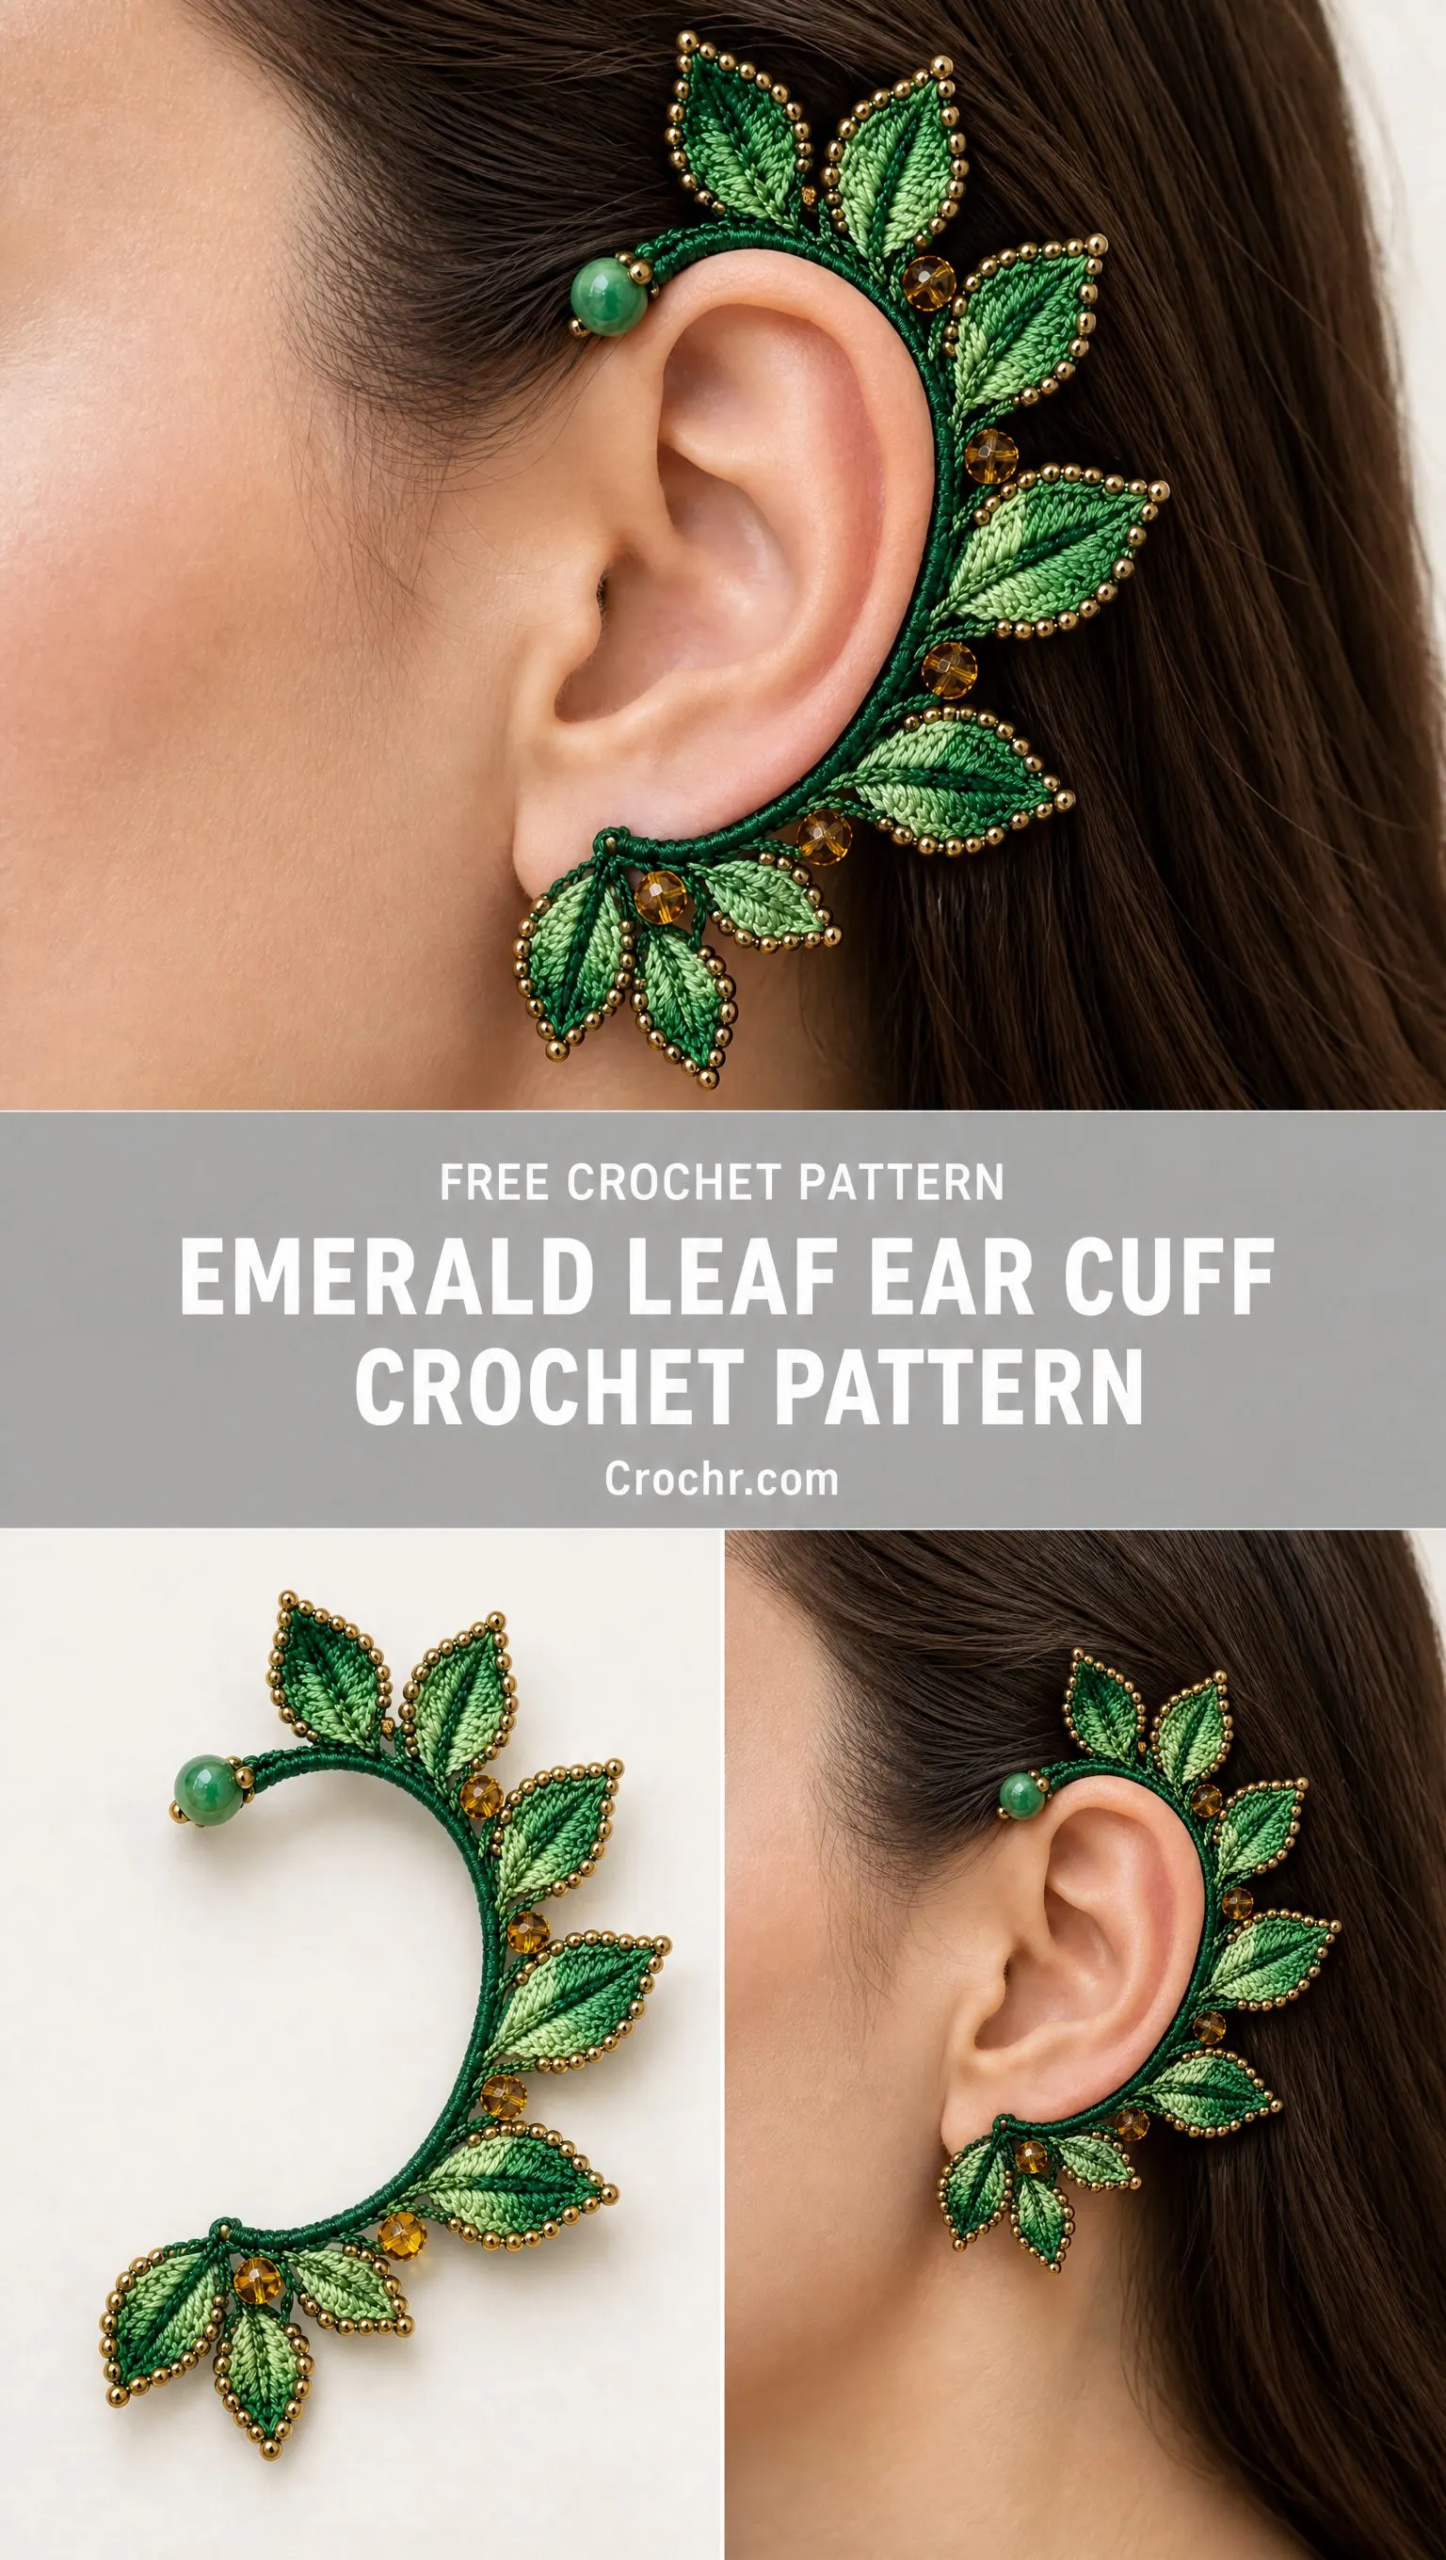
What makes this crochet ear cuff pattern special is how it balances drama with wearability. The leaves graduate in size, with the largest sitting above and behind your helix and the smallest creating a tapered finish below your earlobe. This creates visual flow that follows the natural curve of your ear.
The color palette mixes deep emerald for the frame and midribs with jade and pale mint for the leaf centers. Those bronze seed beads around every leaf edge catch the light beautifully, while the three amber glass accent beads add warm contrast. And that smooth jade terminal bead at the top? It is the perfect finishing touch.
Materials You Will Need
Before you start crocheting, gather everything on this list. Having all your supplies ready makes the process so much smoother.
Thread: Size 10 or size 20 mercerized cotton crochet thread. You will need deep emerald for the frame and midribs, plus jade and pale mint for leaf centers. Total thread use is small, about 25 to 40 meters combined.
Hook: 1.0 to 1.25 mm steel crochet hook. Choose the size that gives you firm, compact stitches. With thread this fine, tight tension is essential.
Support: One preformed C-shaped ear cuff frame, or 20 to 22 gauge jewelry wire shaped into a smooth C. All metal must be completely covered with thread when you are done.
Beads: About 80 to 110 tiny bronze seed beads in size 11/0, three small amber glass beads measuring 3 to 4 mm, and one smooth jade bead measuring 5 to 6 mm.
Other tools: Fine beading needle, tapestry needle, small jewelry pliers, thread conditioner if you like, removable stitch markers, scissors, and a tiny amount of clear flexible jewelry adhesive only if needed to secure the terminal wrap.
Understanding the Abbreviations
Let me walk you through each abbreviation before we dive into the pattern. Knowing these will make the instructions much easier to follow.
Ch stands for chain, the foundation stitch where you yarn over and pull through the loop on your hook.
Sl st means slip stitch, where you insert your hook, yarn over, and pull through both the stitch and the loop on your hook in one motion.
Sc is single crochet. Insert your hook, yarn over and pull up a loop, then yarn over and pull through both loops on your hook.
Hdc stands for half double crochet. Yarn over, insert hook, yarn over and pull up a loop so you have three loops, then yarn over and pull through all three loops at once.
Dc means double crochet. Yarn over, insert hook, yarn over and pull up a loop, yarn over and pull through two loops, then yarn over and pull through the remaining two loops.
St(s) simply means stitch or stitches.
RS/WS refers to right side and wrong side of your work.
FO means fasten off.
Project Specifications
Skill level: Intermediate to advanced
Finished size: Approximately 8.5 to 10 cm from upper helix tip to lower leaf cluster. Inner opening is approximately 4.5 to 5.5 cm.
Construction: Nine separate leaves plus wrapped C-shaped support plus chain bridges plus bead accents.
Main techniques: Chain, slip stitch, single crochet, half double crochet, double crochet, surface slip stitch, picot stitch.
Working method: Make the motifs first, then wrap the frame, then assemble and do final shaping.
The Leaf Motif Pattern
You will make nine leaves total before assembling the cuff. The pattern uses three sizes so the silhouette grows toward the top and narrows below the lobe.
Leaf Size Guide
Small leaves: Make 3 using a ch 8 foundation. Finished length is approximately 18 to 21 mm.
Medium leaves: Make 4 using a ch 10 foundation. Finished length is approximately 23 to 26 mm.
Large leaves: Make 2 using a ch 12 foundation. Finished length is approximately 29 to 33 mm.
Basic Pointed Leaf Instructions
Each leaf is worked around a center chain. Follow these steps carefully.
Step 1, Foundation: Using jade or mint thread, chain the number specified for your chosen leaf size. You will work into both sides of this chain.
Step 2, First Side: Starting in the 2nd ch from hook, sl st in next ch, sc in next ch, hdc in the next 1 to 2 ch, dc in the center chains, then taper with hdc, sc, sl st as you approach the last chain. The exact number of dc stitches increases with leaf size.
Step 3, Leaf Tip: In the final foundation chain work (sl st, ch 2, sl st) to form a pointed tip. Rotate to work along the unused loops on the opposite side of the foundation.
Step 4, Second Side: Mirror the stitch heights used on the first side. Work sl st, sc, hdc, the dc section, hdc, sc, sl st. Join with sl st at the base. FO, leaving a 10 to 12 cm tail for assembly.
Step 5, Raised Midrib: With deep emerald and RS facing, insert hook at the base and work surface sl sts directly over the original foundation chain to the tip. Keep these stitches slightly raised but not tight enough to cup the leaf.
Step 6, Bronze Bead Edge: Pre-string seed beads onto matching green thread. Join at the base. Work sl sts or tight sc evenly around the leaf edge, sliding one bead into position every 1 to 2 stitches. Place a bead at the point, then continue down the opposite edge. FO and conceal the end on the WS.
Stitch Counts by Leaf Size
For the small leaf using ch 8, work Side A as: sc, hdc, dc 2, hdc, sc. Work the tip as (sl st, ch 2, sl st). Work Side B as: sc, hdc, dc 2, hdc, sc, sl st.
For the medium leaf using ch 10, work Side A as: sc, hdc 2, dc 3, hdc, sc. Work the tip as (sl st, ch 2, sl st). Work Side B as: sc, hdc, dc 3, hdc 2, sc, sl st.
For the large leaf using ch 12, work Side A as: sc, hdc 2, dc 5, hdc, sc. Work the tip as (sl st, ch 2, sl st). Work Side B as: sc, hdc, dc 5, hdc 2, sc, sl st.
Suggested Color Sequence
For the visual balance shown in the finished piece, alternate jade and mint centers. From uppermost to lowest, the suggested sequence is: large jade, medium mint, medium jade, small mint, large mint, medium jade, medium mint, small jade, small mint.
Building the C-Shaped Crochet Support
The support is the structural backbone of your ear cuff. It should be slim, firm, and fully wrapped so no metal touches the skin.
Step 1, Shape the Frame: If using jewelry wire, form a gentle C approximately 5 to 5.5 cm tall. Curve the top forward slightly to sit over the upper helix and bring the lower section inward so it finishes just below the lobe. Curl both wire ends into tiny closed loops with pliers.
Step 2, Anchor the Thread: Join deep emerald thread near the lower end. Work close-set sc around the support, rotating the frame as you stitch so the wraps sit shoulder to shoulder.
Step 3, Cover Completely: Continue until no metal is visible. For a denser appearance, work a second pass of sl sts along the outside of the first wrap.
Step 4, Create the Upper Hook: At the upper front end, wrap tightly for another 8 to 10 mm and secure the smooth jade bead. The bead should sit at the end of the hook, not against the ear canal.
Step 5, Stabilize: Weave the thread back through several wrapped stitches and FO. Bend the support only after the wrap is complete, using gradual curves rather than sharp angles.
Comfort note: Round every wire end inward, cover it completely, and test the cuff for pressure before prolonged wear. The cuff should follow the outer ear only and must not enter or obstruct the ear canal.
Assembly Map for Your Ear Cuff
Lay the cuff flat with the opening of the C facing left. The leaves should grow outward from the right-hand outer edge. Attach them in this order from top to bottom.
Position 1: Large jade leaf, oriented upright and slightly backward above the helix.
Position 2: Medium mint leaf, oriented upright and slightly forward.
Position 3: Medium jade leaf, angled outward.
Position 4: Small mint leaf, angled outward and down.
Position 5: Large mint leaf, the widest mid-cuff leaf sweeping right.
Position 6: Medium jade leaf, oriented downward and right.
Position 7: Medium mint leaf, oriented downward and slightly inward.
Position 8: Small jade leaf, the first lower paired leaf.
Position 9: Small mint leaf, the second lower paired leaf below the lobe.
Helpful tip: Pin or lightly tie all nine leaves in place before sewing permanently. The largest visual mass should sit above and behind the helix. The smallest paired leaves should create a neat tapered finish below the lobe.
Joining the Leaves and Adding Chain Arches
Now comes the exciting part where everything comes together.
Secure each leaf base: Use its long tail to stitch through the wrapped frame 3 to 4 times. Catch only the leaf base so the body remains dimensional. Knot on the back and weave in.
Make airy bridges: With deep emerald, join at the frame beside Leaf 1. Ch 4 to 6, sl st into the side edge of the next leaf, ch 3 to 5 back to the frame, and sl st into the frame. Repeat between selected leaves. Keep arches open and visible.
Add the 3 amber beads: Place one in the upper third, one around the center, and one near the lower third. For each bead, bring it up on the working thread, ch around or through it securely, then continue the bridge. Reinforce with a second pass if the bead moves freely.
Lower paired cluster: Attach Leaves 8 and 9 so their bases nearly touch. Allow the tips to separate into a small V beneath the lobe.
Final reinforcement: On the back, run emerald thread through the frame wrap and each leaf base once more. This hidden line acts like a stabilizing spine.
Finishing and Shaping Your Ear Cuff
Conceal ends: Weave all tails through dense stitches on the WS. Trim only after tug-testing each join.
Shape the leaves: Lightly steam-block from a distance or damp-block flat. Pin leaf points sharply while keeping the centers slightly sculptural. Do not expose plastic, glass, or unknown bead coatings to high heat.
Curve the frame: Gently adjust the C so it follows the outer ear. The top should rest over the helix. The middle should float just outside the ear rim. The lower section should end beneath the lobe.
Check bead security: Every bronze edge bead and amber accent should be trapped by thread on both sides with no long exposed loops.
Wear test: Wear for 5 to 10 minutes first. If there is pinching, remove the cuff and widen the C slightly. Never force the cuff onto the ear.
Optional Variations to Try
Lighter version: Omit the seed beads on every second leaf and use only 2 amber beads.
More dramatic: Make the upper two leaves one foundation chain longer and add a third large leaf.
Soft botanical palette: Substitute sage, eucalyptus, and cream thread while keeping the dark midrib.
Wire-free decorative version: Crochet around a commercially made flexible fabric-covered ear cuff base instead of shaping raw wire.
Troubleshooting Common Issues
If your leaves curl too much, loosen the surface midrib stitches and block the leaf flat.
If beads pull the edge inward, space beads farther apart or switch from sc edging to sl st edging.
If the cuff twists forward, reinforce leaf bases to the outer side of the frame and reduce the weight of the lowest cluster.
If the frame feels bulky, use size 20 thread and a single tight sc wrap rather than a double wrap.
If the cuff slips, narrow the C gradually at the top and lower contact points. Avoid tightening the center against the ear.
Quick Completion Checklist
Before you call this project done, make sure you have completed everything on this list.
You should have 9 finished pointed leaves with 3 small, 4 medium, and 2 large. Each leaf should have a raised dark emerald midrib. Bronze bead edging should be secure and evenly spaced. Your C-shaped support should be fully covered with deep green crochet. Three amber glass accent beads should be integrated into the chain arches. One smooth jade bead should be secured at the upper forward hook. The inner ear opening must remain clear with no thread or frame entering the ear canal. All ends should be concealed and all joins should be tug-tested.
Your finished look will be a sculptural emerald botanical ear cuff with a clear leafy silhouette, dense jade and mint leaves, dark raised veins, tiny bronze highlights, and a tapered paired cluster below the lobe.
You Did It!
Thank you so much for choosing this Emerald Leaf Ear Cuff crochet pattern for your next project. I truly hope you enjoy making this beautiful botanical statement piece as much as I enjoyed designing it. If you have any questions along the way, do not hesitate to reach out.
I would absolutely love to see your finished ear cuffs! Tag me on Instagram or share your photos in my Facebook group. Seeing your creations honestly makes my whole day.
Do not forget to save this pattern to your Pinterest boards so you can find it easily when you are ready to start. And if you make this ear cuff, please leave a comment below and tell me how it turned out. I read every single one!
Want a Quick & Easy Printable Version?
Get a clean, beautifully formatted PDF of this pattern — easy to follow step by step, ready to print or save on any device. No scrolling, no distractions, just the pattern.
Get the Printable PDF →You Might Also Like
- Sunset Ombre Butterfly Bloom Charm Free Crochet Pattern
- Berry Pink Granny Square Purse Free Crochet Pattern
- Dusty Rose Romantic Bucket Bag Free Crochet Pattern
- Sunset Orange Daisy Zipper Bag Free Crochet Pattern
