
This bag is GORGEOUS and honestly one of the most satisfying projects I have ever made. Those warm autumn colors? The way the granny squares come together into something that looks like it belongs in a boutique? You are going to love every single stitch of this one. I am not exaggerating when I say this tote gets compliments everywhere I take it. And the best part is that granny squares are so meditative to work up that the 18 to 25 hours this takes will fly by.
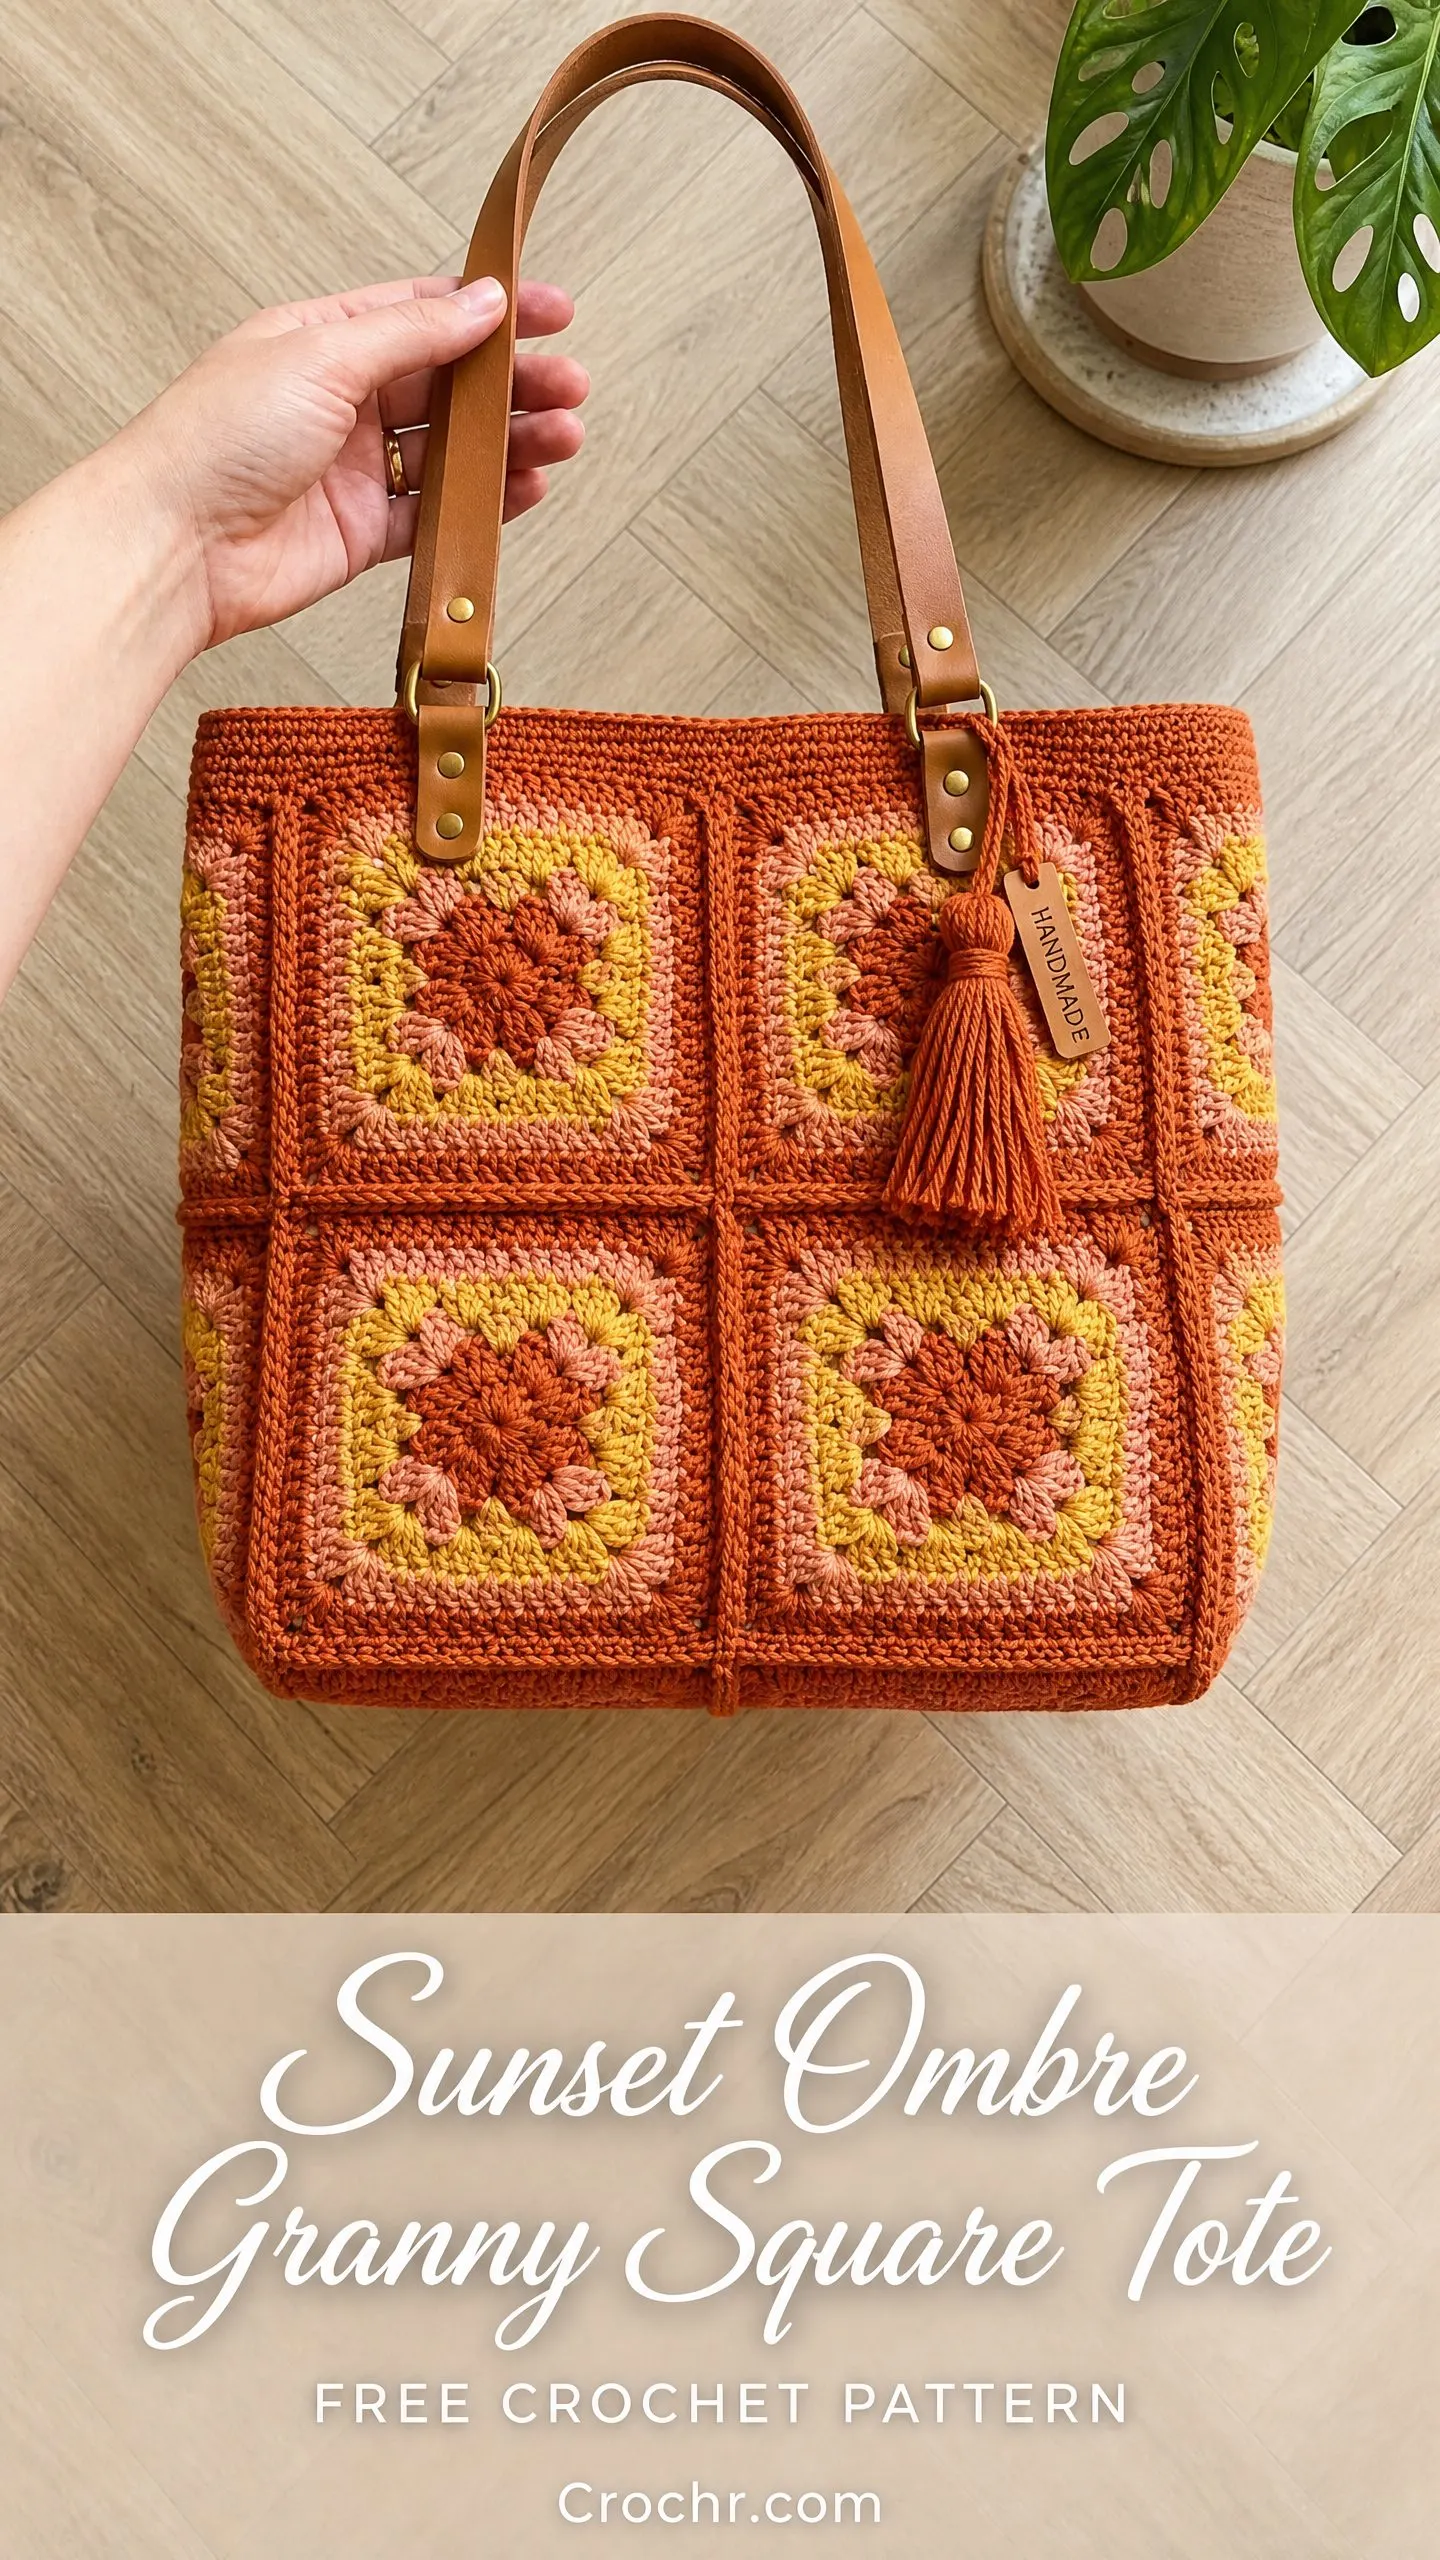
If you have been intimidated by bag construction before, take a breath. This pattern breaks everything down into manageable pieces. You make your squares, you join them, you add a base, and suddenly you have a structured tote that looks incredibly professional. The leather handles and that sweet little tassel really take it over the top.
Whether you are making this for yourself or as a gift, get ready for some serious satisfaction. This is the kind of project that reminds you why you fell in love with crochet in the first place.
Why This Granny Square Tote Pattern Works So Well
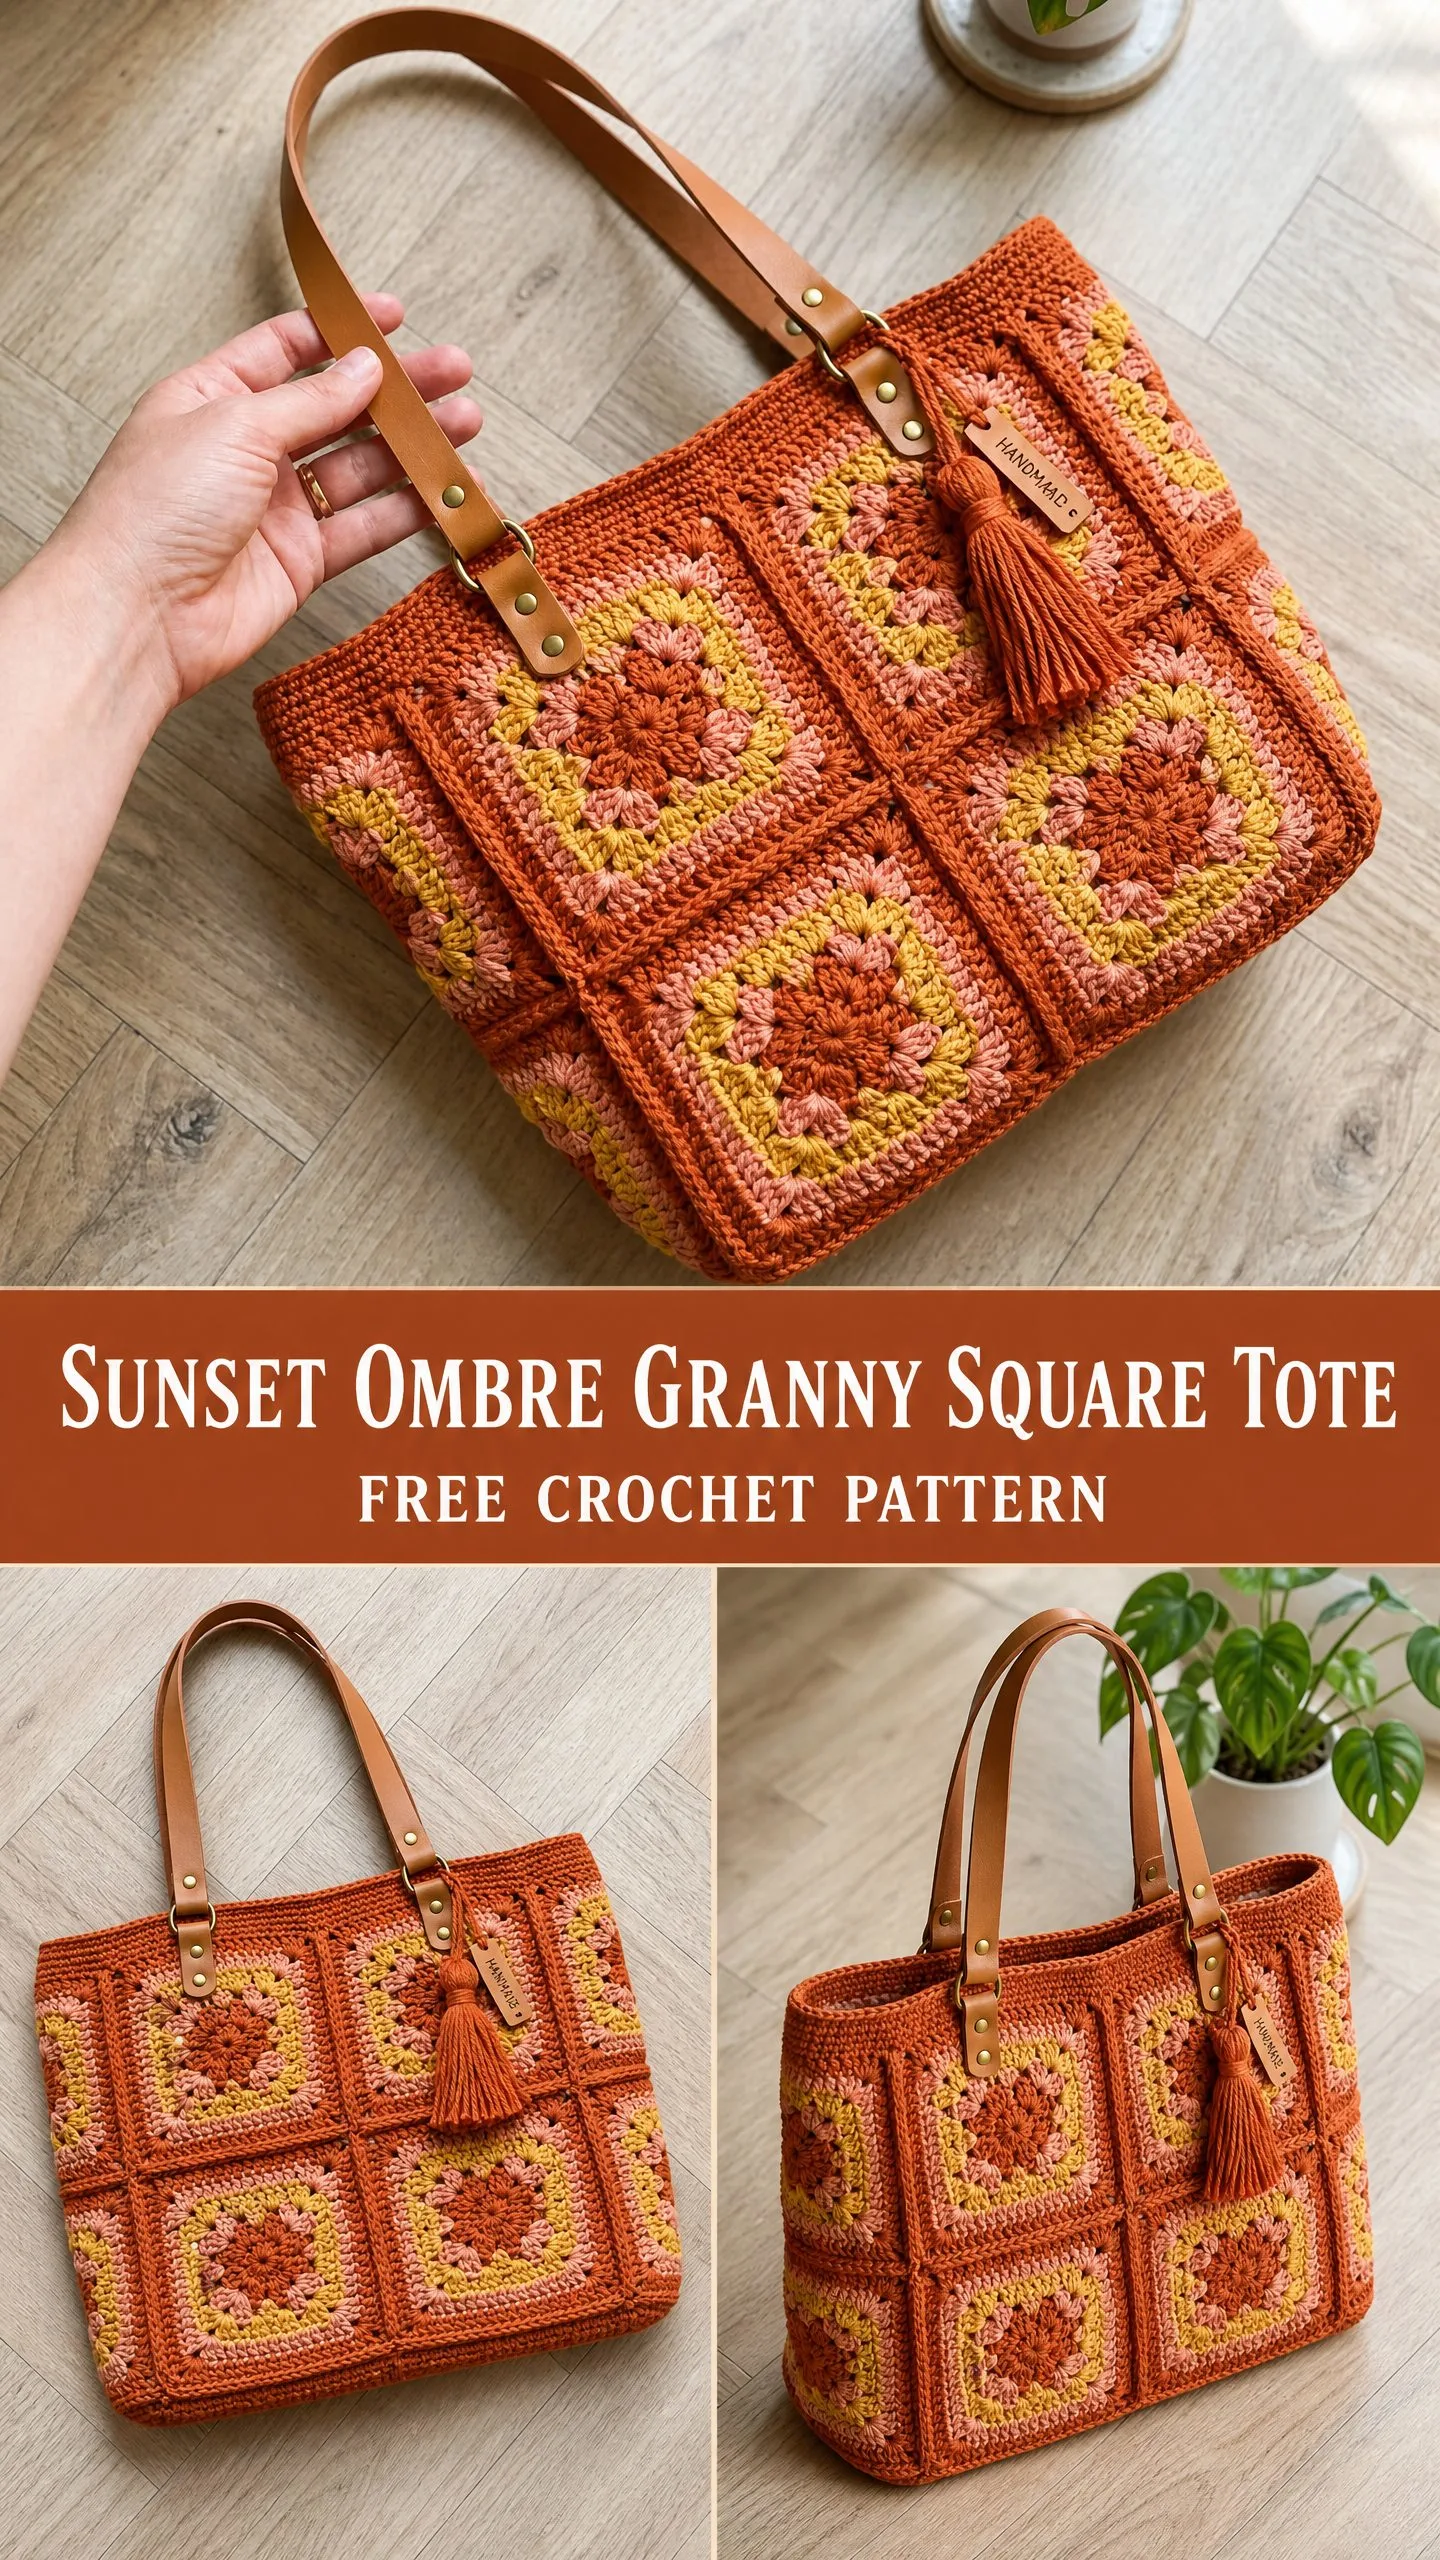
The classic granny square is one of those foundational crochet motifs that never goes out of style. For this tote, we are working 8 rounds per square, which creates a nice substantial size without being overwhelming. The construction uses a 3×2 grid of squares on both the front and back panels, with narrower side gussets and a single crochet base for structure.
What makes this design special is the ombre color effect. By varying which colors appear in which rounds across different squares, you get that beautiful gradient flow without any complicated colorwork techniques. It is all about placement.
The burnt orange border on every square ties everything together when you join them. The result is a cohesive, polished look that appears far more complex than it actually is.
Finished Measurements
Your completed tote will measure approximately 14 inches wide by 12 inches tall by 4 inches deep (35.5 cm by 30.5 cm by 10 cm).
Each individual granny square measures approximately 4.5 inches by 4.5 inches (11.5 cm by 11.5 cm) after blocking and before joining. After joining, they compress slightly to about 4.25 inches by 4.25 inches (10.8 cm by 10.8 cm).
Skill Level
This pattern is rated Intermediate. You should be comfortable working granny squares in the round, changing colors between rounds, and doing basic seaming. The leather hardware attachment does require either hand sewing or using a rivet setter, which adds a small learning curve if you have never done it before.
If you have made a few granny square blankets or joined motifs before, you have got this.
Materials You Will Need
Yarn: Worsted weight, 100% cotton or cotton blend recommended for structure. Total yardage approximately 900 yards (823 m).
Here is the breakdown by color:
Hook: US Size G-6 (4.0 mm) or size needed to obtain gauge
Notions:
Optional for lining: 0.5 yard (0.5 m) coordinating cotton lining fabric, matching thread, sewing needle or machine, 1 magnetic snap closure
Yarn Suggestions
Lion Brand 24/7 Cotton in Terracotta, Goldenrod, Blush, and Salmon works beautifully. This mercerized cotton holds its shape well after blocking and has excellent stitch definition.
Paintbox Yarns Cotton DK held double or their Simply Chunky line also work well. The color range is extensive.
Any smooth worsted weight cotton or cotton-acrylic blend with a gauge of 16 to 18 stitches per 4 inches in single crochet will substitute nicely. Avoid fuzzy or textured yarns since they will hide your pretty granny square stitch work.
Gauge
One completed granny square (8 rounds) = 4.5 inches by 4.5 inches (11.5 cm by 11.5 cm) after blocking.
In single crochet with Color A: 16 sc and 18 rows = 4 inches (10 cm).
Please take time to check your gauge. The finished size of this bag depends entirely on consistent square size. If your squares run large, go down a hook size. If they run small, go up.
Abbreviations and Stitch Definitions
Let me walk you through every abbreviation you will encounter. I have included plain English definitions so nothing catches you off guard.
ch = chain. This is the foundation stitch where you yarn over and pull through the loop on your hook.
sl st = slip stitch. Insert hook, yarn over, and pull through both the stitch and the loop on your hook in one motion.
sc = single crochet. Insert hook, yarn over and pull up a loop (2 loops on hook), yarn over and pull through both loops.
dc = double crochet. Yarn over, insert hook, yarn over and pull up a loop (3 loops), yarn over and pull through 2 loops (2 loops remain), yarn over and pull through remaining 2 loops.
st/sts = stitch/stitches
sp = space
ch-sp = chain space (the gap created by chain stitches)
ch-3 sp = chain-3 space (corner space in granny squares)
ch-1 sp = chain-1 space (side space between clusters)
3-dc cl = 3-double crochet cluster. This is the heart of granny squares.
RS/WS = right side/wrong side
rep = repeat
sk = skip
rnd = round
Special Stitches
3-Double Crochet Cluster (3-dc cl)
This is the building block of every granny square. Here is exactly how to work it:
Yarn over, insert hook into indicated stitch or space, yarn over and pull up a loop, yarn over and pull through 2 loops (2 loops remain on hook). Yarn over, insert hook into the same stitch or space, yarn over and pull up a loop, yarn over and pull through 2 loops (3 loops on hook). Yarn over, insert hook into the same stitch or space, yarn over and pull up a loop, yarn over and pull through 2 loops (4 loops on hook). Yarn over and pull through all 4 loops on hook.
That completes one cluster. It looks like a little bundle of three double crochets sharing the same base.
Granny Square Corner Shell
Work (3-dc cl, ch 2, 3-dc cl) all into the same corner ch-3 space. This creates the characteristic raised corner.
Granny Square Side Cluster
Work (3-dc cl) into the ch-1 space along a side of the square. This fills in between corners as your square grows.
How Many Squares Do You Need?
You will make 20 squares total for the main body:
Color Sequences for Your Squares
The ombre effect comes from two different color arrangements. Both types have Color A (burnt orange) as the outer border, which creates that unified look when joined.
Square Type 1 (Make 10 squares)
Used for the top row of front, back, and side panels.
Square Type 2 (Make 10 squares)
Used for the bottom row of front, back, and side panels.
Granny Square Pattern Instructions
Each square follows this same structure. Just swap in the colors according to which type you are making.
Round 1:
Make a magic ring (or ch 4 and join with sl st to form a ring).
Ch 3 (counts as first dc), work 2 dc into ring, ch 3, (3 dc into ring, ch 3) 3 times, join with sl st to top of beginning ch-3.
(4 groups of 3 dc, 4 ch-3 corner spaces) = 12 dc + 4 ch-3 sp
Round 2:
Join new color into any ch-3 corner space.
Ch 3, work (2 dc, ch 3, 3 dc) into same corner sp.
Ch 1, skip 3 dc.
Work (3 dc, ch 3, 3 dc) into next ch-3 corner sp.
Ch 1, skip 3 dc.
Rep 2 more times to complete all 4 corners.
Ch 1, join with sl st to top of beginning ch-3.
(8 clusters of 3 dc, 4 ch-2 corner sp, 4 ch-1 side sp) = 24 dc + 4 ch-2 sp + 4 ch-1 sp
Round 3:
Join new color into any ch-2 corner space.
Ch 3, work (2 dc, ch 3, 3 dc) into same corner sp.
Ch 1, skip to next ch-1 sp, work 3 dc into ch-1 sp, ch 1.
Work (3 dc, ch 3, 3 dc) into next corner sp.
Ch 1, 3 dc into next ch-1 sp, ch 1.
Rep for remaining 2 corners.
Join with sl st to top of beginning ch-3.
(12 clusters of 3 dc, 4 ch-2 corner sp, 8 ch-1 side sp) = 36 dc + 4 ch-2 sp + 8 ch-1 sp
Round 4:
Join new color into any ch-2 corner sp.
Ch 3, work (2 dc, ch 3, 3 dc) into same corner sp.
(Ch 1, 3 dc into next ch-1 sp) twice, ch 1.
Work (3 dc, ch 3, 3 dc) into next corner sp.
(Ch 1, 3 dc into next ch-1 sp) twice, ch 1.
Rep for remaining 2 corners.
Join with sl st to top of beginning ch-3.
(16 clusters of 3 dc, 4 ch-2 corner sp, 12 ch-1 side sp) = 48 dc + 4 ch-2 sp + 12 ch-1 sp
Round 5:
Join new color into any ch-2 corner sp.
Ch 3, work (2 dc, ch 3, 3 dc) into same corner sp.
(Ch 1, 3 dc into next ch-1 sp) 3 times, ch 1.
Work (3 dc, ch 3, 3 dc) into next corner sp.
(Ch 1, 3 dc into next ch-1 sp) 3 times, ch 1.
Rep for remaining 2 corners.
Join with sl st to top of beginning ch-3.
(20 clusters, 4 ch-2 corner sp, 16 ch-1 side sp) = 60 dc + 4 ch-2 sp + 16 ch-1 sp
Round 6:
Join new color into any ch-2 corner sp.
Ch 3, work (2 dc, ch 3, 3 dc) into same corner sp.
(Ch 1, 3 dc into next ch-1 sp) 4 times, ch 1.
Work (3 dc, ch 3, 3 dc) into next corner sp.
(Ch 1, 3 dc into next ch-1 sp) 4 times, ch 1.
Rep for remaining 2 corners.
Join with sl st to top of beginning ch-3.
(24 clusters, 4 ch-2 corner sp, 20 ch-1 side sp) = 72 dc + 4 ch-2 sp + 20 ch-1 sp
Round 7:
Join new color into any ch-2 corner sp.
Ch 3, work (2 dc, ch 3, 3 dc) into same corner sp.
(Ch 1, 3 dc into next ch-1 sp) 5 times, ch 1.
Work (3 dc, ch 3, 3 dc) into next corner sp.
(Ch 1, 3 dc into next ch-1 sp) 5 times, ch 1.
Rep for remaining 2 corners.
Join with sl st to top of beginning ch-3.
(28 clusters, 4 ch-2 corner sp, 24 ch-1 side sp) = 84 dc + 4 ch-2 sp + 24 ch-1 sp
Round 8:
Join new color into any ch-2 corner sp.
Ch 3, work (2 dc, ch 3, 3 dc) into same corner sp.
(Ch 1, 3 dc into next ch-1 sp) 6 times, ch 1.
Work (3 dc, ch 3, 3 dc) into next corner sp.
(Ch 1, 3 dc into next ch-1 sp) 6 times, ch 1.
Rep for remaining 2 corners.
Join with sl st to top of beginning ch-3.
Fasten off and weave in ends.
(32 clusters, 4 ch-2 corner sp, 28 ch-1 side sp) = 96 dc + 4 ch-2 sp + 28 ch-1 sp
Checkpoint: After completing and blocking one square, it should measure 4.5 inches (11.5 cm) on each side. Adjust hook size if needed.
Base Panel Instructions
The base is worked in rows of single crochet with Color A. This creates the firm, flat bottom of your tote.
Foundation chain: Ch 57 with Color A.
Row 1: Sc in 2nd ch from hook and in each ch across. Turn. (56 sc)
Row 2: Ch 1, sc in each st across. Turn. (56 sc)
Rows 3 through 18: Rep Row 2. (56 sc each row)
Fasten off after Row 18.
Checkpoint: The base should measure approximately 14 inches wide by 4 inches tall (35.5 cm by 10 cm).
Assembling Your Granny Square Panels
Block all squares before assembly. This is essential for even joining. Wet block by soaking squares in cool water, gently squeezing out excess, and pinning to exactly 4.5 by 4.5 inches on blocking mats. Let dry completely.
Flat Slip Stitch Join Method
Hold two squares with wrong sides facing each other (right sides out on both). Working through both layers, insert hook through the ch-2 corner space of both squares, join Color A, ch 1, then sl st into each corresponding ch-1 space and each cluster top along the entire shared edge, ending with sl st through the far ch-2 corner space. Fasten off.
Front Panel Assembly
Lay out 6 squares in a 3-wide by 2-tall grid.
Join the top row horizontally. Join the bottom row horizontally. Then join the top row to the bottom row along their shared edge.
Back Panel Assembly
Repeat front panel layout with remaining 6 body squares.
Side Gusset Assembly
For each gusset, join 2 squares vertically (1 wide by 2 tall).
Make 2 gusset panels total.
Assembling the Bag Body
Step 1: Attach front panel to base along one long edge using the flat slip stitch join.
Step 2: Attach back panel to the opposite long edge of the base.
Step 3: Attach left gusset. Join the front edge of the gusset to the left edge of the front panel. Join the back edge of the gusset to the left edge of the back panel. Join the bottom edge of the gusset to the short edge of the base.
Step 4: Repeat Step 3 for the right gusset.
Top Edge Finishing
Work 3 rounds of single crochet around the top opening with Color A.
Round 1: Join Color A with a standing sc. Work sc evenly around the top, placing 1 sc into the top of each cluster and 1 sc into each ch-1 space. Work approximately (106 sc total). Join with sl st.
Round 2: Ch 1, sc in each sc around. Join with sl st. (106 sc)
Round 3: Ch 1, sc in each sc around. Fasten off. Weave in ends. (106 sc)
Handle Attachment
Position handles on front and back panels approximately 3.5 inches (9 cm) from each side edge.
If using rivet hardware, punch small holes through the crochet at marked positions. Place a reinforcement square of scrap leather on the inside. Insert rivet post from outside through strap, crochet, and reinforcement. Set rivet cap on inside and secure with rivet setter.
If sewing handles, use heavy waxed thread and a box stitch pattern for security.
Tassel Instructions
Cut approximately 30 strands of Color A yarn, each 10 inches (25 cm) long. Bundle and fold in half. Wrap tightly with a 12-inch strand about 0.5 inches below the fold, wrapping 8 to 10 times. Knot securely. Trim tassel ends evenly at approximately 3 to 3.5 inches below the wrap.
Attach to the D-ring of one handle strap. Add a small leather hang tag if desired.
Care Instructions
Machine wash on gentle cycle in cool water inside a mesh bag. Lay flat to dry. Do not tumble dry. Remove tassel before washing if clipped on. Spot clean leather with a dry cloth only.
You Did It!
Thank you so much for choosing this pattern. I hope every round brought you joy and that you absolutely love your finished tote. It really is such a stunning project, and I know yours turned out beautifully.
If you make this bag, I would love to see it! Tag me on Instagram or share a photo in my Facebook group. There is nothing better than seeing these gorgeous granny square totes out in the wild.
Save this pattern to your Pinterest boards so you can find it easily when you are ready to make another one, maybe in different colors next time. And please drop a comment below if you make it. I read every single one and they truly make my day.
You Might Also Like
- Rust Terracotta Autumn Granny Cardigan Free Crochet Pattern
- Lavender Lace Party Dress Free Crochet Pattern
- Mint Daisy Notebook Cover Free Crochet Pattern
- Ocean Blue Seashell Motif Tote Free Crochet Pattern
