
This is a structured crochet tote bag worked in single crochet from the bottom up. You will need worsted weight cotton yarn, a 4.0 mm hook, and basic crochet skills. The finished bag measures 14 inches wide, 12 inches tall, and 4 inches deep.
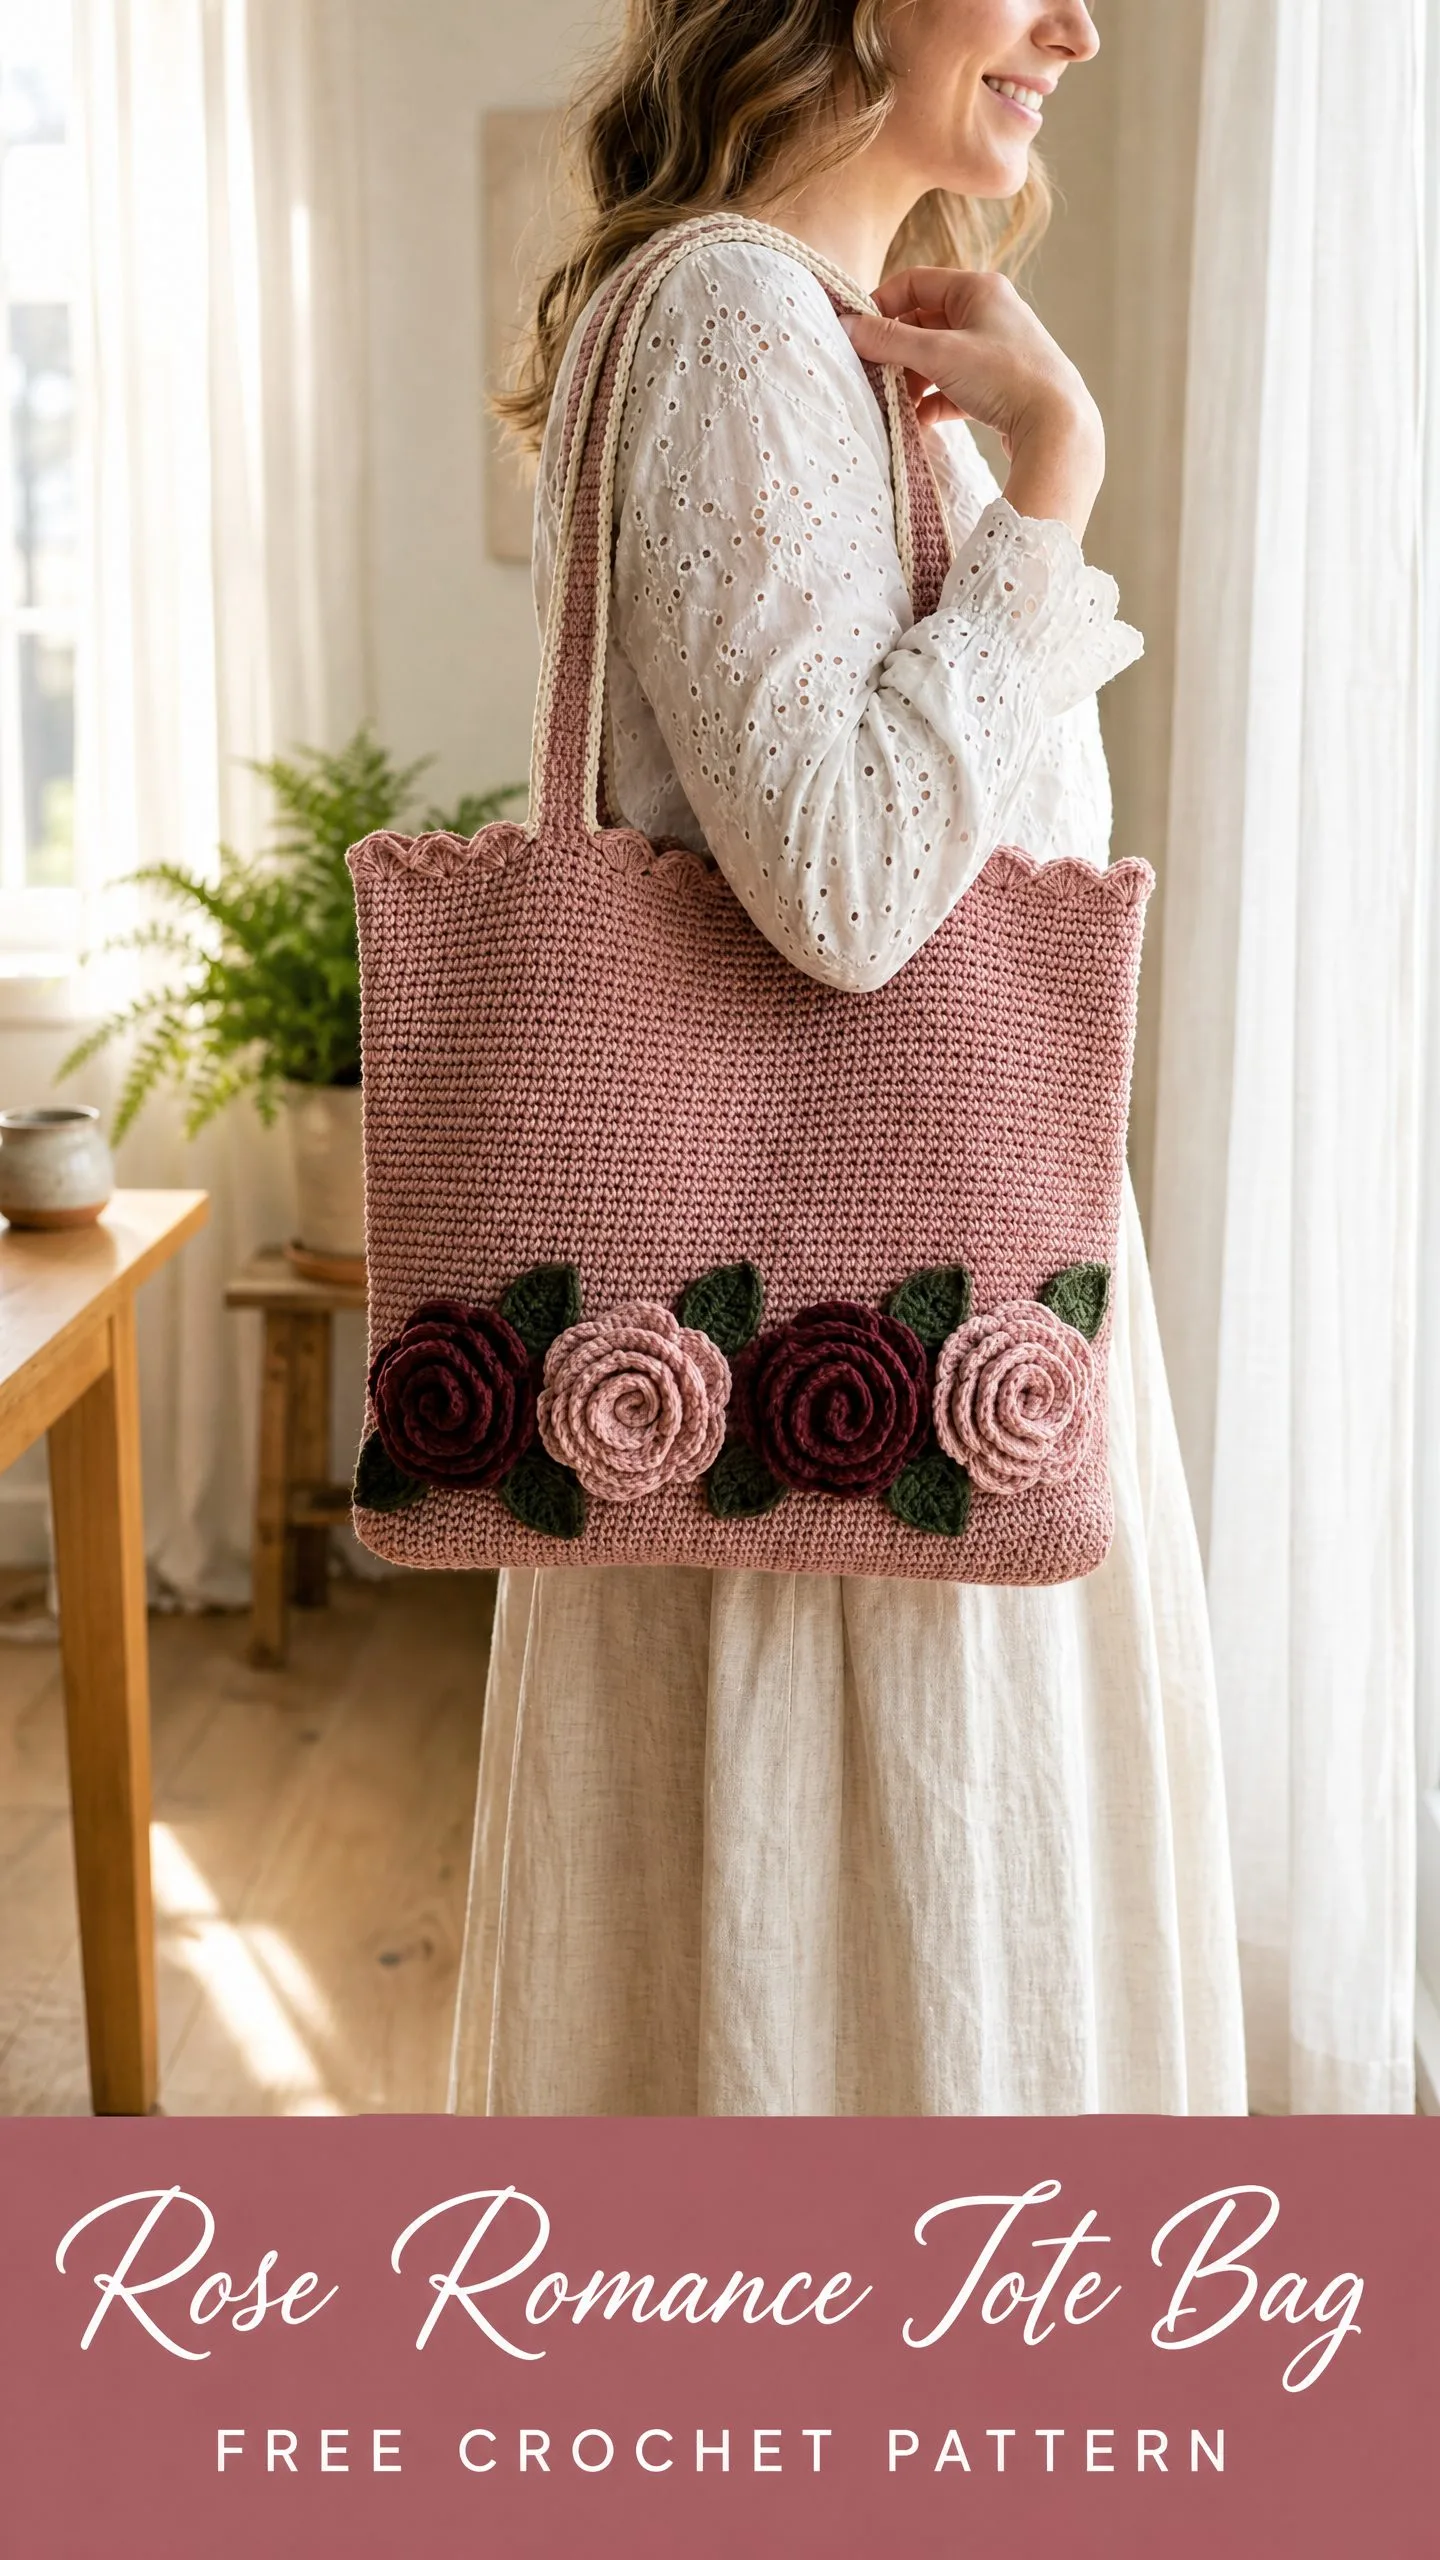
The construction is straightforward. You start with a flat rectangular bottom panel, pick up stitches around the perimeter, then work the body in continuous rounds. The top features a pretty scallop edging, and the front panel is decorated with crocheted roses and leaves.
If you have completed a few smaller projects and feel comfortable reading row by row instructions, you can handle this pattern. The rose appliques look fancy but are simply coiled strips. Let me walk you through every step.
Why You Will Love This Tote Bag Pattern
The Rose Romance Tote Bag is the kind of project that looks far more complicated than it actually is. The body uses only single crochet stitches throughout. No complex colorwork, no cables, no tricky stitch combinations. Just simple, repetitive stitching that builds into something beautiful.
The real magic happens with the embellishments. Those dimensional roses? They are worked as flat strips, then coiled up and stitched in place. Once you make your first one, you will wonder why you ever thought they looked difficult.
Cotton yarn gives this bag its structure. Unlike stretchy acrylic, cotton holds its shape beautifully after blocking. You end up with a tote that stands upright on its own. Perfect for farmers market trips, library runs, or carrying your current crochet project around.
Materials You Will Need
Yarn (Worsted Weight Cotton, Weight 4):
Recommended Yarn Options:
Lion Brand 24/7 Cotton works beautifully for this project. The mercerized finish creates a polished, firm fabric. Drops Paris is another excellent choice and comes in a wonderful color range. Any worsted weight cotton that achieves gauge will work well.
Hooks:
Notions:
Gauge
18 sc x 22 rows = 4 inches / 10 cm square worked flat in single crochet with a US G-6 hook, after blocking.
Gauge matters here. It determines whether your bag ends up the right size. To check your gauge, chain 24. Work single crochet (sc) in the second chain from hook and in each chain across. You will have 23 sc. Continue working sc rows for 26 rows total. Fasten off, wet block, and measure the center 4 inches. If your swatch is too big, go down a hook size. Too small? Go up a hook size.
Abbreviations Used in This Pattern
Let me define every abbreviation before we begin. Single crochet (sc) means inserting your hook into a stitch, yarn over, pull up a loop, yarn over again, and pull through both loops on your hook. Half double crochet (hdc) is similar but with an extra yarn over before you insert your hook, resulting in a slightly taller stitch. Double crochet (dc) adds another yarn over and works through loops in stages, creating an even taller stitch.
Here is the full list:
Special Stitches Explained
Scallop Stitch (for the top edging)
This creates those pretty shell shapes along the top opening. Here is how it works:
1. Slip stitch into the first stitch to anchor.
2. Chain 1.
3. Work 5 dc all into the same stitch. This is your scallop peak.
4. Skip 2 stitches.
5. Slip stitch into the next stitch.
6. Skip 2 stitches.
7. Repeat from step 3 across.
Each scallop uses 6 stitches total. The pattern ensures your final stitch count divides evenly by 6.
Crochet Rose (for appliques)
The roses look intricate but are actually just coiled strips. Trust the process.
1. With CA or CB and your G-6 hook, chain 36.
2. Row 1: Sc in second ch from hook, sc in next ch. Then work (hdc, dc, dc, hdc) all in the next ch, followed by sc in the next 2 ch. This creates one petal. Repeat this 5 stitch petal unit 4 more times across the chain. End with sc in the last 2 ch. You now have 6 petals.
3. Hold the strip with the right side facing. Starting at the right end, roll the strip tightly inward on itself. Keep the straight foundation edge at the bottom.
4. As you coil, use your working yarn and tapestry needle to tack each rotation to the previous one at the base.
5. When fully coiled, secure the end firmly through the base several times. Fasten off.
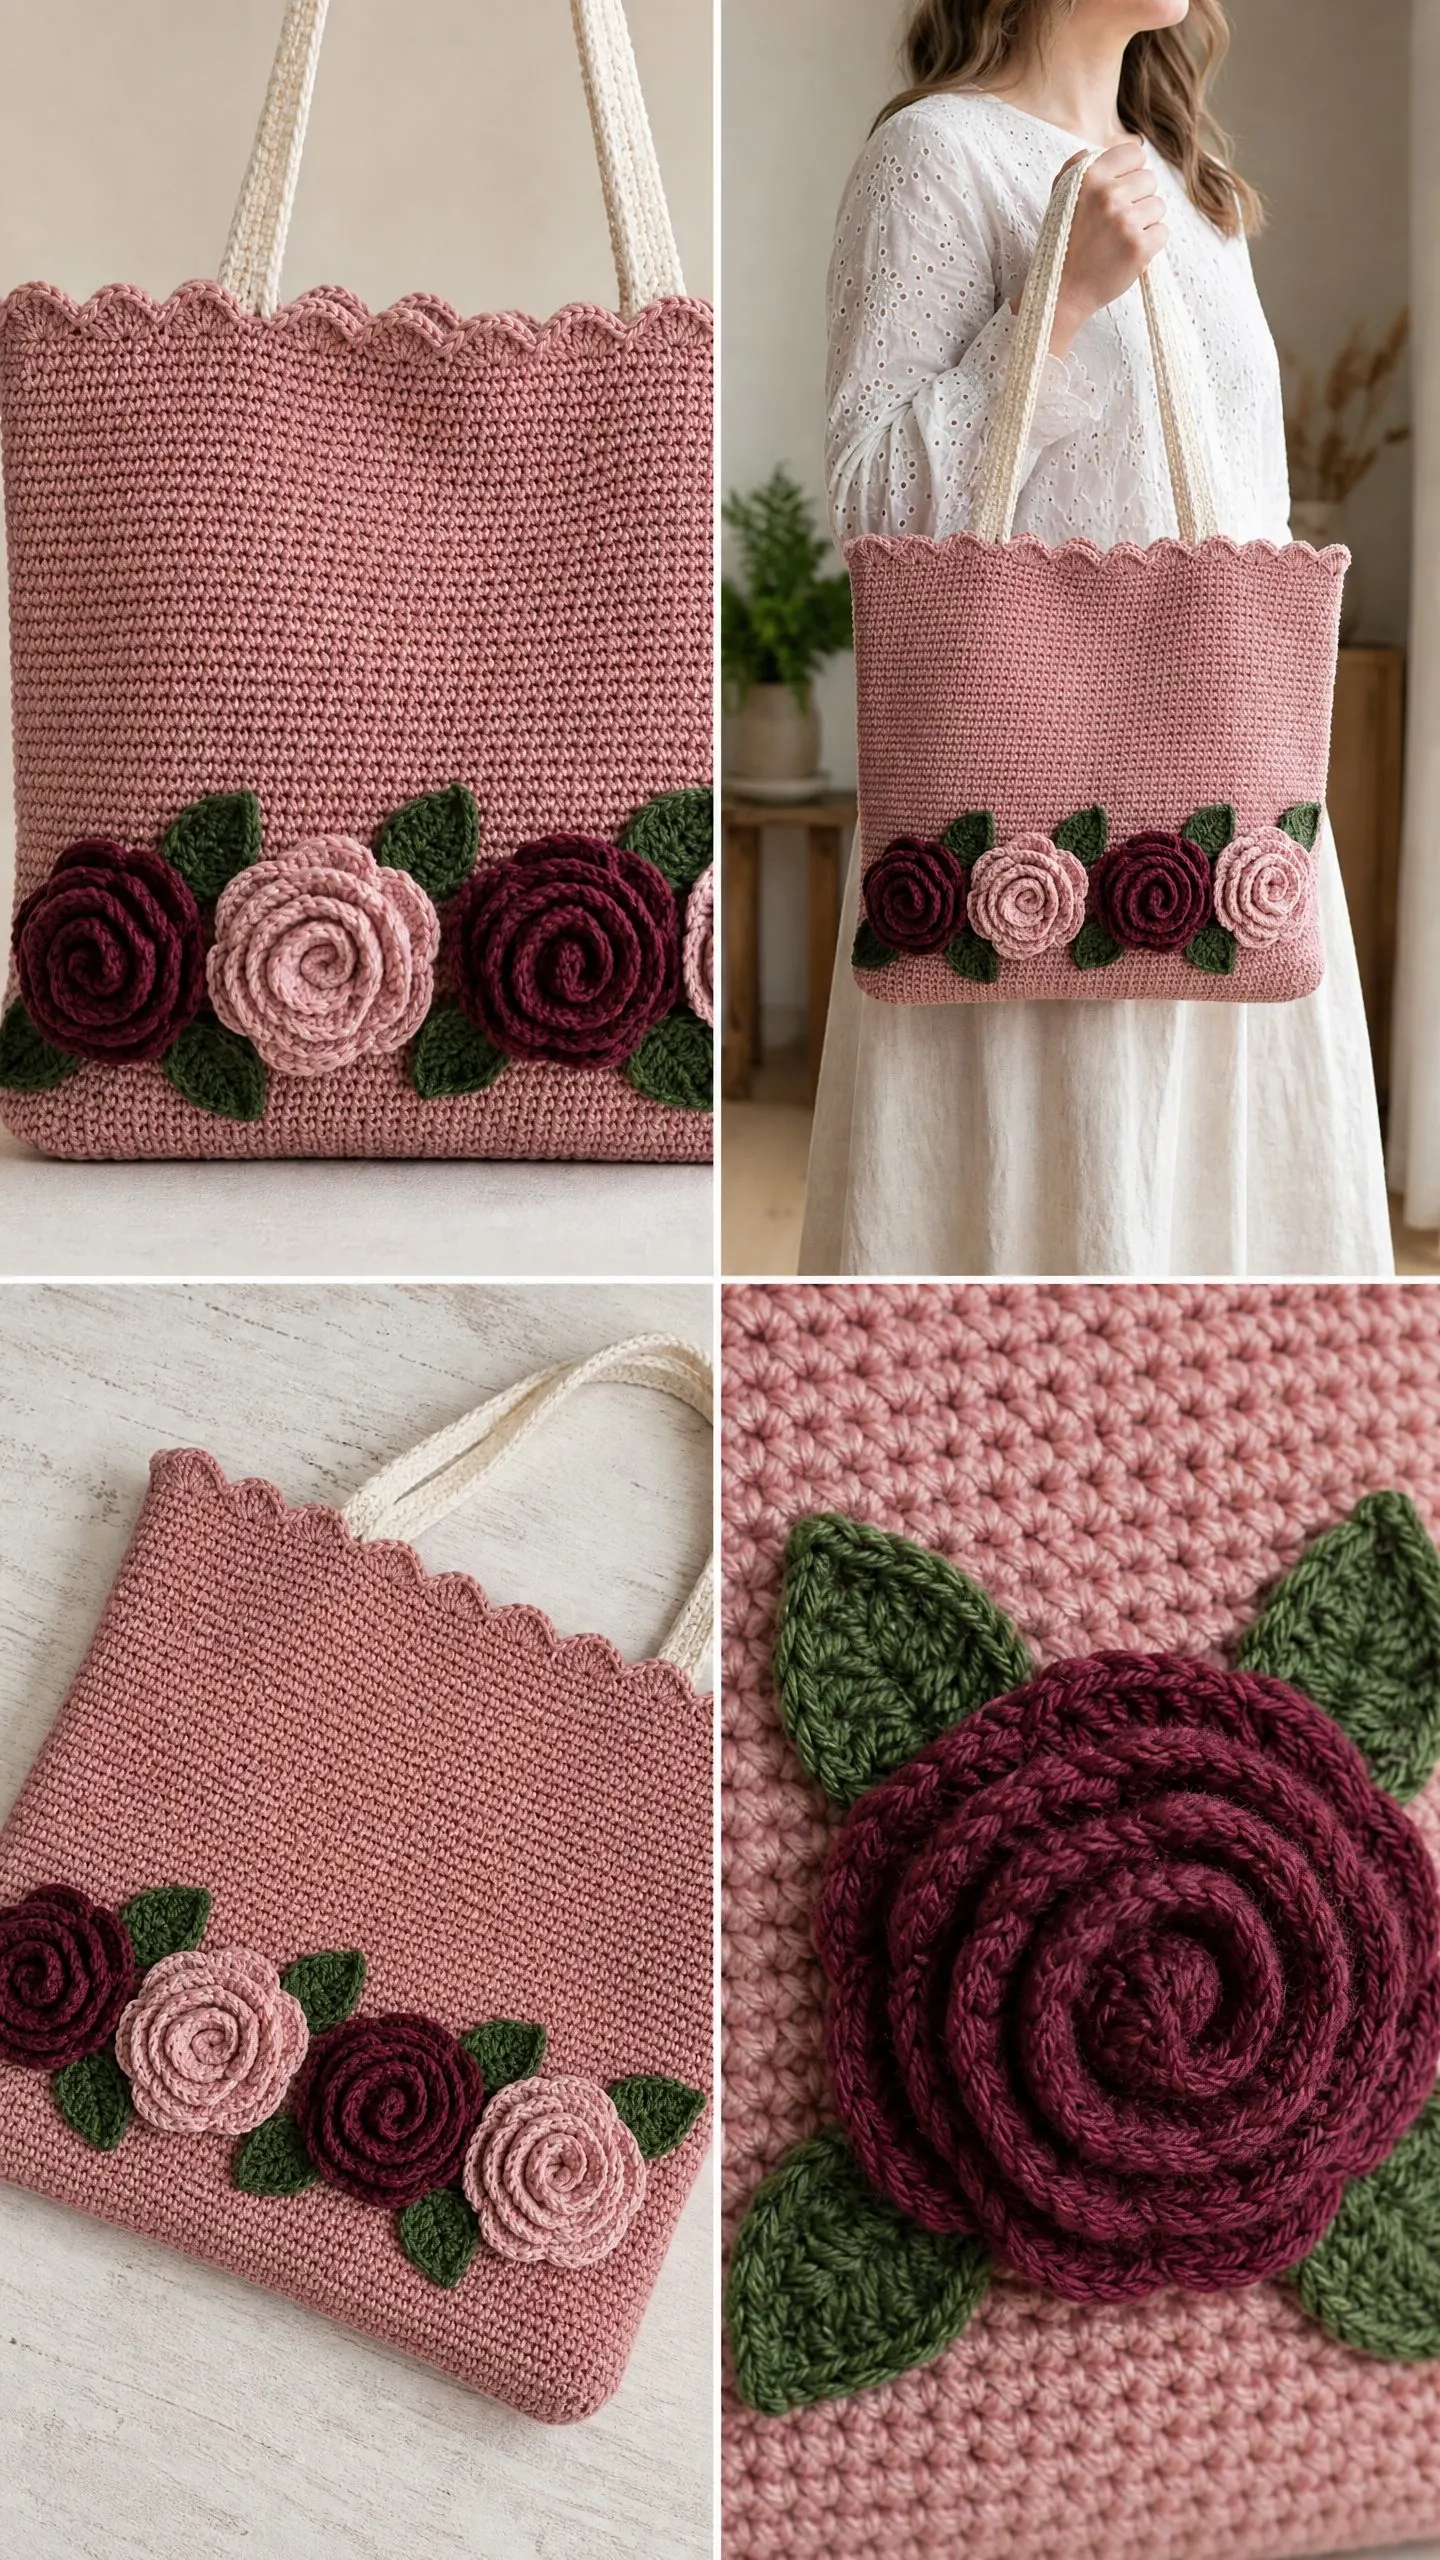
Your finished rose will be approximately 2 inches in diameter. Make 2 roses in CA (burgundy) and 2 roses in CB (pale rose).
Crochet Leaf (for appliques)
1. With CC and your G-6 hook, chain 8.
2. Sc in second ch from hook. (1 sc)
3. Hdc in next ch. (1 hdc)
4. Dc in next 3 ch. (3 dc)
5. Hdc in next ch. (1 hdc)
6. Work 3 sc in the last ch. This is your leaf tip. Do not turn.
7. Now work back along the opposite side of the foundation chain: hdc in next ch, dc in next 3 ch, hdc in next ch, sc in next ch.
8. Sl st into the starting ch to close. Fasten off, leaving a long tail for sewing.
Each leaf measures approximately 1.75 inches long. Make 8 leaves total.
Pattern Instructions
Section 1: Bottom Panel
The bottom panel is worked flat in rows. It measures 14 inches wide by 4 inches deep when finished.
With MC and your G-6 hook, chain 64.
Row 1 (RS): Sc in second ch from hook and in each ch to end. Turn. (63 sc)
Rows 2 through 22: Ch 1, sc in each st across. Turn. (63 sc each row)
After Row 22, your panel should measure approximately 4 inches tall and 14 inches wide. Do not fasten off. You will continue directly into the perimeter round.
Section 2: Picking Up Stitches Around the Bottom Panel
Now you will work one round of sc around all four sides of your bottom panel. This creates the foundation for the bag body. From this point forward, you work in continuous rounds with no turning.
Round 1 (Pick Up Round): Do not turn. Working along the top edge of Row 22, ch 1, work 63 sc evenly across. At the corner, work 3 sc in the corner stitch. Rotate 90 degrees and work 1 sc in each of the 22 row ends along the short right edge. (22 sc) Work 3 sc in the corner. Work 63 sc along the bottom of the foundation chain, picking up in the unused loops. Work 3 sc in the corner. Work 22 sc along the remaining short left edge. Work 3 sc in the final corner. Place a stitch marker in the first stitch. Do NOT join. (182 sc total)
Checkpoint: Count your stitches. You should have exactly 182. The math: 63 + 3 + 22 + 3 + 63 + 3 + 22 + 3 = 182.
Section 3: Bag Body (Worked in the Round)
You will now work 66 rounds of sc in a continuous spiral. The first 5 rounds include corner decreases to create the structured rectangular shape.
Round 2: Sc in each sc around, working sc2tog over each center corner stitch and the stitch immediately before it. You will make 4 decreases total. (178 sc)
Round 3: Sc in each sc around, working sc2tog at each of the 4 corner positions. (174 sc)
Round 4: Sc in each sc around, working sc2tog at each of the 4 corner positions. (170 sc)
Round 5: Sc in each sc around, working sc2tog at each of the 4 corner positions. (166 sc)
Round 6: Sc in each sc around, working sc2tog at each of the 4 corner positions. (162 sc)
Corner shaping is now complete. Place additional stitch markers at each corner to help track the four sides.
Rounds 7 through 72: Sc in each sc around. No increases or decreases. (162 sc each round)
This is 66 rounds of plain single crochet. Put on a podcast or audiobook and enjoy the repetitive rhythm. At your gauge, these rounds create approximately 12 inches of body height.
Checkpoint: Your bag body should measure approximately 12 inches from the bottom panel to the top edge.
Section 4: Scallop Edging
Round 73 (Scallop Round): With MC continuing from Round 72, sl st in next st to anchor. Work 5 dc in the same st. Skip next 2 sts. Sl st in next st. Skip next 2 sts. Repeat (work 5 dc in next st, skip 2, sl st in next st, skip 2) 26 more times until all 162 sts are used. Join with sl st to the first sl st of the round. (27 scallops)
Fasten off and weave in ends.
Section 5: Handles (Make 2)
Each handle is worked as a flat strip, then folded and seamed into a firm rope.
With HC and your G-6 hook, chain 10.
Row 1: Sc in second ch from hook and in each ch across. Turn. (9 sc)
Rows 2 through 90: Ch 1, sc in each sc across. Turn. (9 sc each row)
Your strip measures approximately 16.5 inches long. Fasten off, leaving a 24 inch tail.
Fold the strip in thirds lengthwise. Using your tapestry needle and the long tail, whipstitch the seam closed. Your finished handle will be firm and approximately 0.7 inches wide.
Make 2 handles.
Handle Attachment: Position each handle so the inner edges are approximately 3 inches from each side seam. The handles should overlap the top edge by about 2 inches before the scallop edging. Sew each handle end to the inside of the bag securely, stitching a rectangle pattern then an X across it for maximum strength.
Section 6: Roses (Make 4)
Follow the Crochet Rose instructions above. Make 2 in CA (burgundy) and 2 in CB (pale rose). Leave 12 inch tails for sewing.
Section 7: Leaves (Make 8)
Follow the Crochet Leaf instructions above with CC. Leave 10 inch tails for sewing.
Assembly and Finishing
Lay your blocked bag flat with the front panel facing up.
Rose and Leaf Placement:
The four roses sit in a horizontal row approximately 2.5 inches above the base of the bag. Center them on the front panel. Arrange from left to right: CA rose, CB rose, CA rose, CB rose. Space them about 0.5 inches apart.
For each rose, position 2 leaves beneath and slightly to either side, angling them outward in a V shape. Pin everything before sewing.
Use your tapestry needle and the long tails to sew each piece securely. Pull tails to the inside and weave in firmly.
Blocking:
Wet blocking is highly recommended for cotton. Submerge the bag in cool water, gently press out excess water with a towel, and stuff with plastic bags or a rolled towel to hold its shape. Pin out the scallop edging to open the shells. Allow 24 to 48 hours to dry completely.
Block your roses and leaves flat before attaching.
Optional Base Insert:
Cut a piece of cardboard or plastic canvas to 3.75 x 13.5 inches. Wrap in fabric if desired and insert into the base for extra structure.
Size Customization Tips
Want a wider bag? Add stitches to your starting chain in multiples of 1. Each stitch adds approximately 0.22 inches. If you chain 73 instead of 64, your bag will be about 16 inches wide. Just ensure your final body stitch count stays divisible by 6 for the scallop edging.
Want a taller bag? Add rounds to the plain sc body section. Every 5 to 6 additional rounds adds about 1 inch of height.
Want more depth? Add rows to your bottom panel. Every 5 to 6 additional rows adds about 1 inch of depth.
Time Estimate
Plan for 12 to 18 hours total. The bottom panel takes about 30 minutes. The body requires 6 to 8 hours of steady stitching. The top edging adds 45 minutes. Handles take about 1.5 hours. Roses and leaves need 2 to 3 hours. Assembly and finishing add another hour.
This is a perfect project to spread over a week or two of evening stitching sessions.
Care Instructions
Machine wash on gentle in cool water using a mesh laundry bag, or hand wash with mild detergent. Do not tumble dry. Reshape while damp and air dry flat or stuffed to hold its shape. Store with tissue paper inside to maintain structure.
I hope you love making this Rose Romance Tote Bag as much as I loved designing it. There is something deeply satisfying about creating a functional, beautiful accessory with your own hands. If you make one, I would absolutely love to see it! Tag me on Instagram or share a photo in my Facebook group.
If this pattern caught your eye, go ahead and pin it to your crochet Pinterest board so you can find it when you are ready to start. And please drop a comment below if you give it a try. I read every single one and your photos make my day!
You Might Also Like
- Coastal Blue Wave Stitch Bodysuit Free Pattern
- Sunset Ombre Granny Tote Free Crochet Pattern
- Midnight Black Crescent Bag with Silver Hardware Free Crochet Pattern
- Dusty Rose Pink Tassel Crossbody Free Crochet Pattern
