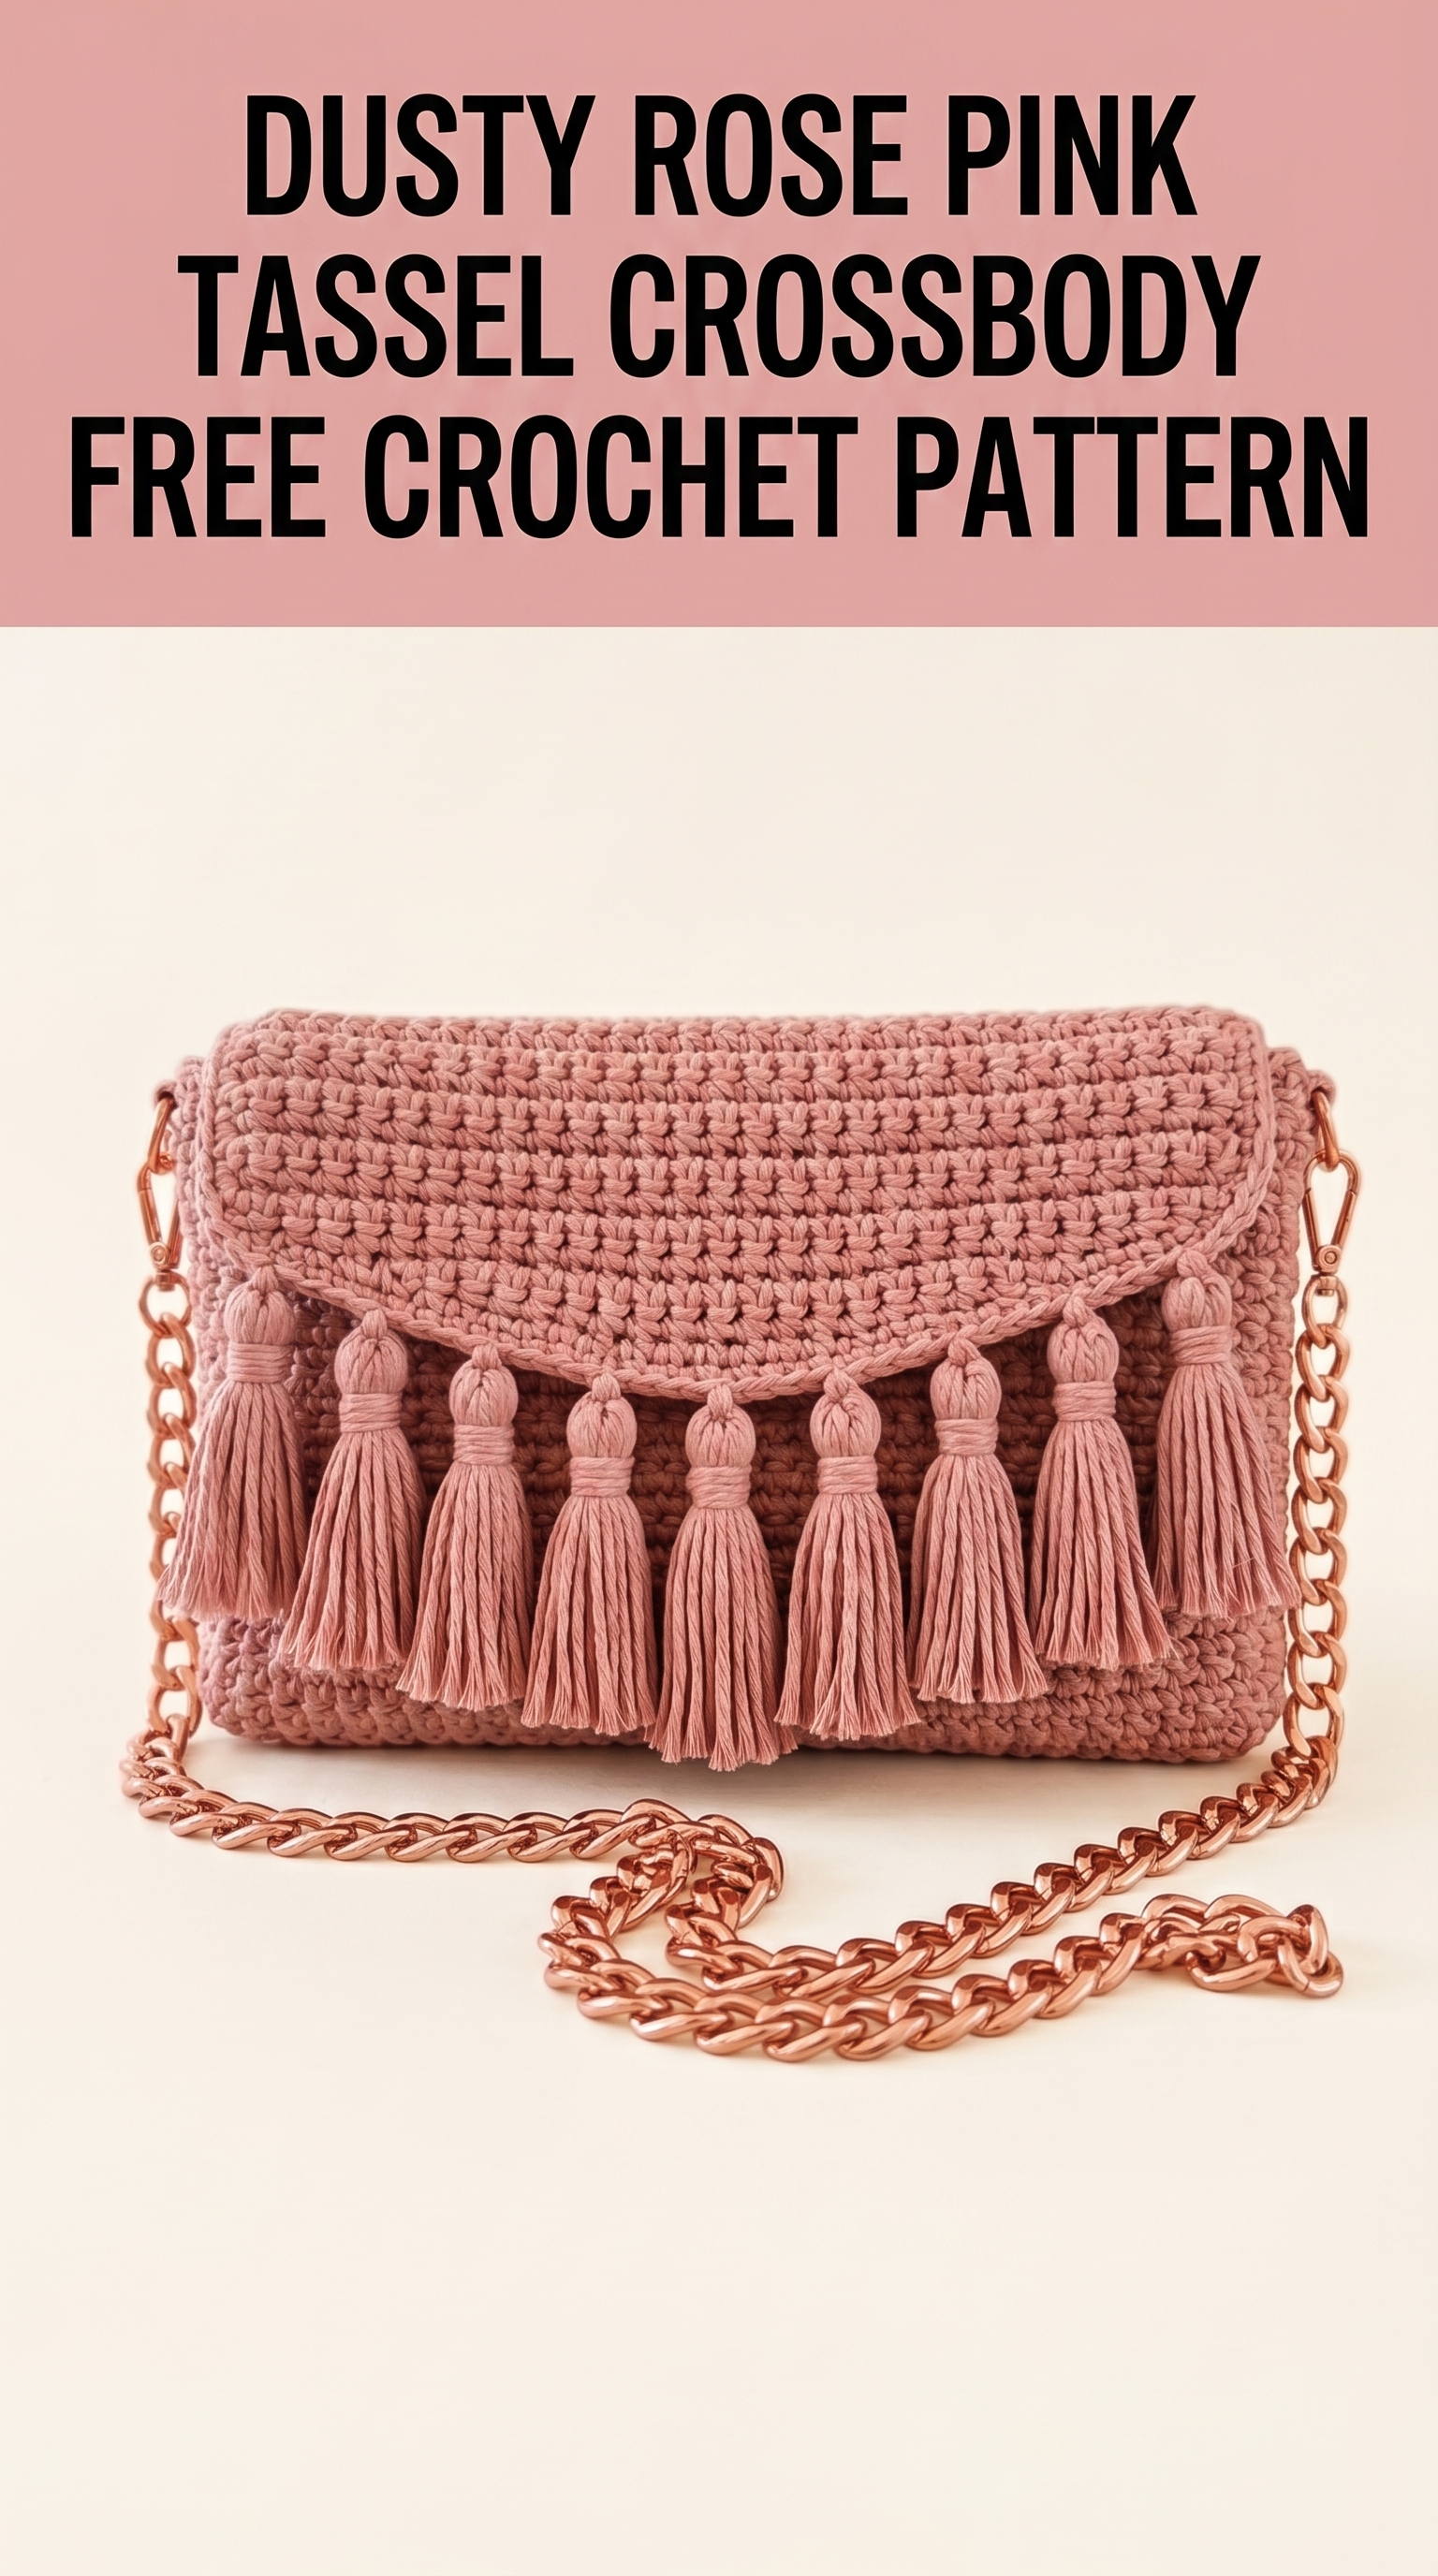
This gorgeous dusty rose pink tassel crossbody bag is exactly the kind of project that makes you fall in love with crochet all over again. It looks like something you would find in a boutique window, but you can absolutely make it yourself. The construction is straightforward, the stitches are familiar, and the finished result is stunning enough to carry to brunch, a wedding, or a night out.
If you can work basic crochet stitches and follow a simple pattern, you can make this bag. I promise.
This crochet pattern walks you through every step, from the rectangular body to the curved flap to those beautiful tassels hanging along the front. By the end, you will have a handmade accessory that looks anything but homemade. Let me show you how.
What Makes This Crochet Crossbody Bag So Special
Looking at this bag, a few things stand out immediately. The body has a clean, structured shape worked in tight, even stitches. The flap features alternating rows of texture, likely a combination of single crochet and a cluster or puff stitch that creates those little bumps you can see across the surface. The dusty rose color is sophisticated and neutral enough to match almost anything.
And then there are those tassels. Nine of them hang from the curved edge of the flap, perfectly spaced and beautifully full. They transform this from a simple clutch into a statement piece.
The rose gold chain strap adds a modern, polished finish. You can purchase chain straps with lobster clasps online or at craft stores. They clip right onto D-rings or grommets at the sides of the bag.
Skill Level
This is an intermediate beginner project. You should be comfortable with:
If you have never made a bag before, this is a wonderful first one. The shape is forgiving, and the tassels hide any small imperfections along the flap edge.
Finished Dimensions
Bag body: Approximately 8 inches wide by 5.5 inches tall (not including flap)
Flap: Approximately 8 inches wide by 3.5 inches tall at the deepest point of the curve
Tassels: Approximately 2.5 inches long each
These measurements are based on what I can see in the image using standard proportions for a crossbody clutch bag.
Materials Needed
Yarn:
Hook:
Notions:
Gauge
18 stitches and 20 rows = 4 inches in single crochet with 4.0mm hook
Gauge matters for bags. If your fabric is too loose, the bag will stretch and sag. Work a small swatch and make sure it feels firm. You should not be able to see through the fabric.
Abbreviations and Stitch Definitions
Let me define every stitch before we begin so you are not guessing as you go.
ch = chain: Yarn over, pull through loop on hook.
sl st = slip stitch: Insert hook, yarn over, pull through stitch and loop on hook in one motion.
sc = single crochet: Insert hook into stitch, yarn over, pull up a loop (two loops on hook), yarn over, pull through both loops.
dc = double crochet: Yarn over, insert hook into stitch, yarn over, pull up a loop (three loops on hook), yarn over, pull through two loops, yarn over, pull through remaining two loops.
hdc = half double crochet: Yarn over, insert hook into stitch, yarn over, pull up a loop (three loops on hook), yarn over, pull through all three loops.
puff st = puff stitch: (Yarn over, insert hook into stitch, yarn over, pull up a loop) three times in the same stitch (seven loops on hook), yarn over, pull through all seven loops. Some patterns add a chain to lock it. This one does not appear to.
dec = decrease: Work two stitches together to reduce stitch count by one. For sc, insert hook into first stitch, pull up loop, insert hook into next stitch, pull up loop (three loops on hook), yarn over, pull through all three.
st(s) = stitch(es)
BLO = back loop only
Step by Step Crochet Pattern Instructions
Part One: The Bag Body (Front and Back Panels)
You will make two identical rectangles and seam them together.
Row 1: Ch 37. Sc in 2nd ch from hook and in each ch across. (36 sts)
Row 2: Ch 1, turn. Sc in each st across. (36 sts)
Rows 3 through 28: Repeat Row 2. (36 sts)
At the end of Row 28, fasten off and weave in ends. Your panel should measure approximately 8 inches wide by 5.5 inches tall.
Make two of these panels.
Part Two: Joining the Body Panels
Place both panels together with wrong sides facing out (so the seam will be hidden when you turn the bag right side out).
Using a tapestry needle and matching yarn, whip stitch along the bottom edge and both side edges. Leave the top edge open.
Turn the bag right side out. The seams should now be on the inside.
Part Three: The Top Edging with D-Ring Tabs
Now you will work a simple edging around the top opening and create small tabs on each side to hold your D-rings.
Round 1: Join yarn at one side seam. Ch 1, sc evenly around the top opening, working approximately 36 sc across the front, 3 sc in the corner, 3 sc down the side seam allowance, 3 sc in the corner, 36 sc across the back, and repeat for the other side. Adjust your count to keep the fabric flat. Sl st to first sc to join.
D-Ring Tab (make 2):
Ch 7. Sl st to join into a small loop. Sc 10 times around the chain loop to reinforce it. Fasten off, leaving a long tail.
Thread a D-ring onto each tab. Stitch the tabs securely to the inside of each side seam at the top of the bag.
Part Four: The Curved Flap
The flap is worked separately and sewn onto the back panel. It features a textured stitch pattern that creates those lovely little bumps visible in the image.
Row 1: Ch 37. Sc in 2nd ch from hook and in each ch across. (36 sts)
Row 2: Ch 1, turn. Sc in each st across. (36 sts)
Row 3: Ch 1, turn. Sc in first st, *puff st in next st, sc in next st.* Repeat from * to * across, ending with sc in last st. (36 sts, counting each puff as one st)
Row 4: Ch 1, turn. Sc in each st across, working into the top of each puff. (36 sts)
Row 5: Ch 1, turn. Sc in first 2 sts, *puff st in next st, sc in next st.* Repeat from * to * across, ending with sc in last 2 sts. (36 sts)
Row 6: Repeat Row 4. (36 sts)
Rows 7 through 12: Repeat Rows 3 through 6 once more, then repeat Rows 3 and 4.
Now you will shape the curve at the bottom of the flap.
Row 13 (decrease row): Ch 1, turn. Sc dec over first 2 sts, sc in each st across to last 2 sts, sc dec over last 2 sts. (34 sts)
Row 14: Ch 1, turn. Sc in each st across. (34 sts)
Row 15: Ch 1, turn. Sc dec over first 2 sts, sc in each st across to last 2 sts, sc dec over last 2 sts. (32 sts)
Row 16: Ch 1, turn. Sc in each st across. (32 sts)
Continue this decrease pattern (decrease at each end every other row) until you have approximately 20 sts remaining.
Final row: Ch 1, turn. Sc in each st across. Fasten off.
Part Five: Attaching the Flap
Position the straight edge of the flap along the top back edge of the bag (on the outside). Whip stitch securely using your tapestry needle and matching yarn. The flap should fold over the front of the bag with the curved, tassel edge facing outward.
Part Six: Making the Tassels
You will make 9 tassels and attach them evenly along the curved edge of the flap.
To make one tassel:
1. Cut a piece of cardboard approximately 3 inches tall.
2. Wrap yarn around the cardboard 20 to 25 times.
3. Cut a 10-inch piece of yarn. Slide it under the wrapped yarn at the top of the cardboard and tie tightly.
4. Cut the yarn at the bottom of the cardboard.
5. Cut another 10-inch piece of yarn. Wrap it around the tassel about half an inch below the top knot, wrapping several times, and tie securely to create the tassel head.
6. Trim the bottom of the tassel evenly.
Repeat to make 9 tassels.
Part Seven: Attaching the Tassels
Space the tassels evenly along the curved edge of the flap. I recommend marking your placement with stitch markers first. Use the long ties at the top of each tassel to stitch them securely to the wrong side of the flap edge.
Part Eight: Adding the Chain Strap
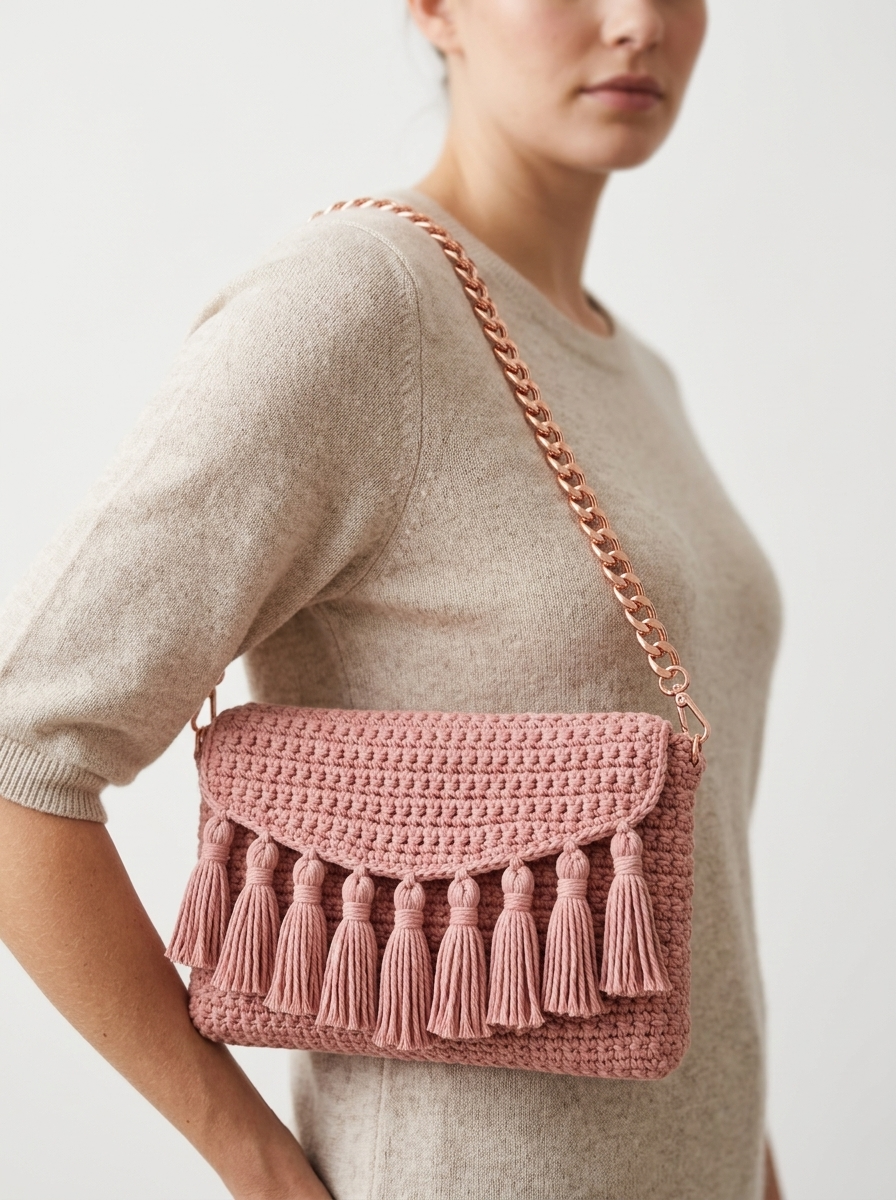
Clip your chain strap onto the D-rings at each side of the bag. Adjust the length as needed for crossbody or shoulder wear.
Tips for Success
Tension matters. Keep your stitches tight and even. This creates the structured look you see in the finished bag.
Block the flap before attaching. Wet blocking or steam blocking helps the curve lay flat and look professional.
Choose hardware that matches. Rose gold chain with rose gold D-rings creates that polished boutique look.
Line the bag if desired. For extra durability, you can hand sew a simple fabric lining inside. This is optional but elevates the finished product.
Customization Ideas
This crochet crossbody bag pattern works beautifully in other colors too. Imagine it in cream, black, sage green, or terracotta. You could also omit the tassels for a cleaner look, or add a magnetic snap under the flap for security.
Wrapping Up
Thank you so much for choosing this dusty rose pink tassel crossbody crochet pattern for your next project. I truly hope you enjoy every stitch of it. There is something so satisfying about making a bag you will actually use and love.
When you finish yours, I would absolutely love to see it. Tag me on Instagram or share in my Facebook group. Seeing your creations is the best part of sharing patterns.
Happy crocheting, friend. You have got this.
