I don’t know about you, but I’ve always thought store-bought sneakers were missing something. They’re practical, sure, but they lack that handmade warmth that makes you smile every time you slip them on. These crochet sneaker boots solve that problem beautifully. All the street-style edge of high-tops with the cozy, breathable comfort only handmade footwear can deliver.
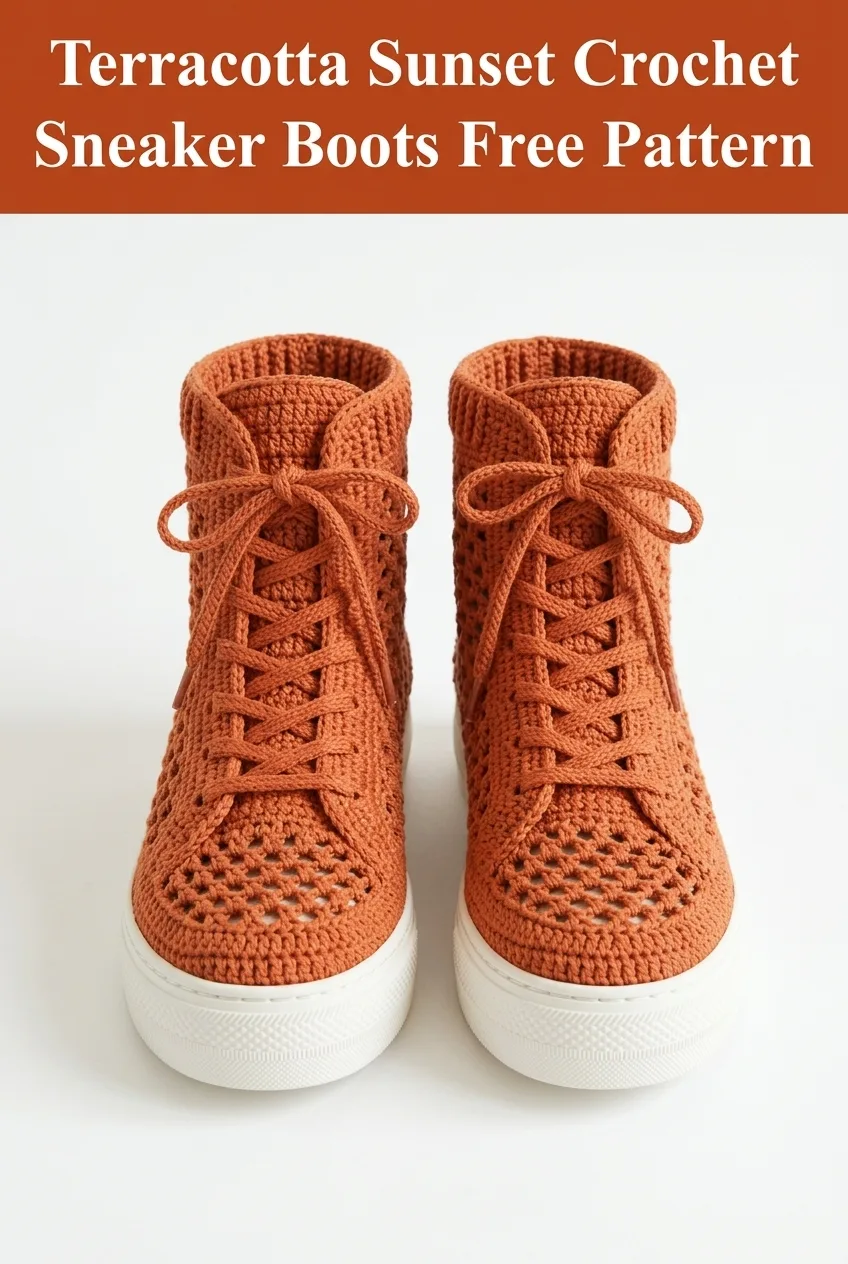
When I finished this pair, I actually gasped. The open mesh pattern creates this gorgeous honeycomb texture that’s lightweight enough for spring and summer, while the ribbed ankle cuff adds structure and a polished finish. They look like something you’d find in a boutique, but you’re going to make them yourself.
Why You’ll Love This Crochet Sneaker Boots Pattern
These terracotta beauties combine fashion and function in the best way possible. The mesh stitch pattern keeps your feet cool and ventilated, making them perfect for warmer weather. The rubber sneaker sole gives you real outdoor durability, so these aren’t just house slippers dressed up as shoes. You can actually wear them out and about.
The construction is more approachable than it looks, I promise. We’re working with familiar stitches arranged in a clever way. If you’ve ever crocheted a basic slipper or worked mesh stitches before, you already have most of the skills you need.
What makes this crochet pattern special:
Skill Level
Intermediate. You should be comfortable with basic stitches, working in the round, increasing and decreasing, and attaching crochet to a base. Don’t worry if the mesh pattern looks intimidating. I’ll walk you through every step.
If you’re an adventurous beginner who has completed a few projects and feels confident reading patterns, give this a try. Just take it slowly and trust the process.
Materials Needed
Yarn:
Hook:
Sole:
Additional Supplies:
Gauge
18 stitches and 20 rows = 4 inches in single crochet using 4.0mm hook and worsted weight cotton.
Gauge matters here because these need to fit your feet. Take a few minutes to make a swatch. If your stitches are too loose, go down a hook size. Too tight? Go up a hook size.
Finished Measurements
This pattern is written for a Women’s US size 7-8 (European 38-39). The sneaker boots measure approximately:
Sizing adjustments: Add or subtract foundation rows for length. Add or subtract rounds for width and height.
Abbreviations and Stitch Definitions
Let me break down every stitch we’ll use so there’s no confusion.
ch = chain: Yarn over, pull through loop on hook. Creates foundation links.
sl st = slip stitch: Insert hook, yarn over, pull through both loops at once. Used to join rounds and move across stitches invisibly.
sc = single crochet: Insert hook, yarn over, pull up a loop (2 loops on hook), yarn over, pull through both loops. Your basic short stitch.
dc = double crochet: Yarn over, insert hook, yarn over, pull up a loop (3 loops), yarn over, pull through 2 loops, yarn over, pull through remaining 2 loops. A taller stitch that creates the mesh openings.
ch-sp = chain space: The gap created when you chain between stitches. You’ll work into these spaces, not into the chains themselves.
sk = skip: Pass over the indicated stitch without working into it.
BLO = back loop only: Insert your hook under just the back loop of the stitch (the loop furthest from you). Creates a ribbed texture.
inc = increase: Work 2 stitches into 1 stitch.
dec = decrease (sc2tog): Insert hook into first stitch, pull up loop, insert hook into next stitch, pull up loop (3 loops on hook), yarn over, pull through all 3. Combines 2 stitches into 1.
Crochet Sneaker Boots Pattern Instructions
Part 1: Attaching Yarn to the Sole
First, we need to create our foundation by crocheting around the rubber sole.
Round 1: Using your 4.0mm hook, join yarn to any pre-punched hole at the back heel of the sole. Work 1 sc into each hole around the entire sole, placing a stitch marker at the center front toe and center back heel as you go. Join with sl st to first sc. Count your stitches and note the number.
*Most standard soles have approximately 50-60 holes. Your stitch count will depend on your specific sole.*
Round 2: Ch 1 (does not count as stitch throughout), sc in each st around. Join with sl st. (50-60 sc)
Round 3: Ch 1, working through BLO only, sc in each st around. Join with sl st. (50-60 sc)
This back loop round creates a nice edge and helps the upper portion stand up from the sole.
Part 2: Building the Toe Box
The toe box uses dense single crochet for durability and structure.
Rounds 4-6: Ch 1, sc in each st around. Join with sl st. (50-60 sc)
Round 7 (Beginning toe shaping): Ch 1, sc to 3 sts before center front marker, dec, sc in marked st, dec, sc in remaining sts around. Join with sl st. (2 sts decreased)
Round 8: Ch 1, sc in each st around. Join with sl st.
Round 9: Repeat Round 7, decreasing before and after center front. (2 sts decreased)
Round 10: Ch 1, sc in each st around. Join with sl st.
You should now have a nicely shaped toe area that curves inward at the front.
Part 3: Creating the Mesh Side Panels
Here’s where the magic happens. The mesh pattern creates those beautiful honeycomb-style openings you see in the finished sneaker.
Setting up for mesh (Round 11):
Ch 1, sc in first 10 sts (this will be your tongue area at center front), *ch 2, sk 1 st, dc in next st* repeat around until you reach 10 sts before starting point, sc in last 10 sts. Join with sl st.
Mesh Pattern Rounds 12-18:
Ch 1, sc in first 10 sts, *ch 2, dc in next ch-2 sp* repeat across mesh section, sc in last 10 sts. Join with sl st.
Continue this pattern, keeping the center front 20 stitches in solid single crochet (this forms the tongue and lace panel) while working the mesh pattern around the sides and back.
Part 4: Shaping the Tongue
At Round 15, we’ll separate to create the tongue.
Tongue Rows (worked flat):
Sl st to center front, ch 1, turn.
Row 1: Sc in first 10 sts of tongue section only. Ch 1, turn. (10 sc)
Rows 2-12: Sc in each st across. Ch 1, turn. (10 sc)
Row 13: Sc2tog, sc in next 6, sc2tog. Ch 1, turn. (8 sc)
Rows 14-16: Sc in each st across. (8 sc)
Fasten off and weave in ends. The tongue should reach just above the ankle.
Part 5: Continuing the Boot Sides
Rejoin yarn at the side of the tongue base to continue the boot height.
Rounds 19-24: Continue mesh pattern around sides and back only, working flat rows and joining at opposite side of tongue. Maintain stitch count by working sc at the ends where the mesh meets the tongue edges.
Part 6: The Ribbed Ankle Cuff
This is my favorite part. The ribbed cuff adds such a professional, finished look.
Cuff Round 1: Ch 1, sc in each st and ch-sp around the entire top opening, including across the back of the tongue. Join with sl st. Count stitches and adjust to an even number if needed. (Approximately 48-52 sc)
Cuff Round 2: Ch 1, sc in BLO of each st around. Join with sl st.
Cuff Rounds 3-10: Repeat Round 2.
This back loop only technique creates the beautiful horizontal ridges you see in the finished cuff.
Final Round: Sl st loosely in BLO of each st around. Fasten off.
Part 7: Creating Lace Eyelets
The lace holes are created by the natural gaps in the mesh pattern along the tongue edges. If you want more defined eyelets, use your hook to gently widen the spaces where the solid tongue section meets the mesh.
Alternatively, you can add crocheted eyelets by working a row of (ch 3, sl st) along each side of the tongue opening.
Part 8: Making the Laces
Chain approximately 150 stitches or until your chain measures about 50-55 inches. Sl st in second ch from hook and in each ch across. Fasten off and trim ends.
Repeat to make a second lace.
Weave laces through the eyelets in a classic criss-cross pattern.
Part 9: Finishing Your Crochet Sneaker Boots
Weave in all remaining yarn tails using your tapestry needle. I recommend weaving through at least 2 inches of stitches in different directions to secure ends.
Blocking (optional but recommended): Dampen the finished boots lightly with water and stuff with tissue paper or a shoe tree to shape. Allow to dry completely.
Adding grip (optional): If your soles feel slippery, you can apply fabric glue or puff paint dots to the bottom for traction.
Helpful Tips for Success
Tension matters. Keep your stitches firm but not tight, especially on the sole attachment. Too loose and the boot will be floppy. Too tight and it won’t fit over your foot.
Try them on as you go. Seriously. Slip your foot in after every few rounds to check the fit. It’s much easier to adjust early than to frog later.
The mesh looks scarier than it is. Once you get into the rhythm of "chain 2, skip 1, double crochet," it flows naturally. Take the first round slowly, and the rest will click.
Cotton yarn is your friend. It has less stretch than acrylic, which means your boots will hold their shape better over time. Cotton also breathes, keeping your feet comfortable.
Customization Ideas
Want to make these crochet sneaker boots your own? Try these variations:
Care Instructions
Because these boots have rubber soles, avoid machine washing. Instead:
1. Spot clean with mild soap and cool water
2. Stuff with paper towels to maintain shape while drying
3. Air dry away from direct heat
4. Store stuffed to prevent creasing
I really hope you love making these crochet sneaker boots as much as I loved designing them. There’s something so satisfying about wearing shoes you made with your own hands, especially ones this cute. If you make a pair, I’d absolutely love to see them! Tag me on Instagram or share a photo in our Facebook group.
If this pattern is calling your name, go ahead and save it to your Pinterest boards so you can find it when you’re ready to cast on. And please drop a comment below when you finish yours. I read every single one, and your photos make my whole day. Happy hooking, friends!
