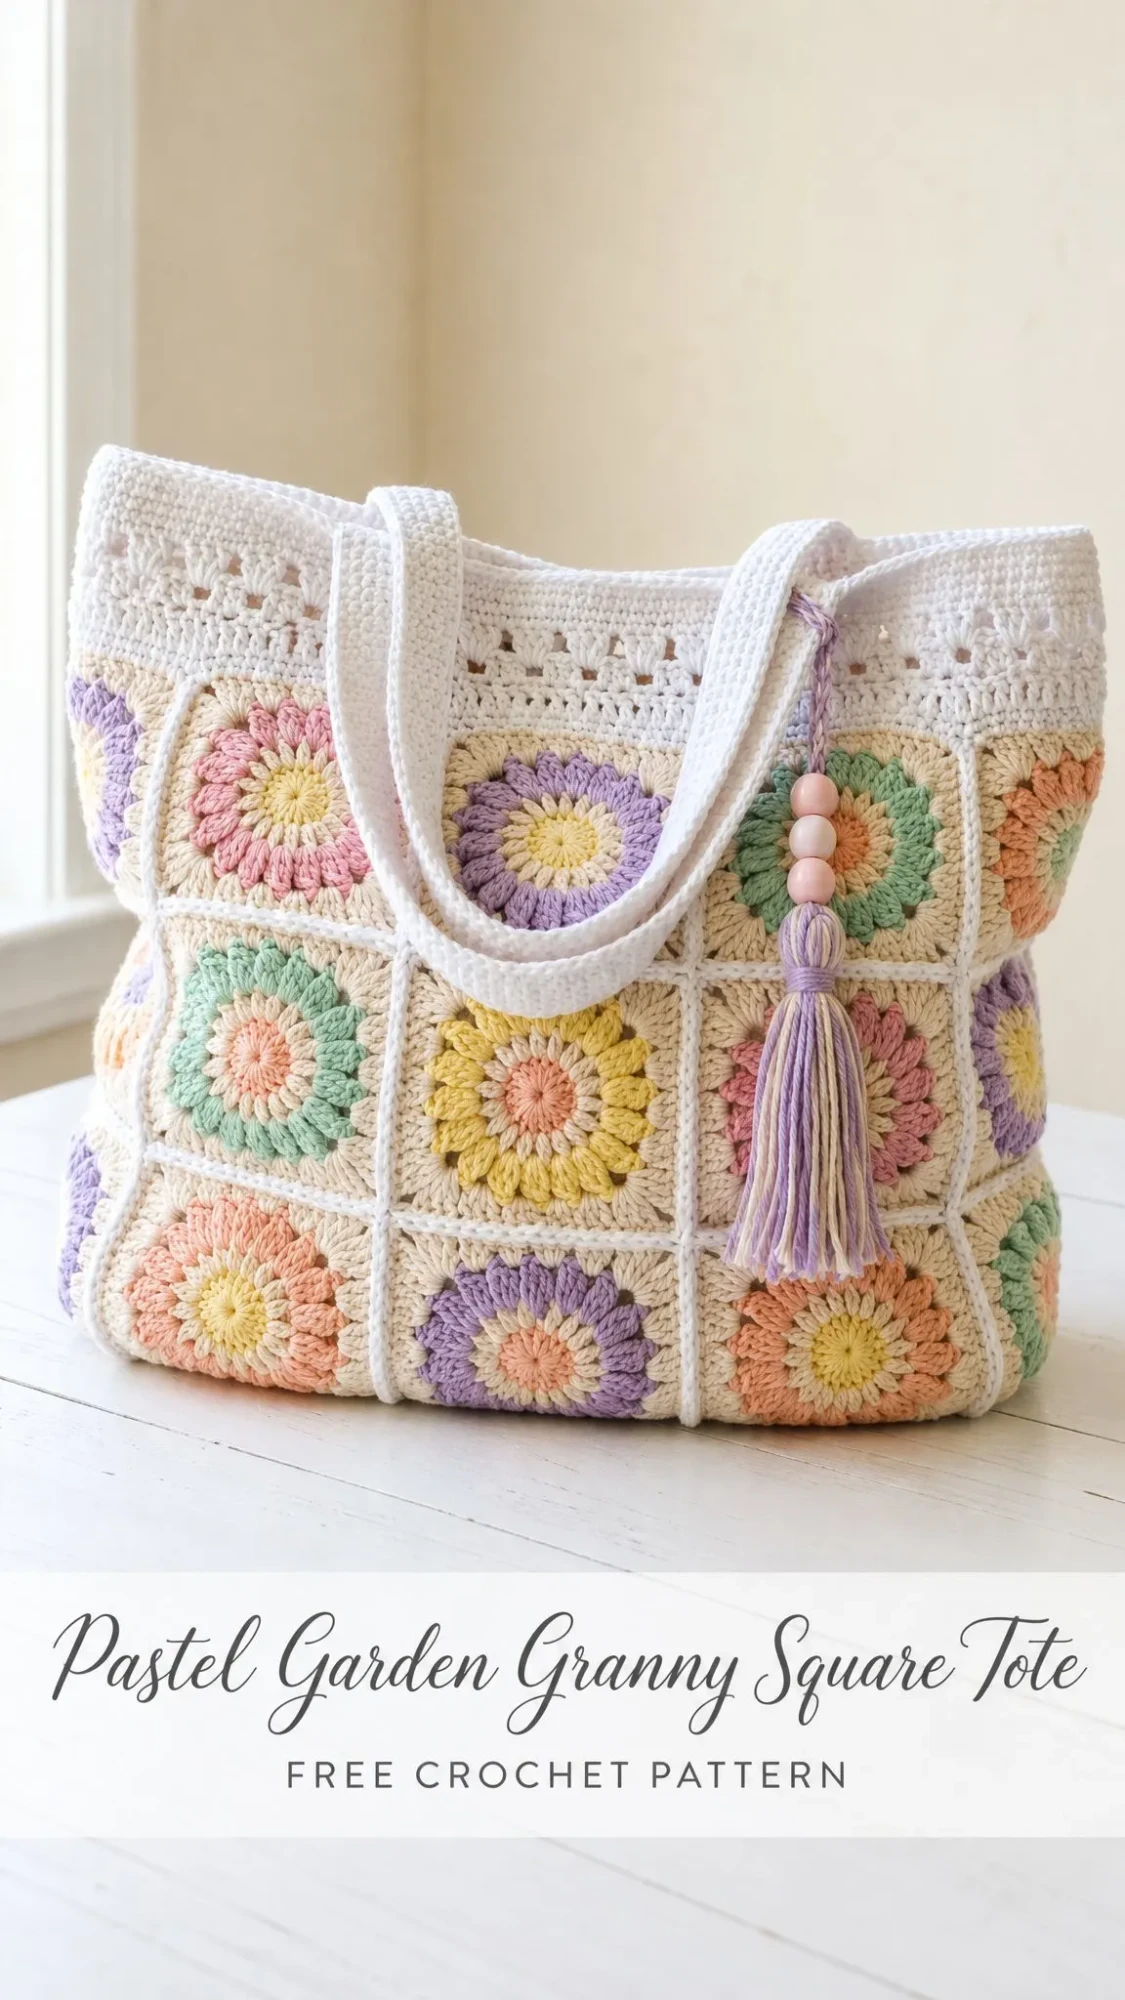
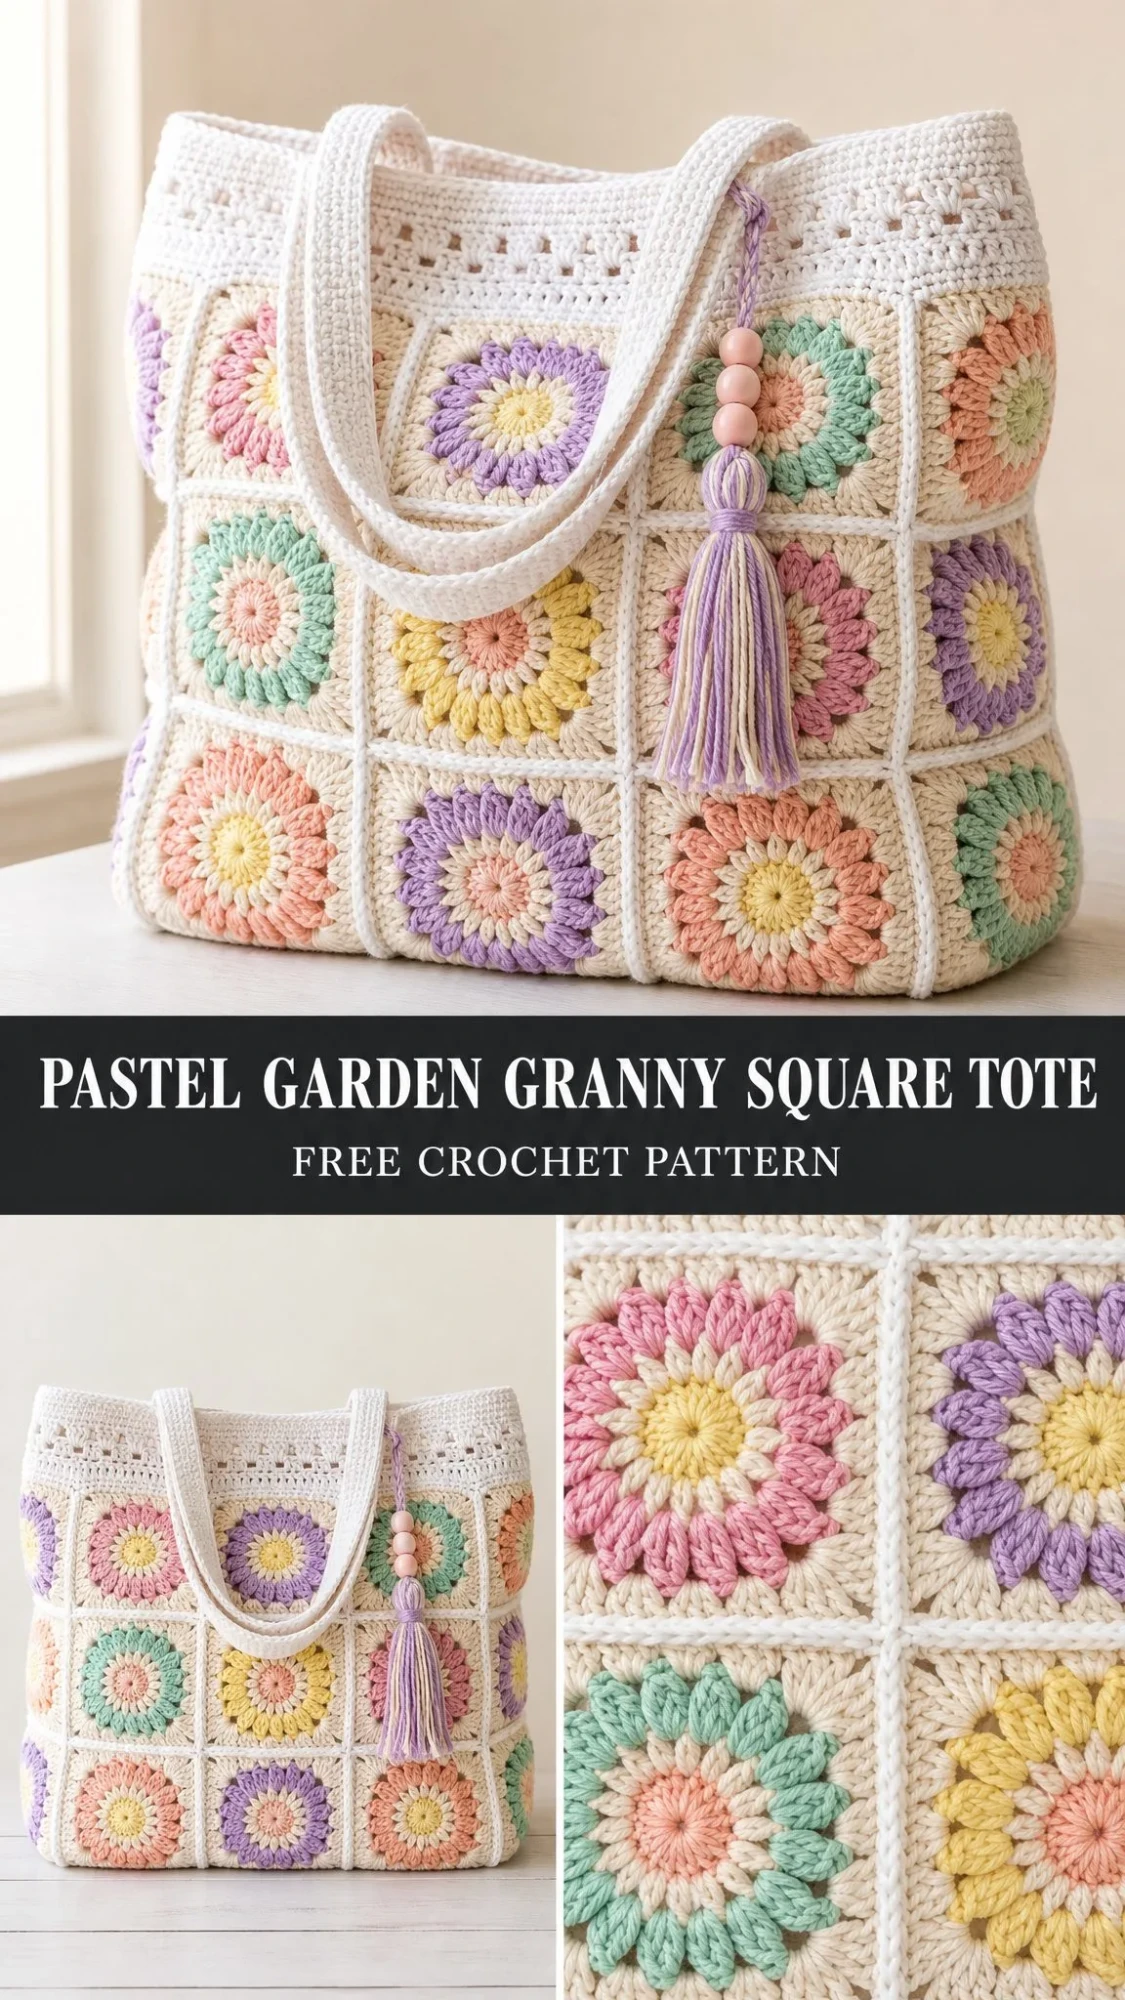
This is a roomy granny square tote bag made from 30 sunburst flower motifs in soft pastels. You will use basic stitches like double crochet and single crochet throughout. The squares join with a clean white lattice, and the whole project finishes with a lacy eyelet band and a beaded tassel.
If you can make a granny square, you can make this bag. The construction is straightforward. You work each square separately, join them into panels, add a solid base, then crochet a pretty top band and sturdy handles.
The finished tote measures 14 by 13 inches with a 10 inch handle drop. It is perfect for the farmers market, the beach, or just carrying your current crochet project around town.
Why You Will Love This Pattern
This tote has that cheerful handmade look that turns heads. The sunburst flower centers pop against the ivory background, and the bright white joining creates a crisp grid effect. Every square feels like its own tiny garden.
The pattern works up in manageable pieces. You are never wrestling with a huge project on your hook. Make a few squares during your lunch break, join them on the weekend, and suddenly you have a beautiful bag.
Cotton yarn gives this tote excellent structure and durability. It holds its shape, washes well, and gets softer with use. This is a bag you will actually use, not just admire on a shelf.
Materials and Tools
Yarn
You will need worsted weight or aran weight cotton yarn in these amounts:
| Color | Approximate Yardage |
|---|---|
| Bright White | 350 yards |
| Ivory or Cream | 300 yards |
| Lavender | 60 to 70 yards |
| Rose | 60 to 70 yards |
| Mint | 60 to 70 yards |
| Buttercup | 60 to 70 yards |
| Peach | 60 to 70 yards |
Total yarn needed: 950 to 1050 yards (870 to 960 meters)
Suggested yarns: Paintbox Cotton Aran, Lily Sugar’n Cream Solids, or Scheepjes Catona held double for aran weight.
Hooks and Notions
Skill Level and Time Estimate
Skill level: Intermediate, but confident beginners can absolutely tackle this. If you have made granny squares before, you have the main skill already.
Time estimate: 15 to 20 hours total. The squares go quickly once you get into a rhythm.
Gauge
One finished sunburst square through the white round measures 3.5 inches (9 cm) square with a 4.0 mm hook.
Body and band gauge: 16 double crochet by 8 rows equals 4 inches (10 cm).
Check your gauge before starting. If your squares are too big, go down a hook size. If they are too small, go up a hook size. Matching gauge ensures your squares join evenly and your bag ends up the right size.
Abbreviations
UK crocheters: This pattern uses US terms throughout. Swap sc for dc and dc for tr.
Special Stitches
Picot: Chain 3, slip stitch into the first chain. This creates a small decorative bump.
Eyelet or mesh: Double crochet, chain 1, skip 1 stitch. Repeated to form the lacy band at the top of the bag.
Sunburst petal: Groups of double crochet worked into a ring to radiate outward like flower petals.
Pattern Notes
The Sunburst Motif
You will make 30 squares total. Use Buttercup or Peach for the small center in Round 1. Use any one pastel for the petal ring in Round 2. Then use Ivory and Bright White as written below. Mix the pastels freely across your squares.
Round 1 (Center)
Make a magic ring. Chain 3 (this counts as your first double crochet). Work 11 double crochet into the ring. Join with a slip stitch to the top of the beginning chain 3. (12 dc)
Pull the magic ring closed tightly.
Round 2 (Petals)
Join your petal color in any stitch. Chain 3, double crochet in the same stitch. Work 2 double crochet in each stitch around. Join. (24 dc)
This round doubles your stitch count and creates the petal effect.
Round 3 (Ivory)
Join Ivory in any stitch. Chain 3, double crochet in the same stitch. Working around, double crochet in each stitch. In every 6th stitch, work (double crochet, chain 3, double crochet) to create a corner. You will have 4 corners total. Double crochet in all remaining stitches. Join. (28 dc, 4 corner spaces)
Round 4 (Ivory)
Chain 3. Double crochet in each double crochet around. In each corner space, work (2 double crochet, chain 2, 2 double crochet). Join. (44 dc, 4 corner spaces)
Round 5 (White)
Join Bright White. Chain 1. Single crochet in each double crochet around. In each corner space, work (single crochet, chain 1, single crochet). Join. Fasten off. (52 sc total, which is 11 sc per side plus 4 corners)
Weave in your ends as you go. It saves time later.
Colour Recipe
Across your 30 squares, aim for a gentle, even scatter of the five pastels. No single color should cluster together. Here is a balanced batch:
| Petal Color | Number of Squares |
|---|---|
| Lavender | 6 squares |
| Rose | 6 squares |
| Mint | 6 squares |
| Buttercup | 6 squares |
| Peach | 6 squares |
Tip: Lay your finished squares out before joining. Arrange them as a 4 by 3 grid for the front and another 4 by 3 grid for the back. Add a 1 by 3 column for each side. Shuffle until the colors feel scattered and balanced. Take a photo so you can rebuild the layout while joining.
Joining the Squares
Join with Bright White to create the clean lattice between motifs. Hold two squares with wrong sides together and work through the back loops of both for a flat, visible white ridge. You can also use whip stitch if you prefer.
Single Crochet Join (Recommended)
1. With Bright White and wrong sides together, insert your hook through the back loops of the first corner space of both squares.
2. Single crochet across, matching stitch for stitch. Work 11 single crochet per side, adding an extra single crochet into each corner pair. (11 sc per seam)
3. Join squares into rows first, then join the rows together. Keep all white ridges on the same outer face.
Building the Panels
Then seam Front plus Side plus Back plus Side into a continuous loop. This creates a tube that is open at the top and bottom. (10 squares around)
Tip: Keep your tension relaxed on the join rows so corners stay square and the bag hangs evenly.
Base and Body Assembly
The Base
The base is worked flat in Bright White for a firm bottom, then joined to the square tube.
Row 1: Chain 49. Single crochet in the 2nd chain from the hook and across. (48 sc)
Rows 2 through 14: Chain 1, turn. Single crochet in each stitch across. (48 sc each row)
Border: Chain 1. Single crochet evenly all around the rectangle, working 3 single crochet in each corner. Join. Space the stitches so the round totals 110 single crochet to match the tube. (110 sc)
Attaching the Base to the Body
1. With wrong sides together, line up the base border (110 sc) with the bottom edge of the square tube (10 squares times 11 stitches equals 110 stitches). (110 = 110)
2. With Bright White, single crochet through both layers all around. Join. (110 sc)
Your bag now has a solid bottom and structured sides.
Eyelet Top Band
This lacy band is worked in the round in Bright White on the top edge of the body (110 stitches around). It gives the tote its soft, airy collar.
Round 1: Join White at the top edge. Chain 3. Double crochet in each stitch around. Join. (110 dc)
Round 2 (Eyelet): Chain 4 (counts as double crochet plus chain 1). Skip 1 stitch. Double crochet in the next stitch, chain 1, skip 1 stitch. Repeat from * around. Join to the 3rd chain. (55 dc, 55 chain 1 spaces)
Round 3: Chain 3. Double crochet in each double crochet and in each chain 1 space around. Join. (110 dc)
Round 4: Chain 3. Double crochet in each stitch around. Join. (110 dc)
Round 5: Chain 3. Double crochet in each stitch around. Join. (110 dc)
Round 6 (Picot Trim): Chain 1. Single crochet in the next 2 stitches. Work a picot (chain 3, slip stitch in the first chain). Repeat from * around. Join. Fasten off. (110 sc, 55 picots)
The picot trim adds a delicate scalloped edge to the top of your bag.
Handles
Make 2 handles with the firmer 3.5 mm hook and Bright White so they hold their shape under weight.
Handle Strap (Make 2)
Row 1: Chain 9. Single crochet in the 2nd chain from the hook and across. (8 sc)
Rows 2 through 90: Chain 1, turn. Single crochet in back loops only across. (8 sc each row)
This creates a strap about 24 inches (61 cm) long.
Finish: Fold the strap in half lengthwise and single crochet the long edges together into a rounded cord. Or leave it flat for a wider strap. Fasten off, leaving a long tail for sewing.
Attaching the Handles
1. On the front panel, mark two points about 4 inches (10 cm) apart, centered, just below the picot trim.
2. Stitch each strap end firmly to the inside of the band. Sew through several rows for strength.
3. Repeat on the back so the two handles mirror each other.
A handle drop of approximately 10 inches (25 cm) is comfortable on the shoulder.
Tip: For extra durability, weave the tail down through the band stitches and back up before securing. This spreads the load and prevents the handles from pulling loose over time.
Beaded Tassel and Finishing
Making the Tassel
1. Wrap Lavender and Ivory yarn together around a 4 inch (10 cm) card about 20 times.
2. Thread a strand under the top of the wraps and tie tightly. Slide the loops off the card.
3. Wrap a strand several times around the bundle about 0.75 inches (2 cm) below the top to form the neck. Secure with a knot.
4. Cut the bottom loops and trim level.
5. Thread the top ties up through 3 wooden beads. Tie the tassel to a corner of the eyelet band. Knot securely and hide the ends.
Final Finishing
Care Instructions
Size Customization
Want a different size? Here are your options:
Bigger tote: Add a column of squares (5 wide) and/or add a 4th row. Each added square is approximately 3.5 inches. Keep the body stitch count a multiple of 2 for the eyelet band.
Mini bag: Work 3 wide by 2 tall panels and shorten the handles to about 18 inches (46 cm).
Deeper bag: Widen the gusset to 2 squares and lengthen the base chain to match.
Wider band: Repeat Rounds 4 and 5 of the eyelet band for a taller collar.
Whenever you resize, recount the top edge and make sure it is even before starting the eyelet round.
Tips for Success
Consistent tension matters. Your squares need to be the same size to join smoothly. If some are bigger or smaller, they will pull and pucker. Make a test square first and check your gauge.
Block your squares before joining. A quick steam or wet block helps squares lie flat and makes joining much easier.
Take photos of your layout. Once you have arranged your colors, snap a picture. It is easy to forget which square goes where once you start joining.
Use stitch markers generously. Mark the corners when joining to keep everything aligned.
Cotton stretches with weight. If you plan to carry heavy items, the plastic canvas base insert really helps maintain the shape.
Make It Your Own
This pattern invites creativity. Here are some ideas:
I hope you love making this Pastel Garden Granny Square Tote as much as I enjoyed putting this pattern together. It is the kind of project that feels satisfying at every stage, from watching the little sunburst flowers bloom under your hook to seeing the finished bag come together. Thank you so much for being here and for trusting me with your crafting time.
If you make this tote, I would absolutely love to see it! Share your photos on Instagram or in our Facebook group. Seeing your creations truly makes my day.
Save this pattern to your Pinterest boards so you can find it easily when you are ready to start. And if you have any questions or just want to share your progress, drop a comment below. I read every single one and I am always happy to help. Happy crocheting!
