
This is hands down one of the MOST gorgeous table setting projects you will ever make! I’m talking a stunning sage green placemat with a delicate daisy halo border that looks like it belongs in a magazine spread. The best part? The techniques are totally manageable for intermediate crocheters, and the finished result will have everyone asking where you bought it.
Get the Ad-Free PDF Pattern
You can find the free pattern below, or you can purchase the ad-free printable PDF from my shop.
Get the Printable PDF →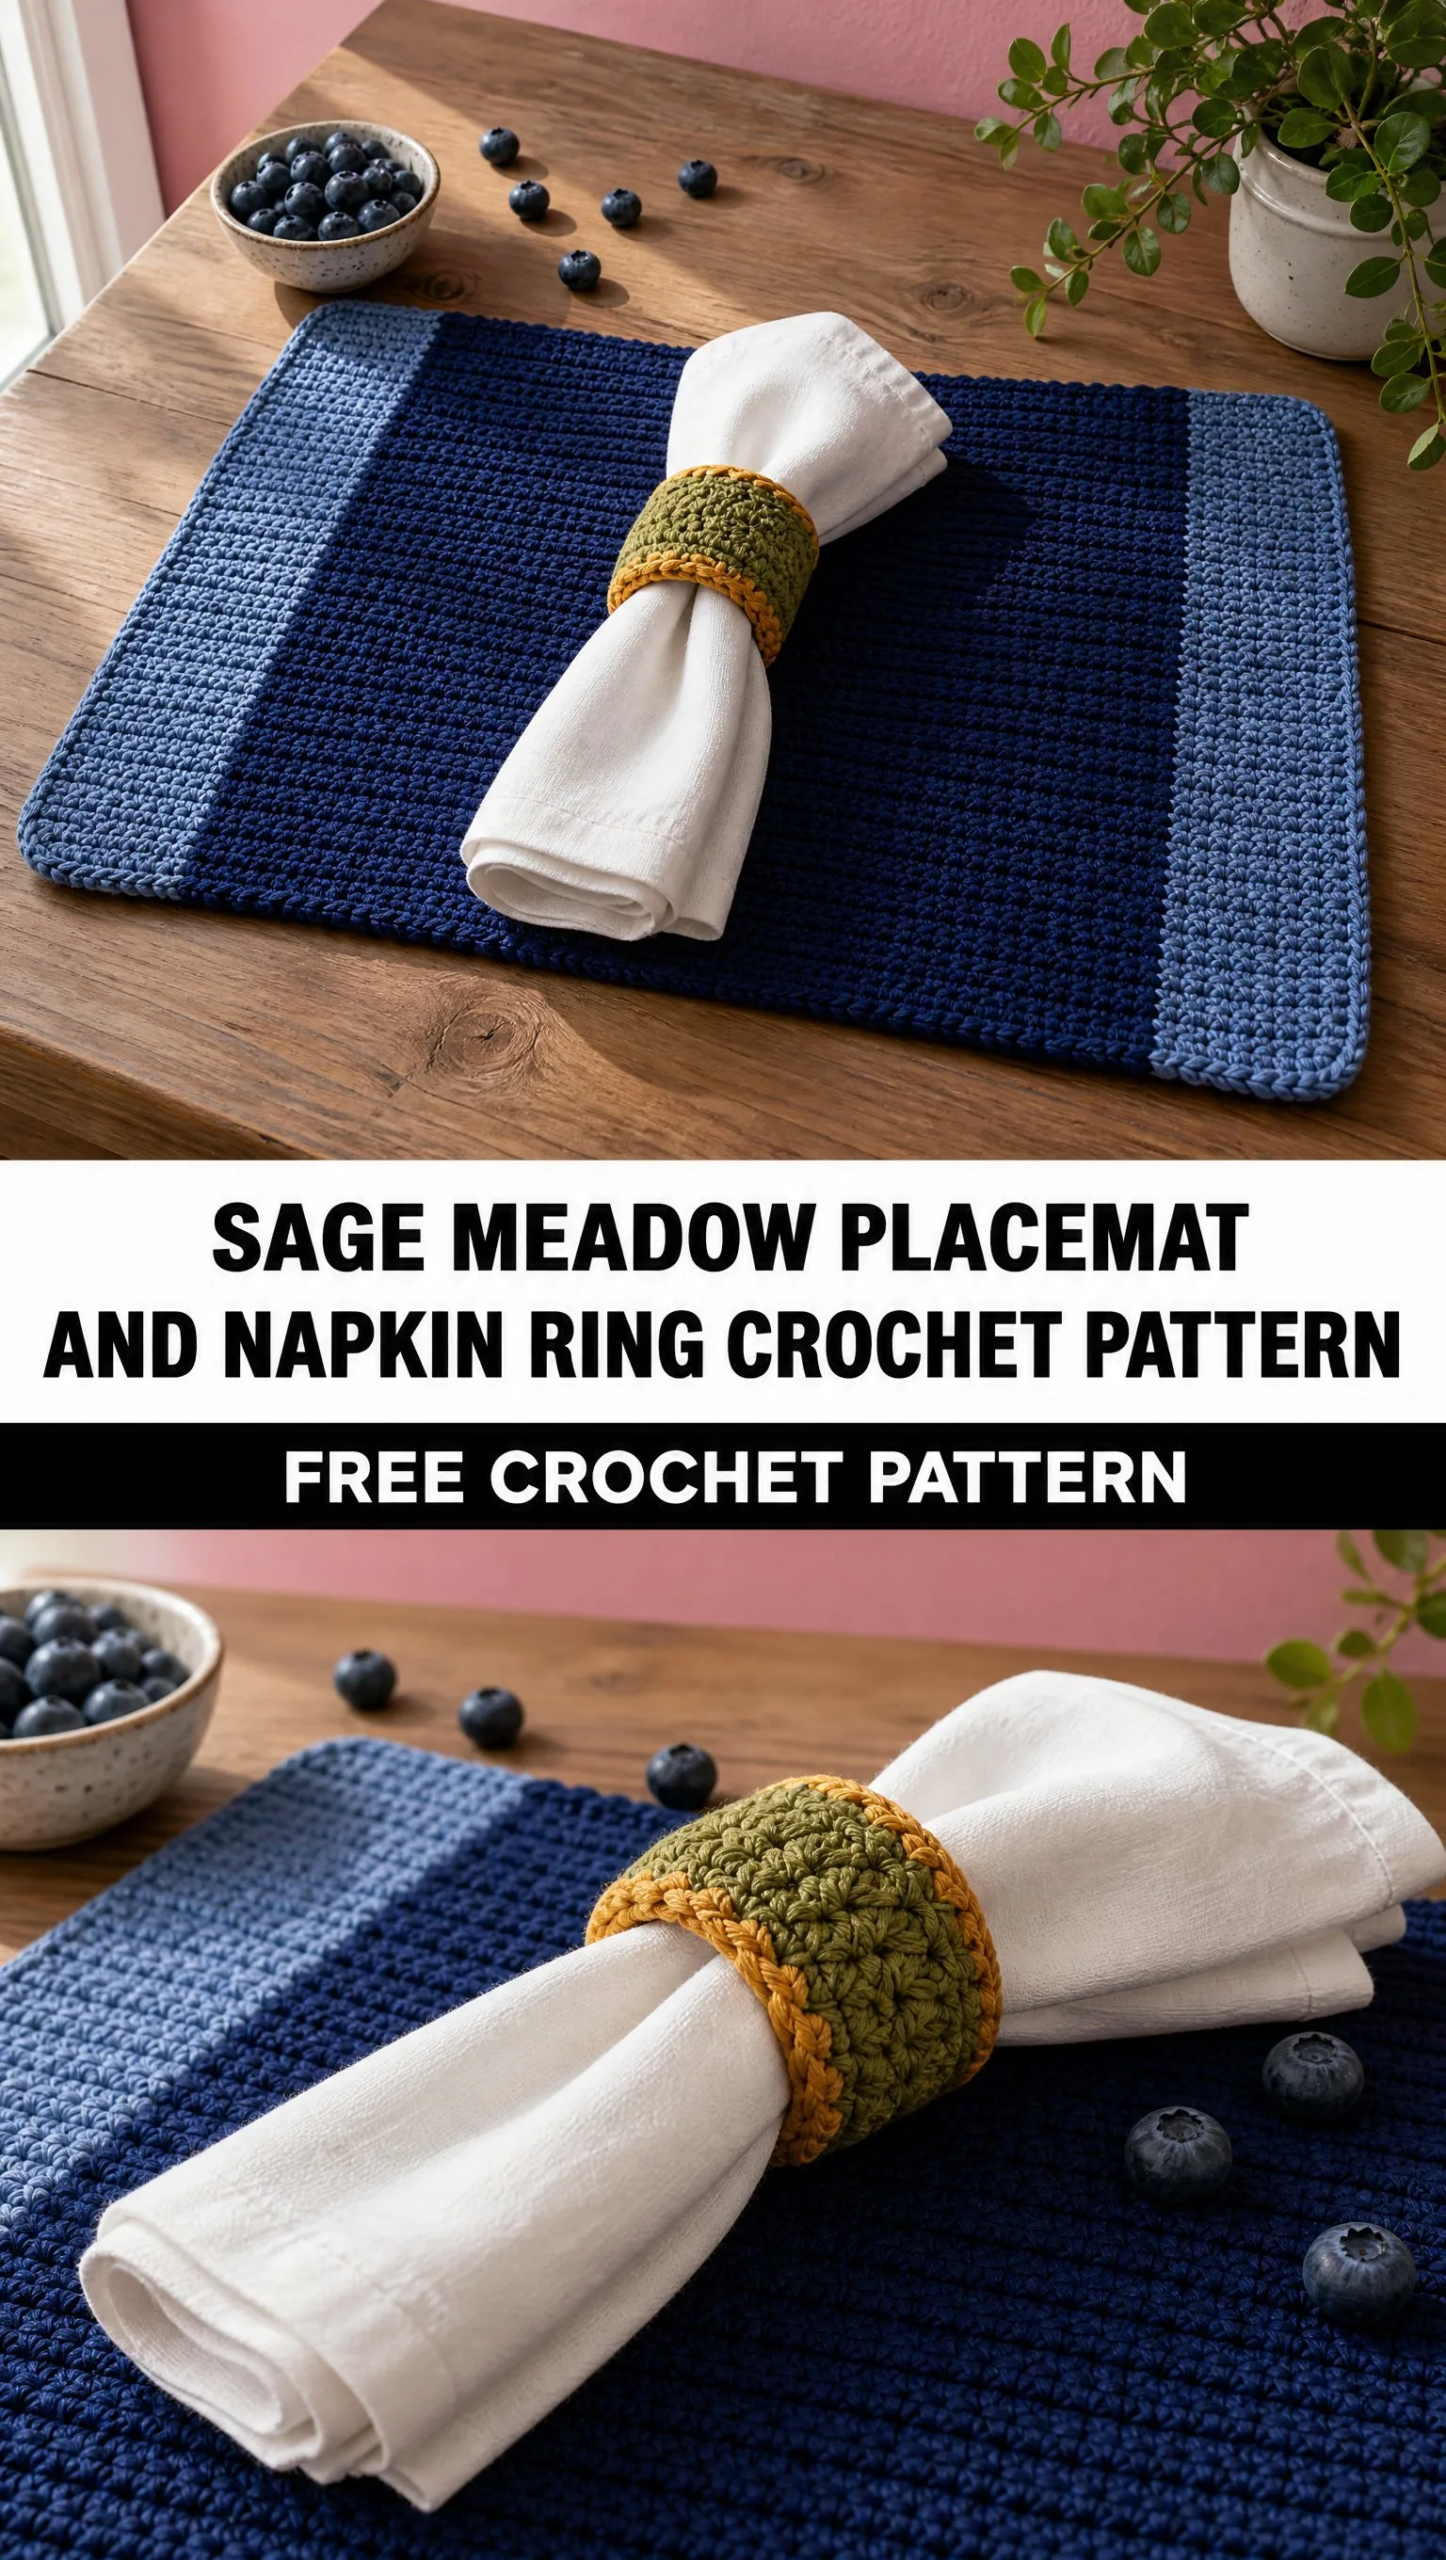
If you’ve been wanting to create something special for your spring table or need an impressive handmade gift for a host, this is your pattern. The coordinating napkin ring with its layered daisy flower ties everything together beautifully.
Trust me when I say this project is worth every stitch. The botanical farmhouse style works for Easter brunch, Mother’s Day dinner, or everyday elegance. Let’s dive in!
About This Crochet Pattern
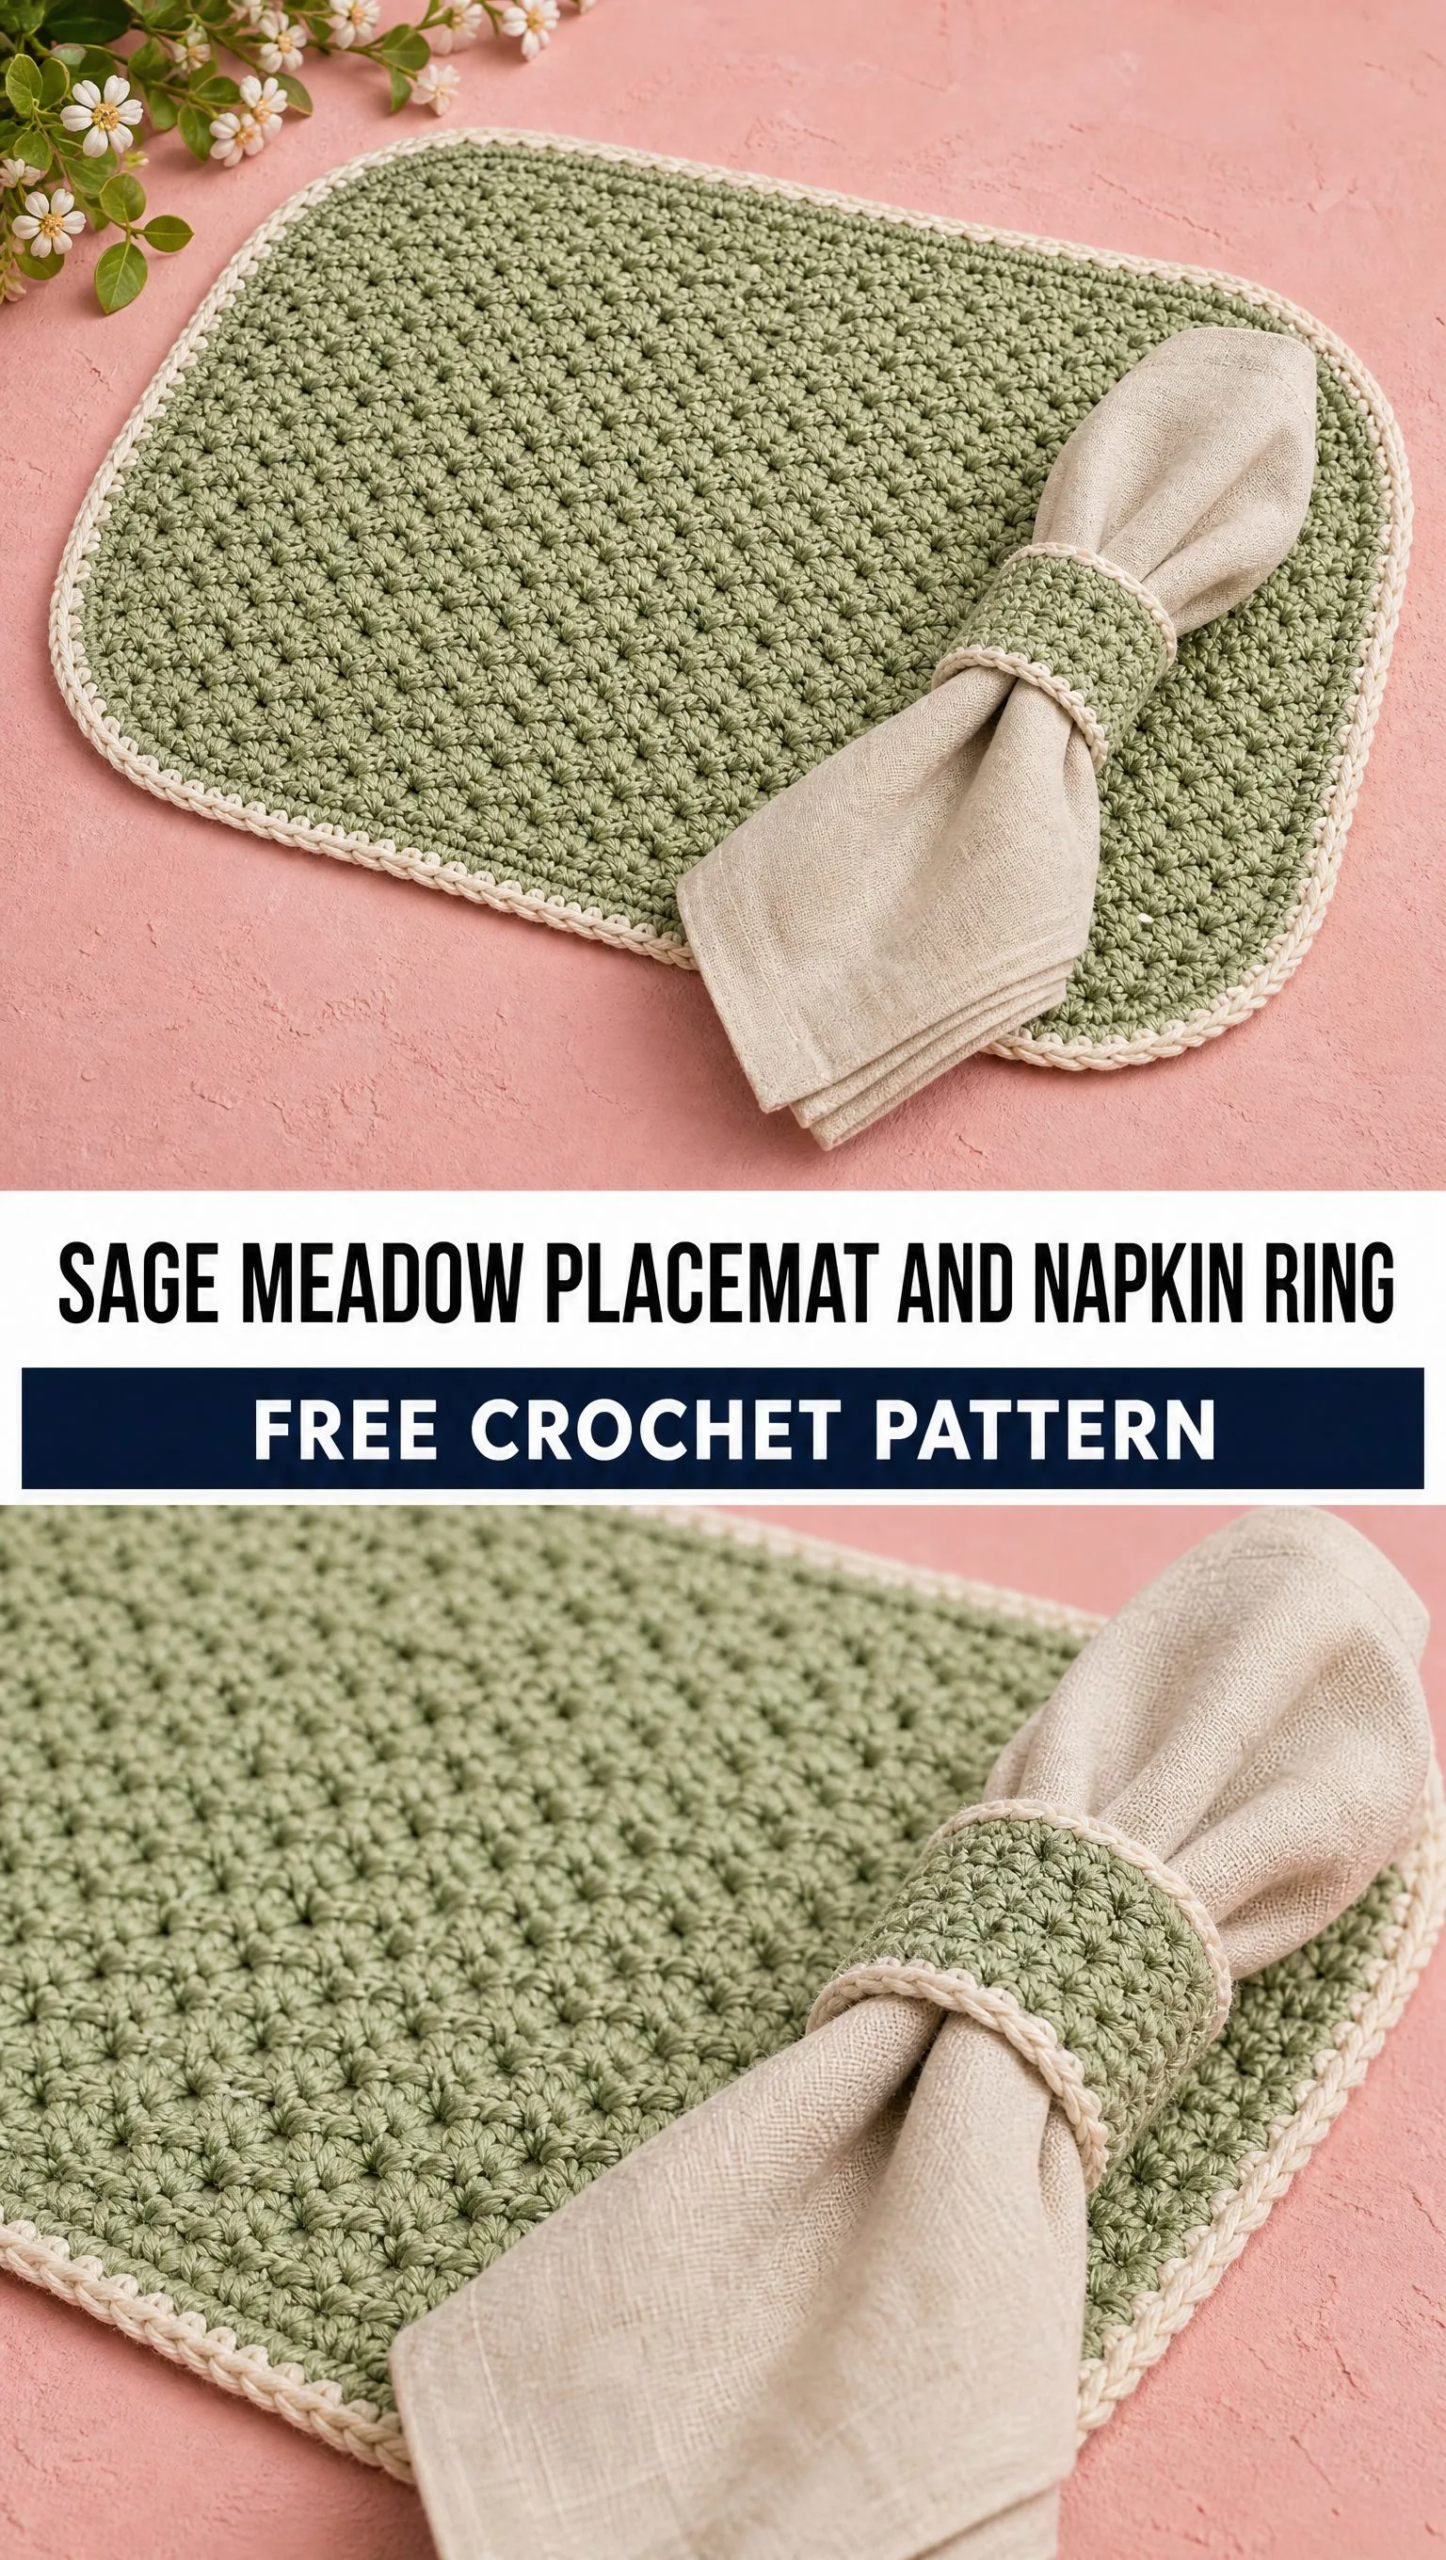
The Sage Meadow collection features two coordinating pieces that transform any table into a garden party. The circular placemat measures approximately 38 to 42 cm in diameter when finished, providing plenty of space for a full place setting. The matching napkin ring fits standard cloth napkins and features a show-stopping layered daisy with sage leaves.
Skill Level: Intermediate
This pattern uses basic stitches throughout, but the daisy motifs and assembly require some experience with joining pieces and working decorative elements. If you’re comfortable with double crochet in the round and have made a few flowers before, you’re ready for this project.
Style: Botanical, farmhouse, spring table decor
Materials Needed
Having the right supplies makes this crochet tutorial so much smoother. Here’s everything you’ll need:
Yarn:
Hooks:
Other Supplies:
Cotton yarn is essential here. It gives you that crisp stitch definition and firm structure that makes the placemat functional and beautiful. The sage green creates a lovely meadow base, while the ivory and white bring those dreamy daisy vibes.
Abbreviations and Stitch Guide
Before we begin the step by step instructions, let’s define every stitch you’ll encounter:
ch = chain (wrap yarn over hook, pull through loop)
sl st = slip stitch (insert hook, yarn over, pull through stitch and loop on hook in one motion)
sc = single crochet (insert hook, yarn over, pull up loop, yarn over, pull through both loops)
hdc = half double crochet (yarn over, insert hook, yarn over, pull up loop, yarn over, pull through all three loops)
dc = double crochet (yarn over, insert hook, yarn over, pull up loop, yarn over, pull through two loops, yarn over, pull through remaining two loops)
tr = treble crochet (yarn over twice, insert hook, yarn over, pull up loop, then yarn over and pull through two loops three times)
inc = increase (work two stitches into one stitch)
st = stitch
sp = space
Placemat Pattern Instructions
Center Circle
The placemat begins with a magic ring, which creates a tight, hole-free center. If you’ve never made one, simply wrap yarn around your finger twice, insert your hook, and pull up a loop to start chaining.
Round 1:
With sage yarn, make a magic ring. Ch 2, work 12 dc into ring. Join with sl st.
Round 2:
Ch 2. Work 2 dc in each stitch around. Join. (24 dc)
Round 3:
Ch 2. 1 dc in next stitch, 2 dc in next stitch. Repeat around. Join.
Round 4:
Ch 2. 1 dc in next 2 stitches, 2 dc in next stitch. Repeat around.
Continue increasing evenly in this manner until the center measures approximately 30 cm across.
Pro tip: The key to a flat circle is consistent increases. You’re adding the same number of stitches each round, just spreading them out more. If your circle starts cupping or ruffling, check your tension.
Texture Section
Work 5 to 7 additional rounds of tightly packed dc or waistcoat-style single crochet rounds to create the dense sage center. Keep increases smooth so the circle remains flat.
The waistcoat stitch is optional here. It’s worked by inserting your hook into the V of the stitch rather than under the top loops. This creates a knit-like appearance that’s very pretty, but regular sc works beautifully too.
Ivory Border
Now we transition to the elegant ivory edge that frames your sage meadow.
Join ivory yarn.
Round 1:
Work one round of sc evenly around the sage circle.
Round 2:
Work hdc around, keeping tension even.
Round 3:
Work a final decorative sc round. Fasten off.
This simple border creates a clean transition zone between the solid placemat and the delicate daisy halo. Don’t skip it!
Daisy Halo Border
This is where the magic happens. Those sweet little daisies turn a nice placemat into something truly special.
Each Daisy Motif
Center:
With pale yellow yarn, make a magic ring.
Round 1: 10 sc into ring. Join.
Petals:
Join white yarn.
Ch 5, work 4 tr into the same stitch, ch 5, sl st into same stitch to form one petal.
Repeat around to create 8 to 10 petals.
Fasten off.
Make approximately 18 to 22 daisies depending on desired fullness.
Beginner tip: Your first daisy might look a little wonky. That’s completely normal! The petals puff up and take shape once you’ve finished and given them a gentle tug. By daisy number five, you’ll be making them without even looking.
Connecting Daisy Lace
Arrange daisies evenly around the placemat edge before you start connecting. This helps you space them properly.
Using ivory yarn:
Attach between flowers with chain loops:
ch 5, attach to next daisy with sl st, ch 5, attach to next flower.
Repeat around until all flowers are connected.
Secure the lace halo to the ivory border with evenly spaced slip stitches.
Blocking
Wet block the placemat flat. Pin petals evenly and allow to dry completely.
Blocking is not optional for this project. It opens up those daisy petals, flattens the placemat, and makes everything look polished and professional. Soak in cool water for 15 minutes, gently squeeze out excess water with a towel, then pin to shape on your blocking mat.
Napkin Ring Pattern
The coordinating napkin ring takes this table setting from lovely to "did you hire a caterer?"
Ring Base
With cream yarn:
Ch 36. Join carefully to form a circle.
Round 1:
Sc around.
Round 2:
Dc around.
Round 3:
Sc around and fasten off.
That’s it for the base! Three rounds create enough structure to hold a rolled napkin without being bulky.
Daisy Decoration
Make one larger layered daisy for a dimensional focal point.
Center:
With sage yarn, magic ring, 12 sc. Join.
First Petal Layer:
Join white yarn.
Create 8 large petals using:
Ch 6, 5 tr in same stitch, ch 6, sl st into same stitch.
Second Layer:
Using cream yarn, add smaller petals between the first layer.
This layered approach creates gorgeous depth. The cream petals peek out from behind the white ones, giving that lush, garden-fresh look.
Sage Leaves
With sage yarn, crochet two small leaf shapes:
Ch 8, work sc, hdc, dc, hdc, sc along chain. Attach behind flower.
These leaves frame the daisy beautifully and tie the ring back to the sage placemat color.
Assembly
Sew the layered daisy securely onto the front of the napkin ring. Hide all yarn ends inside stitches.
Finishing Instructions
Almost done! These final steps make the difference between homemade and handcrafted:
Care Instructions
Your beautiful new table setting needs gentle care to stay gorgeous:
Hand wash gently in cool water. Lay flat to dry. Avoid harsh detergents to preserve cotton colors.
Cotton is durable but can fade with aggressive washing. Treat these pieces like you would any nice table linens.
Pattern Notes and Customization Ideas
This design is customizable. More daisies may be added for a fuller meadow effect. Use cotton yarn for a firm placemat with clear stitch definition and a professional finished look.
Color variations to try:
Making a set? Plan for four placemats and four napkin rings for a standard table setting. You’ll want to buy yarn in bulk to ensure dye lot consistency across all pieces.
Why This Crochet Pattern Works
The Sage Meadow Placemat and Napkin Ring Crochet Pattern strikes that perfect balance between impressive and achievable. The construction is straightforward, the stitches are familiar, but the finished result looks like something from a high-end home goods store.
Cotton yarn makes these pieces practical for actual use, not just display. They protect your table, wash easily, and get better with blocking. The botanical farmhouse style works year-round but especially shines for spring and summer entertaining.
Whether you’re making these for your own table or as a heartfelt handmade gift, you’re creating something truly special. Every dinner becomes a little more beautiful when you’ve made the setting yourself.
Thank you so much for choosing this pattern! I genuinely hope you love making these pieces as much as I loved designing them. If you create your own Sage Meadow set, I would absolutely love to see it. Tag me on Instagram or share in our Facebook group.
If this pattern inspired you, go ahead and save it to your Pinterest boards so you can find it whenever you’re ready to start. And please drop a comment below if you make it. I read every single one and love seeing your beautiful work!
Want a Quick & Easy Printable Version?
Get a clean, beautifully formatted PDF of this pattern — easy to follow step by step, ready to print or save on any device. No scrolling, no distractions, just the pattern.
Get the Printable PDF →You Might Also Like
- Ocean Sunset Jellyfish Free Crochet Pattern
- Dusty Rose Pink Drawstring Bucket Bag Free Crochet Pattern
- Sunshine Yellow Dahlia Crochet Dress Free Crochet Pattern
- Mint Green Daisy Baby Dress Free Crochet Pattern
