
Last spring, my sister called me in a mild panic. Her best friend’s baby shower was three weeks away, and she wanted to give something handmade but had no idea where to start. I told her to come over, and we spent the afternoon flipping through my pattern notebooks while her toddler napped on my couch.
Get the Ad-Free PDF Pattern
You can find the free pattern below, or you can purchase the ad-free printable PDF from my shop.
Get the Printable PDF →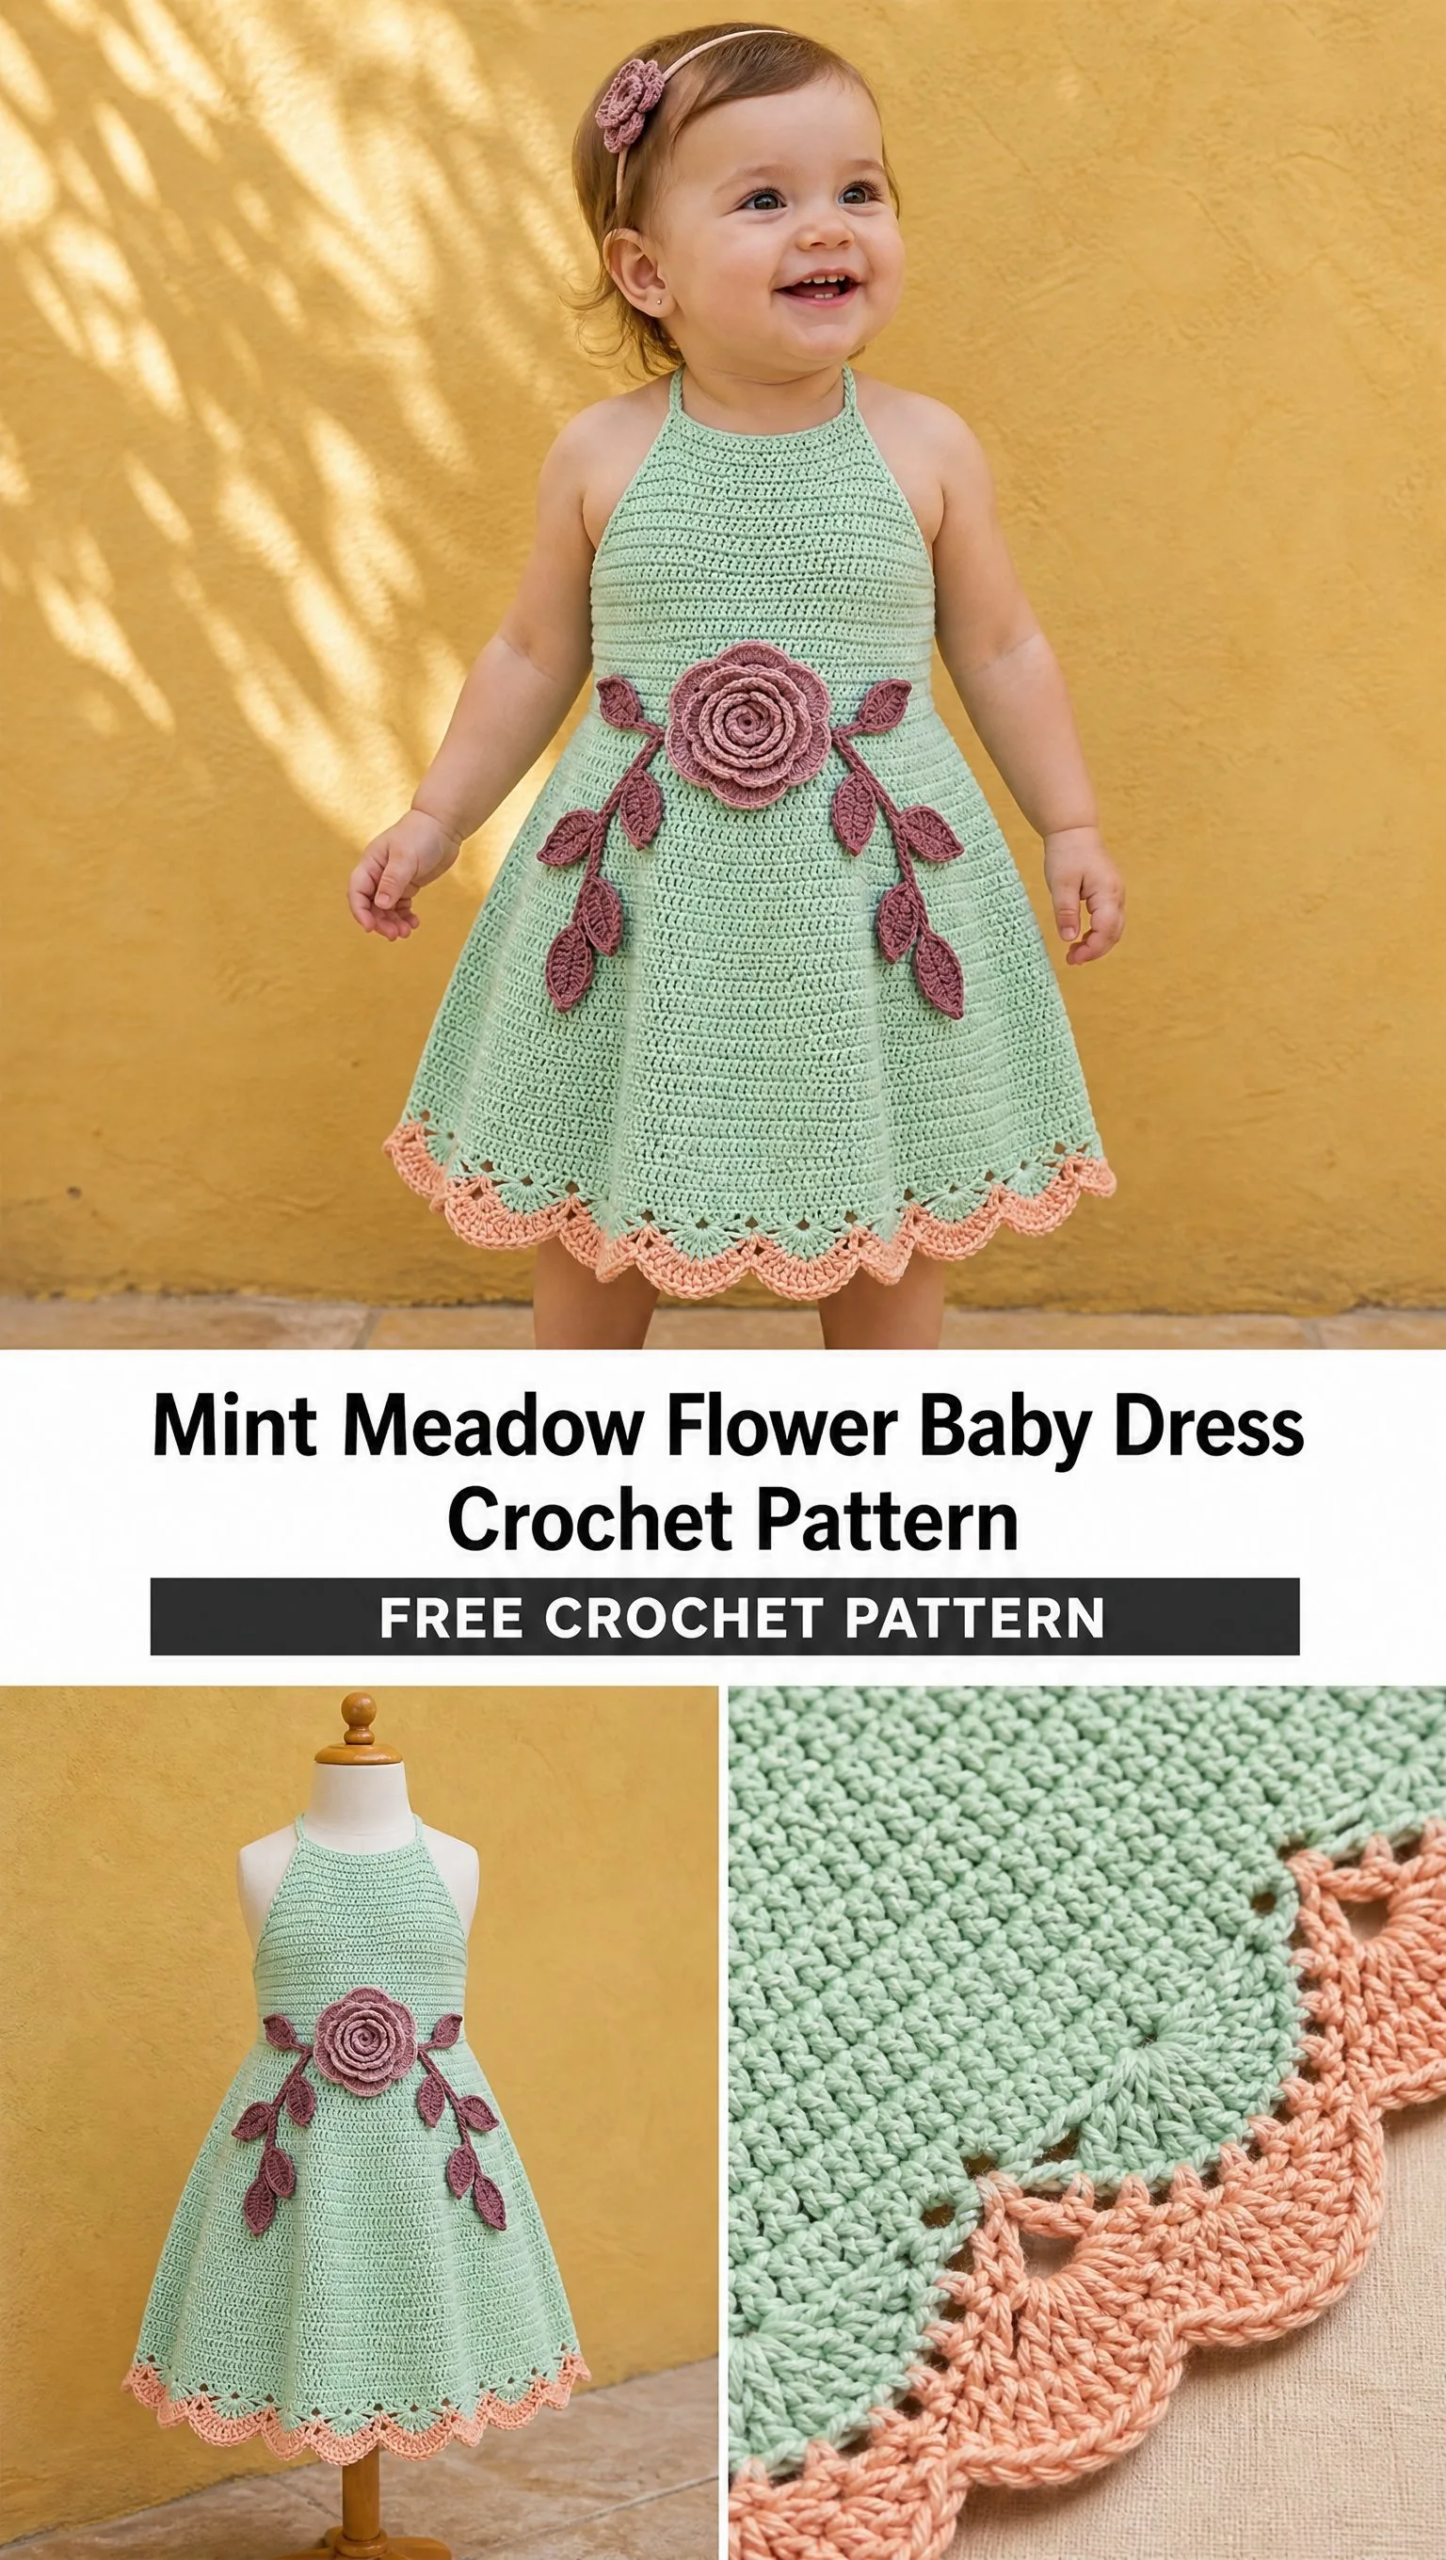
When I sketched out this little dress with its meadow inspired colors and sweet daisy hem, she actually teared up a bit. That is the magic of handmade baby gifts. They carry so much love in every single stitch. The shower was a hit, the dress fit perfectly, and now I am finally sharing this pattern with all of you.
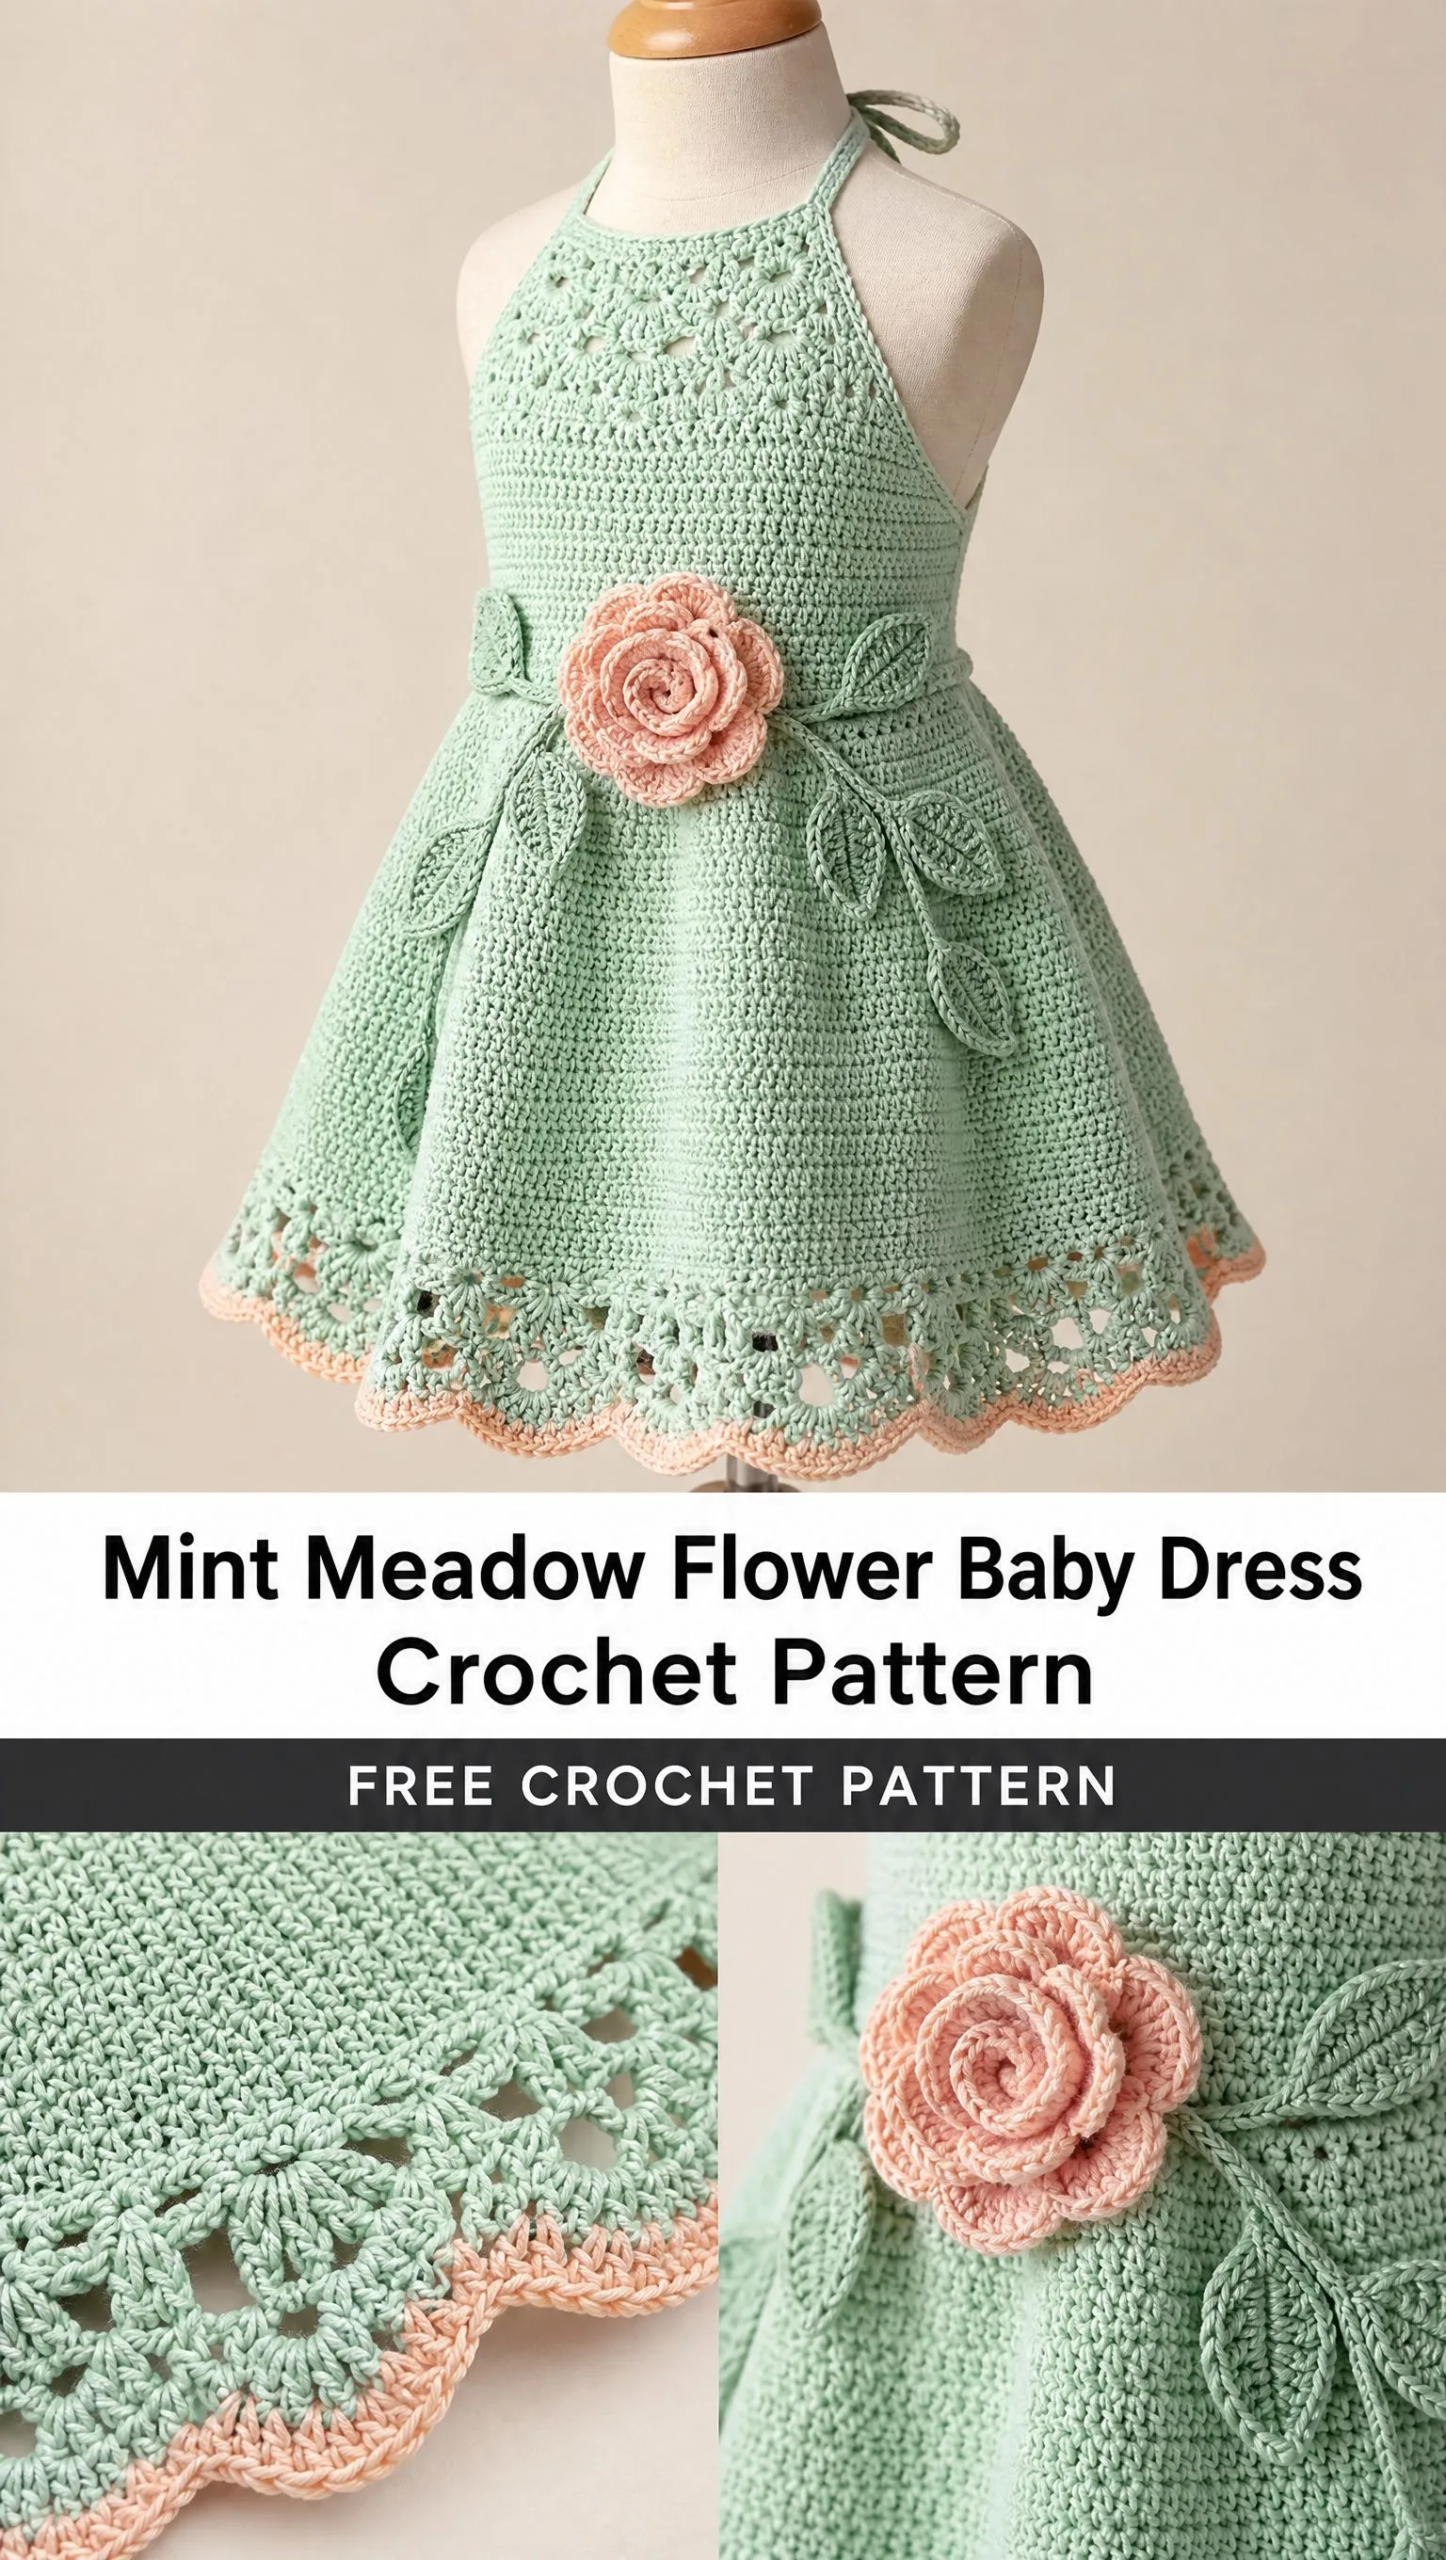
This Mint Meadow Flower Baby Dress combines a simple single crochet bodice with a gorgeous flared lace skirt and the most darling crocheted daisies along the hem. It looks impressive, but I promise it is completely achievable for confident beginners and beyond.
Why You Will Love This Pattern
This baby dress has everything I look for in a special occasion project. The construction is straightforward since you work from the top down, which means fewer pieces to seam together at the end. The mint green yoke creates a fresh spring look, while the openwork skirt adds movement and visual interest without complicated stitch patterns.
The daisy flower hem is honestly my favorite part. Those little flowers are quick to make individually, and when you arrange them in two staggered rows around the bottom, the effect is absolutely stunning. Perfect for photos, special events, or just making a little one feel extra fancy.
The finished dress fits babies approximately 6 to 12 months, with a chest measurement of about 20 inches and a total length of roughly 15 inches. The fit is slightly loose and comfortable, which is exactly what you want for wiggly babies who need room to move.
Materials You Will Need
Gathering your supplies before you start makes the whole process smoother. Here is everything you need to complete this dress.
Yarn (DK weight cotton):
Tools:
Cotton yarn is ideal for baby garments because it is breathable, washable, and holds stitch definition beautifully. I recommend choosing a soft DK weight cotton that feels gentle against delicate skin.
Gauge Information
Before diving into the pattern, take a few minutes to check your gauge. This step saves so much frustration later.
Gauge: 22 single crochet stitches x 24 rows = 4 inch square
If your gauge swatch is too small, try going up a hook size. If it is too large, go down a hook size. Even a small difference in tension can change the finished measurements significantly on a garment this size.
Stitches Used and Abbreviations
Let me walk you through every stitch you will need for this project. If any of these are new to you, I recommend practicing them on a small swatch first.
Chain stitch (ch): The foundation of most crochet projects. Yarn over, pull through the loop on your hook. That is one chain.
Slip stitch (sl st): Insert your hook, yarn over, and pull through both the stitch and the loop on your hook in one motion. Used for joining rounds and moving across stitches without adding height.
Single crochet (sc): Insert hook into stitch, yarn over and pull up a loop (two loops on hook), yarn over and pull through both loops. A short, dense stitch perfect for structured fabric.
Half double crochet (hdc): Yarn over, insert hook into stitch, yarn over and pull up a loop (three loops on hook), yarn over and pull through all three loops. Slightly taller than single crochet with a nice drape.
Double crochet (dc): Yarn over, insert hook into stitch, yarn over and pull up a loop (three loops on hook), yarn over and pull through two loops, yarn over and pull through remaining two loops. Creates an open, flexible fabric.
Treble crochet (tr): Yarn over twice, insert hook, yarn over and pull up a loop (four loops on hook), then yarn over and pull through two loops three times until one loop remains.
Fan stitch: Work 5 double crochet stitches all into the same stitch. This creates the beautiful shell shape in the skirt.
Picot: Chain 3, then slip stitch into the first chain you made. Creates a small decorative bump along edges.
Construction Overview
Understanding how this dress comes together will help you visualize each step as you work.
The dress is worked from the top down. You start with the yoke in mint green, then create the shoulder straps and waist shaping. The skirt joins at the waist and flows downward in vertical lace columns using alternating colors. Finally, you make the daisy flowers separately and sew them around the hem in two staggered rows.
This top down construction means you can try the dress on your little model (or a similar sized doll) as you go to check the fit. So much easier than discovering sizing issues after everything is sewn together.
Bodice and Yoke Instructions
The bodice forms the foundation of the dress. Work slowly through these first few rounds to establish a nice even fabric.
Round 1
Chain 72. Join with a slip stitch to form a ring, being very careful not to twist your chain. This is important because a twisted foundation cannot be fixed later. Chain 1 and work single crochet into each chain around. Join with a slip stitch to the first single crochet.
Round 2
Work single crochet around, increasing evenly at four points to shape the neckline. These increases help the yoke lie flat and follow the natural curve of the neck and shoulders.
Rounds 3 through 12
Continue working single crochet rounds. Place stitch markers to indicate where your arm openings will be, and maintain a smooth rounded neckline as you work. The yoke should start to take shape nicely, curving gently around where the shoulders and upper chest will be.
Creating the Straps
Now you will separate the stitches into front and back sections to create the shoulder straps.
Work each shoulder strap in rows of single crochet. Keep working back and forth until each strap measures approximately 3 inches wide and 2 inches long. This creates a substantial strap that will stay in place and distribute weight comfortably across baby’s shoulders.
Once both straps are complete, join them securely to connect the front and back of the bodice. Take your time with this join since it needs to be sturdy.
Waist Sash
The waist sash adds definition and creates that lovely fitted look at the midsection.
Attach your mint green yarn at the waist edge. Work 5 rows of half double crochet around the body. Keep your tension firm here since you want to create a fitted waistband that cinches slightly without being too tight.
This sash also serves as the anchor point for your skirt, so make sure it feels solid and secure before moving on.
Making the Mint Bow
The bow adds the sweetest finishing touch to the front of the dress.
For the center tie: Chain 45. This creates the long tails that will drape down.
For each bow loop: Chain 20, then work 8 rows of single crochet. This creates a small rectangle. Make two of these rectangles for the two loops of your bow.
Fold each rectangle and wrap the center with yarn to cinch it into a bow loop shape. Attach both loops to the center tie, then sew the completed bow securely at the center front waist.
Flared Meadow Skirt
Here is where the dress really starts to shine. The skirt features a beautiful lace fan pattern with vertical color columns.
Round 1
Join ivory yarn at the waist. Work double crochet around, increasing evenly every 8 stitches. These increases start the flare that will give the skirt its lovely A line shape.
Round 2
Begin the lace fan pattern. Skip 2 stitches, work 5 double crochet stitches into the next stitch (this is your fan), skip 2 stitches, then work a single crochet in the next stitch. Repeat this sequence around the entire skirt.
Round 3
Repeat the fan pattern around, placing your fans in the single crochet stitches from the previous round.
Creating the Color Columns
Continue the skirt using vertical sections in different colors. The pattern alternates through:
Repeat this color sequence as you work downward until the skirt reaches your desired length. The vertical columns create a beautiful meadow effect that is perfect for spring and summer.
Hem Finishing
Work one final round of shell stitches to create a scalloped edge. Add a neat picot edge for extra structure and a polished look. The picots also help the hem hold its shape after washing.
Daisy Flower Hem
The daisies are what make this dress truly special. Plan to make approximately 28 to 34 flowers depending on how densely you want to cover the hem.
Flower Center
Using your pale yellow yarn, create a magic ring. Work 8 single crochet stitches into the ring, then join with a slip stitch. Pull the ring closed. This creates a neat, tight center for each daisy.
Petals
Attach your ivory yarn to the center. Work 5 double crochet stitches into each center stitch around. Slip stitch between each petal grouping to form a rounded daisy shape.
Each flower works up quickly once you get the rhythm down. I like to make all my daisies in one sitting while watching a show, then attach them all at once.
Attaching the Flowers
Sew two staggered rows of daisies around the entire hem. Stagger them so the flowers in the second row fill the gaps between the flowers in the first row. This creates a full, lush meadow effect that is absolutely gorgeous.
Finishing Your Dress
Take your time with these final steps to give your dress a professional look.
Weave in all yarn ends using your tapestry needle. For baby garments, I recommend weaving ends through several stitches and then doubling back for extra security. Little fingers love to pull at loose threads.
Block the dress gently on a flat surface. For cotton yarn, you can wet block by soaking the dress in cool water, gently squeezing out excess moisture (never wring), and laying it flat to dry on a blocking mat or clean towel. Pin the skirt fans into shape while drying.
Shape the skirt fans evenly so they all point in the same direction and have consistent spacing.
Check all joins and reinforce the straps and sash connections if needed. These areas take the most stress when the dress is worn, so a few extra stitches now prevent problems later.
Care Instructions
Cotton baby garments need gentle care to stay beautiful wash after wash.
Hand wash in cool water using a mild detergent. Avoid agitating too roughly since you do not want to felt or stretch the fabric.
Lay flat to dry on a clean towel or blocking mat. Hanging wet crochet can stretch it out of shape.
Avoid high heat in washing and drying to preserve the cotton stitch definition. High temperatures can cause cotton to shrink unevenly.
Pattern Notes and Tips
This pattern is designed as a handmade interpretation of a beautiful spring meadow baby dress. A few tips to help you succeed:
Adjust for different sizes by changing your hook size or modifying the starting chain count. Going up a hook size will create a slightly larger dress, while going down will make it smaller.
Mark your rounds with stitch markers, especially during the yoke shaping. It is easy to lose track of where you are in the pattern.
Count your stitches at the end of each round for the first several rounds. Catching mistakes early is much easier than frogging multiple rounds later.
Take breaks if your hands get tired. Cotton yarn can be harder on the hands than softer fibers, so listen to your body.
Skill Level and Time Estimate
I would rate this pattern as confident beginner to intermediate. The stitches themselves are basic, but the construction involves some shaping and color changes that require attention.
Expect to spend approximately 15 to 20 hours on this project, depending on your speed and how many breaks you take. The daisies alone can take a few hours, but they are very relaxing to make.
Perfect Gift Potential
This dress makes an incredible baby shower gift, first birthday present, or christening outfit. The handmade quality shows in every stitch, and parents absolutely treasure receiving something made with so much care and attention.
Consider pairing it with a matching headband or a simple pair of crocheted booties in coordinating colors. You could even make a few extra daisies to attach to hair clips or a bonnet.
I hope you love making this Mint Meadow Flower Baby Dress as much as I loved designing it. Every little daisy and lace fan is a chance to pour your creativity into something truly special for a little one in your life.
If you make this dress, I would absolutely love to see it. Save this pattern to your Pinterest boards so you can find it when you are ready to start, and please leave a comment below to share your finished project or ask any questions. Happy crocheting, friends!
Want a Quick & Easy Printable Version?
Get a clean, beautifully formatted PDF of this pattern — easy to follow step by step, ready to print or save on any device. No scrolling, no distractions, just the pattern.
Get the Printable PDF →You Might Also Like
- Dusty Rose Diamond Lattice Vest Free Crochet Pattern
- Sage Green Botanical Lace Sundress Free Pattern
- Sunset Ombre Granny Square Baby Dress Free Crochet Pattern
- Sage Green Chunky Turtleneck Free Crochet Pattern
