
Go dig through your yarn stash right now. That gorgeous golden yellow cotton you have been saving for "the perfect project"? This is it.
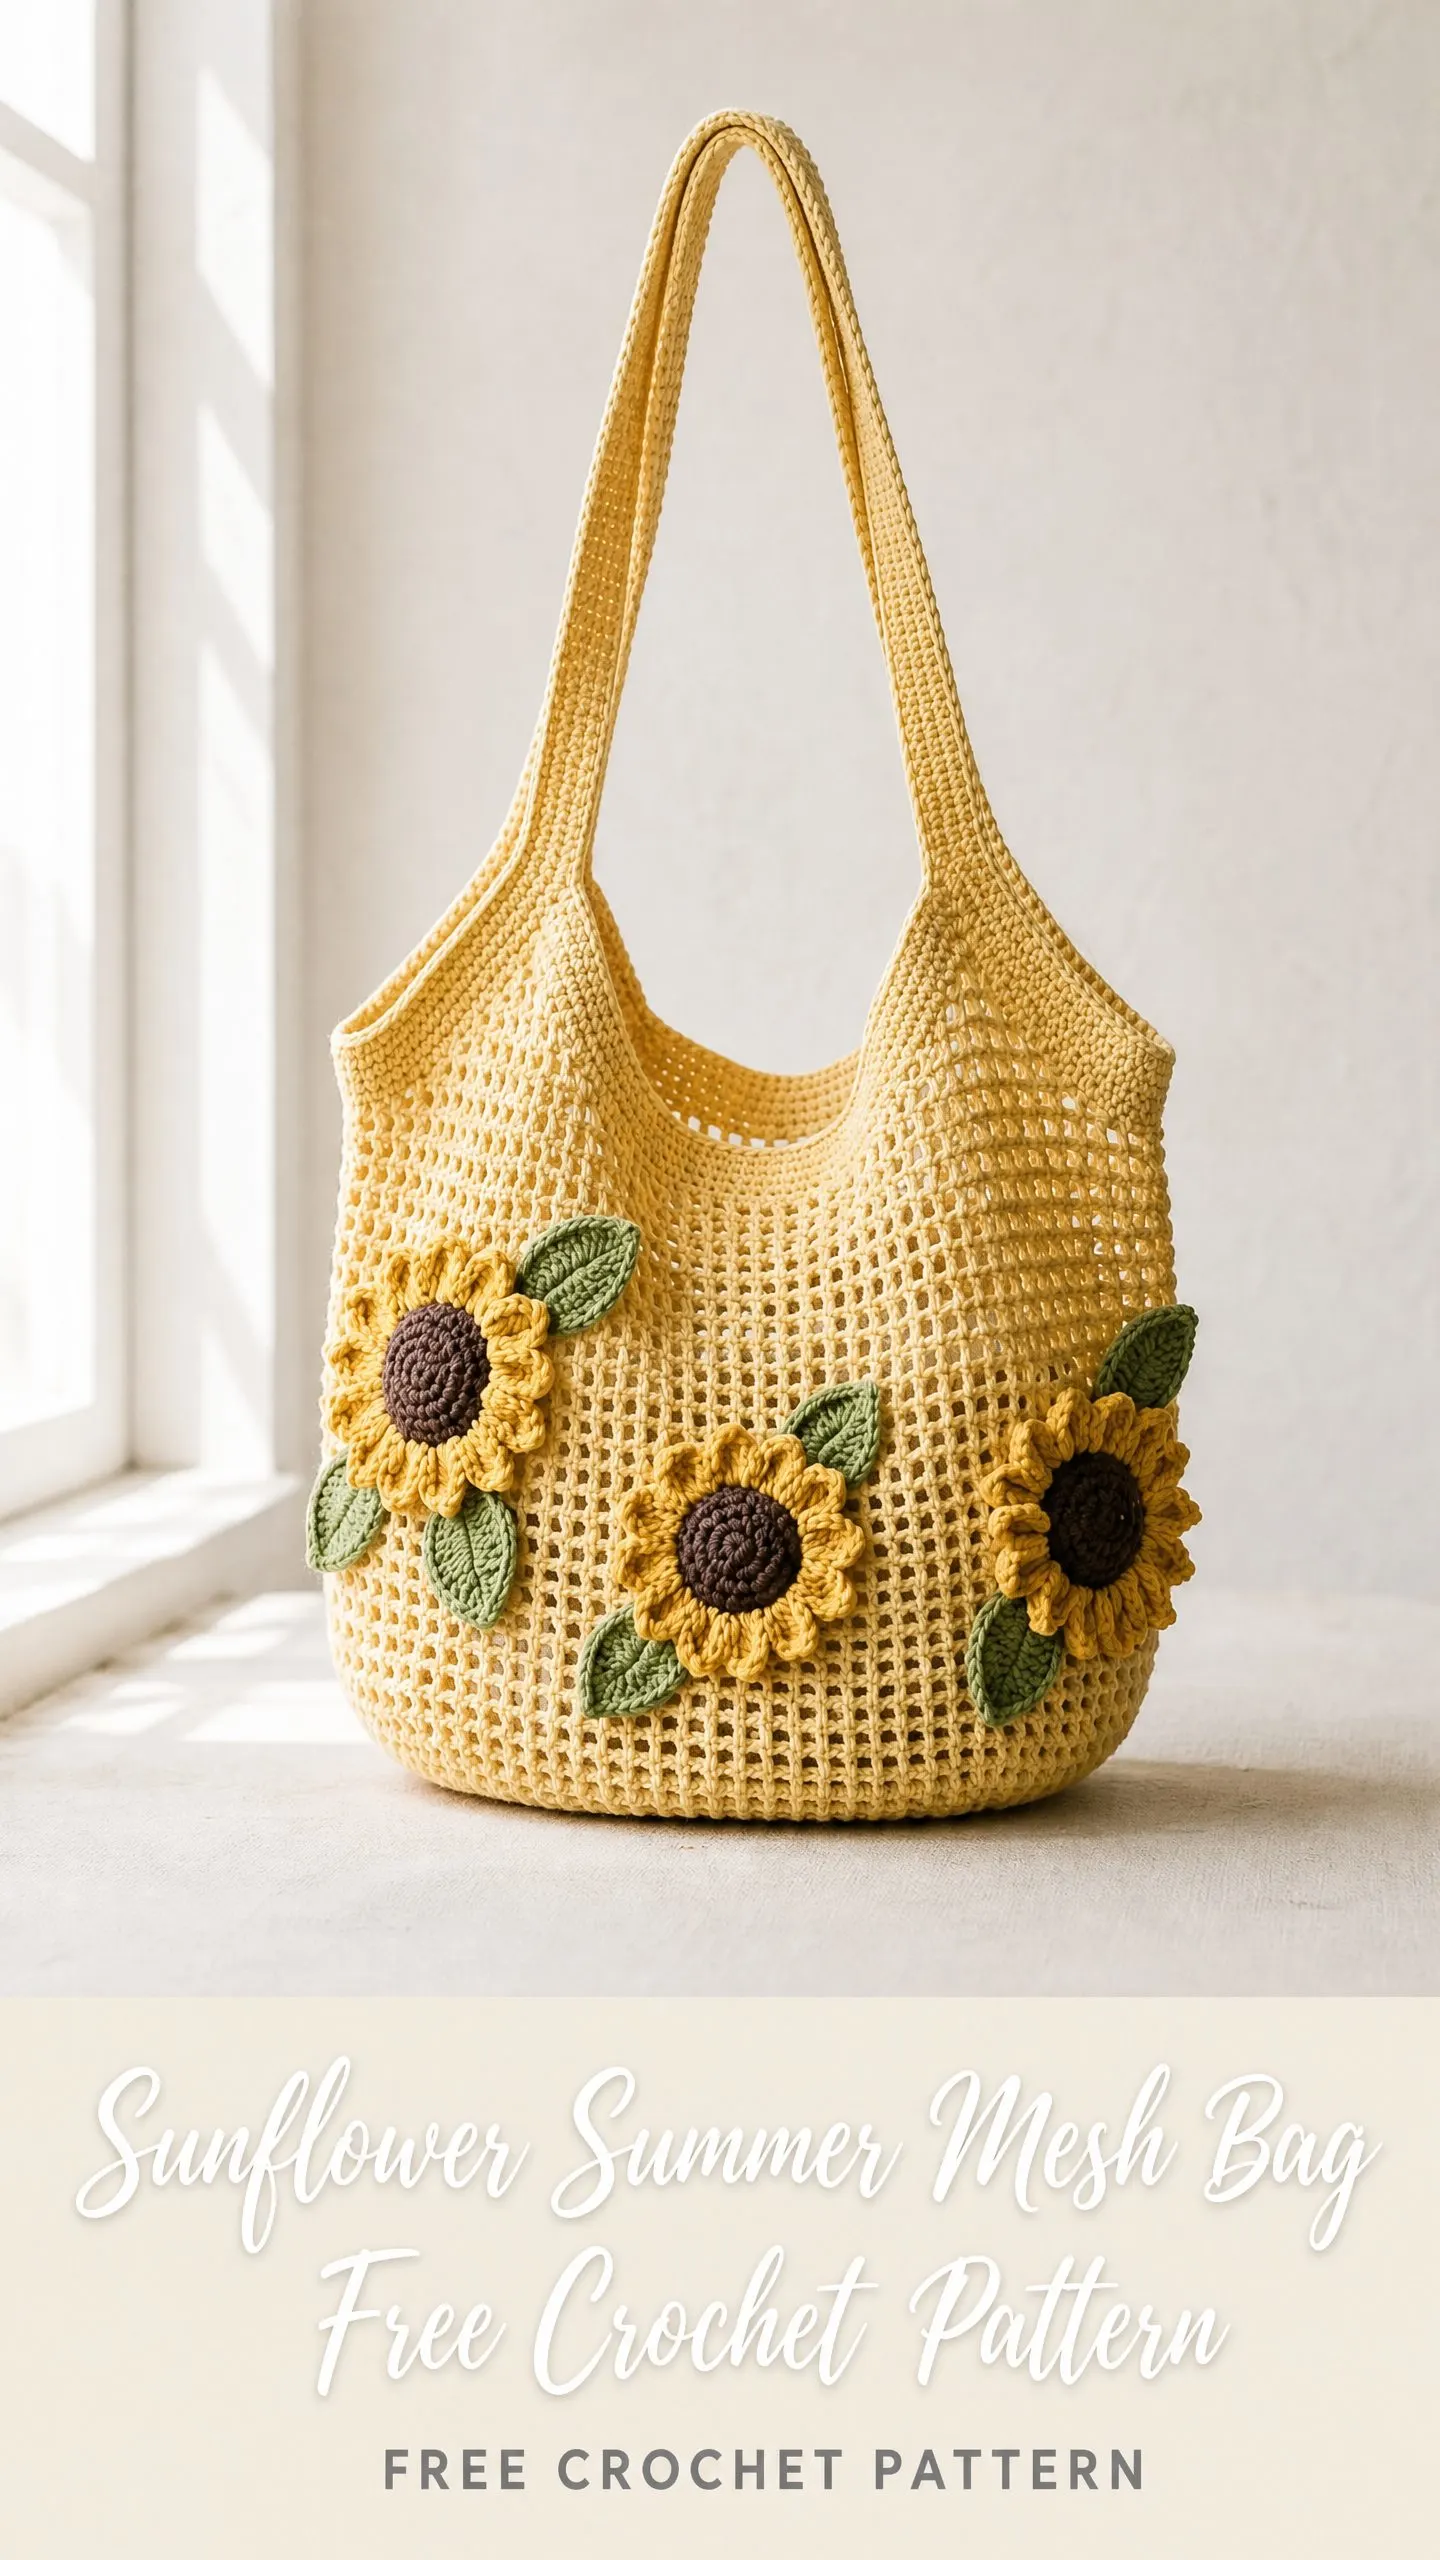
This roomy mesh tote combines simple stitches with stunning three dimensional sunflower appliques that look way more complicated than they actually are. The open lattice body is worked seamlessly from the bottom up in joined rounds, so there is no seaming to stress about. The construction keeps things interesting without being overwhelming.
I will be honest with you. This pattern sits at an intermediate level. If you are comfortable working in the round, reading stitch counts, and tackling a few separate components, you will do great. Beginners with a couple of finished projects under their belt can absolutely attempt this with a little patience.
Why You Will Love This Crochet Bag Pattern
This cheerful summer tote is the kind of project that turns heads at the farmers market. The mesh body creates a lightweight, breathable bag perfect for beach towels, produce, or everyday essentials. Those dimensional sunflowers with their crocheted leaves transform a simple bag into a statement accessory.
The construction method makes this project satisfying to work on. You start with an oval base, transition into an open mesh stitch pattern, and finish with two sturdy shoulder straps. The sunflowers and leaves are made separately, which means you can crochet them while watching your favorite show and sew them on at the end.
Finished dimensions clock in at approximately 14 inches wide by 12 inches tall, with 22 inch straps. That is plenty of room for all your warm weather adventures.
Materials You Will Need
Yarn
You will need DK weight cotton or cotton blend yarn in four colors:
Recommended Yarn Options
Paintbox Yarns Simply DK works beautifully here. The 100 percent cotton gives excellent stitch definition in the mesh. Try Buttercup Yellow for MC, Daffodil Yellow for PC, Chocolate Brown for CC, and Grass Green for LC.
Lion Brand 24/7 Cotton DK is another excellent choice. The mercerized cotton adds a subtle sheen that suits the summery aesthetic perfectly.
Avoid fuzzy or fluffy yarns as they will obscure that gorgeous open mesh texture. Acrylic will work in a pinch, but the bag may stretch significantly under load.
Hooks
Notions
Gauge
With G-6 / 4.0 mm hook and MC, in mesh pattern:
One mesh repeat (1 single crochet plus 2 chain) measured over 10 complete repeats and 10 rows equals 4 inches / 10 cm square.
Alternatively: 18 stitches and 10 rows in single crochet equals 4 inches / 10 cm.
Gauge matters here. The mesh is open by nature, so tension consistency matters more than tightness. I recommend swatching in the round if possible.
Abbreviations and Stitch Definitions
Let me walk you through every abbreviation you will encounter. No surprises here.
BLO stands for back loop only. Instead of inserting your hook under both loops at the top of a stitch, you only go through the back loop. This creates a ridge effect.
ch means chain. You yarn over and pull through the loop on your hook. Simple as that.
ch-sp refers to chain space. This is the gap created by chains in the previous row or round.
dc stands for double crochet. Yarn over, insert hook, pull up a loop, yarn over and pull through two loops, yarn over and pull through the remaining two loops.
hdc means half double crochet. Yarn over, insert hook, pull up a loop so you have three loops on your hook, then yarn over and pull through all three at once.
inc indicates an increase. Work 2 stitches into the same stitch to add width.
MR stands for magic ring (also called magic circle). This adjustable starting ring lets you pull the center hole closed tightly.
rnd means round.
RS refers to right side, the public facing side of your work.
sc stands for single crochet. Insert hook, pull up a loop, yarn over and pull through both loops. So if I say "sc in next 5 sts" that means you work one single crochet into each of the next five stitches.
sk means skip. Pass over a stitch without working into it.
sl st indicates slip stitch. Insert hook, yarn over, pull through both the stitch and the loop on your hook in one motion.
sp means space.
st(s) refers to stitch or stitches.
tog means together, used when decreasing.
WS stands for wrong side.
yo means yarn over. Wrap the yarn around your hook.
Special Stitches Explained
Mesh Stitch Pattern
This creates the beautiful open lattice texture of your bag body. Each mesh unit consists of one single crochet worked into a chain 2 space, followed by a chain 2.
To begin a mesh round: Slip stitch into first ch-2 sp of previous round, ch 1 (does not count as a stitch), work 1 sc into that same ch-2 sp, ch 2, then work (1 sc into next ch-2 sp, ch 2) around, join with sl st to first sc.
The rhythm becomes meditative once you get going. Sc, ch 2, sc, ch 2. Repeat.
Sunflower Center
Worked in rounds with CC on E-4 hook:
Rnd 1: MR, ch 1, work 6 sc into ring, join with sl st to first sc. (6 sc)
Rnd 2: Ch 1, inc in each st around, join with sl st to first sc. (12 sc)
Rnd 3: Ch 1, (sc in next st, inc in next st) around, join with sl st to first sc. (18 sc)
Rnd 4: Ch 1, (sc in next 2 sts, inc in next st) around, join with sl st to first sc. (24 sc)
Rnd 5: Ch 1, (sc in next 3 sts, inc in next st) around, join with sl st to first sc. (30 sc)
Fasten off, leaving a long tail for sewing.
Sunflower Petal Ring
Join PC into any sc of Rnd 5 of center disk.
Petal Round: Ch 1, then work (sc, ch 2, 4 dc, ch 2, sc) into same st, sl st into next st, (sc, ch 2, 4 dc, ch 2, sc) into next st, sl st into next st. Repeat around, making one petal cluster into every other stitch, and a sl st into the stitches between petals. This produces 15 petals evenly spaced. Join with sl st. Fasten off.
Leaf
Worked flat with LC on E-4 hook. Make 2 per sunflower, 6 total.
Ch 10.
Row 1: Sc in 2nd ch from hook, hdc in next ch, dc in next 5 chs, hdc in next ch, 3 sc in last ch (this is the tip of your leaf). Now work along the opposite side of foundation chain: hdc in next ch, dc in next 5 chs, hdc in next ch, sc in last ch, sl st to first sc to close. (22 sts around)
Fasten off, leaving a tail for sewing. Lightly press flat.
Step by Step Instructions
Section 1: Oval Base
The base creates a sturdy foundation by working around both sides of a foundation chain.
Foundation Chain: With MC and G-6 hook, ch 21.
Rnd 1: Sc in 2nd ch from hook and in each of next 18 chs (19 sc along top), work 3 sc into last ch (corner), continue working along the bottom of the foundation chain, sc in each of next 18 chs (18 sc along bottom), work 2 sc into the first ch (completing the other corner). Join with sl st to first sc. (42 sc)
Rnd 2: Ch 1, sc in same st, sc in next 18 sts, inc in next 3 sts (at one curved end), sc in next 18 sts, inc in next 2 sts (at other curved end), join with sl st to first sc. (47 sc)
Rnd 3: Ch 1, sc in same st, sc in next 18 sts, (sc in next st, inc in next st) twice, sc in next st, sc in next 18 sts, (sc in next st, inc in next st) once, sc in next st, join with sl st to first sc. (50 sc)
Rnd 4: Ch 1, sc in same st, sc in next 19 sts, inc in next st, sc in next 2 sts, inc in next st, sc in next 2 sts, inc in next st, sc in next 20 sts, inc in next st, sc in next 2 sts, inc in next st, join with sl st to first sc. (55 sc)
Rnd 5: Ch 1, sc in same st, sc in next 20 sts, inc in next st, sc in next 3 sts, inc in next st, sc in next 3 sts, inc in next st, sc in next 20 sts, inc in next st, sc in next 3 sts, inc in next st, join with sl st to first sc. (60 sc)
Rnd 6: Ch 1, sc in same st, sc in next 21 sts, inc in next st, sc in next 4 sts, inc in next st, sc in next 4 sts, inc in next st, sc in next 21 sts, inc in next st, sc in next 4 sts, inc in next st, join with sl st to first sc. (65 sc)
Rnd 7: Ch 1, sc in each st around, join with sl st to first sc. (65 sc)
Rnd 8: Ch 1, sc in same st, sc in next 22 sts, inc in next st, sc in next 5 sts, inc in next st, sc in next 5 sts, inc in next st, sc in next 22 sts, inc in next st, sc in next 5 sts, inc in next st, join with sl st to first sc. (70 sc)
Rnd 9: Ch 1, sc in each st around, join with sl st to first sc. (70 sc)
Checkpoint: Your base should measure approximately 7 inches long by 4.5 inches wide. If it is smaller, consider going up half a hook size.
Section 2: Transition to Straight Sides
Rnd 10: Ch 1, sc in each st around, join with sl st to first sc. (70 sc)
Mark this round with a stitch marker for reference when checking height later.
Section 3: Mesh Body
Here comes the fun part. The open mesh creates that gorgeous lattice texture.
Rnd 11 (Mesh Setup Round): Sl st into first st, ch 3 (counts as 1 dc and sets up first ch-2 sp), sk 1 st, (sc in next st, ch 2, sk 1 st) 34 times, sc in next st, ch 2, join with sl st to top of beginning ch-3. (35 sc, 35 ch-2 spaces)
Rnd 12: Sl st into first ch-2 sp, ch 1, sc into that same ch-2 sp, ch 2, (sc in next ch-2 sp, ch 2) 34 times, join with sl st to first sc. (35 sc)
Rnds 13 through 47: Repeat Rnd 12. Work even in mesh pattern with no shaping. (35 sc each round)
That is 36 total mesh rounds. Take your time and enjoy the rhythm.
Checkpoint: Your bag body should measure approximately 12 inches from base to top opening.
Section 4: Top Edging
Rnd 48: Sl st into first ch-2 sp, ch 1, (sc in ch-2 sp, sc in sc) around, join with sl st to first sc. (70 sc)
Rnd 49: Ch 1, sc in each st around, join with sl st to first sc. (70 sc)
Fasten off and weave in end.
Section 5: Straps (Make 2)
With MC and G-6 hook, ch 7.
Row 1 (RS): Sc in 2nd ch from hook and in each ch across, ch 1, turn. (6 sc)
Row 2: Sc in each st across, ch 1, turn. (6 sc)
Repeat Row 2 until strap measures 22 inches from start to end.
Fasten off, leaving a 12 inch tail for sewing.
Strap Attachment: Position straps symmetrically on front and back panels. On the front panel, the left strap inner edge starts at stitch 9 and the right strap inner edge starts at stitch 27. Mirror exactly on the back.
Insert each strap end approximately 0.75 inches down into the inside of the bag top edge. Whipstitch around the entire perimeter of each strap end rectangle. Reinforce with a second pass for durability.
Section 6: Sunflower Appliques (Make 3)
Follow the Sunflower Center and Sunflower Petal Ring instructions from Special Stitches above.
Each finished sunflower measures approximately 3.5 inches in diameter including petals.
Section 7: Leaves (Make 6)
Follow the Leaf instructions from Special Stitches. Each leaf measures approximately 2 inches long.
Section 8: Applique Placement
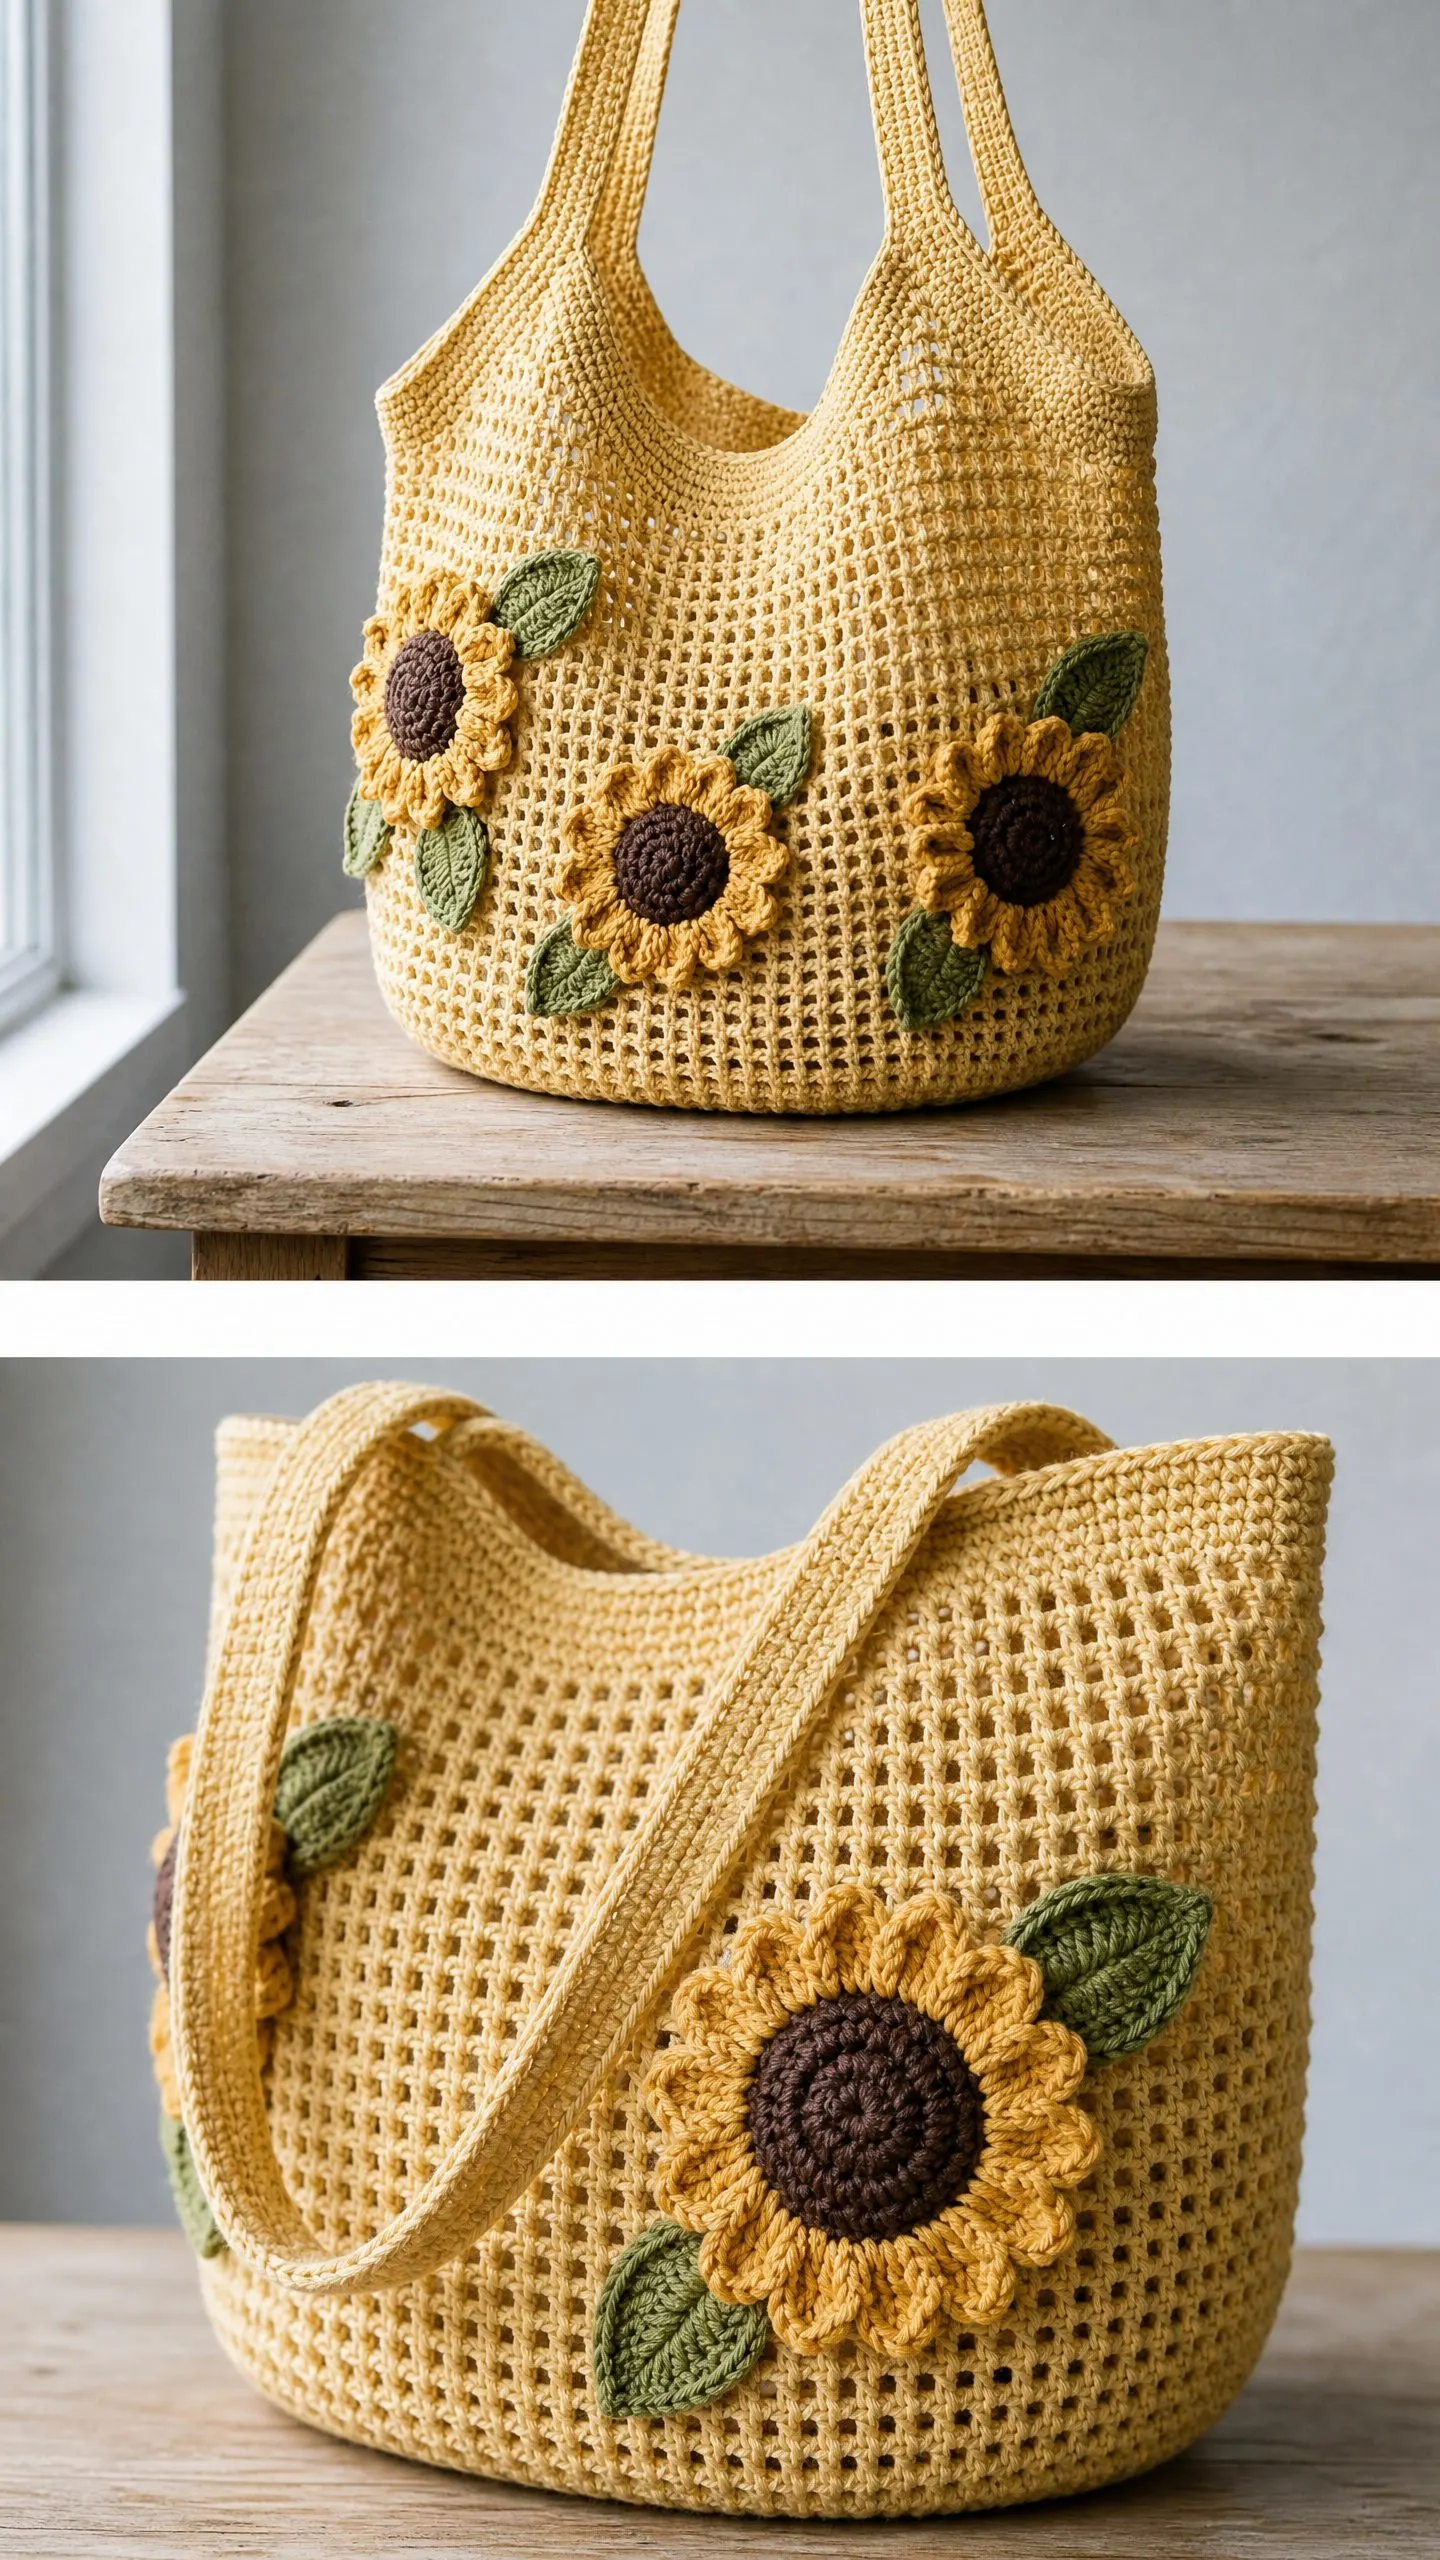
Arrange three sunflowers in a gentle arc across the lower front panel:
The flowers should slightly overlap at their outer petals for a lush, clustered look.
Place two leaves behind each sunflower at the 7 o’clock and 5 o’clock positions before sewing. Pin leaves first, then pin sunflower over them.
Sew each sunflower by stitching through the center disk circumference and through the mesh openings. Leave petal tips free for a dimensional, lifted look.
Finishing Your Crochet Bag
Weave in all ends securely. Wet blocking is strongly recommended for this bag.
Submerge the finished bag in cool water, gently squeeze out water without wringing, and roll in a towel. Shape over a rounded form (an inflated balloon works perfectly) and allow to dry completely. This may take 24 to 48 hours.
For the sunflowers and leaves, you can lightly steam block before sewing on. Hold a steam iron several inches above and let the steam relax the fibers. Do not press directly with the iron.
Time Estimate
Plan for 12 to 18 hours total: bag body takes 7 to 9 hours, straps need 1 to 2 hours, the three sunflower motifs including leaves require 3 to 5 hours, and finishing and assembly adds about 1 hour.
This gorgeous sunflower summer mesh bag crochet pattern is worth every minute you put into it. The finished result is a stunning, functional accessory that showcases your skills beautifully.
Thank you so much for choosing this pattern. I truly hope you love making it as much as I loved designing it. If you finish your bag, I would absolutely love to see it. Tag me on Instagram or share in my Facebook group. Seeing your makes genuinely brightens my day.
If this project is calling your name, go ahead and pin it to your crochet board so you can find it when you are ready to start. And please drop a comment below if you make one. I love hearing how your projects turn out and seeing what color combinations you choose.
You Might Also Like
- Sunset Orange Butterfly Bag Free Crochet Pattern
- Autumn Sunset Ombre Granny Square Cardigan Free Pattern
- Sunset Ombre Crochet Two-Piece Fringe Set Pattern
- Ocean Blue Lattice Crochet High Tops Free Pattern
