
Go dig through your yarn stash right now. I know you have that perfect skein of soft lavender DK weight yarn sitting there, waiting for something special. This baby romper is exactly the project it has been waiting for.
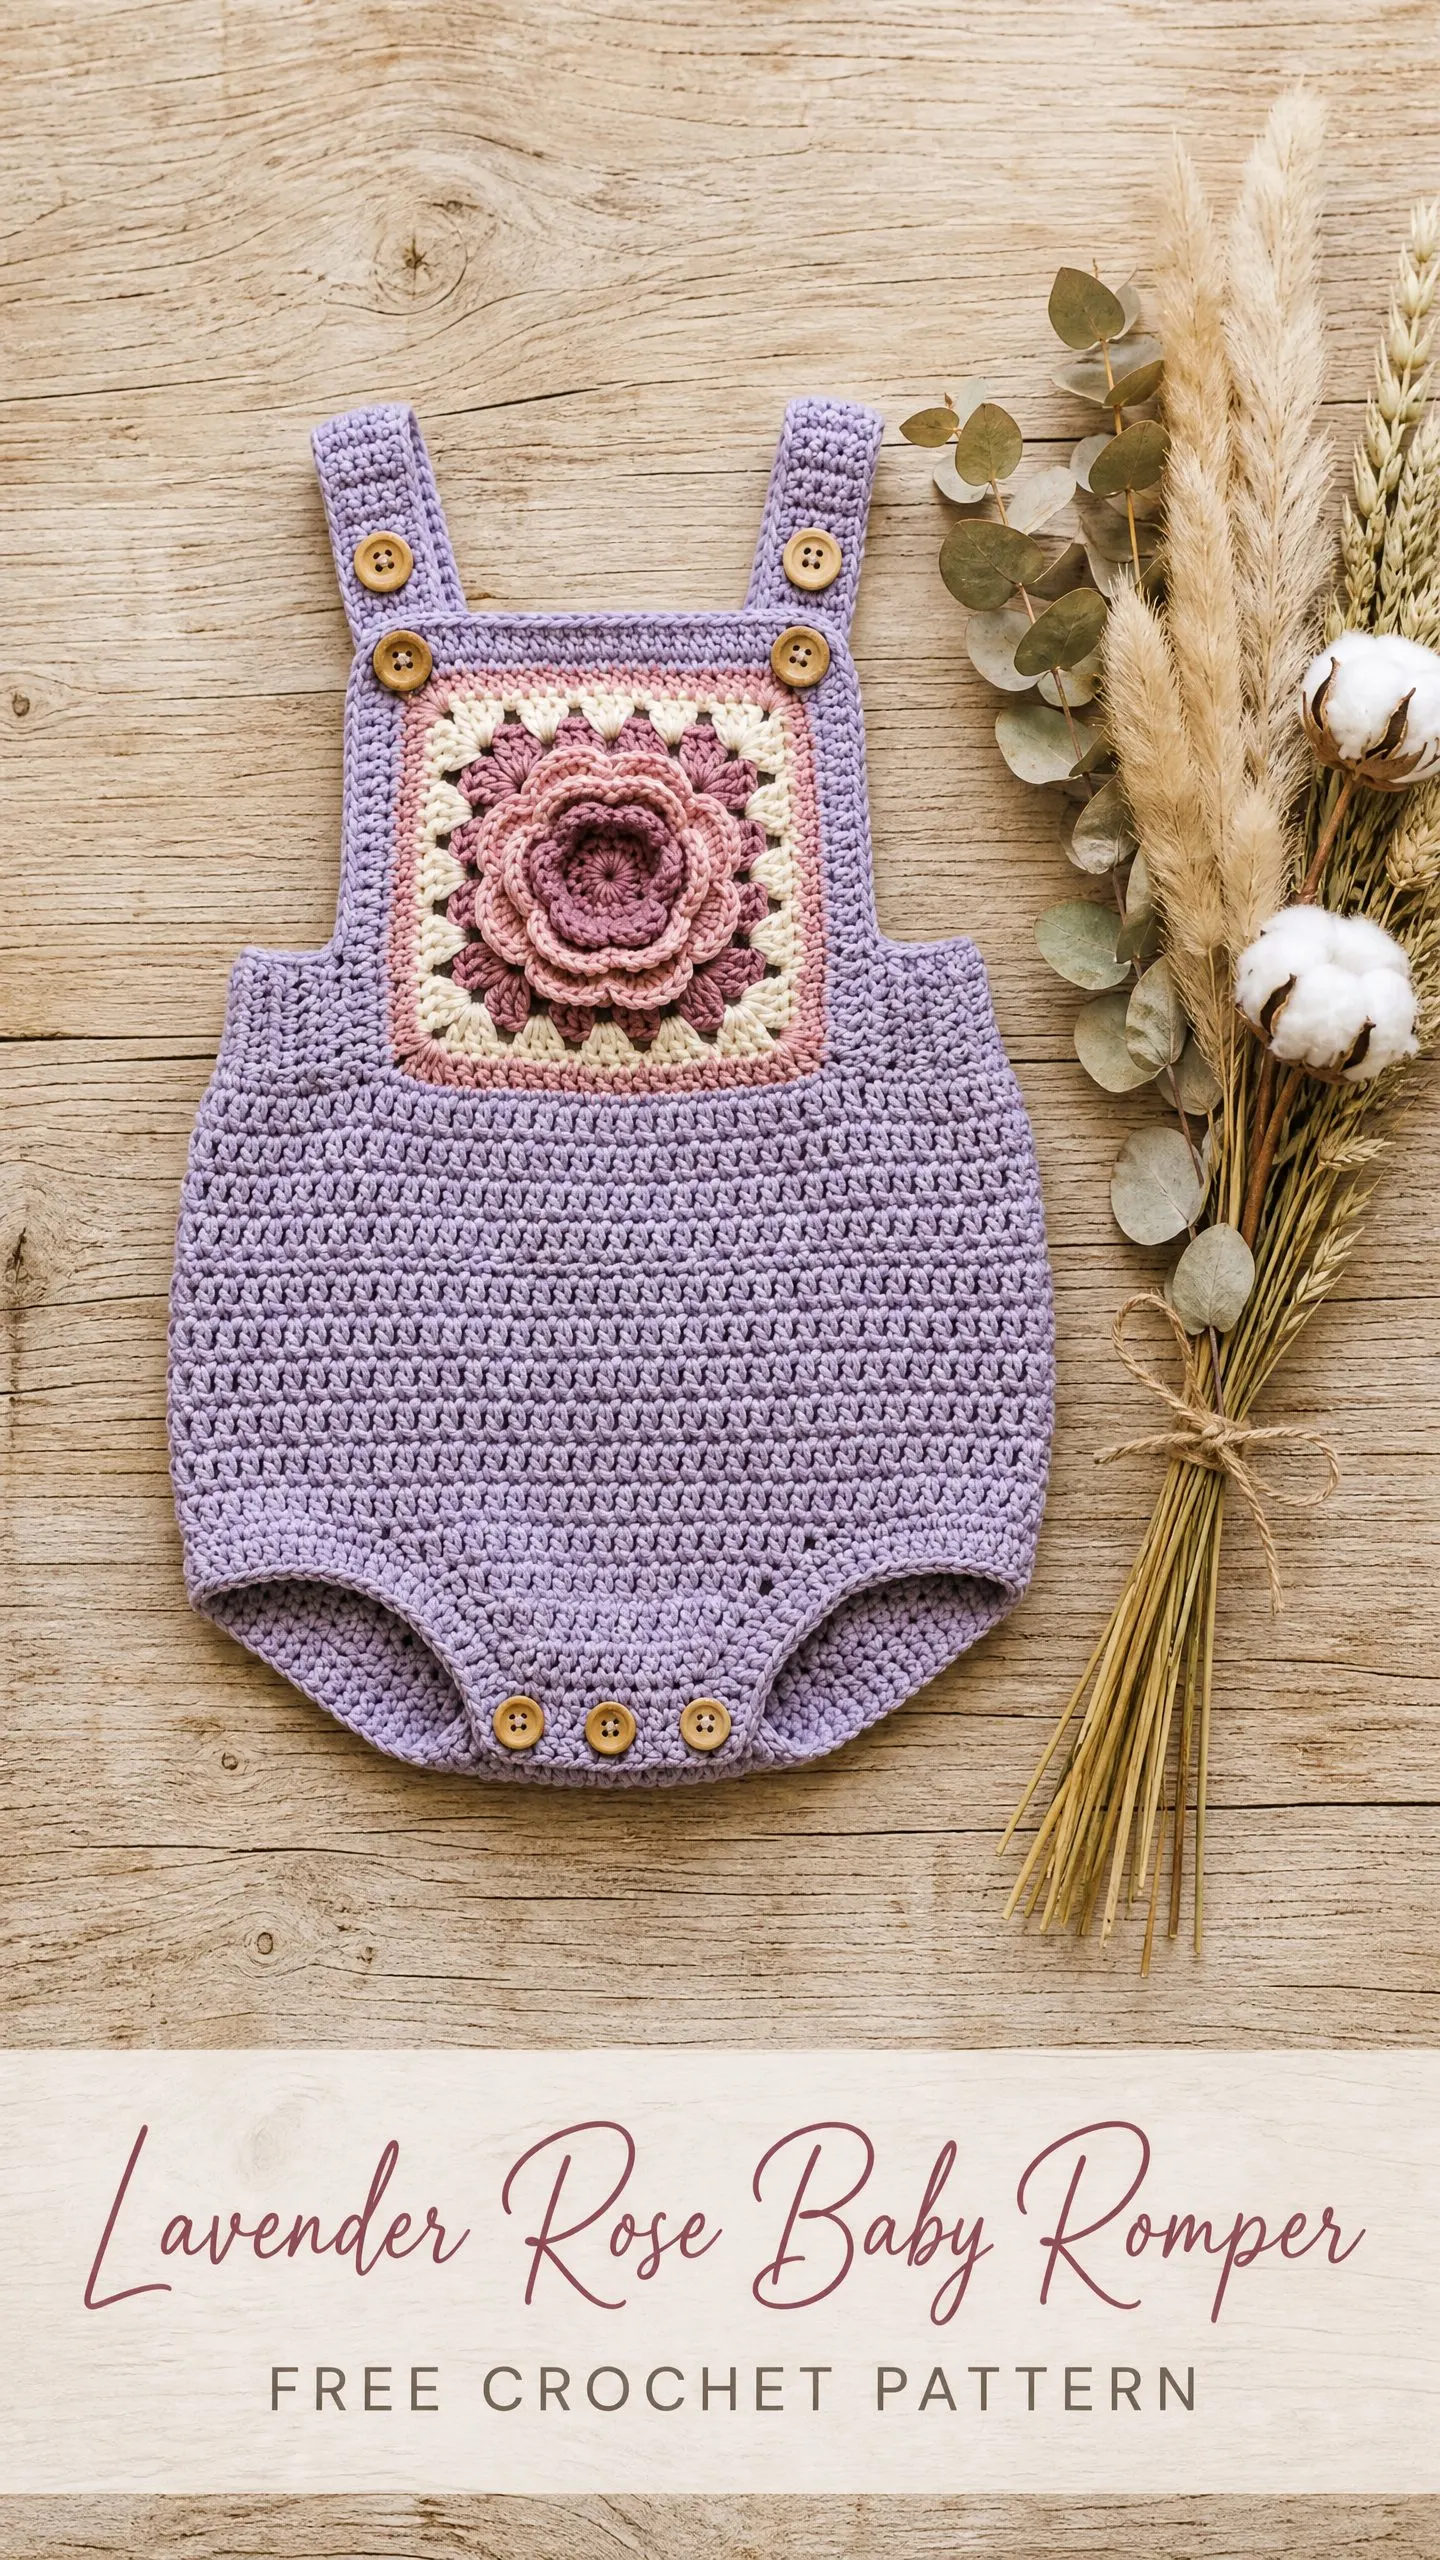
The construction here is genuinely interesting. You will work flat pieces in simple single crochet, then bring everything together with a gorgeous granny square bib panel topped with a dimensional 3D rose. The rose looks intricate, but I promise it is just loops and basic stitches worked in layers.
Let me be honest about the skill level. If you have made a granny square before and feel comfortable with single crochet shaping, you can absolutely make this. I would call it easy intermediate. The body is straightforward, the assembly is logical, and the rose just takes patience on your first try.
Why This Crochet Pattern Works So Well
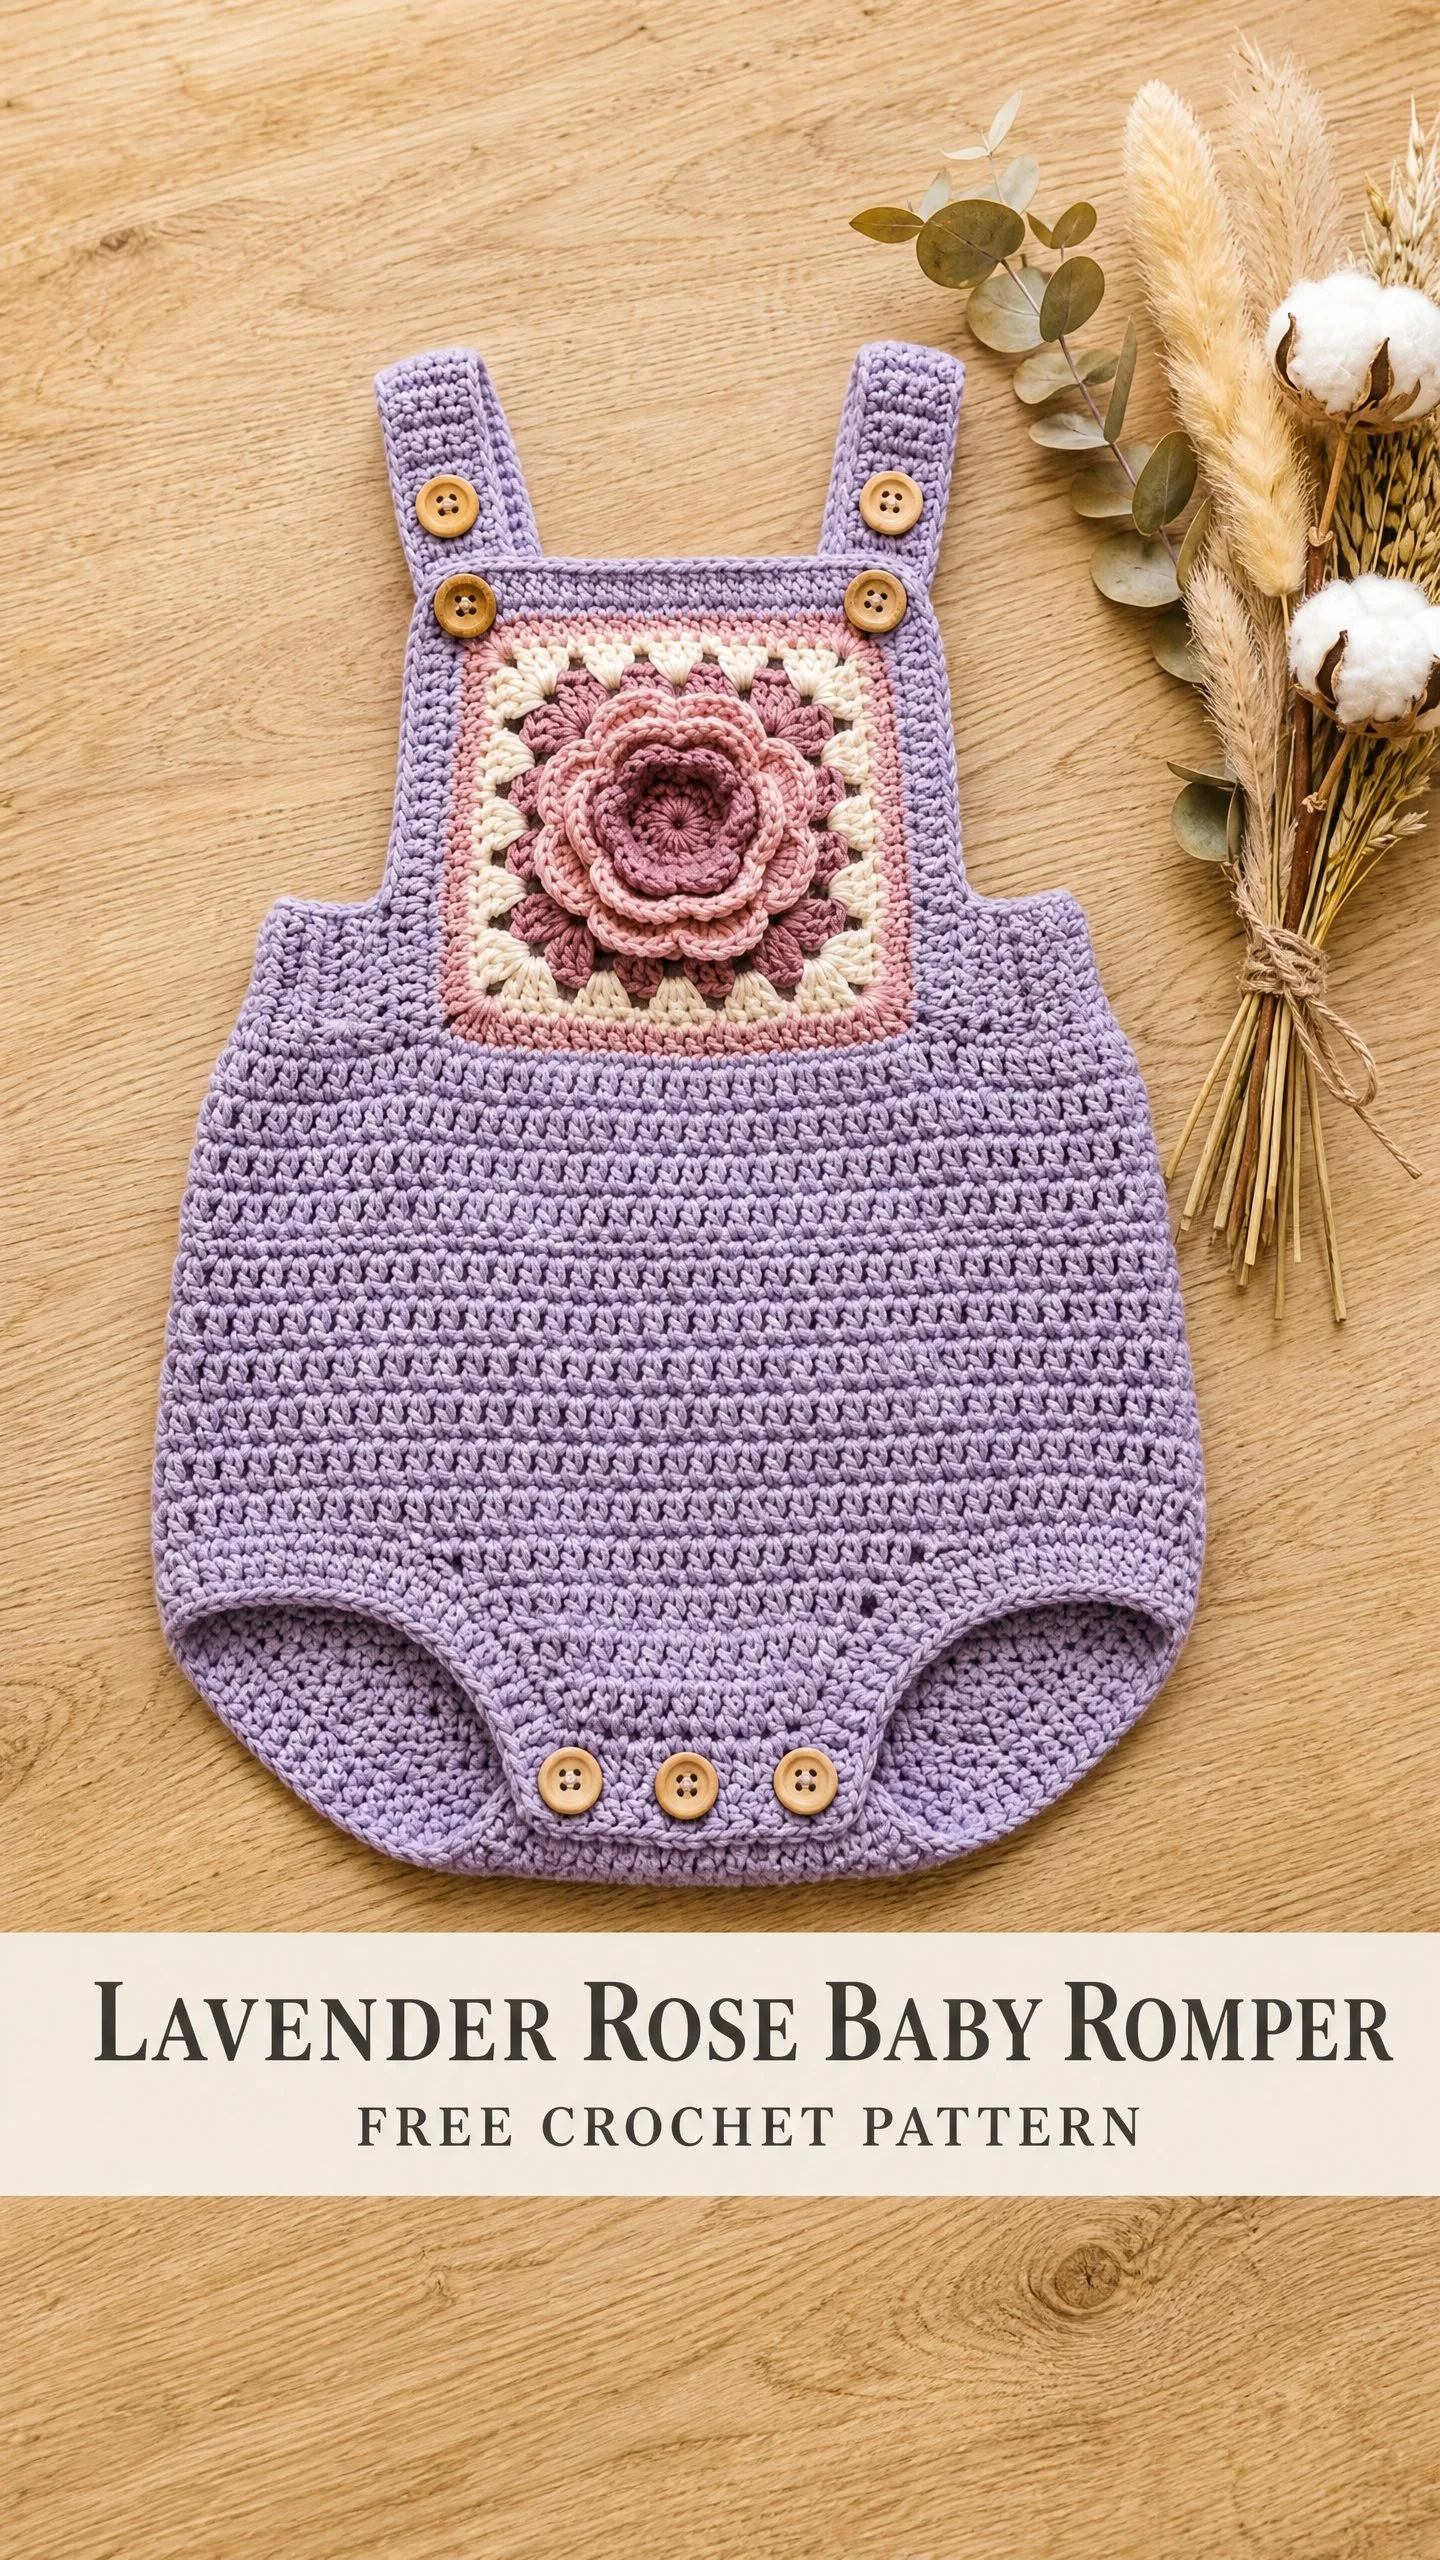
This lavender rose baby romper combines practicality with pure sweetness. The bubble silhouette gives that adorable romper puff shape that photographs beautifully. The button closures at the crotch and shoulders make diaper changes quick and easy. And that rose? It adds the kind of handmade detail that makes people say "you made that?"
The finished size fits babies 3 to 6 months, with customization tips included so you can size up or down. At approximately 6 to 10 hours of work, this makes an impressive baby shower gift that looks like it took twice as long.
Materials You Will Need
Gather these supplies before you start. Having everything ready makes the process so much smoother.
Yarn:
Hooks:
Notions:
Yarn Suggestions
Paintbox Yarns Simply DK works beautifully for this project. It is 100% acrylic with excellent stitch definition and washes like a dream. Budget friendly and widely available in all the colors you need.
Lion Brand Comfy Cotton Blend is another great choice if you want breathability against baby skin. The cotton and modal blend has a lovely drape that enhances the bubble shape.
Drops Safran is perfect for warm weather babies. This pure cotton option holds the granny square shape beautifully, though you may need to go up one hook size to match gauge.
Gauge (Please Swatch!)
With your G-6 / 4.0 mm hook and Yarn A:
18 single crochet stitches x 20 rows = 4 inches x 4 inches
I cannot stress this enough. Gauge matters so much at baby scale. Even half a stitch difference per inch will throw off the fit significantly. Please take ten minutes to swatch before diving in.
For the granny square: your completed square before adding the rose should measure 3.75 inches x 3.75 inches.
Abbreviations and Stitch Definitions
Let me walk you through every stitch you will use. If you are newer to crochet, read through this section carefully.
ch = chain. Wrap yarn over hook, pull through loop on hook. This creates one chain stitch.
sl st = slip stitch. Insert hook into stitch, yarn over, pull through both the stitch and the loop on your hook in one motion.
sc = single crochet. Insert hook into stitch, yarn over, pull up a loop (2 loops on hook), yarn over, pull through both loops.
hdc = half double crochet. Yarn over, insert hook into stitch, yarn over, pull up a loop (3 loops on hook), yarn over, pull through all 3 loops.
dc = double crochet. Yarn over, insert hook into stitch, yarn over, pull up a loop (3 loops on hook), yarn over, pull through 2 loops (2 loops remain), yarn over, pull through remaining 2 loops.
tr = treble crochet. Yarn over twice, insert hook into stitch, yarn over, pull up a loop (4 loops on hook), yarn over, pull through 2 loops three times until 1 loop remains.
sc2tog = single crochet 2 together. This is a decrease. Insert hook into first stitch, yarn over, pull up a loop. Insert hook into next stitch, yarn over, pull up a loop (3 loops on hook). Yarn over, pull through all 3 loops. You have turned 2 stitches into 1.
inc = increase. Work 2 single crochet stitches into the same stitch.
sk = skip
sp = space
RS = right side
WS = wrong side
pm = place marker
st(s) = stitch(es)
Special Stitches
Granny Cluster (gr-cl): Work 3 double crochet stitches into the same chain space. This creates one cluster.
3D Rose Petal: For base petals, work (sc, hdc, dc, dc, hdc, sc) all into the same space. This creates one curved petal that sits upward. For back petals, work (sc, hdc, dc, dc, dc, hdc, sc) to create slightly larger petals that layer behind the first round.
Pattern Notes Before You Begin
Read these through so nothing surprises you mid-project.
1. The romper body is worked flat and seamed at the sides
2. Front and back body pieces are identical. The granny square attaches to the front only
3. Straps button onto the bib panel and back body
4. All turning chains in single crochet sections count as 0 stitches
5. When you ch 1 and turn, work your first sc into the very first stitch of the previous row
6. Stitch counts appear in parentheses at the end of each row
Section 1: Granny Square Bib Panel
Use your G-6 / 4.0 mm hook.
With Yarn B, make a magic ring.
Round 1 (Yarn B):
Ch 3 (counts as first dc), work 2 dc into the ring, ch 2, (work 3 dc into the ring, ch 2) 3 times. Join with sl st to top of beginning ch 3. Fasten off Yarn B. (12 dc, 4 ch-2 corner spaces)
Round 2 (Yarn C):
Join Yarn C with sl st in any ch-2 corner space.
Ch 3 (counts as first dc), work 2 more dc in same corner sp, ch 2, work 3 dc in same sp.
(Ch 1, work 3 dc in next ch-2 corner sp, ch 2, work 3 dc in same corner sp) 3 times.
Ch 1, join with sl st to top of beginning ch 3. Fasten off Yarn C.
(24 dc, 4 ch-2 corner spaces, 4 ch-1 side spaces)
Round 3 (Yarn D):
Join Yarn D with sl st in any ch-2 corner space.
Ch 3, 2 dc in same corner sp, ch 2, 3 dc in same corner sp.
Ch 1, 3 dc in next ch-1 side sp, ch 1.
(3 dc in next ch-2 corner sp, ch 2, 3 dc in same corner sp, ch 1, 3 dc in next ch-1 side sp, ch 1) 3 times.
Join with sl st to top of beginning ch 3. Fasten off Yarn D.
(36 dc, 4 ch-2 corner spaces, 8 ch-1 side spaces)
Round 4 (Yarn E):
Join Yarn E with sl st in any ch-2 corner space.
Ch 1 (does not count as st), sc in same sp, ch 2, sc in same sp.
(Sc in each dc and each ch-1 sp across the side to the next corner, sc in corner ch-2 sp, ch 2, sc in same corner sp) 3 times.
Sc in each dc and ch-1 sp across last side.
Join with sl st to first sc. Fasten off Yarn E.
Each side should have 11 sc between the ch-2 corner spaces. Set your granny square aside.
Section 2: 3D Rose Motif
Switch to your E-4 / 3.5 mm hook. The smaller hook keeps your petals firm and sculptural.
Layer 1 (Rose Center, Yarn B)
Ch 4, join with sl st to form a ring.
Round 1: Ch 1, work 8 sc into the ring. Join with sl st to first sc. (8 sc)
Round 2: Ch 1. (Work 2 sc in next st) 8 times. Join with sl st to first sc. (16 sc)
Round 3 (inner petals): (Ch 3, sk 1 st, sl st in next st) 8 times. (8 ch-3 loops)
Round 4: For each ch-3 loop, work (sc, hdc, dc, hdc, sc) into the loop. (8 small petals)
Fasten off Yarn B.
Layer 2 (Outer Petals, Yarn C)
Working behind the Layer 1 petals, find the slip stitches from Round 3 at the base of each petal. Join Yarn C with a sl st into the sl st at the base of the first petal.
(Ch 5, sl st into the sl st at base of next Layer 1 petal) 8 times. (8 ch-5 loops)
For each ch-5 loop, work (sc, hdc, dc, dc, hdc, sc) into the loop. (8 medium petals)
Fasten off Yarn C, leaving a 12-inch tail for sewing.
Layer 3 (Back Petals, Yarn B)
Working behind Layer 2 petals, find the 16 sc stitches from Round 2. Join Yarn B with a sl st into any Round 2 sc that is not already occupied.
(Ch 6, sk 1 Round-2 sc, sl st in next Round-2 sc) 8 times. (8 ch-6 loops)
For each ch-6 loop, work (sc, hdc, dc, tr, dc, hdc, sc) into the loop. (8 large petals)
Fasten off Yarn B, leaving a 12-inch tail.
Assembling the Rose
Bring all tails to the back. Use your tails to sew the rose firmly to the center of the granny square. The petals should fan outward naturally and overlap slightly. Weave in all ends.
Your bib panel is complete! Set it aside.
Section 3: Romper Body (Make 2 Identical Pieces)
Use your G-6 / 4.0 mm hook and Yarn A throughout.
Foundation chain: Ch 37.
Row 1 (RS): Sc in second ch from hook and in each ch across. Ch 1, turn. (36 sc)
Rows 2 through 6: Sc in each st across. Ch 1, turn. (36 sc)
Row 7 (increase row): Inc in first st, sc across to last st, inc in last st. Ch 1, turn. (38 sc)
Row 8: Sc across. Ch 1, turn. (38 sc)
Row 9 (increase row): Inc in first st, sc across to last st, inc in last st. Ch 1, turn. (40 sc)
Row 10: Sc across. Ch 1, turn. (40 sc)
Row 11 (increase row): Inc in first st, sc across to last st, inc in last st. Ch 1, turn. (42 sc)
Row 12: Sc across. Ch 1, turn. (42 sc)
Row 13 (increase row): Inc in first st, sc across to last st, inc in last st. Ch 1, turn. (44 sc)
Rows 14 through 20: Sc across. Ch 1, turn. (44 sc)
Your piece should measure approximately 4 inches from the foundation chain. Now begin the leg shaping.
Row 21 (decrease row): Sl st across first 4 sts. Ch 1, sc in the same st as last sl st, sc across to last 4 sts, leave last 4 sts unworked. Ch 1, turn. (36 sc)
Row 22: Sc2tog at beginning, sc across to last 2 sts, sc2tog. Ch 1, turn. (34 sc)
Row 23: Sc2tog at beginning, sc across to last 2 sts, sc2tog. Ch 1, turn. (32 sc)
Row 24: Sc2tog at beginning, sc across to last 2 sts, sc2tog. Ch 1, turn. (30 sc)
Row 25: Sc across. Ch 1, turn. (30 sc)
Row 26: Sc2tog at beginning, sc across to last 2 sts, sc2tog. Ch 1, turn. (28 sc)
Rows 27 through 32: Sc across. Ch 1, turn. (28 sc)
Your piece should measure approximately 6.5 inches from the foundation chain.
Bottom Button Band
With RS facing, work along the foundation chain edge.
Row 1: Sc evenly across the bottom foundation edge, approximately 36 sc. Ch 1, turn.
Row 2 (buttonholes, front piece only): Sc in first 8 sts. (Ch 1, sk 1 st, sc in next 6 sts) twice. Sc to end. Ch 1, turn.
Row 3: Sc across, working 1 sc into each ch-1 buttonhole space. Ch 1, turn. (36 sc)
Row 4: Sc across. Fasten off. (36 sc)
For the back piece, omit the buttonholes in Row 2 and simply sc across. You will sew buttons to the back piece instead.
Leg Edging
With RS facing and Yarn A, join with sl st at the corner of each leg opening. Ch 1, sc evenly around the leg opening, approximately 36 sc total. Join with sl st to first sc. Fasten off.
Repeat for both leg openings on both body pieces.
Section 4: Straps (Make 2)
Use your G-6 / 4.0 mm hook and Yarn A.
Foundation chain: Ch 7.
Row 1: Sc in second ch from hook and in each ch across. Ch 1, turn. (6 sc)
Rows 2 through 37: Sc across. Ch 1, turn. (6 sc)
Buttonhole row: Sc in first 2 sts, ch 2, sk 2 sts, sc in last 2 sts. Ch 1, turn.
Final row: Sc in first 2 sts, 2 sc into ch-2 sp, sc in last 2 sts. Fasten off. (6 sc)
Add a second buttonhole at the opposite end of the strap by reattaching Yarn A and working the same buttonhole row and final row sequence.
Make 2 straps total.
Section 5: Assembly
Step 1: Hold the front and back body pieces with wrong sides together. Whipstitch or mattress stitch the side edges together from bottom to top, leaving the top edge open. Seam both sides.
Step 2: Center the completed granny square bib panel on the upper front of the romper. The top of the granny square should sit flush with the top edge. Whipstitch the panel firmly around all four edges.
Step 3: Sew 2 wooden buttons to each upper corner of the granny square panel for the straps. Sew 1 button to the back body at each strap attachment point, approximately 2 inches from each outer edge.
Step 4: Sew 4 buttons to the bottom band of the back body, aligned with the buttonholes on the front.
Step 5: Weave in all remaining ends and block your finished romper.
Finishing and Care
For wet blocking, submerge the romper in cool water and gently squeeze out excess. Lay flat on a blocking mat, pin to measurements, and let dry completely.
For acrylic yarn, steam blocking works well. Hold your steam iron 1 to 2 inches above the surface without pressing directly. Avoid steaming the rose so it stays dimensional.
Care instructions: Machine wash gentle cycle in cold water, inside a mesh bag. Lay flat to dry. Check all buttons before each use.
Size Customization
6 to 9 months: Start with ch 41 (40 working stitches). Increase to 48 sc at the widest point. Add 2 rows to the straight section. Work the top at 32 sc.
9 to 12 months: Start with ch 45 (44 working stitches). Increase to 52 sc at the widest point. Add 4 rows before leg decreases. Work the top at 34 sc.
0 to 3 months: Start with ch 33 (32 working stitches). Increase to 40 sc at the widest point. Reduce the straight section by 2 rows. Work the top at 26 sc.
I hope you love making this baby romper as much as I loved designing it. The combination of simple single crochet with that stunning rose bib creates something truly special. If you make one, I would absolutely love to see it! Tag me on Instagram or share a photo in our Facebook group.
Save this pattern to your Pinterest boards so you can find it when you are ready to start. And please drop a comment below if you make this romper. I read every single one and it honestly makes my day to see your finished projects come to life.
You Might Also Like
- Peach Blossom Fairy Crochet Dress Free Crochet Pattern
- Tropical Hibiscus Mermaid Amigurumi Free Crochet Pattern
- Watermelon Slice Tropical Charm Bracelet Free Crochet Pattern
- Neon Lime Snake Plant Amigurumi Free Crochet Pattern
