
Let me guess. You saw this adorable bunny hoodie and immediately thought, "There is no way I can make that." The toggle buttons, the structured ears, the textured body, the contrast trim. It looks like something from a fancy baby boutique, right?
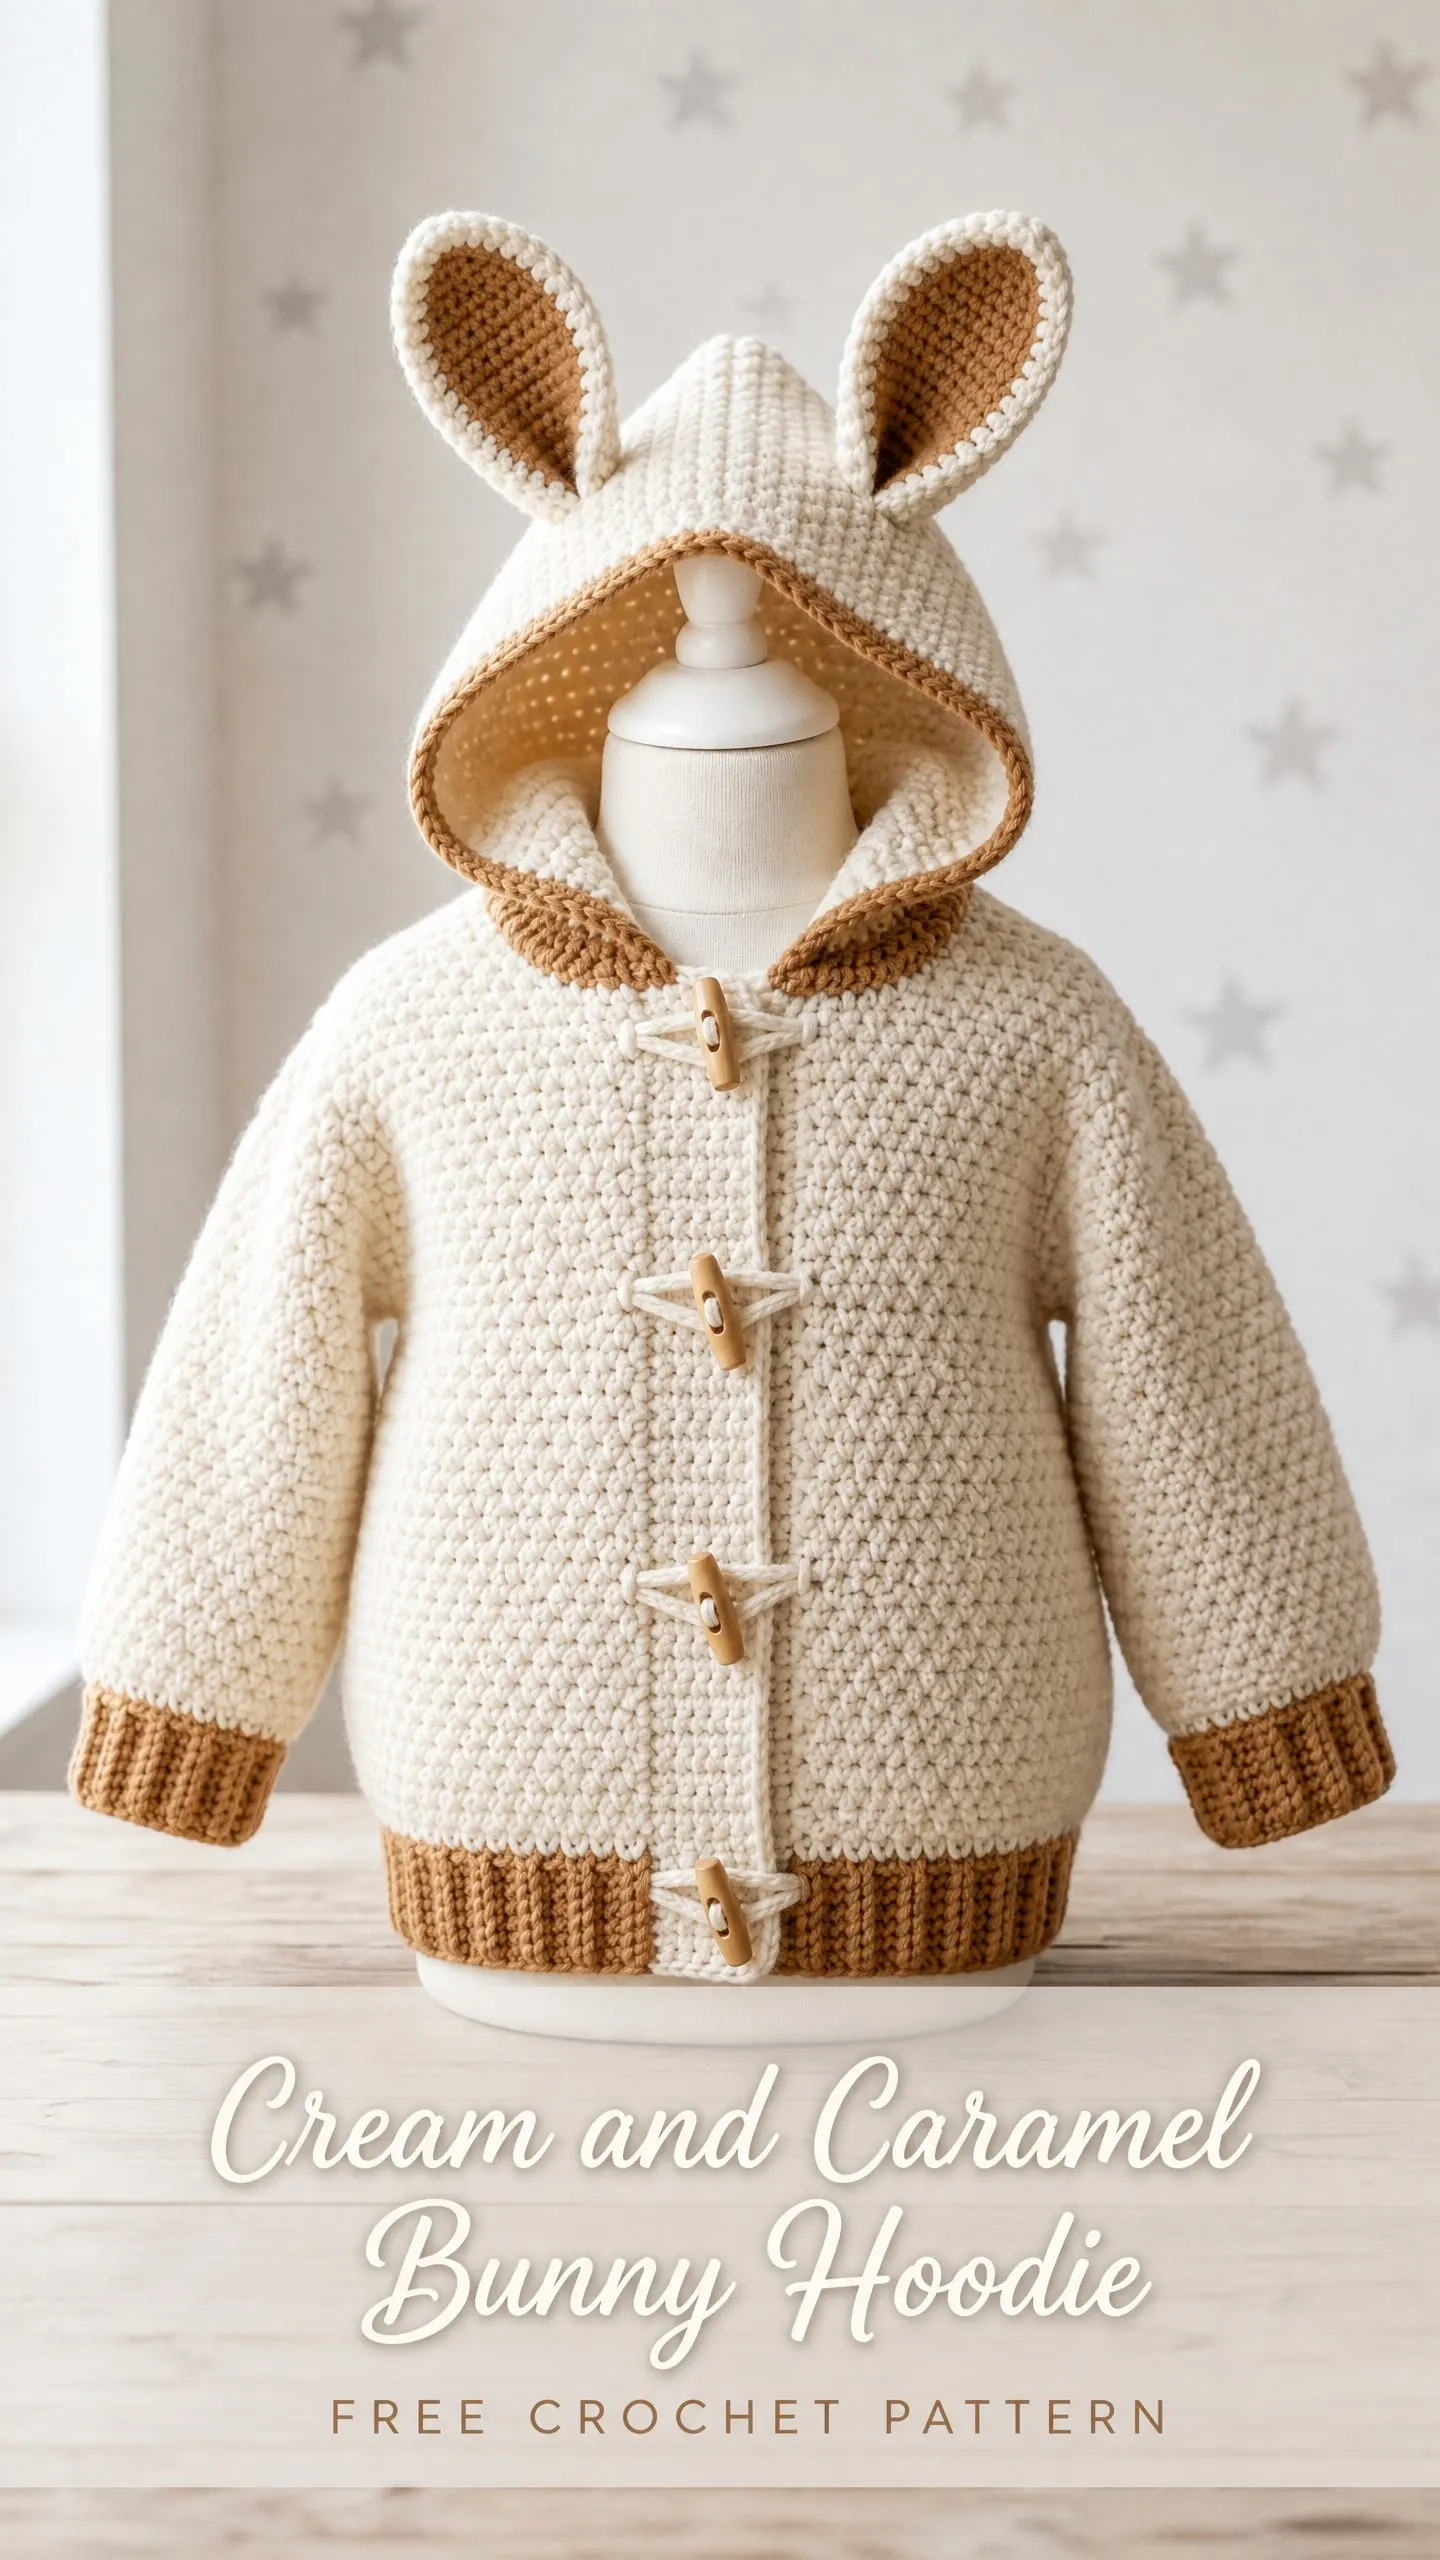
Here’s the truth. This hoodie is built from flat pieces using a simple two-row repeat stitch pattern. You work the back, two fronts, two sleeves, and a hood rectangle. Then you seam them together and add the finishing touches. No magic, no mystery, just one stitch at a time.
If you can single crochet and chain, you can absolutely make this. The moss stitch pattern creates that beautiful grid-like texture you see in the photos, but it’s just single crochets and chain-one spaces alternating across the row. I’ll walk you through every single step, every stitch count, every shaping detail. By the end, you’ll have a cozy, professional-looking baby cardigan with the cutest bunny ears on top.
Why This Bunny Hoodie Pattern Works So Well
This crochet baby hoodie pattern hits all the right notes for gift-giving and everyday wear. The dense moss stitch fabric is squishy and warm without being too thick. The wooden toggle buttons add a classic look that works for any nursery aesthetic. And those bunny ears? They stand upright on their own because of the clever shaping and the contrast inner lining that gives them structure.
The pattern covers five sizes from 3-6 months all the way up to 3T, so you can make this for newborns or toddlers. I’ve written the instructions for the 12-18 month size with all other sizes in parentheses, making it easy to follow along no matter which size you’re working.
Materials You’ll Need
Yarn:
For other sizes, you’ll need: 380 (420) [460] {510} (560) yards of cream and 60 (70) [80] {90} (100) yards of caramel.
Recommended Yarn Options:
Hooks:
Notions:
Gauge
With the larger hook and Yarn A in Moss Stitch Pattern:
14 stitches and 20 rows = 4 inches / 10 cm, blocked
Please check your gauge before starting. This ensures your finished hoodie will fit properly. If your swatch is larger than gauge, try a smaller hook. If smaller, go up a hook size.
Finished Measurements
For size 12-18 months: chest 22 inches, length 12 inches, sleeve length 8.5 inches
All sizes include approximately 2 inches of positive ease for a relaxed, cozy fit.
Abbreviations and Stitch Definitions
Before we dive into the step by step crochet tutorial, let’s cover the stitches you’ll use:
ch = chain: Yarn over, pull through the loop on your hook
sc = single crochet: Insert hook into stitch, yarn over, pull up a loop (2 loops on hook), yarn over, pull through both loops
sl st = slip stitch: Insert hook, yarn over, pull through stitch and loop on hook in one motion
sk = skip: Pass over the indicated stitch without working into it
ch-sp = chain space: The gap created by a chain in the previous row
sc2tog = single crochet 2 together: A decrease that turns 2 stitches into 1. Insert hook in first stitch, pull up a loop, insert hook in next stitch, pull up a loop (3 loops on hook), yarn over, pull through all 3 loops
BLO = back loop only: Work into just the back loop of the stitch
FLO = front loop only: Work into just the front loop of the stitch
RS = right side: The public-facing side of your work
WS = wrong side: The inside of your work
MC = main color (cream)
CC = contrast color (caramel)
Special Stitch: Moss Stitch Pattern
This is the heart of the hoodie and creates that beautiful textured grid you see in the photos. Don’t let it intimidate you. It’s just a two-row repeat.
Setup chain: Chain a multiple of 2 plus 1 for the turning chain (this extra chain is NOT counted as a stitch).
Row 1 (RS): Insert hook into 2nd chain from hook, sc. (Ch 1, sk 1 ch, sc in next ch) across. Turn.
Row 2 (WS): Ch 1 (does NOT count as a stitch throughout). Sc in first sc. (Ch 1, sk the ch-1 sp, sc in next sc) across. Turn.
Row 3 (RS): Ch 1. (Sc in ch-1 sp, ch 1, sk sc) across to last stitch, sc in last sc. Turn.
After Row 3, repeat Rows 2 and 3 for the pattern. The single crochets offset on each row, creating that woven look.
Important: When counting stitches, count only the sc stitches. The ch-1 spaces are structural spacers and don’t add to your stitch count.
Ribbed Trim Stitch
This creates the stretchy trim at the cuffs, bottom band, and hood edge. Work with the smaller hook in CC.
Foundation row: Sc in each stitch across. Turn.
Rib Row: Ch 1, (sc in BLO of next st, sc in FLO of next st) across. Turn.
Repeat the Rib Row for the number of rows specified in each section.
Back Body Instructions
With larger hook and MC, chain 49 for size 12-18 months. (For other sizes: chain 41 (45) [49] {53} (57))
Row 1 (RS): Sc in 2nd ch from hook. (Ch 1, sk 1 ch, sc in next ch) across. Turn. (25 sc)
Row 2 (WS): Ch 1. Sc in first sc. (Ch 1, sk ch-1 sp, sc in next sc) across. Turn. (25 sc)
Row 3 (RS): Ch 1. Sc in first ch-1 sp. (Ch 1, sk sc, sc in next ch-1 sp) across to last sc, ch 1, sc in last sc. Turn. (25 sc)
Repeat Rows 2 and 3 alternately until back measures 7.5 inches from foundation chain, ending with a WS row.
Armhole Shaping
Decrease Row 1 (RS): Ch 1, sk first sc, sc in first ch-1 sp, continue in pattern to last 2 sc, sc2tog. Turn. (23 sc)
Decrease Row 2 (WS): Ch 1, sk first sc, sc in first ch-1 sp, continue in pattern to last 2 sc, sc2tog. Turn. (21 sc)
Work even in Moss Stitch Pattern without shaping until armhole measures 4.5 inches from start of armhole shaping, ending with a WS row.
Shoulder and Neck Divide
Next Row (RS): Work 6 sc in pattern (left shoulder). Fasten off.
Skip center 9 sc (these form the back neck).
Rejoin MC to remaining 6 sc. Work 1 row even. Fasten off (right shoulder).
Left Front Instructions
With larger hook and MC, chain 25 for size 12-18 months.
Row 1 (RS): Sc in 2nd ch from hook. (Ch 1, sk 1 ch, sc in next ch) across. Turn. (12 sc)
Work Rows 2 and 3 of Moss Stitch Pattern and repeat until piece measures same as back to armhole (7.5 inches), ending with a WS row.
Left Front Armhole Shaping
The armhole is at the left edge of your work (beginning of RS rows).
Decrease Row 1 (RS): Ch 1, sk first sc, sc in first ch-1 sp, continue in pattern to end. Turn. (11 sc)
Decrease Row 2 (WS): Work in pattern to last 2 sc, sc2tog. Turn. (10 sc)
Work even until armhole measures 2.5 inches, ending with a RS row.
Left Front Neck Shaping
Decrease Row 1 (WS): Ch 1, sk first sc, sc in first ch-1 sp, continue in pattern to end. Turn. (9 sc)
Decrease Row 2 (RS): Work in pattern to last 2 sc, sc2tog. Turn. (8 sc)
Decrease Row 3 (WS): Ch 1, sk first sc, sc in first ch-1 sp, continue in pattern to end. Turn. (7 sc)
Work even until armhole measures same as back armhole depth. You should have 6 sc remaining for shoulder. Fasten off.
Right Front Instructions
Work as left front but mirror all shaping. The armhole shaping occurs at the end of RS rows, and neck shaping occurs at the beginning of RS rows.
Follow the same decrease sequence, just reversed. You’ll end with 6 sc for the shoulder.
Sleeves (Make 2)
With larger hook and MC, chain 27 for size 12-18 months.
Row 1 (RS): Sc in 2nd ch from hook. (Ch 1, sk 1 ch, sc in next ch) across. Turn. (13 sc)
Work Rows 2 and 3 of Moss Stitch Pattern for 4 rows total, ending with a WS row.
Sleeve Increases
Increase every 4th row as follows:
Increase Row (RS): Ch 1, sc in first sc (this is the increase), continue in Moss Stitch Pattern to last sc, sc in last ch-1 sp before final sc, ch 1, sc in final sc. Turn. (adds 2 sc)
Work 3 rows even after each increase row.
Continue increasing until you have 21 sc.
Work even until sleeve measures 8.5 inches from foundation chain. Fasten off.
Hood Instructions
With larger hook and MC, chain 59 for size 12-18 months.
Row 1 (RS): Sc in 2nd ch from hook. (Ch 1, sk 1 ch, sc in next ch) across. Turn. (29 sc)
Work Rows 2 and 3 of Moss Stitch Pattern and repeat until hood panel measures 8 inches from foundation.
Hood Seam
Fold the rectangle in half with RS together so the two short ends meet. The fold line becomes the top center of the head. Slip stitch through both layers across all sc stitches to join the top seam. Fasten off.
Bunny Ears
Outer Ear (Make 2 in MC)
With larger hook and MC, chain 9.
Row 1 (RS): Sc in 2nd ch from hook, sc in each ch across. Turn. (8 sc)
Rows 2-6: Ch 1, sc across. Turn. (8 sc)
Row 7 (RS): Ch 1, sc2tog, sc to last 2 sts, sc2tog. Turn. (6 sc)
Row 8 (WS): Ch 1, sc across. Turn. (6 sc)
Row 9 (RS): Ch 1, sc2tog, sc to last 2 sts, sc2tog. Turn. (4 sc)
Row 10 (WS): Ch 1, sc across. Turn. (4 sc)
Row 11 (RS): Ch 1, sc2tog twice. Turn. (2 sc)
Row 12 (WS): Ch 1, sc2tog. (1 sc)
Fasten off leaving a 12-inch tail for seaming.
Inner Ear Lining (Make 2 in CC)
With smaller hook and CC, chain 7.
Row 1 (RS): Sc in 2nd ch from hook, sc in each ch across. Turn. (6 sc)
Rows 2-4: Ch 1, sc across. Turn. (6 sc)
Row 5 (RS): Ch 1, sc2tog, sc to last 2 sts, sc2tog. Turn. (4 sc)
Row 6 (WS): Ch 1, sc across. Turn. (4 sc)
Row 7 (RS): Ch 1, sc2tog twice. Turn. (2 sc)
Row 8 (WS): Ch 1, sc2tog. (1 sc)
Fasten off leaving a tail for sewing.
Ear Assembly
Place one CC inner lining centered on the RS of one MC outer ear. Using the CC tail and yarn needle, whipstitch the inner lining to the outer ear around all edges. The inner lining will be slightly smaller, creating that raised caramel center you see in the photos.
Fold each ear slightly at the base so it cups inward. Pinch the base and secure with a few stitches to help it stand upright.
Assembly Instructions
Block all pieces before seaming. Pin to measurements, mist with water, and allow to dry completely.
Shoulder Seams
Hold back and left front with RS together. Using a yarn needle and MC, whipstitch the left shoulder seam across 6 sc. Repeat for the right shoulder.
Sleeve Attachment
Pin each sleeve top edge to the armhole opening with RS together, centering the sleeve at the shoulder seam. Whipstitch in place.
Side and Sleeve Seams
Fold the garment so front and back are RS together. Starting at the bottom edge, whipstitch the side seam from bottom to armhole. Continue without breaking yarn, whipstitching the sleeve seam from underarm to cuff. Repeat for the other side.
Hood Attachment
With RS of hood and RS of garment facing, pin the bottom edge of the hood around the neckline opening. Match the center back of the hood to the center back neck and distribute evenly. Whipstitch in place.
Ear Attachment
Position the ears on top of the hood with RS facing forward. Place them approximately 2 inches apart, centered on the top of the hood. The base of each ear should sit about 0.5 inches from the top center seam. Sew securely through the hood fabric, stitching around the base of each ear multiple times.
Edging and Trim
Bottom Band
With smaller hook and CC, RS facing, join yarn at the foundation chain edge of the back body.
Set-up Row: Sc evenly across, picking up approximately 1 sc per foundation chain stitch. (47 sc for size 12-18 months)
Work 4 rows of Rib Row. Fasten off.
Repeat for left front and right front bottom edges, picking up 23 sc across each.
Cuff Bands
With smaller hook and CC, RS facing, join yarn at the foundation chain edge of each sleeve.
Set-up Row: Sc evenly across. (25 sc for size 12-18 months)
Work 4 rows of Rib Row. Fasten off.
Hood Face Edging
With smaller hook and CC, RS facing, join yarn at the lower right front edge of hood.
Row 1: Sc evenly around the entire face opening, working approximately 2 sc for every 3 rows.
Row 2 (RS): Sl st in each sc around face opening. Fasten off.
Front Band and Button Loops
With smaller hook and CC, RS facing, join at bottom right front edge.
Row 1: Sc evenly up the right front edge, around the hood, and down the left front edge. Work approximately 2 sc for every 3 rows.
For button loops on the right front band, work to each loop position, ch 4, sk 2 sc, sl st in next sc. Space 5 loops evenly for size 12-18 months.
Work one more row of sc back down the right front band to stabilize the loops. Fasten off.
Sew toggle buttons to the left front band, aligned with the button loops.
Care Instructions
For acrylic yarns: Machine wash cold on gentle cycle. Lay flat to dry.
For wool or wool-blend yarns: Hand wash cold with wool wash. Lay flat to dry away from direct heat.
Do not tumble dry any version of this garment.
Final Thoughts on This Crochet Baby Hoodie Pattern
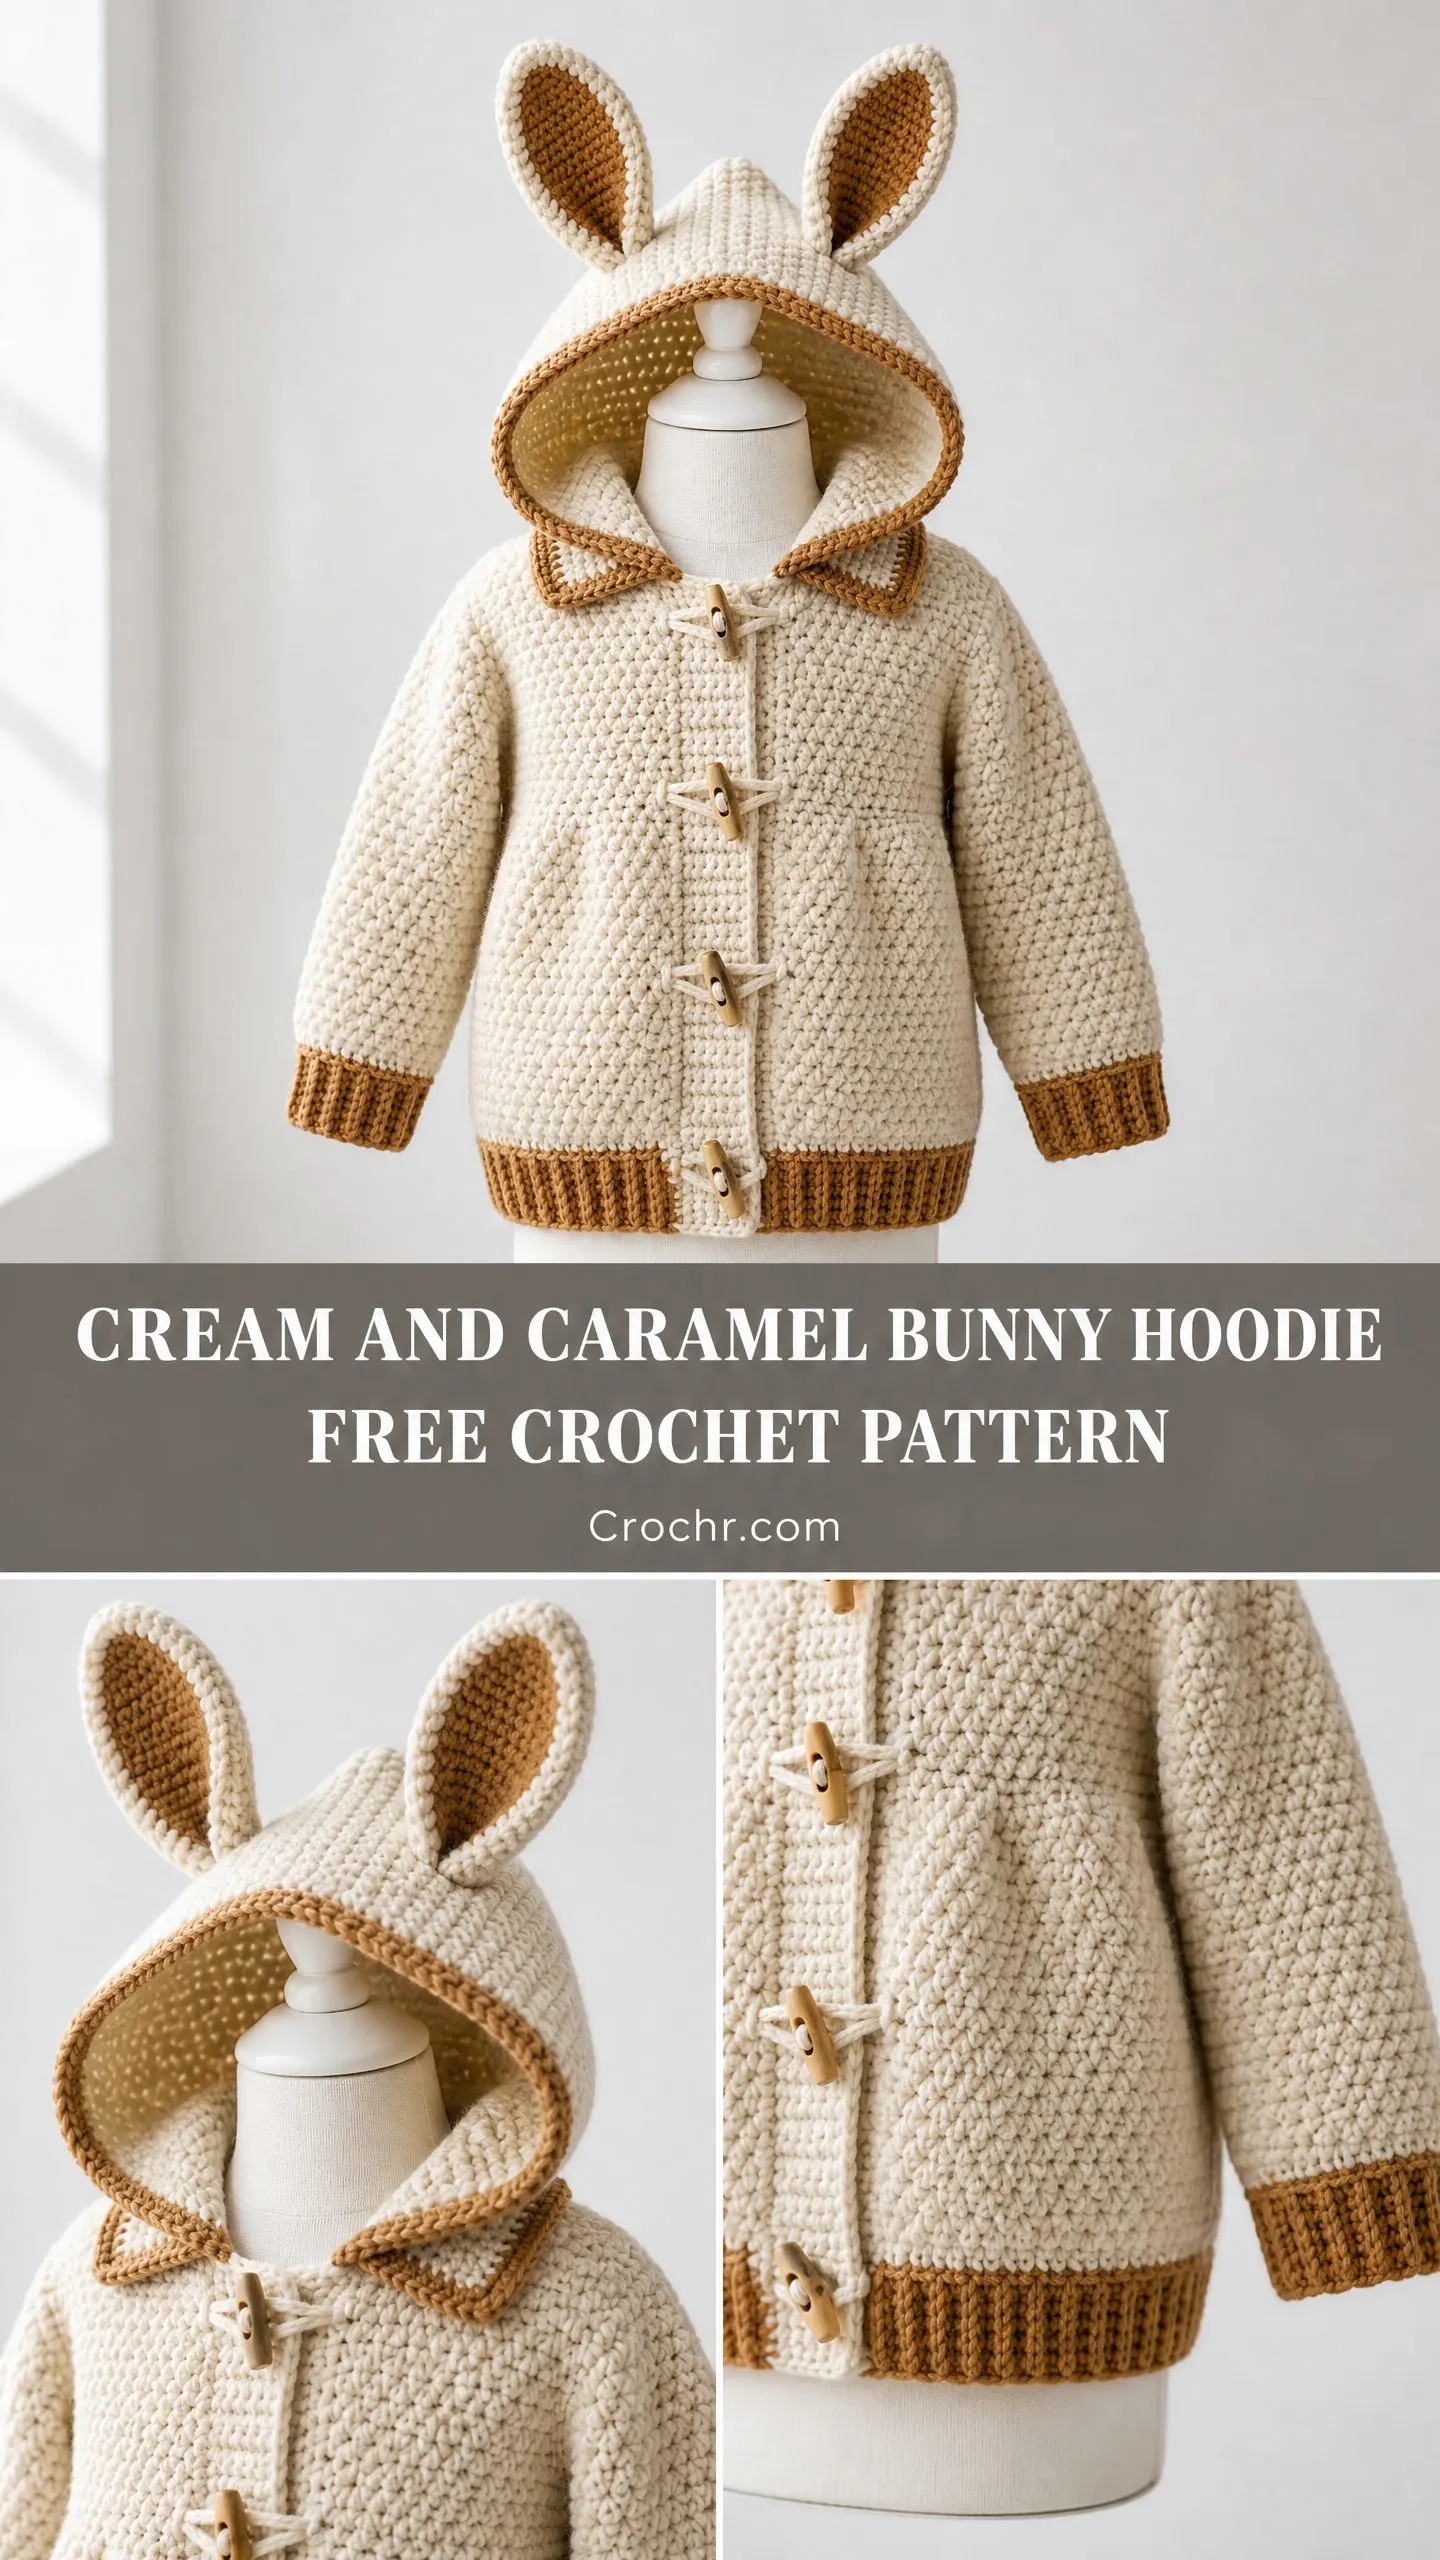
You did it! Or you’re about to do it. Either way, I hope this beginner friendly crochet pattern showed you that impressive-looking projects are completely within your reach. The bunny ears really are the perfect finishing touch, and I promise they’re easier than they look.
This makes an unforgettable baby shower gift or a special handmade piece for your own little one. The neutral cream and caramel color palette works beautifully for any baby, and the toggle buttons give it that timeless, heirloom quality.
If you loved this pattern, I’d be so grateful if you saved it to your Pinterest boards so you can find it again later. And please leave a comment below if you make one. I genuinely love seeing your finished projects and hearing how the pattern worked up for you!
You Might Also Like
- Dusty Rose Granny Square Tote Free Crochet Pattern
- Autumn Harvest Granny Square Dress Set Free Crochet Pattern
- Berry Sorbet Mesh Cropped Hoodie Free Crochet Pattern
- Ocean Wave Butterfly Crochet Dress Free Pattern
