Granny squares look intimidating. I hear it all the time. The corners seem confusing, the joining feels complicated, and turning them into wearables? That sounds like advanced territory. Here is the truth: if you can double crochet and chain, you can make this gorgeous pocket shawl. The construction is surprisingly simple. You work the main body as one large rectangle using a granny stitch pattern, add two granny square pockets, attach some fringe, and you are done. Whether you have never made a granny square or you crank them out by the dozen, this pattern meets you exactly where you are.

About This Cozy Pocket Shawl Pattern
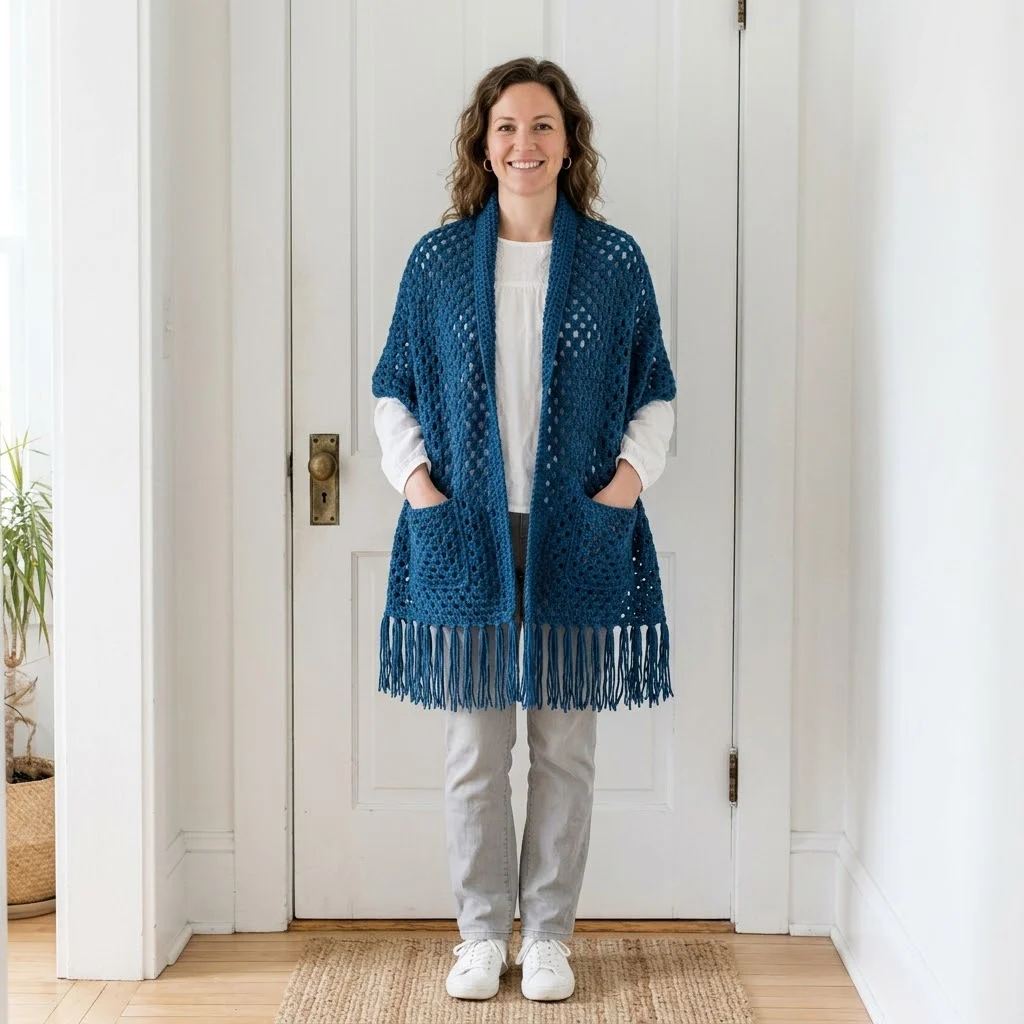
This Ocean Blue Granny Square Pocket Shawl is the kind of project that looks impressive draped over your shoulders but takes far less effort than anyone would guess. The open, lacy texture of the granny stitch creates beautiful drape while still providing warmth. Those pockets at each end? They are functional and adorable. Perfect for holding your phone, a tissue, or just keeping your hands warm while you curl up on the couch.
The shawl works up as a long rectangle with the classic granny stitch pattern creating the signature "holes" that make this style so recognizable. A simple ribbed border frames the piece and adds structure. Two granny square pockets attach near the fringed ends, and long fringe adds movement and style.
This crochet pattern is ideal for intermediate beginners. If you have completed a few basic projects and feel comfortable with your tension, you are ready. I will walk you through every single step.
Finished Dimensions
Main Shawl Body: Approximately 72 inches long by 18 inches wide (not including fringe)
Each Pocket: Approximately 7 inches by 7 inches
Fringe Length: Approximately 6 inches
These measurements give you a generously sized wrap that drapes beautifully and stays put on your shoulders without constant adjustment.
Materials Needed
Yarn: Approximately 900 to 1000 yards of worsted weight yarn (weight category 4). The sample shown uses a rich teal or ocean blue color. Look for a yarn with good stitch definition. Acrylic blends work beautifully for this project because they are machine washable, budget friendly, and come in gorgeous colors. Wool or wool blends will give you extra warmth and a slightly more luxurious drape.
Crochet Hook: Size H/8 (5.0 mm) or size needed to obtain gauge
Tapestry Needle: For weaving in ends and attaching pockets
Scissors: Sharp fabric scissors for cutting fringe
Stitch Markers: Optional but helpful for marking corners and counting rows
Gauge
14 double crochet stitches and 7 rows = 4 inches in granny stitch pattern
Gauge matters for this project because it affects the final size of your shawl. If your gauge is too tight, your shawl will be smaller and stiffer. Too loose, and it will be larger and floppier. Take a few minutes to make a gauge swatch. Your future self will thank you.
Skill Level
Intermediate beginner. You should be comfortable with basic stitches and able to maintain consistent tension over a larger project.
Abbreviations and Stitch Definitions
Before we begin, let me define every stitch and abbreviation you will encounter. I want you to feel confident before you pick up your hook.
Ch = Chain. Wrap yarn over hook, pull through loop on hook. This creates the foundation and spaces in your work.
Sl st = Slip stitch. Insert hook, yarn over, pull through stitch and loop on hook in one motion. Used for joining.
Sc = Single crochet. Insert hook, yarn over, pull up a loop (2 loops on hook), yarn over, pull through both loops. A short, tight stitch.
Dc = Double crochet. Yarn over, insert hook, yarn over, pull up a loop (3 loops on hook), yarn over, pull through 2 loops, yarn over, pull through remaining 2 loops. The main stitch for granny squares.
Sk = Skip. Pass over the indicated stitch or space without working into it.
Sp = Space. The gap or hole created by chain stitches.
St(s) = Stitch(es)
Rep = Repeat
How to Crochet the Ocean Blue Granny Square Pocket Shawl
This step by step crochet tutorial breaks the project into manageable sections. We will make the main body first, then the pockets, then assemble everything with fringe.
Main Shawl Body
The body uses a granny stitch pattern worked in rows. Unlike traditional granny squares that work in rounds, this version works back and forth to create a rectangle.
Foundation Chain: Ch 64.
Row 1: Dc in 4th ch from hook (the skipped chains count as your first dc). Dc in next ch. *Sk 2 ch, dc in next 3 ch.* Rep from * across. You should end with 3 dc. Turn. (63 sts, counting the turning chain as a stitch)
Row 2: Ch 3 (counts as first dc throughout). Dc in same st. Dc in next st. *Sk 2 sts, dc in next 3 sts.* Rep from * across, ending with 3 dc in the top of the turning chain. Turn. (63 sts)
Rows 3 through 126: Rep Row 2.
This creates the main body of your shawl. The granny stitch pattern naturally creates those beautiful open spaces while still giving you a cohesive fabric. You will notice the characteristic "holes" forming as you work.
Quick tip: Place a stitch marker at the end of every 10 rows. This helps you keep track without constantly counting, and trust me, nobody wants to count 126 rows from scratch.
Border Round: After completing Row 126, do not fasten off. You will now work a simple border around the entire shawl.
Round 1: Ch 1. Work 3 sc in corner. Sc evenly along the short edge (approximately 60 to 65 sc). Work 3 sc in corner. Sc evenly along the long edge (approximately 250 to 260 sc, working roughly 2 sc per row). Work 3 sc in corner. Sc along the opposite short edge to match the first. Work 3 sc in corner. Sc along the remaining long edge to match. Sl st to first sc to join.
Round 2: Ch 1. Sc in each st around, working 3 sc in each corner stitch. Sl st to join. Fasten off and weave in ends.
The border frames your granny stitch work and gives the edges a clean, finished look. It also provides structure that helps the shawl hold its shape when worn.
Granny Square Pockets (Make 2)
Each pocket is a traditional granny square worked in rounds from the center outward. These classic squares are the perfect size for warming your hands or stashing small items.
Magic Ring: Create a magic ring (or ch 4 and sl st to form a ring if you prefer).
Round 1: Ch 3 (counts as first dc). 2 dc into ring. Ch 2. *3 dc into ring. Ch 2.* Rep from * 2 more times. Sl st to top of ch-3 to join. (4 groups of 3 dc, 4 ch-2 corner spaces)
Round 2: Sl st into next 2 dc and into the ch-2 corner space. Ch 3. 2 dc in same sp. Ch 1. *In corner sp, work (3 dc, ch 2, 3 dc). Ch 1.* Rep from * twice more. 3 dc in first corner sp. Ch 2. Sl st to top of ch-3 to join. (8 groups of 3 dc, 4 ch-2 corner spaces, 4 ch-1 spaces)
Round 3: Sl st into next 2 dc and into corner sp. Ch 3. 2 dc in same sp. Ch 1. 3 dc in next ch-1 sp. Ch 1. *In corner sp, work (3 dc, ch 2, 3 dc). Ch 1. 3 dc in next ch-1 sp. Ch 1.* Rep from * around. 3 dc in first corner. Ch 2. Sl st to join.
Rounds 4 through 7: Continue in established pattern, working (3 dc, ch 2, 3 dc) in each corner space and 3 dc in each ch-1 space along the sides, with ch 1 between each dc cluster.
After Round 7, you should have a square measuring approximately 7 inches.
Pocket Border:
Round 8: Ch 1. Sc in each dc and ch-1 sp around, working 3 sc in each corner ch-2 space. Sl st to join. Fasten off, leaving a long tail for sewing.
Repeat for second pocket.
Pocket Placement and Attachment
Lay your completed shawl flat on a table or the floor. Position each pocket approximately 4 inches from the fringed end and centered on the width of the shawl.
Using your tapestry needle and the long tail, whip stitch or mattress stitch the pocket to the shawl along the bottom and both sides, leaving the top open for your hands. Make sure your stitches are secure but not so tight that they pucker the fabric.
Tip for beginners: Pin the pockets in place before sewing. Try on the shawl and adjust if needed. Everyone wears shawls slightly differently, so feel free to move the pockets to where they feel most natural for you.
Adding the Fringe
Fringe transforms this shawl from lovely to absolutely stunning. The movement and texture add so much visual interest.
Cutting the Fringe: Cut approximately 80 to 100 strands of yarn, each measuring 14 inches long. You will fold these in half when attaching, giving you a finished fringe length of about 6 inches plus the knot.
Attaching Fringe:
1. Take 2 strands and fold them in half.
2. Insert your crochet hook from back to front through a stitch along the short edge of the shawl.
3. Grab the folded loop with your hook and pull it through slightly.
4. Use your fingers to pull the loose ends through the loop.
5. Tug gently to tighten the knot.
Space your fringe evenly along both short ends of the shawl, approximately every half inch or in each "gap" created by the granny stitch pattern. This creates that full, lush fringe you see in the photos.
Trimming: Once all fringe is attached, lay the shawl flat and use sharp scissors to trim the fringe to an even length. Straight cuts look clean and polished.
Pattern Notes and Tips for Success
Yarn Substitution: This beginner friendly crochet pattern works with any worsted weight yarn. Want a lighter weight for summer? Drop down to DK weight and use a smaller hook. The shawl will be lacier and more delicate. Want extra warmth? Try a chunky yarn with a larger hook for a super cozy version.
Color Options: Solid colors show off the granny stitch pattern beautifully. Variegated yarns add visual interest but can sometimes obscure the stitch detail. Self-striping yarns create fun surprise stripes as you work.
Washing Instructions: Follow the care instructions for your specific yarn. Most acrylic yarns can be machine washed on gentle and tumble dried on low. Lay flat to dry for best results with any fiber.
Customizing Length: Want a longer or shorter shawl? Simply work more or fewer rows on the main body. Each row adds approximately half an inch of length.
Gift Idea: This makes an incredible gift for someone who loves cozy accessories. The pockets add a thoughtful, functional touch that recipients adore.
Why You Will Love This Pattern
The Ocean Blue Granny Square Pocket Shawl crochet pattern combines everything crafters love. Repetitive, meditative stitching for the main body. Classic granny squares for the pockets. A satisfying finishing touch with the fringe. And at the end, you have a genuinely useful, beautiful accessory that you will reach for constantly.
The granny stitch pattern works up faster than you might expect. Once you get into the rhythm of the three double crochet clusters, your hands will know what to do without much thought. It is the perfect project for watching TV, listening to podcasts, or chatting with friends.
I hope you love making this crochet tutorial as much as I loved designing it. Wrap yourself up, slide your hands in those pockets, and enjoy every cozy moment. If you make one, I would absolutely love to see it. Tag me on Instagram or share in my Facebook group. Your creativity inspires me and this whole community.
If this pattern is calling your name, go ahead and save it to your Pinterest boards so you can find it easily when you are ready to cast on. And please drop a comment below if you make one. I read every single comment and nothing makes my day like seeing your finished projects!
