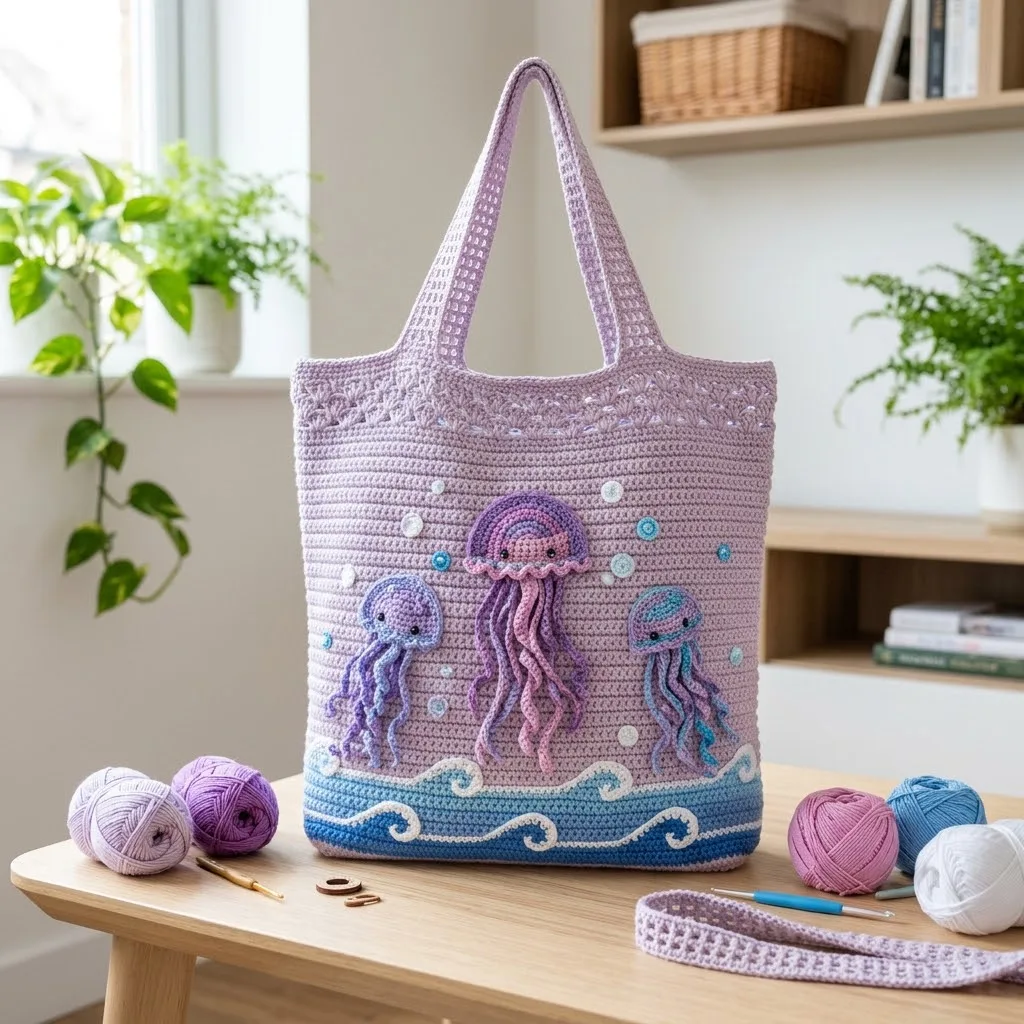
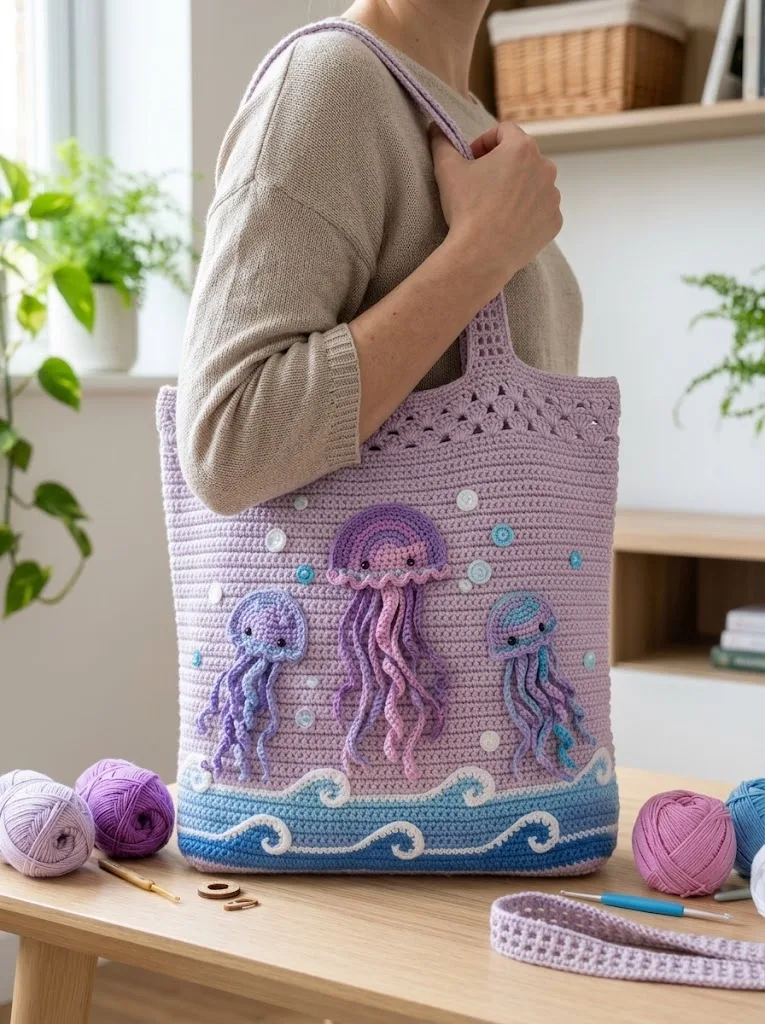
I’ve been looking for the perfect summer bag pattern for months, and this ocean-inspired jellyfish tote is absolutely my favourite design to date. When I spotted this whimsical combination of soft lavender tones, playful jellyfish appliqués, and those beautiful cresting waves, I knew I had to share it with you. This is the kind of project that makes people stop and ask, "Did you really make that?"
This crochet market bag pattern combines a sturdy single crochet body with adorable three-dimensional jellyfish that seem to float right across the fabric. The gradient effect from deep ocean blue at the bottom to soft lavender at the top creates such a dreamy underwater scene. If you’ve ever wanted to make a bag that’s both functional and absolutely adorable, this crochet tutorial will walk you through every single step.
Don’t worry if the appliqué work looks intimidating. I promise we’ll break it down into manageable pieces. You’ll work the bag body first, then create each jellyfish separately, and finally attach everything together. Think of it like decorating a cake. The base comes first, then the fun stuff.
Why You’ll Love This Crochet Pattern
This ocean jellyfish market bag hits all the right notes for a satisfying project. The main body uses repetitive stitches that let you relax and get into a rhythm. The jellyfish appliqués add just enough challenge to keep things interesting. And the finished result? Absolutely stunning.
The bag measures approximately 14 inches wide by 15 inches tall (not including handles), making it perfect for farmers market trips, beach days, or carrying your latest yarn haul. The straps are long enough to throw over your shoulder comfortably.
This is an intermediate level pattern, but confident beginners who have made amigurumi or worked with appliqués before will do just fine. If you can single crochet and double crochet, you have the skills you need.
Materials Needed
Yarn:
I recommend a cotton or cotton blend yarn for this market bag. Cotton holds its shape beautifully and won’t stretch out when you load it up with groceries. Brands like Lily Sugar’n Cream, Paintbox Cotton DK, or Lion Brand 24/7 Cotton work wonderfully.
Tools:
Abbreviations and Stitch Definitions
Let me walk you through every stitch abbreviation you’ll see in this pattern. Even if you know these already, a quick refresher never hurts.
ch = chain: Wrap yarn over hook, pull through loop on hook. This creates the foundation for most crochet projects.
sl st = slip stitch: Insert hook into stitch, yarn over, pull through both the stitch and the loop on your hook in one motion. Used for joining rounds or creating a flat seam.
sc = single crochet: Insert hook into stitch, yarn over, pull up a loop (2 loops on hook), yarn over, pull through both loops. The most basic and sturdy stitch.
hdc = half double crochet: Yarn over, insert hook into stitch, yarn over, pull up a loop (3 loops on hook), yarn over, pull through all 3 loops at once.
dc = double crochet: Yarn over, insert hook into stitch, yarn over, pull up a loop (3 loops on hook), yarn over, pull through 2 loops, yarn over, pull through remaining 2 loops. Taller than single crochet, creates a more open fabric.
inc = increase: Work 2 stitches into the same stitch. This adds one stitch to your count.
dec = decrease (invisible decrease for amigurumi): Insert hook through front loops only of next 2 stitches, yarn over, pull through both, yarn over, pull through both loops on hook.
FLO = front loop only: Work into just the front loop of the stitch instead of both loops.
BLO = back loop only: Work into just the back loop of the stitch.
magic ring = adjustable loop: Creates a tight, closed center for working in the round. If you’re not comfortable with magic rings, you can chain 2 and work your stitches into the first chain instead.
Gauge
15 sc x 17 rows = 4 inches using 5.0mm hook and worsted weight cotton yarn.
Gauge matters for this bag because you want a tight, sturdy fabric that won’t let small items fall through. If your stitches look loose or holey, go down a hook size.
Step by Step Crochet Pattern
Bag Body (Worked in Joined Rounds)
The bag is worked from the bottom up in joined rounds. We’ll start with the base, then work up the sides.
Base:
Using MC (lavender) and 5.0mm hook:
Row 1: Ch 41. Sc in 2nd ch from hook and in each ch across. (40 sc)
Rows 2-15: Ch 1, turn. Sc in each st across. (40 sc)
You should now have a rectangular base measuring approximately 10 inches by 4 inches.
Joining for Body:
Now we’ll work around all four edges of the base to start the sides.
Round 1: Ch 1, do not turn. Working around the entire perimeter of the base, sc evenly around. Work 40 sc across the short end, 15 sc along the long side, 40 sc across the other short end, 15 sc along the remaining long side. Sl st to first sc to join. (110 sc)
Place a stitch marker at the beginning of your round.
Side Rounds:
Rounds 2-8: Ch 1, sc in each st around, sl st to join. (110 sc)
At the end of Round 8, change to Color A (medium blue) in the last pull-through of your slip stitch join.
Color A Section (Wave Base):
Rounds 9-12: Ch 1, sc in each st around, sl st to join. (110 sc)
At the end of Round 12, change to Color B (light blue).
Color B Section:
Rounds 13-15: Ch 1, sc in each st around, sl st to join. (110 sc)
At the end of Round 15, change back to MC (lavender).
Main Body Section:
Rounds 16-45: Ch 1, sc in each st around, sl st to join. (110 sc)
Your bag body should now measure approximately 12 inches tall from the base.
Top Border:
Round 46: Ch 1, sc in BLO of each st around, sl st to join. (110 sc)
This creates a nice ridge that defines the top edge.
Rounds 47-48: Ch 1, sc in each st around, sl st to join. (110 sc)
Round 49 (Decorative Round): Ch 1, *sc in next 3 sts, ch 2, skip 2 sts*. Repeat from * around. Adjust the last repeat as needed to end evenly. Sl st to join.
Round 50: Ch 1, sc in each sc and 2 sc in each ch-2 space around. Sl st to join.
Fasten off MC.
Handles (Make 2)
Using MC and 5.0mm hook:
Row 1: Ch 71. Sc in 2nd ch from hook and in each ch across. (70 sc)
Rows 2-4: Ch 1, turn. Sc in each st across. (70 sc)
Fasten off, leaving a long tail for sewing.
Attaching Handles:
Position handles approximately 15 stitches in from each side edge of the bag opening. Pin in place, then whip stitch securely using your tapestry needle. I recommend going over your stitches twice for extra durability.
Wave Appliqué (Optional Enhancement)
Using Color C (white) and 4.0mm hook:
The wave details are surface crocheted directly onto the bag using a simple chain technique.
Hold your white yarn behind the bag body at the color change line between Color A and Color B. Insert your hook through the fabric, pull up a loop, then chain stitch along the surface in a gentle wave pattern. Create 3 to 4 wave peaks across each side of the bag.
Fasten off and weave in ends securely on the inside.
Jellyfish Appliqué (Make 3)
These adorable jellyfish are worked separately and then sewn onto the bag. Make one large, one medium, and one small.
Large Jellyfish Head (Center):
Using Color D (pink) and 4.0mm hook:
Round 1: Magic ring, 6 sc into ring. Pull tight. (6 sc)
Round 2: Inc in each st around. (12 sc)
Round 3: *Sc 1, inc*. Repeat around. (18 sc)
Round 4: *Sc 2, inc*. Repeat around. (24 sc)
Round 5: *Sc 3, inc*. Repeat around. (30 sc)
Rounds 6-8: Sc in each st around. (30 sc)
Insert safety eyes between Rounds 5 and 6, approximately 6 stitches apart. Add a small amount of fiberfill.
Round 9: *Sc 3, dec*. Repeat around. (24 sc)
Round 10: Sc in BLO of each st around. (24 sc)
This creates the ridge at the bottom of the head.
Round 11: Sc in each st around. Sl st to join. Fasten off.
Jellyfish Tentacles (Make 6-8 per jellyfish):
Ch 25. Starting in 2nd ch from hook, sl st in each ch back to the beginning. This creates a curly, spiraling tentacle.
For variety, make some tentacles longer (ch 30) and some shorter (ch 18).
Attach tentacles evenly around the bottom edge of the jellyfish head using your tapestry needle.
Medium Jellyfish:
Follow the large jellyfish instructions but stop increasing at Round 4 (24 sc). Work Rounds 5-7 even before decreasing and finishing.
Small Jellyfish:
Follow the large jellyfish instructions but stop increasing at Round 3 (18 sc). Work Rounds 4-6 even before decreasing and finishing.
Bubble Details
Using Color C (white) and 4.0mm hook:
Small Bubble: Magic ring, 6 sc, sl st to join. Fasten off.
Medium Bubble: Magic ring, 8 sc, sl st to join. Fasten off.
Make 8 to 10 bubbles in various sizes and scatter them across the bag around your jellyfish.
Assembly
Positioning Your Appliqués:
Lay your bag flat. Position the large jellyfish in the center, with medium jellyfish on the left and small jellyfish on the right. The bottoms of the jellyfish heads should sit just above the wave line.
Pin everything in place and step back to check the arrangement. Adjust until you’re happy.
Attaching:
Using matching yarn colors and your tapestry needle, whip stitch around the edges of each jellyfish head. Take your time here. Secure stitching will keep your appliqués in place through many washes.
Attach bubbles with a few small stitches through their centers.
Finishing:
Weave in all remaining ends on the inside of the bag. For extra security on a market bag that will carry weight, I recommend weaving ends back and forth through several stitches rather than just snipping them short.
Helpful Tips for Success
Tension consistency is everything with this bag. Try to keep your stitches even throughout, especially when changing colors. Uneven tension will create a wavy, wonky fabric.
Blocking your finished bag lightly with steam can even out any irregularities and help the bag hold its shape beautifully.
Lining your bag (optional): If you want extra durability or privacy for your items, consider adding a simple fabric lining. Cotton quilting fabric works wonderfully and comes in ocean-themed prints that would complement this design.
Customization ideas: Change the jellyfish colors to match your favourite palette. Add more sea creatures like starfish or little fish. Make the bag smaller for a child’s library bag, or larger for beach gear.
Wrapping Up Your Ocean Jellyfish Crochet Market Bag
You did it! You now have a completely unique, handmade ocean jellyfish crochet market bag that’s going to turn heads wherever you go. This step by step crochet pattern combines practical bag construction with whimsical appliqué work for a project that’s as fun to make as it is to use.
I absolutely love seeing your finished projects. Your yarn choices, your colour combinations, your personal touches. They always inspire me and other crafters in our community.
If you loved making this crochet market bag pattern, save it to your Pinterest boards so you can find it easily for your next project or share it with a crafty friend. And please, drop a comment below if you make one. I would love to hear how it turned out and see your beautiful jellyfish swimming across your very own ocean tote!
