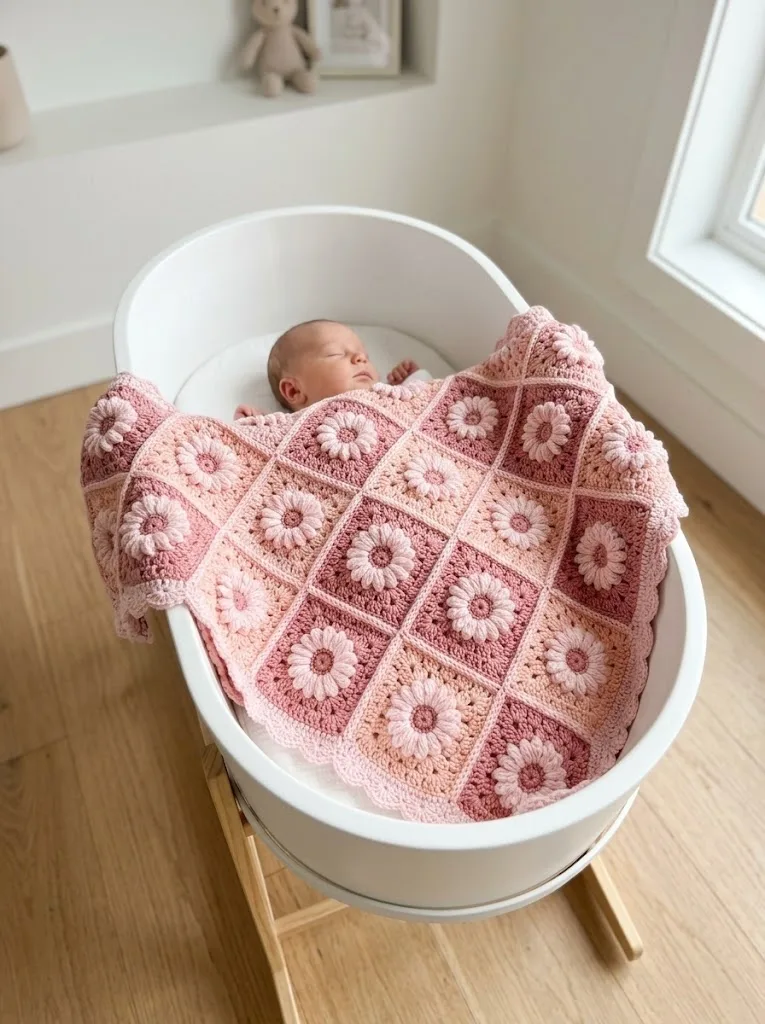
OKAY, this blanket is SUPER stunning and honestly one of the most satisfying granny square projects you will ever make! I am so excited to share this one because it looks absolutely gorgeous but works up faster than you would think. Each daisy square takes maybe 15 to 20 minutes once you get the rhythm down, and the monochrome pink color scheme means no complicated color planning. This is the kind of blanket that makes people ask "you MADE that?!" and it is perfect for baby showers, nursery decor, or treating yourself to something beautiful.
Why This Daisy Granny Square Blanket Works So Well
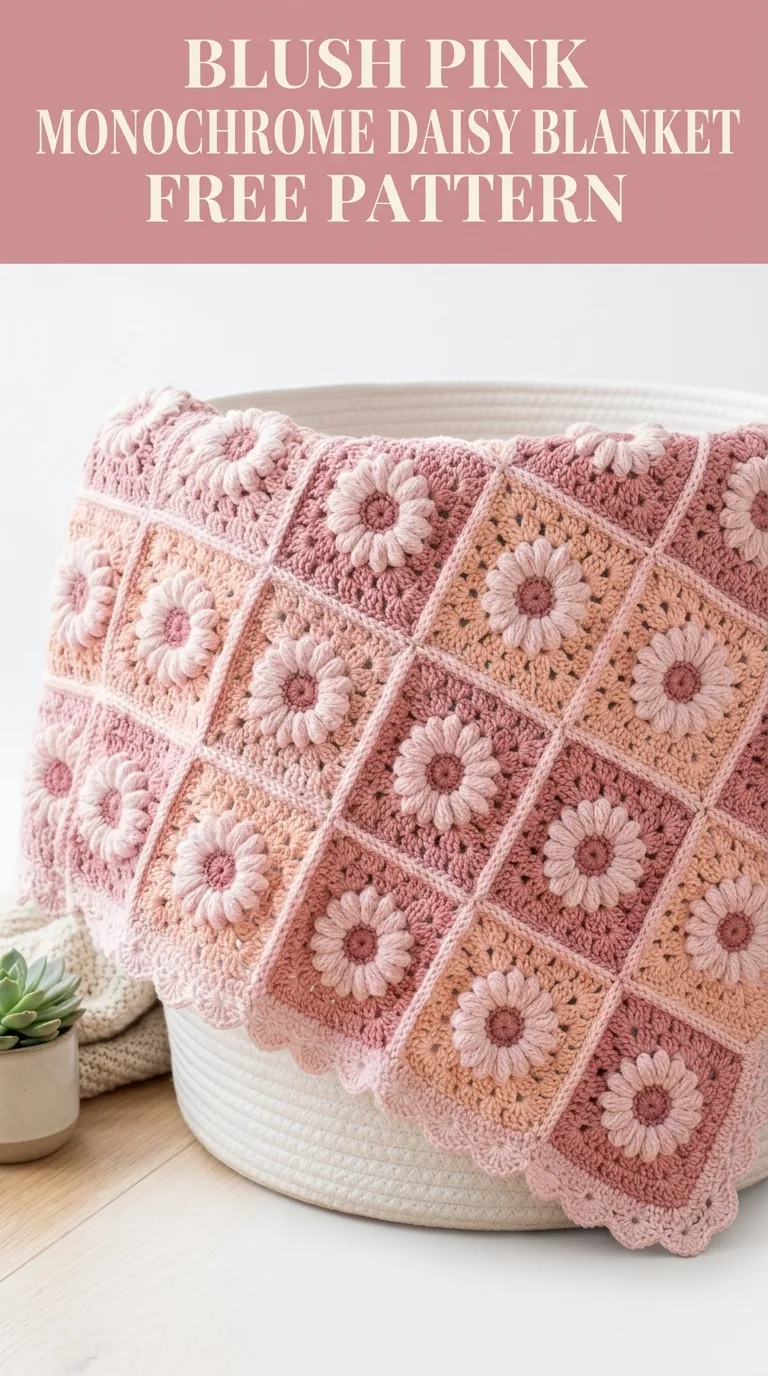
This blush pink monochrome daisy blanket crochet pattern hits that sweet spot between impressive and achievable. The daisy center is created using puff stitches that form those beautiful rounded petals, and then you build out with classic granny cluster rounds. What makes this design special is the tonal color approach. Instead of using contrasting colors, you are working with different shades of blush, rose, dusty pink, and cream within the same color family. This creates a soft, cohesive look that feels modern and elegant.
The construction is straightforward. You make individual daisy squares, join them together, and finish with a pretty scalloped border. If you can make a basic granny square and you are willing to try puff stitches, you can absolutely make this blanket.
Skill Level
Intermediate beginner to intermediate. You should be comfortable with basic crochet stitches and working in the round. The puff stitch for the daisy petals might be new to you, but I will walk you through it step by step. If you have made granny squares before, you are ready for this.
Finished Measurements
Based on the image, this blanket is approximately 36 inches by 42 inches (90 cm by 105 cm), made with 6 squares across and 7 squares down for a total of 42 daisy squares. Each finished square measures approximately 6 inches by 6 inches (15 cm by 15 cm).
Want a different size? Simply adjust the number of squares:
Materials Needed
Yarn:
Color breakdown for 42 squares:
The beauty of this monochrome approach is flexibility. Choose 4 to 5 shades within the pink family and mix them up however you like. Some squares have pink centers with rose backgrounds, others have peach backgrounds with blush petals. Let yourself play with the combinations.
Suggested yarn brands: Lion Brand Vanna’s Choice, Caron Simply Soft, Paintbox Yarns Simply Aran, or any soft worsted weight yarn in coordinating pink tones.
Hook:
Notions:
Gauge
One completed daisy square = 6 inches by 6 inches (15 cm by 15 cm) after blocking.
Gauge matters for this project because you want all your squares the same size for easy joining. Make one square first and measure it. If your square is too small, go up a hook size. If it is too big, go down a hook size.
Abbreviations and Stitch Definitions
Let me walk you through every stitch you will use in this pattern:
ch = chain: Wrap yarn over hook, pull through loop on hook. This creates your foundation and spacing.
sl st = slip stitch: Insert hook, yarn over, pull through stitch AND loop on hook in one motion. Used for joining rounds.
sc = single crochet: Insert hook, yarn over, pull up a loop (2 loops on hook), yarn over, pull through both loops. Your shortest basic stitch.
dc = double crochet: Yarn over, insert hook, yarn over, pull up a loop (3 loops on hook), yarn over, pull through 2 loops, yarn over, pull through remaining 2 loops. This is your main stitch for the granny rounds.
puff st = puff stitch: (Yarn over, insert hook in stitch, yarn over, pull up a loop) 3 times in the same stitch (7 loops on hook), yarn over, pull through all 7 loops at once. This creates the puffy daisy petals. Do not pull too tightly or too loosely. You want plump, even petals.
3-dc cluster = 3 double crochet cluster: Work 3 dc in the same stitch or space. This is your classic granny cluster.
Special Techniques
Magic ring (adjustable loop): This creates a tight, closed center with no hole. Make a loop with your yarn, insert hook through the loop, yarn over and pull up a loop, chain to begin, then work your stitches into the ring. Pull the tail to close the center tight.
If the magic ring makes you nervous, you can substitute ch 4, sl st to first ch to form a ring and work into the center of that ring instead. Either method works fine.
Daisy Granny Square Pattern
Make 42 squares (or your desired number) using various color combinations.
Round 1: Daisy Center
With Color A (or your chosen center color), make a magic ring.
Ch 2 (does not count as a stitch), work 12 puff stitches into the ring, joining each puff with ch 1 between them.
Work it like this: Puff st, ch 1, puff st, ch 1, and continue until you have 12 puff stitches with 12 ch-1 spaces between them.
Sl st to the top of the first puff stitch to join the round.
Pull the magic ring tail tight to close the center completely.
Fasten off Color A. (12 puff stitches, 12 ch-1 spaces)
*This is your daisy! The puff stitches create those beautiful rounded petals radiating from the center.*
Round 2: Behind the Petals
This round creates the foundation for your granny rounds. You will be working behind the daisy petals, into the back of the puff stitches from Round 1.
Join Color B (or your chosen petal/transition color) with a sl st to any ch-1 space between puff stitches.
Ch 3 (counts as first dc), 2 dc in the same ch-1 space, ch 2, *(3 dc in next ch-1 space, ch 2)* repeat around.
You will have 12 groups of 3-dc clusters with ch-2 spaces between them.
Sl st to top of beginning ch-3 to join.
Fasten off Color B. (12 clusters of 3 dc, 12 ch-2 spaces)
Round 3: Creating Corners
This is where your circle becomes a square. You will work corner clusters in 4 evenly spaced ch-2 spaces.
Join Color C (or your chosen background color) with a sl st to any ch-2 space.
For a corner: Ch 3 (counts as dc), 2 dc in same space, ch 2, 3 dc in same space. This creates your corner.
For a side: 3 dc in next ch-2 space.
Work around like this:
Sl st to top of beginning ch-3 to join.
Fasten off Color C. (4 corners with ch-2 spaces, 3 clusters of 3-dc on each side between corners)
Round 4: Final Square Round
Join Color D (or continue with the same color for a more subtle look) with a sl st to any corner ch-2 space.
For corners: Ch 3, 2 dc, ch 2, 3 dc all in the corner ch-2 space.
For sides: 3 dc in each space between clusters along the sides.
Work around:
Each side should now have 4 clusters of 3-dc between corners.
Sl st to top of beginning ch-3 to join.
Fasten off Color D. Weave in ends.
(4 corners, 4 clusters per side, approximately 48 dc per round plus corner chains)
Your completed daisy square should measure approximately 6 inches by 6 inches.
Making Multiple Squares: Tips for Success
When making 42 squares, organization is your best friend.
Keep your color combinations varied. Looking at the image, some squares have dusty rose backgrounds, others have peach, and others have lighter blush tones. The daisy centers also vary. This creates visual interest while maintaining the cohesive monochrome feel.
Weave in ends as you go. I know, I know. Nobody loves weaving ends. But with 42 squares, you do not want to face a mountain of tails at the end.
Block your squares before joining. Wet blocking or steam blocking helps even out your stitches and ensures all squares are the same size. Pin them to blocking mats at 6 inches by 6 inches and let them dry completely.
Assembly: Joining Your Daisy Squares
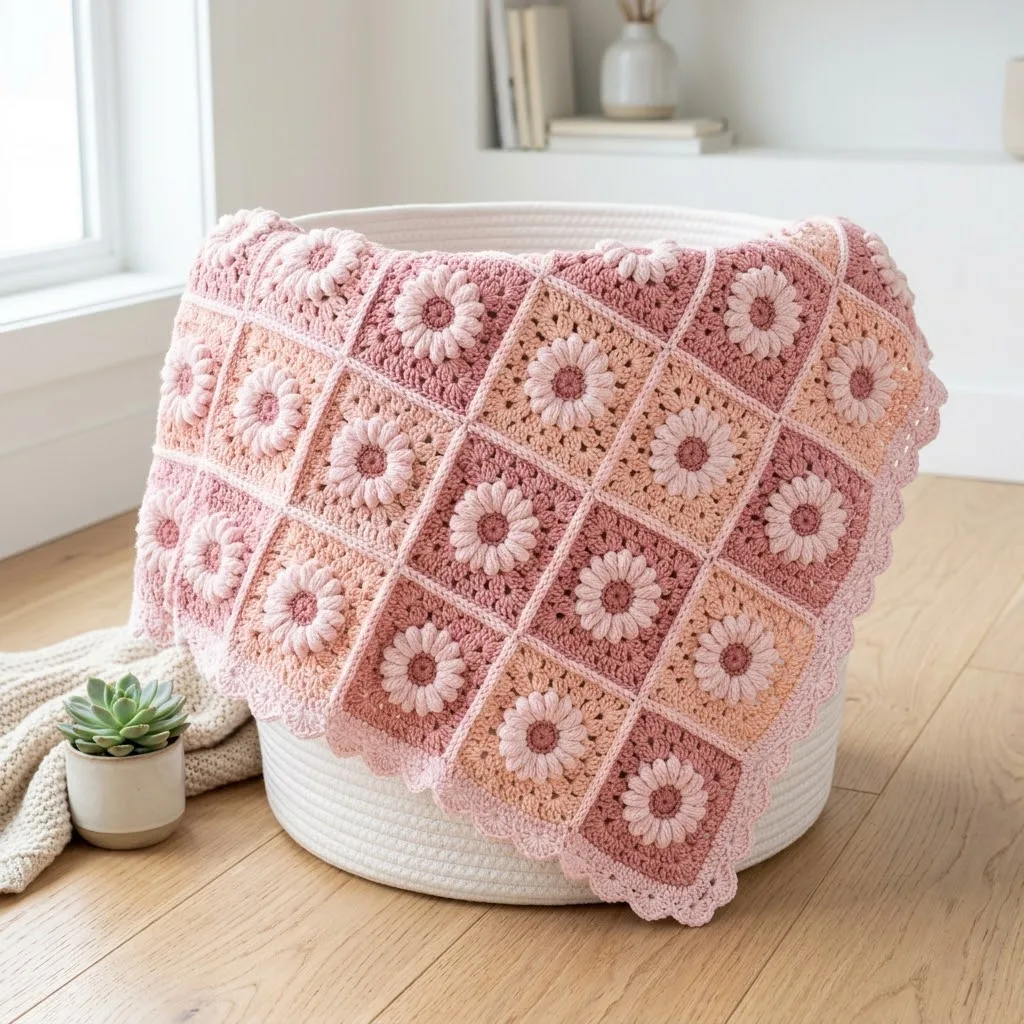
Lay out your squares in your desired arrangement before joining. The blanket in the image shows a beautiful gradient effect with lighter squares in some areas and darker in others. Play with placement until you are happy.
Join with Color E (cream) using the flat slip stitch join method:
1. Hold two squares with wrong sides together (right sides facing out).
2. Insert hook through both loops of corresponding corner stitches on both squares.
3. Yarn over, pull through both stitches AND the loop on your hook (slip stitch made).
4. Continue slip stitching through both layers along the entire edge.
5. Fasten off or continue to next square.
Join in rows first: Connect all squares in Row 1 horizontally. Then connect all squares in Row 2. Continue until all rows are complete.
Then join rows together: Connect Row 1 to Row 2 along the long edge. Continue joining all rows.
The cream joining creates those beautiful defined grid lines visible in the finished blanket.
Scalloped Border
The pretty scalloped edge finishes this blanket beautifully.
Join Color E (cream) with a sl st to any corner.
Round 1: Foundation
Ch 1, work sc evenly around the entire blanket, placing 3 sc in each corner. Work approximately 2 to 3 sc per dc or cluster, keeping your edge flat and even.
Sl st to first sc to join. Do not fasten off.
Round 2: Scallop Edge
Ch 1, sc in first st, *skip 2 sts, 5 dc in next st (shell made), skip 2 sts, sc in next st* repeat around, adjusting at corners to keep the scallops even.
At corners, you may need to work a larger shell (7 dc) or adjust your skip count. The goal is a smooth, wavy scalloped edge.
Sl st to first sc to join. Fasten off.
Finishing Touches
Weave in all remaining ends securely. For a blanket that will be washed, weave each tail through at least 2 inches of stitches.
Final blocking: Give your completed blanket a gentle wet block or steam to even out the border and make everything lie flat and beautiful.
Care Instructions
For acrylic yarn: Machine wash cold on gentle cycle, tumble dry low or lay flat to dry.
For cotton or cotton blends: Machine wash cold, lay flat to dry to prevent stretching.
Always check your specific yarn label for care recommendations.
You Did It!
This blush pink monochrome daisy blanket crochet pattern creates such a stunning finished piece. The combination of textured daisy centers, classic granny construction, and that gorgeous tonal pink palette makes this blanket a true showstopper. Whether you are making it for a baby shower gift, nursery decor, or simply because you deserve something beautiful, this blanket is worth every stitch.
The step by step instructions in this crochet tutorial walk you through everything from the puff stitch daisy petals to the final scalloped border. Even if you have never made a puff stitch before, take it slow on that first square and you will have the technique down quickly. This beginner friendly approach to granny squares opens up so many possibilities for future projects.
Thank you so much for choosing this pattern! I truly hope you love making it as much as I loved designing it. If you make this blanket, I would absolutely love to see your finished project. Tag me on Instagram or share in my Facebook group. Seeing your creations is honestly the best part of sharing patterns.
If you loved this pattern, make sure to save it to your Pinterest boards so you can find it easily when you are ready to start. And please drop a comment below if you make one. I love hearing which color combinations you choose and how your blanket turns out!
