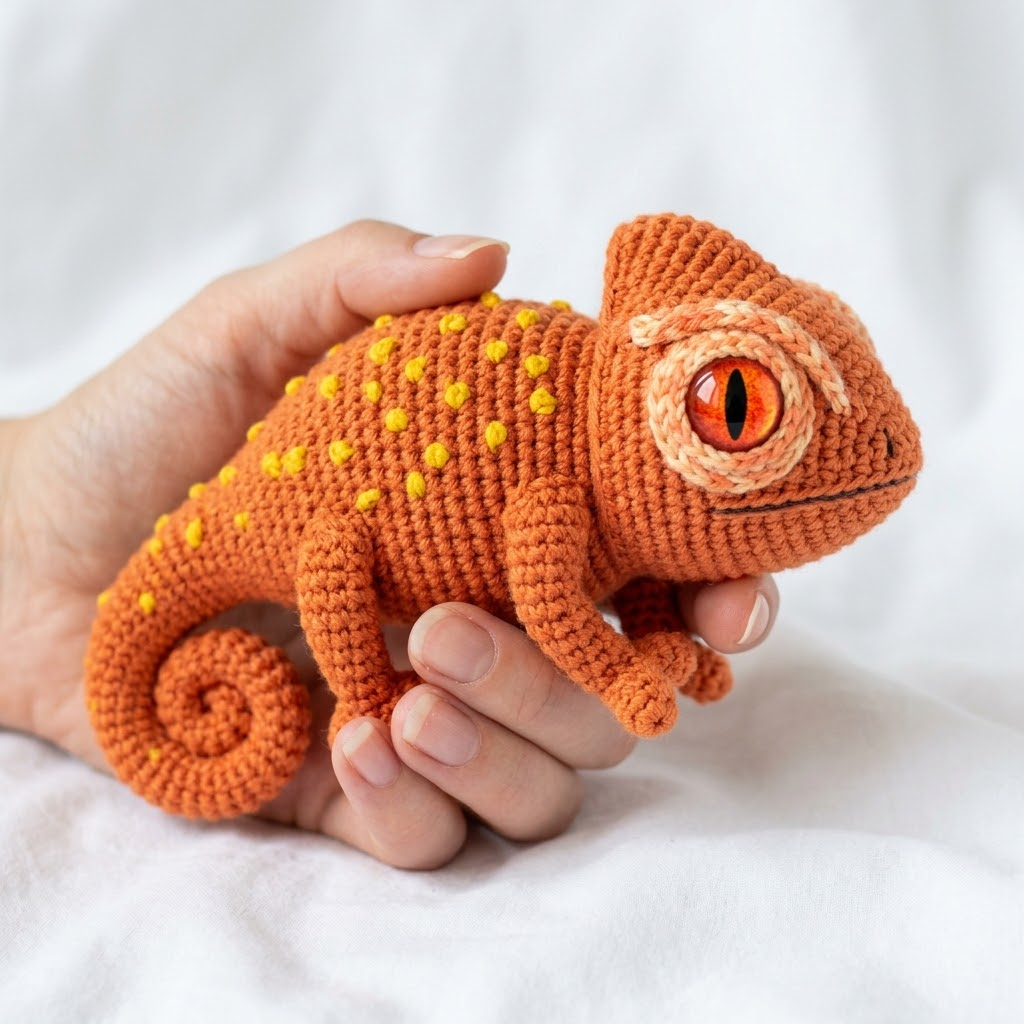
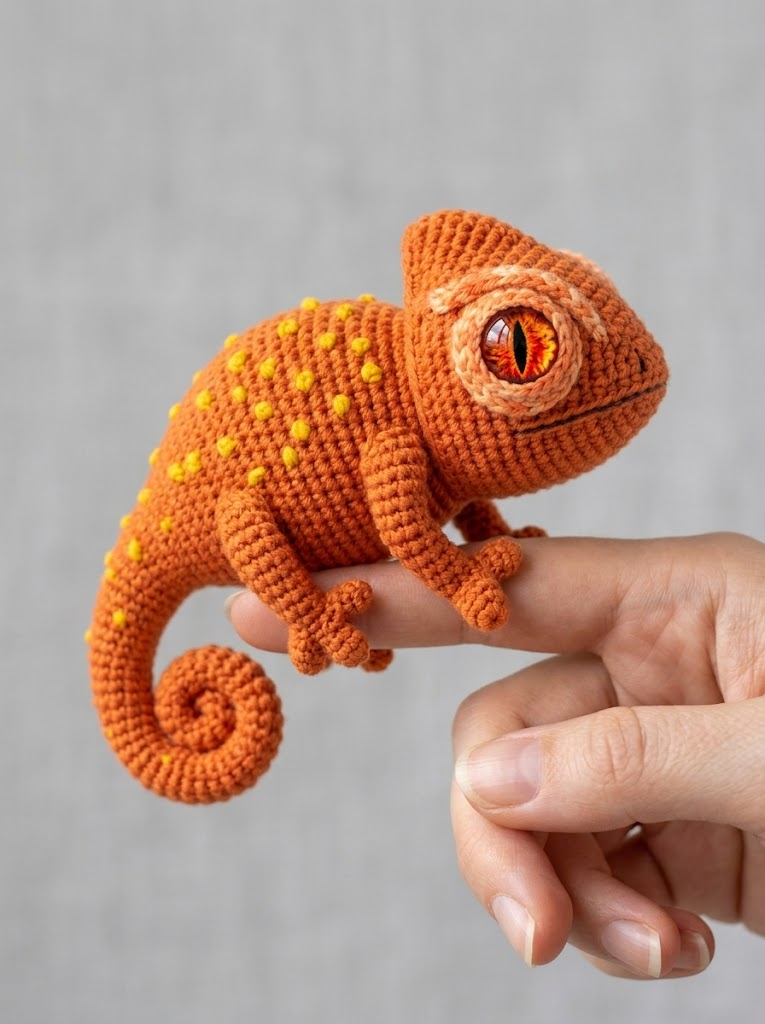
Oh, this little guy is about to become your new favorite project. This adorable amigurumi chameleon sits perfectly in your palm, features stunning reptilian eyes, and has the cutest curled tail you will ever crochet. If you have basic amigurumi experience and want to level up your skills, this chameleon crochet pattern walks you through every single step.
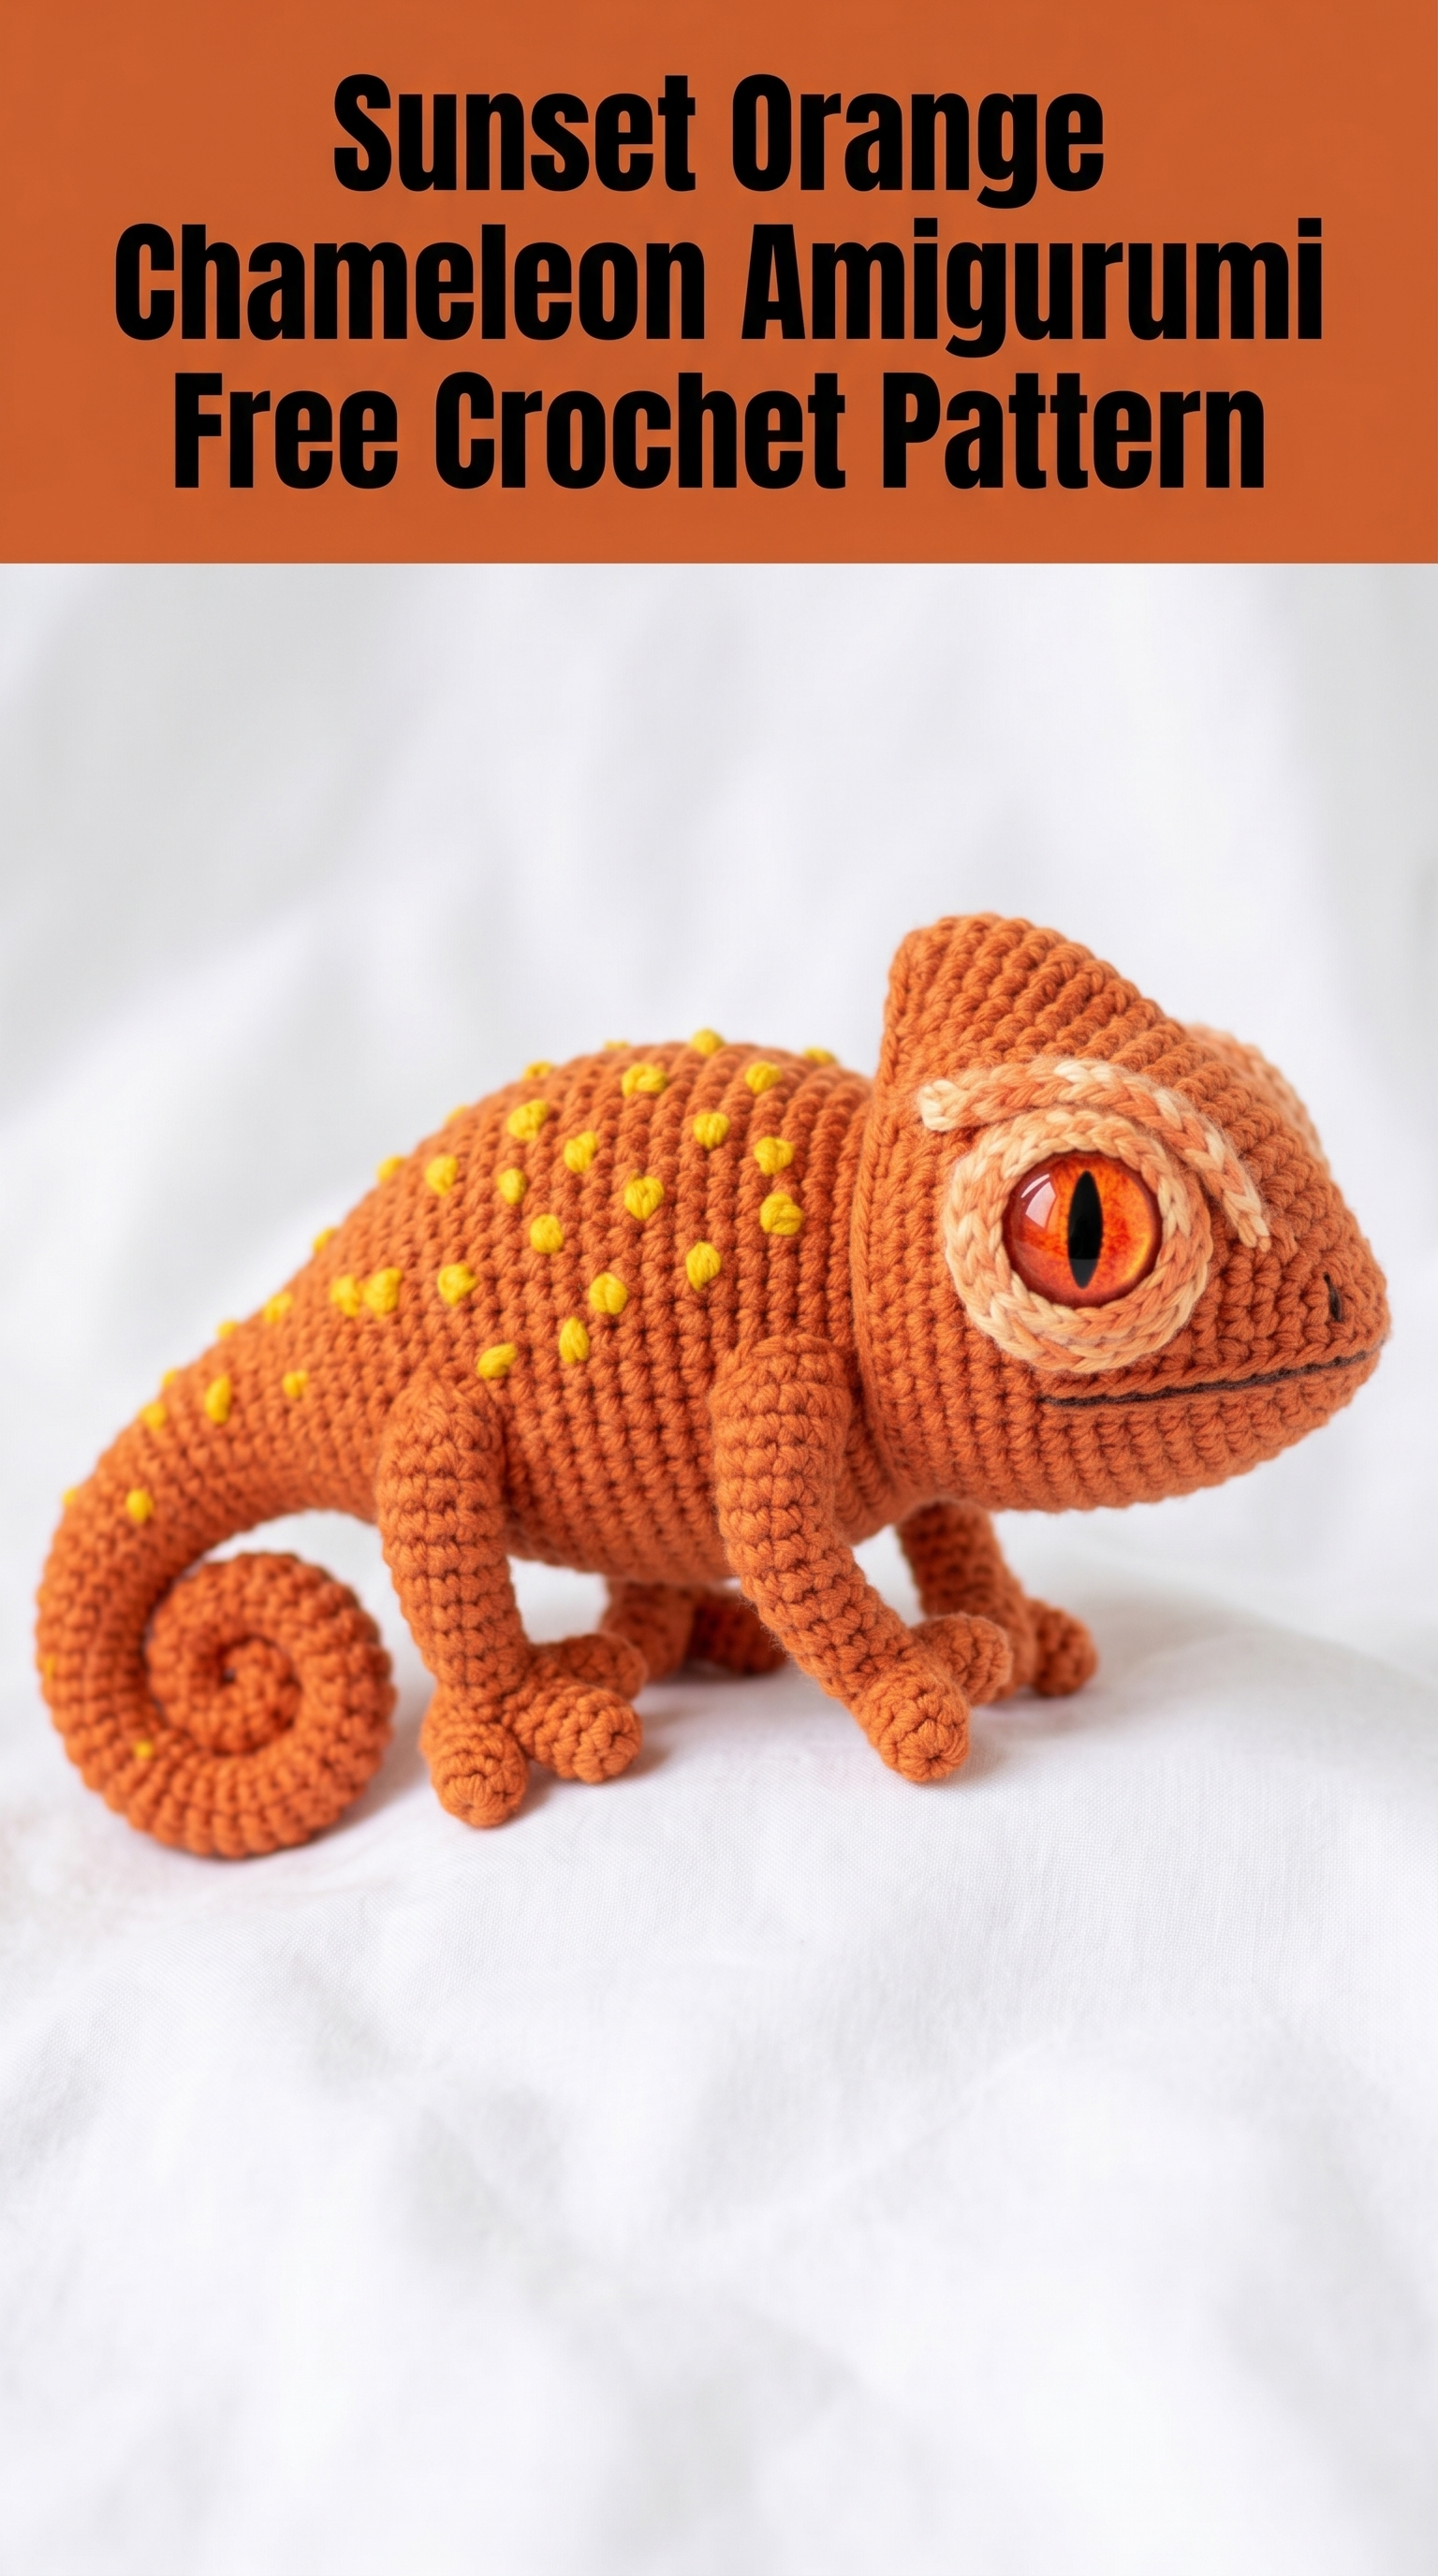
The finished chameleon measures approximately 5 inches long from nose to tail base, making it the perfect size for a desk companion, nursery decor, or handmade gift. The warm sunset orange color with chartreuse bobble spots gives this little reptile so much personality. And those eyes? We will talk about those show-stopping eyes.
Let me show you exactly how to make your own.
What Makes This Chameleon Amigurumi Special
This is not your average round ball amigurumi. This chameleon crochet pattern includes several intermediate techniques that create incredibly realistic details. The curved casque (that helmet-shaped head crest chameleons have), the textured bobble spots, separately attached limbs, and that signature spiral tail all come together beautifully.
Do not let that intimidate you. I break down every technique into manageable pieces. If you can single crochet in the round and have made at least one or two simple amigurumi before, you can absolutely make this chameleon.
The construction uses continuous rounds throughout, which means no slip stitching to join at the end of each round. This creates that smooth, seamless look you see in the photos. A stitch marker is your best friend here.
Materials You Will Need
Yarn:
I recommend 100% acrylic or cotton blend yarn for amigurumi. It holds shape well and shows stitch definition clearly. The yarn in the photos appears to be a smooth, tightly spun acrylic with a slight sheen.
Hook:
Going down a hook size from your yarn’s recommendation creates tighter stitches so stuffing does not show through. This is standard for amigurumi.
Notions:
Abbreviations and Stitch Definitions
Let me explain every stitch you will use. Read through this section before starting.
Magic ring (MR): An adjustable starting loop that pulls completely closed. You wrap yarn around your finger, insert hook, pull up a loop, then work your starting stitches into that ring. When you pull the tail, the center closes with no hole.
Chain (ch): The foundation stitch. Yarn over, pull through the loop on your hook. One chain made.
Single crochet (sc): Insert hook into stitch, yarn over and pull up a loop (2 loops on hook), yarn over and pull through both loops. One single crochet complete.
Increase (inc): Work 2 single crochet stitches into the same stitch. This adds one stitch to your round.
Decrease (dec): Also called invisible decrease. Insert hook through front loops only of the next 2 stitches, yarn over and pull through both front loops, yarn over and pull through both loops on hook. This removes one stitch while staying nearly invisible.
Bobble stitch (bob): Work 4 incomplete double crochets into one stitch (yarn over, insert hook, pull up loop, yarn over, pull through 2 loops, stop), then yarn over and pull through all 5 loops at once. The bobble pops to the right side.
Back loop only (BLO): Insert your hook under only the back loop of the stitch instead of both loops. Creates a ridge on the fabric.
Slip stitch (sl st): Insert hook, yarn over, pull through stitch and loop on hook in one motion. Used for joining and invisible finishing.
Gauge and Sizing Notes
Exact gauge is not critical for amigurumi, but your fabric should be tight enough that stuffing does not show through. Work a small swatch of 6 single crochet in a round. If you can see white fiberfill poking through, go down a hook size.
With the recommended materials, your finished chameleon will measure approximately:
Step by Step Crochet Pattern
Head and Body (Worked as One Piece)
The head and body are crocheted continuously from the nose back. Work in continuous spiral rounds. Move your stitch marker up at the end of each round.
Starting at the nose:
Round 1: 6 sc in magic ring (6 sts)
Round 2: Inc in each st around (12 sts)
Round 3: *Sc 1, inc* repeat around (18 sts)
Round 4: *Sc 2, inc* repeat around (24 sts)
Round 5: *Sc 3, inc* repeat around (30 sts)
Rounds 6 to 8: Sc in each st around (30 sts) — 3 rounds even
Round 9: *Sc 4, inc* repeat around (36 sts)
Rounds 10 to 12: Sc in each st around (36 sts) — 3 rounds even
This forms the snout portion. Now we shape the head.
Round 13: *Sc 5, inc* repeat around (42 sts)
Rounds 14 to 16: Sc in each st around (42 sts)
Round 17: *Sc 6, inc* repeat around (48 sts)
Rounds 18 to 22: Sc in each st around (48 sts) — 5 rounds even
Stop here to insert safety eyes. Position them on round 14-15, spaced about 12 stitches apart. The eye rings will frame them later.
Round 23: *Sc 6, dec* repeat around (42 sts)
Round 24: *Sc 5, dec* repeat around (36 sts)
Begin stuffing the head firmly.
Round 25: Sc in each st around (36 sts)
Rounds 26 to 32: Sc in each st around (36 sts) — 7 rounds for the body
Now add bobble spots as you work. Switch to chartreuse yarn for each bobble, then switch back to orange.
Round 33: *Sc 5, bobble in chartreuse* repeat around (36 sts with 6 bobbles)
Rounds 34 to 36: Sc in each st around in orange (36 sts)
Round 37: Sc 2, *bobble, sc 5* repeat, end with sc 3 (36 sts with 6 bobbles offset)
Rounds 38 to 40: Sc in each st around (36 sts)
Continue stuffing as you go.
Round 41: *Sc 4, dec* repeat around (30 sts)
Round 42: Sc in each st around (30 sts)
Round 43: *Sc 3, dec* repeat around (24 sts)
Round 44: *Sc 2, dec* repeat around (18 sts)
Stuff body firmly.
Round 45: *Sc 1, dec* repeat around (12 sts)
Round 46: Dec around (6 sts)
Fasten off, weave tail through remaining stitches, pull tight to close.
Casque (Head Crest)
The casque is the distinctive helmet shape on top of the chameleon’s head.
Round 1: 4 sc in magic ring (4 sts)
Round 2: Inc in each st (8 sts)
Round 3: *Sc 1, inc* repeat (12 sts)
Round 4: *Sc 2, inc* repeat (16 sts)
Round 5: *Sc 3, inc* repeat (20 sts)
Rounds 6 to 8: Sc in each st around (20 sts)
Round 9: *Sc 3, dec* repeat (16 sts)
Do not stuff. Flatten slightly and sew to top of head, positioning it to rise up and back.
Eye Rings (Make 2)
These cream-colored rings frame the safety eyes beautifully.
Round 1: 6 sc in magic ring (6 sts)
Round 2: Inc in each st (12 sts)
Round 3: *Sc 1, inc* repeat (18 sts)
Round 4: BLO sc in each st around (18 sts)
This creates a raised edge. Fasten off with long tail for sewing. Position around each safety eye and sew in place.
Front Legs (Make 2)
Round 1: 5 sc in magic ring (5 sts)
Round 2: Inc in each st (10 sts)
Rounds 3 to 5: Sc in each st (10 sts)
Round 6: Dec, sc 8 (9 sts)
Rounds 7 to 12: Sc in each st (9 sts)
Stuff lightly. Flatten opening and sew to body sides.
Back Legs (Make 2)
Round 1: 6 sc in magic ring (6 sts)
Round 2: Inc in each st (12 sts)
Rounds 3 to 5: Sc in each st (12 sts)
Round 6: Dec twice, sc 8 (10 sts)
Rounds 7 to 14: Sc in each st (10 sts)
Stuff lightly, position below and behind front legs.
Curled Tail
The tail starts thick and tapers to a point, then naturally curls.
Round 1: 6 sc in magic ring (6 sts)
Round 2: Inc in each st (12 sts)
Rounds 3 to 6: Sc in each st (12 sts)
Round 7: *Sc 4, dec* repeat (10 sts)
Rounds 8 to 12: Sc in each st (10 sts)
Round 13: *Sc 3, dec* repeat (8 sts)
Rounds 14 to 20: Sc in each st (8 sts)
Round 21: *Sc 2, dec* repeat (6 sts)
Rounds 22 to 28: Sc in each st (6 sts)
Round 29: *Sc 1, dec* repeat (4 sts)
Rounds 30 to 35: Sc in each st (4 sts)
Fasten off. If desired, insert floral wire before stuffing to make the tail poseable. Stuff lightly. The natural curl happens when you sew it to the body at a slight angle.
Assembly and Finishing
Sewing order matters. Work in this sequence:
1. Attach eye rings around safety eyes
2. Sew casque to top of head
3. Attach front legs at round 26-28
4. Attach back legs at round 38-40
5. Sew tail to back end, curving it to one side
For the mouth line: Use black embroidery thread and a straight stitch from below the eye toward the nose tip. This small detail adds so much expression.
Pro tip: Pin all pieces in place before sewing. Take a photo. Adjust until you love the positioning, then sew permanently.
Troubleshooting Tips
Bobbles popping to the wrong side? Push them through to the outside as you work the next stitch. They should always pop toward you (the right side).
Tail not curling? Sew it with a slight twist at the base. The spiral naturally forms when the attachment point is offset.
Eyes look wonky? The eye rings hide a lot. Make sure they are centered around each eye post before tightening.
Make It Your Own
This chameleon crochet pattern works beautifully in any color combination. Try emerald green with blue spots, purple with pink accents, or rainbow gradient yarn for a magical effect. The reptile safety eyes come in many colors too. Match or contrast as you like.
You Did It
Seriously, this chameleon is a showstopper. Every person who sees it will want to hold it. The curled tail, those gorgeous eyes, the tiny bobble texture. You created something truly special.
Thank you so much for choosing this pattern. I hope the instructions were clear and the process was enjoyable. If you made this little guy, I would absolutely love to see your version. Tag me on Instagram or share in my Facebook group. Seeing your creations genuinely makes my day.
Now go find this chameleon a sunny spot on your desk. He has earned it. And so have you.
Happy crocheting, friend.
