
This is a structured tote bag made from granny squares, each featuring a dimensional 3D rose at the center. The construction uses basic granny square techniques combined with a rolled rose motif. You will need intermediate crochet skills and about 30 to 45 hours to complete this project.
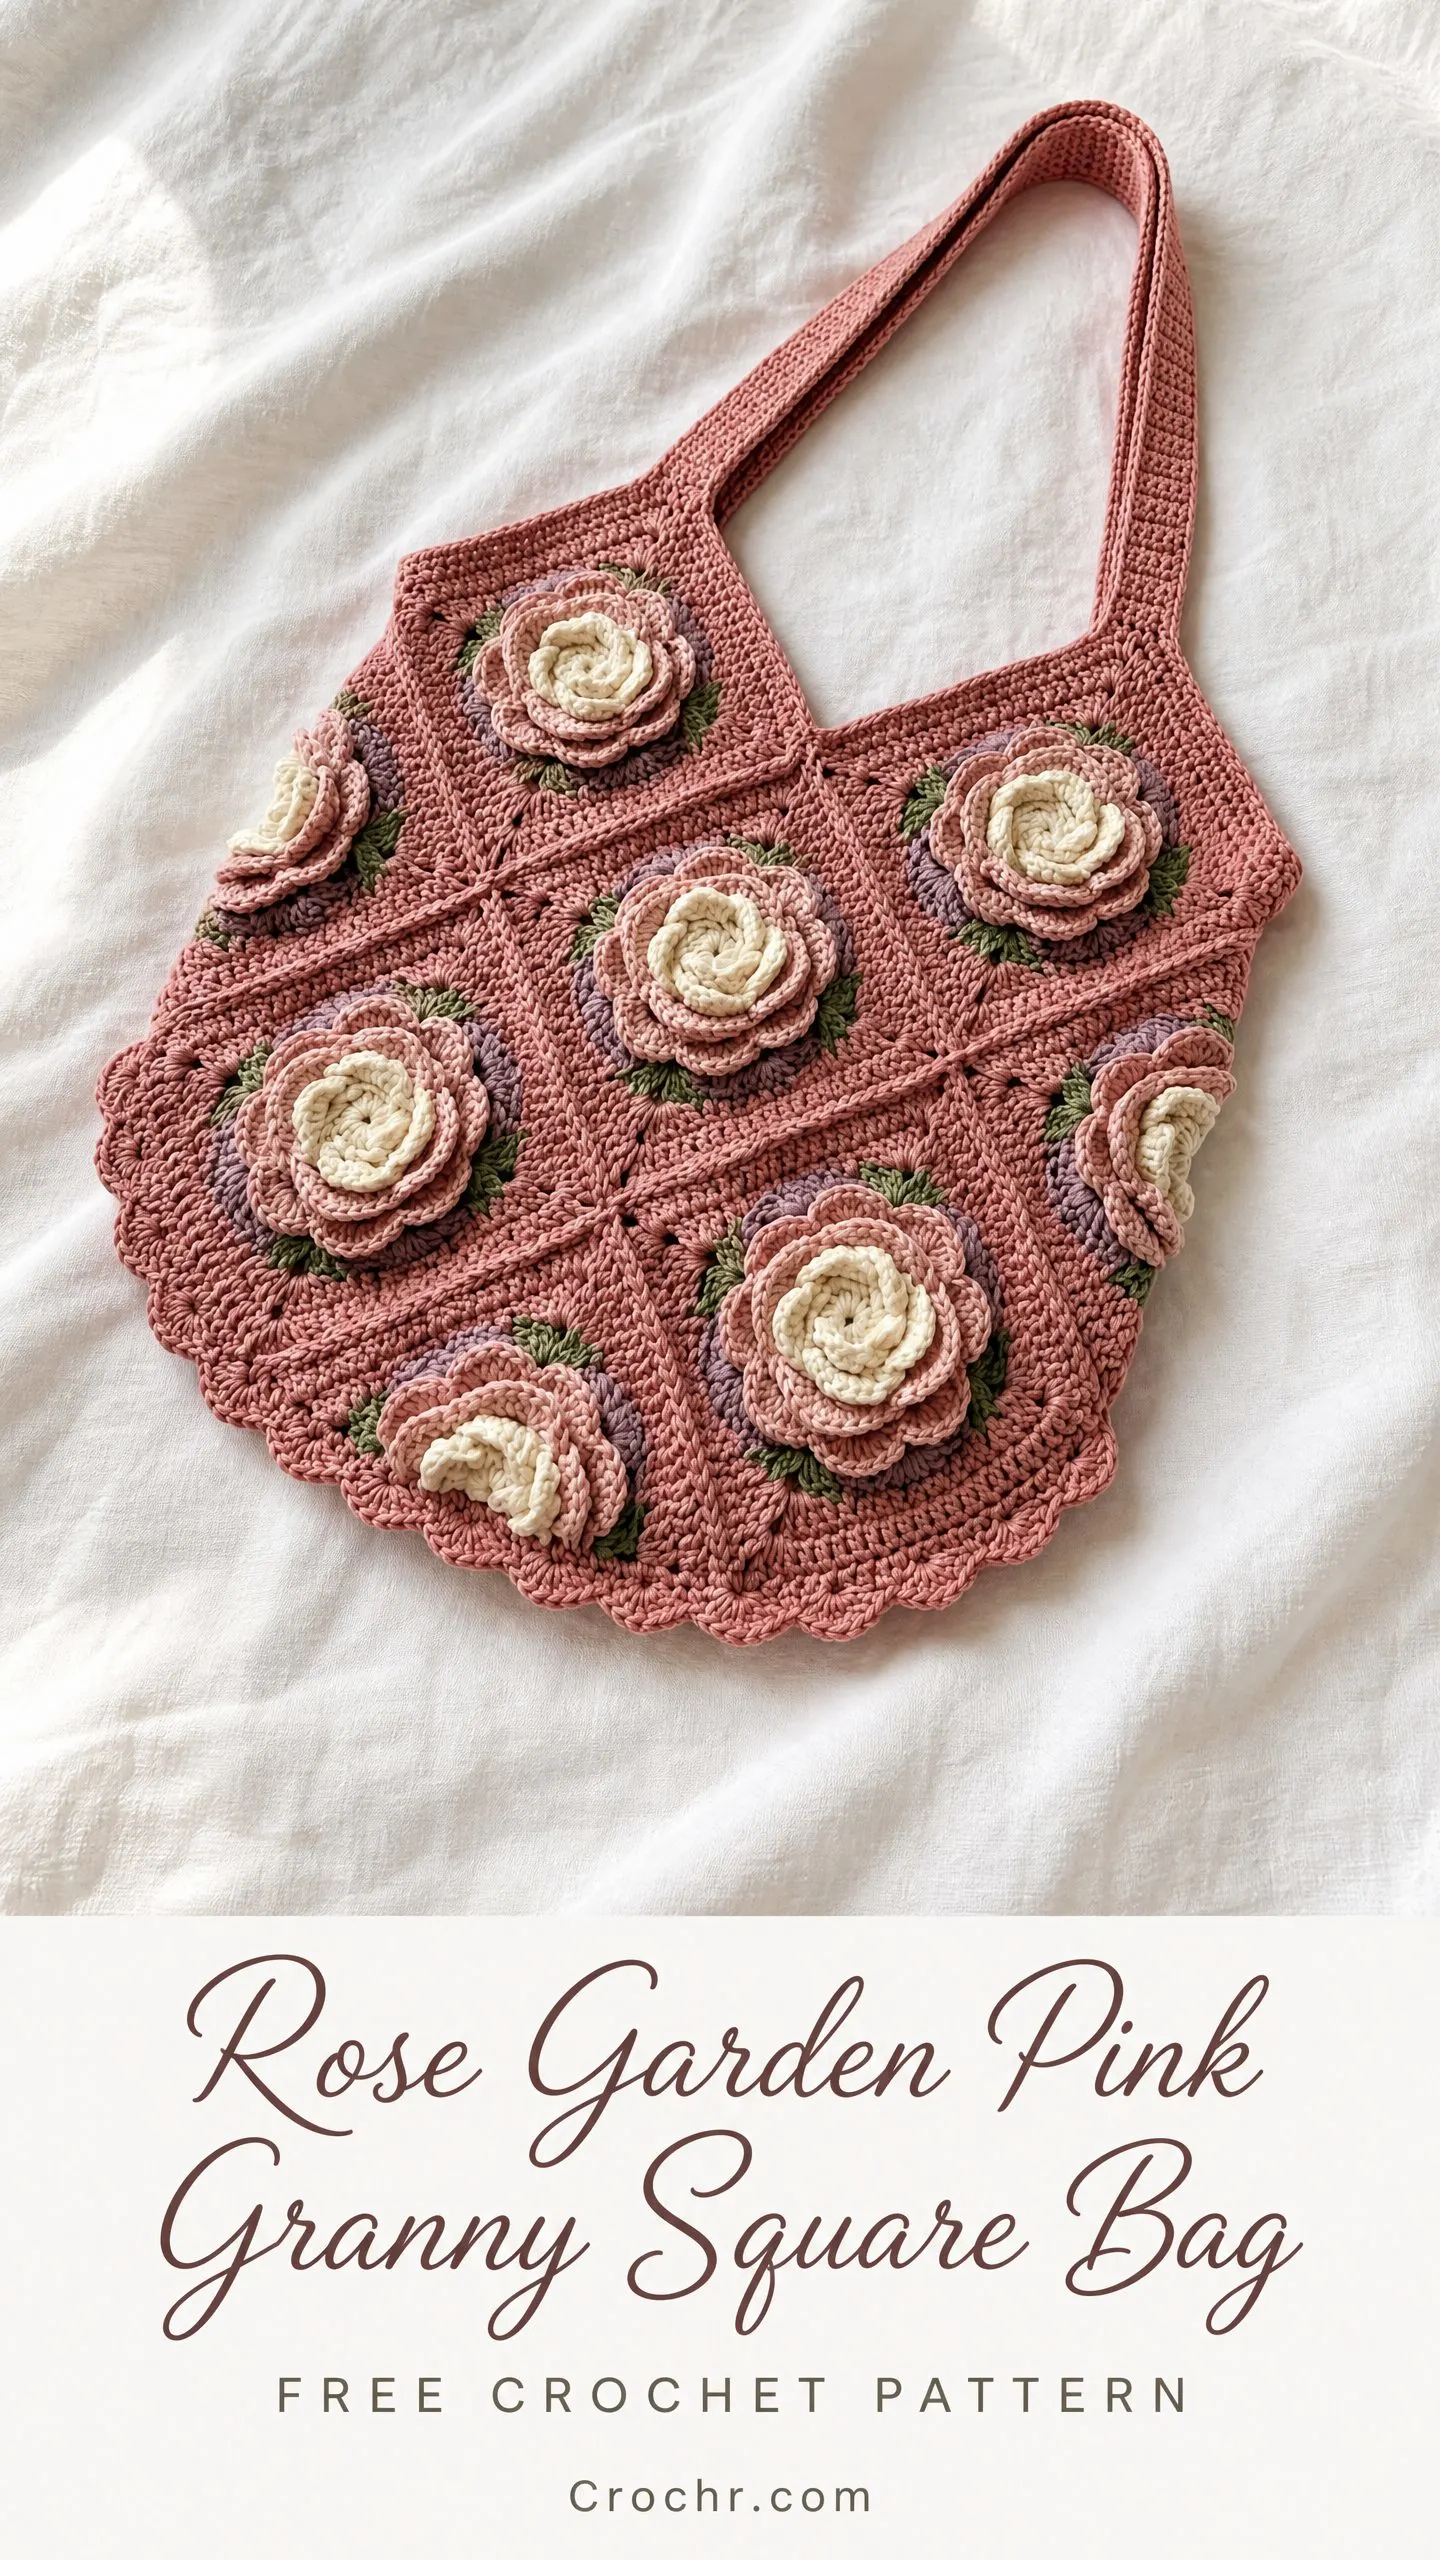
If you have been wanting to try 3D crochet flowers, this bag is an excellent place to start. The roses look complicated but they are actually worked as flat strips that you roll and stitch into shape. Once you make your first one, the rest go quickly.
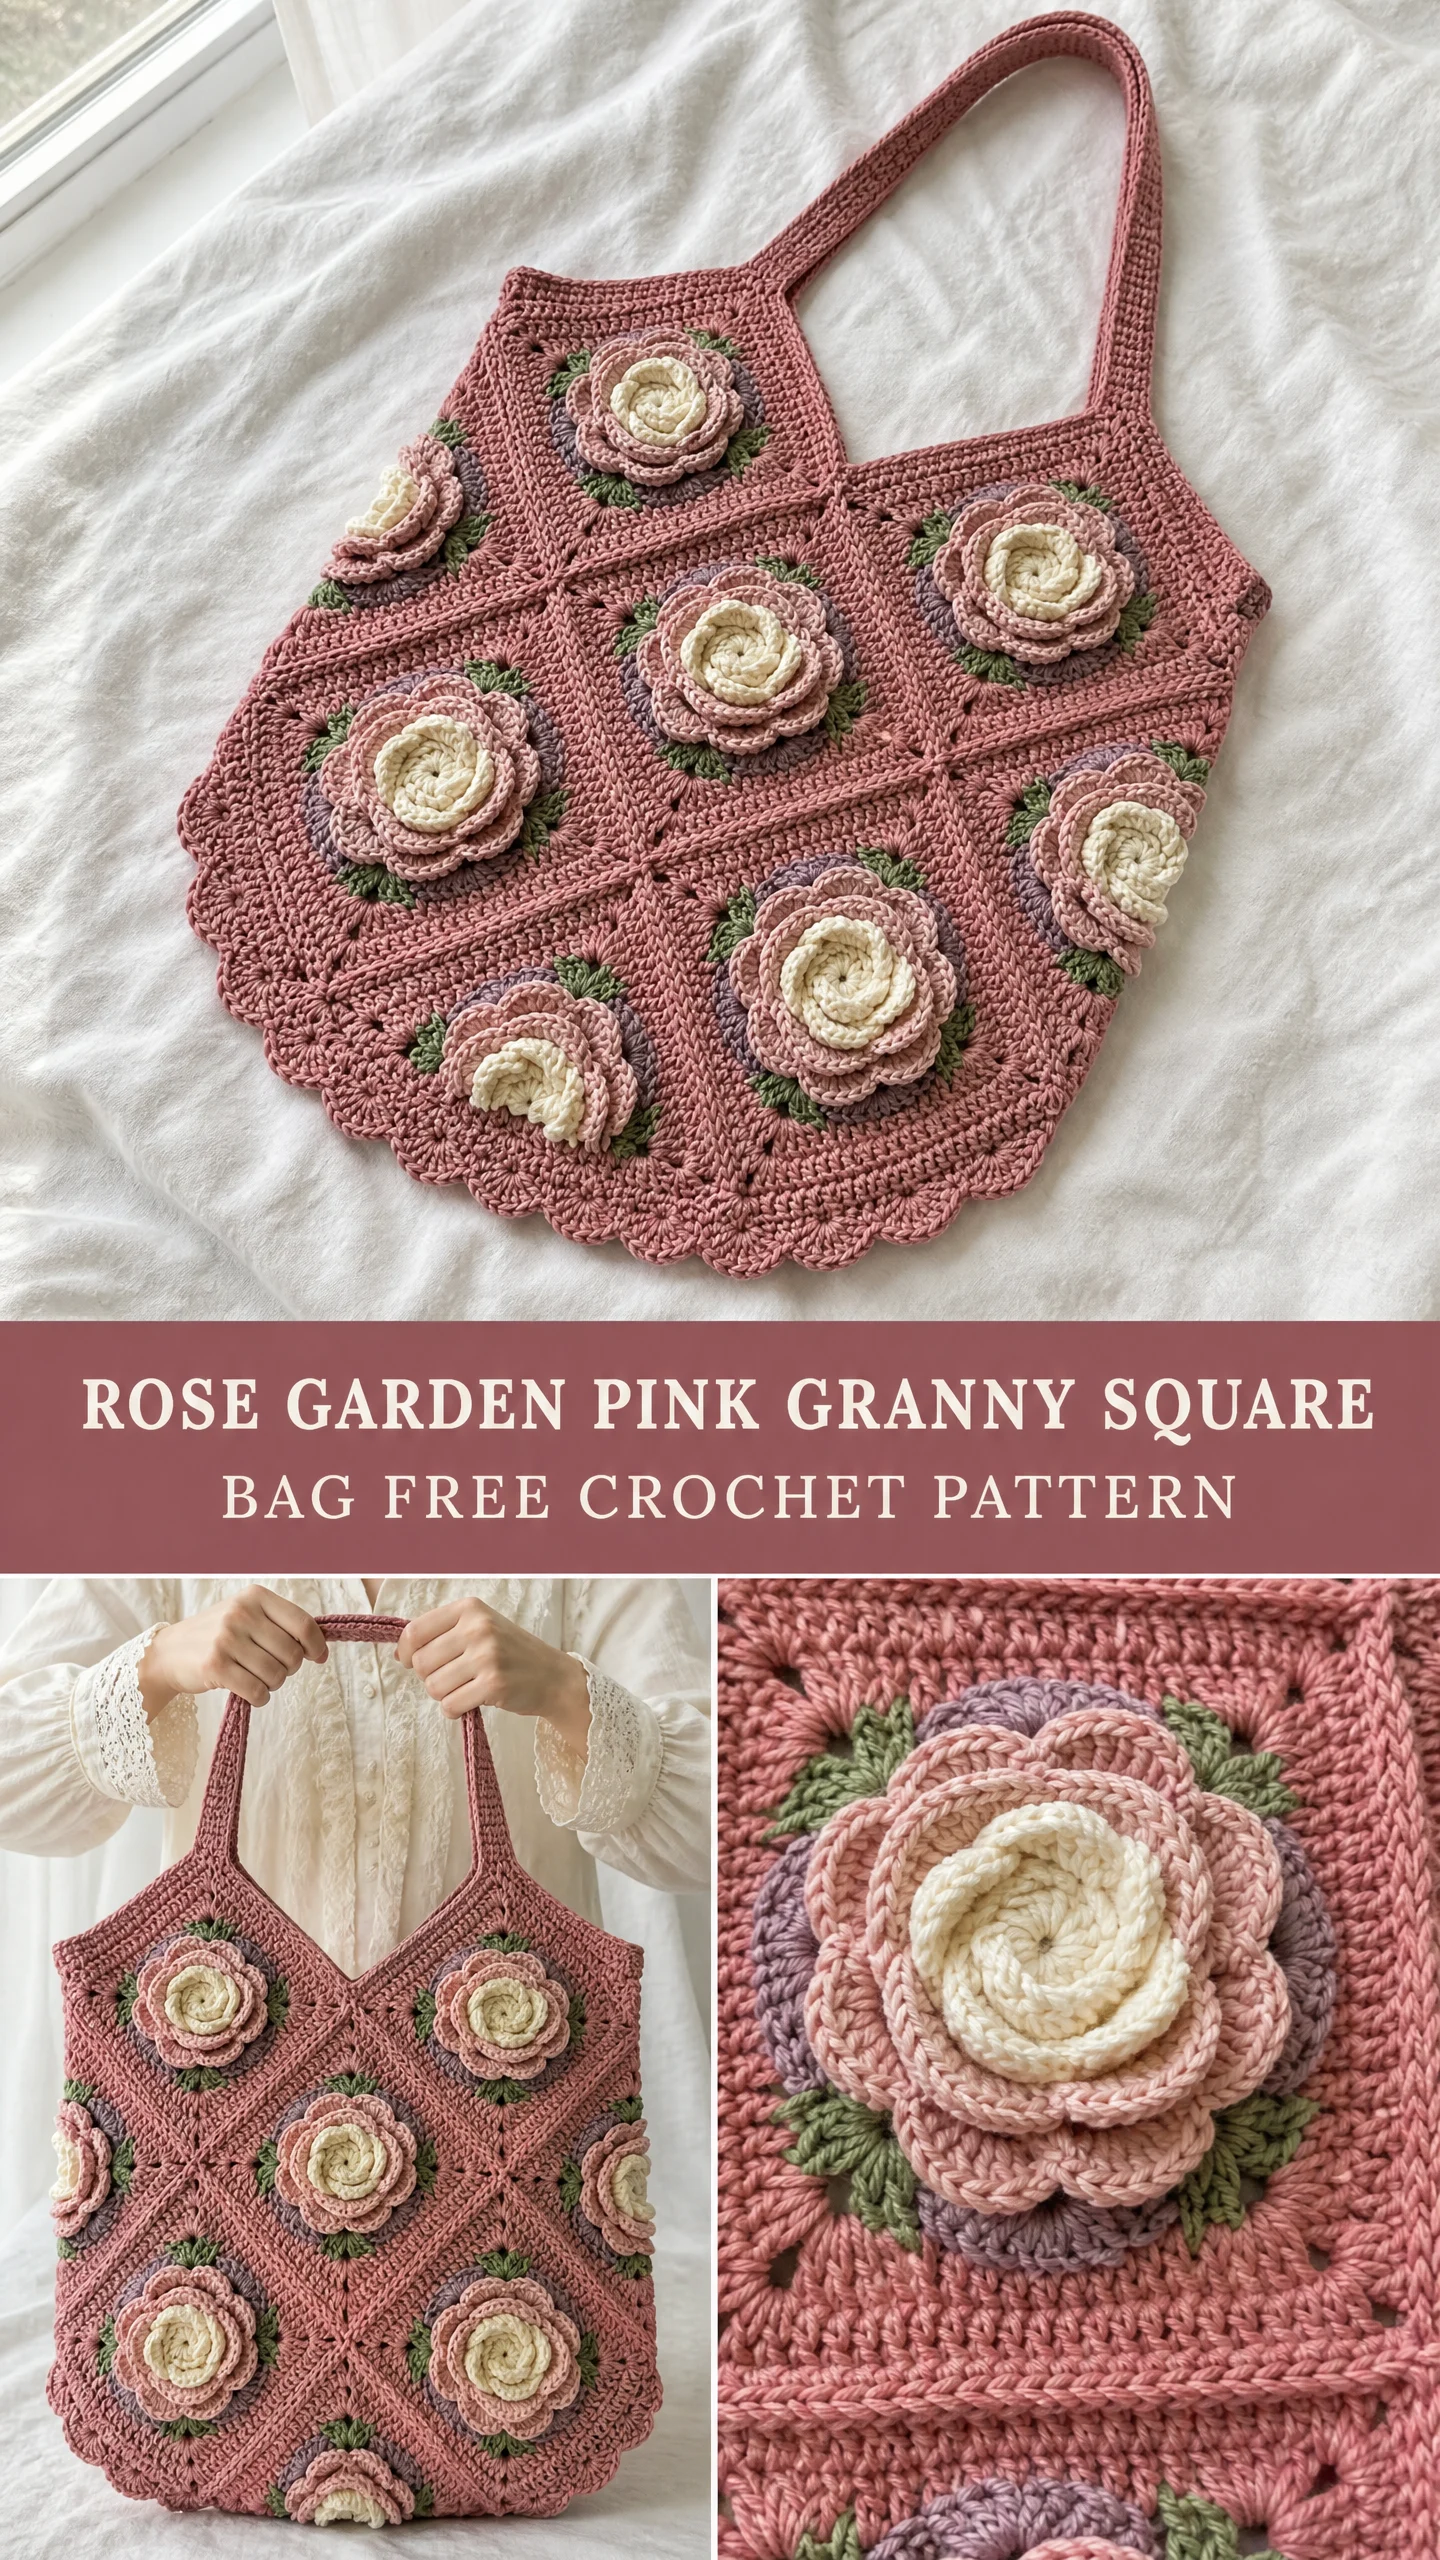
The finished bag measures approximately 14 inches wide by 15 inches tall with a 10 inch handle drop. It holds its shape beautifully thanks to the cotton yarn and optional fabric lining. This makes a stunning gift or a statement piece for yourself.
Why You Will Love This Rose Garden Bag Crochet Pattern
The combination of classic granny squares and romantic dimensional roses creates something truly special. Each square features a layered bloom with cream, mauve, and dusty rose petals surrounded by delicate green leaf accents. The scalloped bottom edge adds a feminine finishing touch.
This crochet bag pattern works up in sections, so you can take it with you and work on individual squares whenever you have time. The repetitive nature of making 18 identical squares means your technique will improve dramatically by the end. Many crocheters find this meditative rather than tedious.
The cotton yarn gives the bag structure without being stiff. It softens slightly with use while maintaining its shape. Unlike acrylic, cotton holds the dimensional roses crisply and gives beautiful stitch definition.
Materials Needed for the Granny Square Bag
Yarn (Worsted Weight Cotton or Cotton Blend):
Hook: US size G-6 (4.0 mm) crochet hook
Notions:
Recommended Yarn Brands
Lion Brand 24/7 Cotton in Terracotta, Ecru, Blush, Lavender, and Fern works beautifully. This 100% mercerized cotton gives excellent stitch definition and is machine washable.
WeCrochet Dishie in Begonia, Cream, Peach, Iris, and Aloe offers a slight sheen that gives the finished bag a polished look.
Paintbox Yarns Cotton DK used doubled throughout is a budget-friendly option available in many colors.
Avoid 100% acrylic for this project. It will not hold the bag structure or the dimensional roses as crisply as cotton.
Gauge
One completed granny square (through Round 5, before rose is attached) measures 4.5 inches by 4.5 inches (11.5 cm by 11.5 cm) blocked.
16 single crochet by 18 rows equals 4 inches by 4 inches (10 cm by 10 cm) in single crochet with Color A and G-6 hook.
Gauge matters here. If your squares are too small, the bag will be undersized. If too large, you will run out of yarn. Make a test square first and adjust your hook size as needed.
Abbreviations and Stitch Definitions
Understanding these terms will help you follow the step by step crochet tutorial smoothly.
Special Stitches
Granny Cluster: Yarn over, insert hook into indicated space, yarn over and pull up a loop, yarn over and pull through two loops. Work two more double crochet into the same space in the same manner. You now have four loops on your hook. Yarn over and pull through all four loops. This is a 3-dc cluster worked into one space.
Scallop Stitch: Work 5 double crochet into the indicated stitch or space, skip the next 2 stitches, slip stitch into the next stitch. One scallop complete.
How to Crochet the Granny Squares (Make 18)
Each square starts with Color D (lavender) for the center, transitions to Color A (dusty rose), adds leaf accents in Color E (green), and finishes with an outer border in Color A.
Round 1 (Color D)
Make a magic ring. Chain 3 (counts as first dc). Work 2 dc into ring. Chain 2. (Work 3 dc into ring, chain 2) 3 times. Join with sl st to top of beginning ch-3.
Stitch count: 12 dc, 4 ch-2 corner spaces
Round 2 (Color D)
Sl st into next 2 dc and into first ch-2 corner space. Chain 3, work 2 dc into same corner space, chain 2, work 3 dc into same corner space. Chain 1. (Work 3 dc, chain 2, 3 dc into next ch-2 corner space, chain 1) 3 times. Join with sl st to top of beginning ch-3. Fasten off Color D.
Stitch count: 24 dc, 4 ch-2 corner spaces, 4 ch-1 side spaces
Round 3 (Color A)
Join Color A with sl st into any ch-2 corner space. Chain 3, work 2 dc into same corner space, chain 2, work 3 dc into same corner space. Chain 1. Work 3 dc into next ch-1 side space. Chain 1. (Work 3 dc, chain 2, 3 dc into next ch-2 corner space, chain 1, work 3 dc into next ch-1 side space, chain 1) 3 times. Join with sl st to top of beginning ch-3.
Stitch count: 36 dc, 4 ch-2 corner spaces, 8 ch-1 side spaces
Round 4 (Color A)
Sl st into next 2 dc and into first ch-2 corner space. Chain 3, work 2 dc into same corner space, chain 2, work 3 dc into same corner space. Chain 1. (Work 3 dc into next ch-1 space, chain 1) twice. (Work 3 dc, chain 2, 3 dc into next ch-2 corner space, chain 1, (work 3 dc into next ch-1 space, chain 1) twice) 3 times. Join with sl st to top of beginning ch-3. Fasten off Color A.
Stitch count: 48 dc, 4 ch-2 corner spaces, 12 ch-1 side spaces
Round 5 (Color E, Leaf Accent Round)
Join Color E with sl st into any ch-2 corner space. Chain 1. Work 1 sc into corner space. (Chain 3, sl st into second ch from hook to create a picot, 1 sc into next ch-1 space) across each side, working (1 sc, chain 3, sl st into second ch from hook to create picot, 1 sc) into each ch-2 corner space. Join with sl st to first sc. Fasten off Color E.
Result: Approximately 16 picot points total, 4 per side, creating leaf-like texture around the square
Round 6 (Color A, Outer Border Round)
Join Color A with sl st into any ch-2 corner space. Chain 3, work 2 dc into same corner space, chain 2, work 3 dc into same corner space. Chain 1. (Work 3 dc into next available space between clusters, chain 1) 3 times across each side. (Work 3 dc, chain 2, 3 dc into next ch-2 corner space, chain 1, (work 3 dc into next space, chain 1) 3 times) 3 times. Join with sl st to top of beginning ch-3. Fasten off Color A.
Stitch count: 60 dc, 4 ch-2 corner spaces, 16 ch-1 side spaces
Block each completed square to 4.5 inches by 4.5 inches before joining.
How to Crochet the 3D Roses (Make 18)
The roses are worked as flat strips that you roll and stitch together. This technique is easier than it looks. Trust the process.
Rose Center Coil (Color B)
Chain 36.
Row 1 (RS): Work 3 dc into the 4th chain from hook. Work 3 dc into each remaining chain across. Fasten off, leaving an 8-inch tail.
Result: 33 clusters of 3 dc across a 33-chain length base
Starting at one end, tightly roll the strip around itself. Use the tail to stitch through the base of the coil several times to secure. This forms the tight cream center of the rose.
Inner Petal Ring (Color C)
Chain 52.
Row 1 (RS): Sc into 2nd ch from hook. (Chain 3, sk 2 ch, sc into next ch) across.
Stitch count: 17 ch-3 spaces, 18 sc
Row 2: Chain 3, turn. Work (2 dc, hdc, sl st) into first ch-3 space. Work (sl st, hdc, 2 dc, hdc, sl st) into each remaining ch-3 space across.
Result: 17 petals formed
Fasten off, leaving a 10-inch tail. Roll the petal strip gently so the petals face outward in a ring. Stitch through the base to secure. Attach around the outside of the Color B center coil using the tail, stitching firmly at the base.
Outer Petal Ring (Color A)
Chain 70.
Row 1 (RS): Sc into 2nd ch from hook. (Chain 4, sk 2 ch, sc into next ch) across.
Stitch count: 23 ch-4 spaces, 24 sc
Row 2: Chain 1, turn. Work (hdc, 3 dc, hdc, sl st) into first ch-4 space. Work (sl st, hdc, 3 dc, hdc, sl st) into each remaining ch-4 space across.
Result: 23 larger petals formed
Fasten off, leaving a 12-inch tail. Roll gently and attach around the outside of the inner petal ring in the same manner. The completed rose should measure approximately 2.5 to 3 inches in diameter.
Attaching Roses to Squares
Center the completed rose on the right side of each granny square. Using Color A and a yarn needle, stitch through the base of the rose and through the center of the granny square at multiple points around the circumference. The rose will stand dimensionally above the square surface. Weave in all ends.
Joining the Squares
Arrange the 18 squares in a flat 3-wide by 6-tall panel on a surface with roses facing up.
Horizontal Joins
Hold two adjacent squares with wrong sides facing together, aligning one edge. Using Color A and a yarn needle or crochet hook, work a slip-stitch join through both layers. Work through corresponding ch-2 corner spaces and dc stitches along the joining edge. Continue joining until you have three horizontal rows.
Vertical Joins
Join the horizontal rows together along their shared edges using the same slip-stitch method. The result is a flat 3-by-6 panel.
Forming the Bag
Fold the panel in half widthwise, bringing the top 3 squares down to meet the bottom 3 squares. The fold is horizontal at the midpoint. The front face shows 9 squares in a 3-by-3 arrangement. The back face shows the remaining 9 squares in a 3-by-3 arrangement.
Using Color A, slip-stitch seam along the left side edge and the right side edge from top to bottom, leaving the top edge open.
Scallop Border
With RS facing, join Color A with sl st to any stitch along the bottom folded edge of the bag.
Scallop Round 1 (Setup): Work 1 sc evenly around the bottom edge, working through both layers at the side seam areas. Work approximately 54 sc evenly distributed. Join with sl st to first sc. (54 sc)
Scallop Round 2: Chain 1. Sc into first st. (Skip 2 sts, work 5 dc into next st, skip 2 sts, sc into next st) 9 times. Join with sl st to first sc. (9 scallops)
Fasten off Color A. Weave in ends.
Top Edge Finishing
With RS facing, join Color A with sl st to any stitch at the top opening of the bag.
Top Edge Round 1: Work 1 sc into each stitch and each ch-sp evenly around the top opening. Work approximately 80 sc total. Join with sl st to first sc. (80 sc)
Top Edge Round 2: Chain 1. Work 1 sc into each sc around. Join with sl st to first sc. (80 sc)
Top Edge Round 3: Chain 1. Work 1 sc BLO into each sc around. Join with sl st to first sc. (80 sc)
Fasten off Color A. Weave in ends.
Handle
Foundation Chain: Chain 11.
Row 1: Sc into 2nd ch from hook and each ch across. Turn. (10 sc)
Row 2: Chain 1, sc into each sc across. Turn. (10 sc)
Repeat Row 2 until handle measures 36 inches or desired length. Fasten off, leaving a 12-inch tail for sewing.
The handle is approximately 2.5 inches wide at 10 sc.
Handle Attachment
Position one end of the handle at the top-left corner of the bag front, centered over the seam. The handle end should overlap approximately 1.5 inches down into the interior. Stitch securely in place with Color A using whipstitch. Repeat at the top-right corner. The handle loops up and over to form a single shoulder strap.
Optional Fabric Lining
Cut two rectangles of cotton lining fabric, each measuring 15 inches by 16 inches. With right sides facing, sew the two rectangles together along the side and bottom edges using a half-inch seam allowance. Fold the top edge down by half an inch and press.
Insert the fabric lining into the bag with the wrong side of the lining facing the wrong side of the crochet. Slip-stitch the top folded edge of the lining to the inside of the bag just below the BLO ridge on Round 3 of the top edge. The lining adds structure and prevents small items from falling through the gaps.
Blocking and Finishing
Wet-block each granny square before joining by soaking in cool water for 10 minutes. Gently squeeze out excess water without wringing. Pin to a foam blocking mat at 4.5 by 4.5 inch measurements. Allow to dry completely.
After assembly, lightly mist the exterior with water and smooth by hand. Do not pin over the dimensional roses. Allow to air dry completely.
Care Instructions
Hand wash in cool water with gentle detergent. Rinse thoroughly and gently press out excess water. Reshape by hand and lay flat or hang to dry. Do not machine wash unless all yarn used is machine washable. Do not iron directly over the dimensional roses. Store stuffed with tissue paper to maintain shape.
Size Customization Tips
For a larger bag: Add one additional row of squares to make a 3-by-8 grid (24 squares total). This increases the bag height by approximately 4.5 inches.
For a smaller bag: Use a 2-by-4 grid (8 squares, folded to show 4 on each side) and reduce the handle length to approximately 28 inches for hand-carry length.
For a narrower handle: Work the foundation chain as Chain 7 and work on 6 sc per row throughout.
I hope you enjoy making this beautiful Rose Garden Pink Granny Square Bag. It is one of those projects that looks impressive displayed on a shelf between crochet sessions and even more stunning when finished. The dimensional roses get compliments everywhere you go.
If you make this bag, I would love to see it! Save this pattern to your Pinterest boards so you can find it when you are ready to start. And please leave a comment below sharing your color choices or any questions. Happy crocheting!
You Might Also Like
- Mint Green Floral Crochet Backpack Free Pattern
- Ocean Blue Seashell Motif Tote Free Crochet Pattern
- Tropical Hibiscus Mermaid Amigurumi Free Crochet Pattern
- Dusty Rose Bow Handbag Free Crochet Pattern
