This design brings together classic nautical style with breezy, open lacework in a way that feels fresh and surprisingly wearable. The geometric ladder mesh crown keeps things light and airy while the structured double layer visor adds polish and practical sun shielding. Navy blue with crisp white edge stripes gives it that timeless coastal charm.
Get the Ad-Free PDF Pattern
Scroll down for the full pattern, or get the ad-free printable PDF from the shop.
Get the Printable PDF →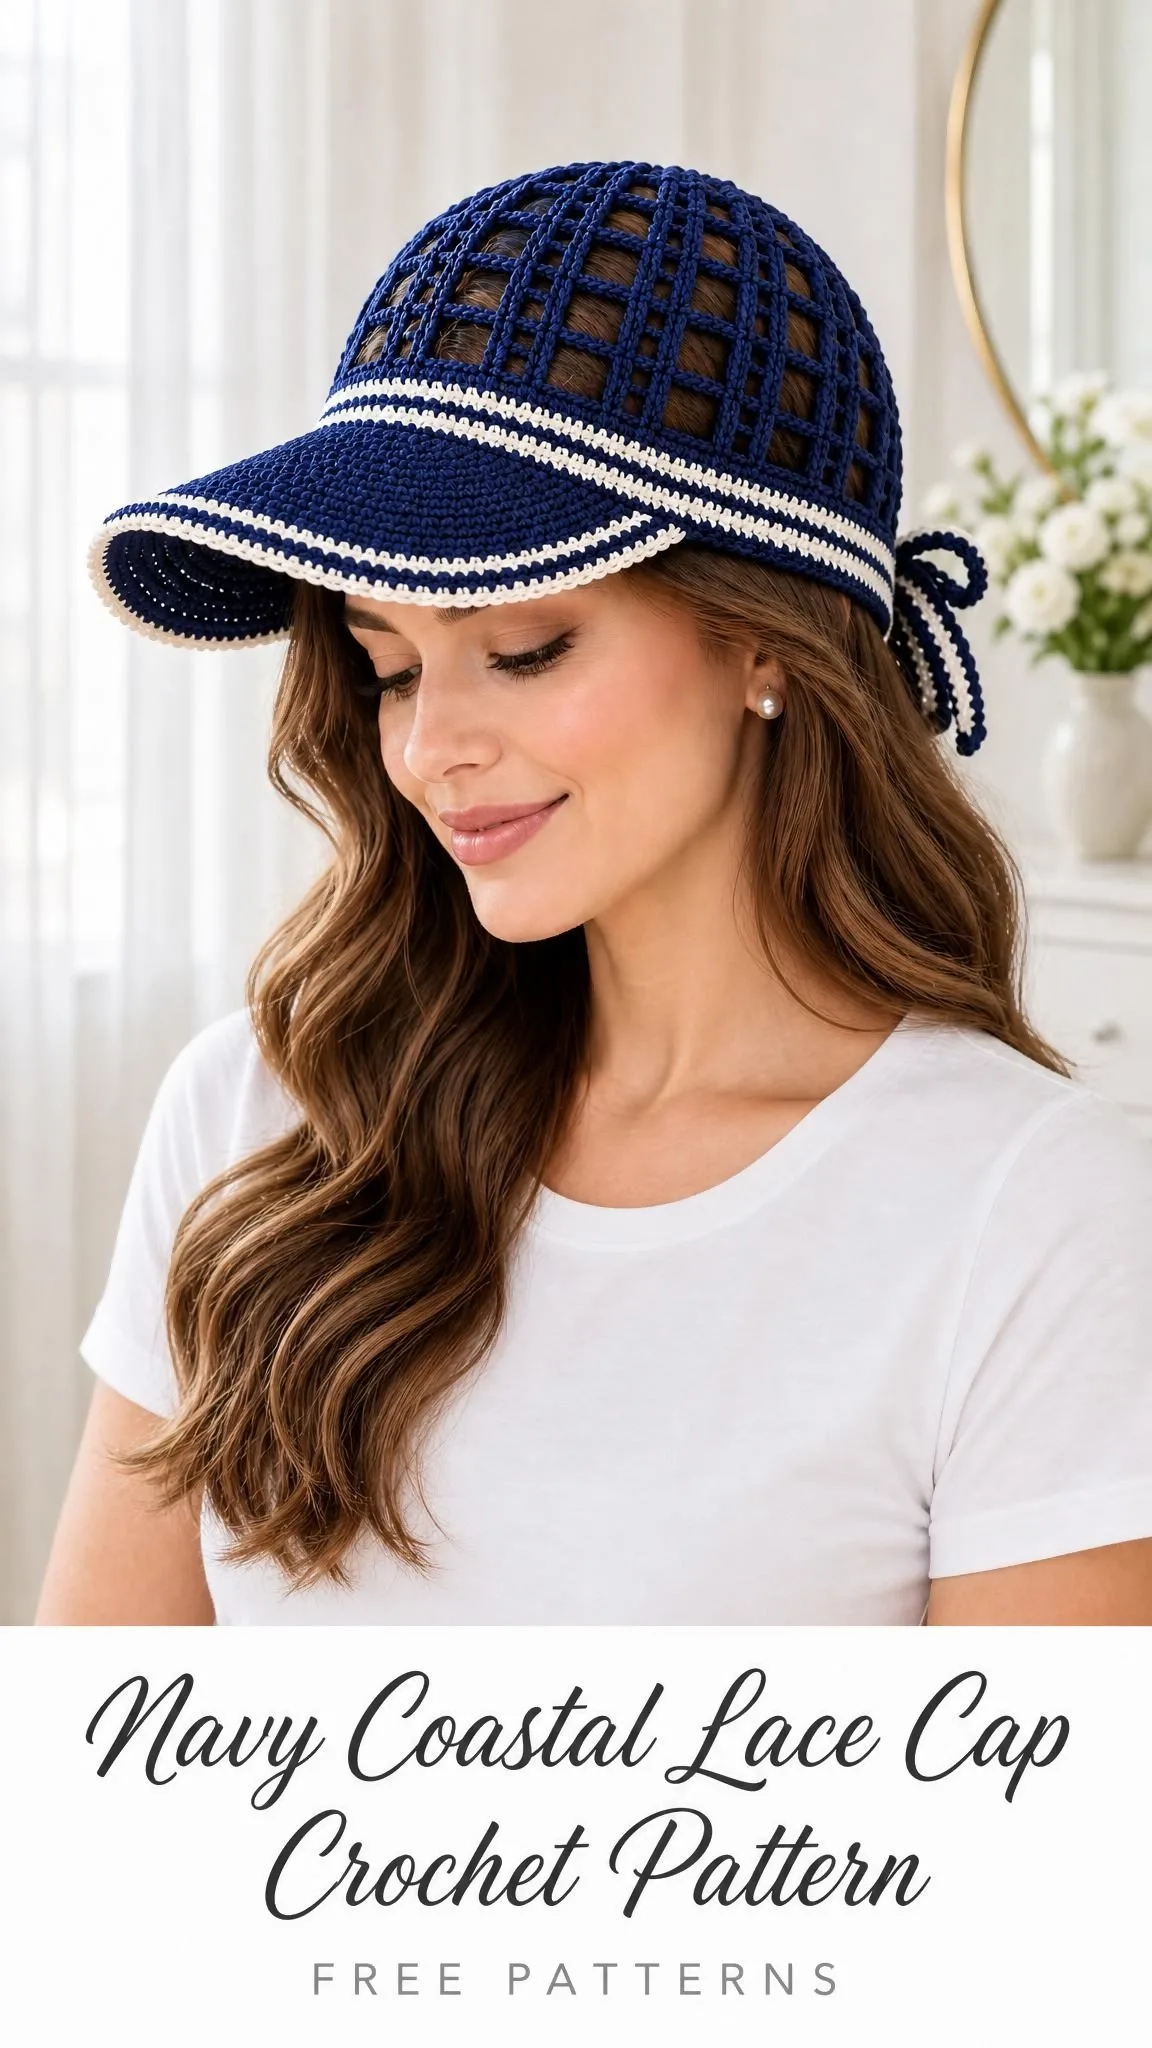
Sized for an adult head measuring 54 to 57 cm, this ponytail visor cap works up from the top down, creating a fitted silhouette that sits comfortably while leaving room for hair at the back. The rear opening with its narrow bow ties adds both function and a sweet finishing detail.
Whether you are heading to the beach, the farmer’s market, or just need something stylish for sunny days, this cap delivers. The clean lines and geometric mesh pattern make it a sophisticated accessory without being fussy. You will love how the construction comes together, and the double layer visor gives it real structure.
Why This Crochet Cap Pattern Works
The ladder mesh stitch pattern creates those signature open squares you see across the crown. This is not complicated lace work. It is simply double crochet posts separated by chain one spaces, repeated in rounds. The effect looks intricate, but once you understand the rhythm, it moves quickly.
The visor uses dense single crochet (sc) worked in rows with gradual decreases on each side. Two identical layers get stitched together with an optional flexible insert sandwiched between them. This gives the brim enough body to hold its curve without feeling stiff or heavy.
The white contrast stripes along the visor edge are worked directly into the fabric, so there is no complicated colorwork or separate pieces to attach later. Just two rounds of contrast color single crochet create that classic nautical stripe.
Skill Level
This pattern suits confident beginners and intermediate crocheters. You should be comfortable with:
- Working in joined rounds
- Double crochet and single crochet
- Decreasing with sc2tog
- Reading stitch counts and maintaining gauge
- Basic assembly and seaming
If you have made a beanie or basic hat before, you are ready for this. The mesh pattern looks fancy but follows a predictable repeat. Take your time on the first few increase rounds and the rest will flow.
Materials and Tools
Yarn:
- Smooth fingering weight cotton, approximately 200 m per 50 g
- Main color (navy blue): 100 g / 400 m
- Contrast color (white): 15 g / 60 m
- Estimated quantities include appliques and double visor
Hooks:
- 2.5 mm for crown, or size needed to obtain gauge
- 2.25 mm for visor and trim, or size needed to obtain gauge
Notions:
- Tapestry needle
- 8 stitch markers
- Scissors
- Tape measure
- Optional: washable flexible visor insert, cut 3 mm smaller than crocheted layers
- For pearl versions: 6 to 10 sew on 8 mm imitation pearls and strong sewing thread
Gauge
Getting gauge right matters here because the cap needs to fit a specific head circumference.
Crown gauge: 22 stitch positions (11 small mesh cells) x 12 rows = 10 cm
Dense visor gauge: 22 sc x 24 rows = 10 cm
The 120 position crown circumference measures approximately 54.5 cm.
Make a swatch at least 15 x 15 cm, wash and dry it as you will the finished piece, then measure the central 10 cm without stretching. Change your hook size up or down to match gauge. Record both width and height measurements.
All dimensions given are blocked targets. Cotton lace can lengthen while worn, so do not skip this step.
Finished Measurements
- Head circumference: 54 to 57 cm
- Crown depth: approximately 18 cm
- Rear opening: approximately 6 x 5 cm
- Visor: 20 x 6 cm
Abbreviations and Special Stitches
This pattern uses US crochet terminology.
- ch = chain
- st(s) = stitch(es)
- sp = space
- sl st = slip stitch
- sc = single crochet (insert hook, yarn over, pull up a loop, yarn over, pull through both loops)
- hdc = half double crochet
- dc = double crochet (yarn over, insert hook, yarn over, pull up a loop, yarn over, pull through two loops, yarn over, pull through remaining two loops)
- tr = treble crochet
- BLO = back loop only
- RS/WS = right side / wrong side
- rep = repeat
- inc = increase
- sc2tog = single crochet two stitches together (insert hook in first stitch, pull up a loop, insert hook in next stitch, pull up a loop, yarn over, pull through all three loops on hook)
Small Mesh (Flat)
Ch 3 (counts as first dc), then work [ch 1, skip next ch 1 sp, dc in next dc] to end. Work the dc into the post stitch, not the gap.
A mesh cell is one ch 1 space bounded by dc posts. Flat work with C cells has C+1 dc posts and C chains. Total positions = 2C+1.
Shell Trim
On a prepared sc edge with a multiple of 6 stitches: [skip 2 sc, 5 dc in next sc, skip 2 sc, sl st in next sc].
Picot Trim
[Sc in next 3 sts, ch 3, sl st into third ch from hook].
Pattern Notes
Before you begin, read through these notes to understand how the pattern is structured.
- Turning ch 3 counts as a dc
- Ch 1 does NOT count as a sc
- Join rounds with sl st unless stated otherwise
- Flat rows turn after each row
- Joined rounds do not turn
- Brackets [ ] enclose a repeat
- Do not count joining sl sts
- Sew with RS together unless directed otherwise
- Work main fabric in navy blue
- Use white for named trims and contrast details
This document supplies one adult sample size only. Check measurements before committing your yarn. Altering stitch counts requires recalculating motif placement and shaping.
Construction Overview
Here is the roadmap for building this cap:
- Increase a circular lace top to 60 mesh cells (120 stitch positions)
- Work four closed mesh rounds
- Work five open rows leaving a rear notch
- Add the front visor
- Finish the edges
- Attach motifs and ties
Instructions
Crown Lace Disc
Round 1: Into an adjustable ring, ch 3 (counts as first dc), 11 dc; join with sl st to top of ch 3. 12 dc.
Round 2: Ch 3, ch 1; [dc in next dc, ch 1] 11 times; join. 12 dc + 12 ch 1 spaces; 12 cells.
Round 3: Sl st into first ch 1 space. Work [(dc, ch 1, dc, ch 1) in next space, (dc, ch 1) in each of next 1 spaces] 6 times; replace first dc with ch 3 and join. 18 dc + 18 ch 1 spaces; 18 cells.
Round 4: Sl st into first ch 1 space. Work [(dc, ch 1, dc, ch 1) in next space, (dc, ch 1) in each of next 2 spaces] 6 times; replace first dc with ch 3 and join. 24 dc + 24 ch 1 spaces; 24 cells.
Round 5: Sl st into first ch 1 space. Work [(dc, ch 1, dc, ch 1) in next space, (dc, ch 1) in each of next 3 spaces] 6 times; replace first dc with ch 3 and join. 30 dc + 30 ch 1 spaces; 30 cells.
Round 6: Sl st into first ch 1 space. Work [(dc, ch 1, dc, ch 1) in next space, (dc, ch 1) in each of next 4 spaces] 6 times; replace first dc with ch 3 and join. 36 dc + 36 ch 1 spaces; 36 cells.
Round 7: Sl st into first ch 1 space. Work [(dc, ch 1, dc, ch 1) in next space, (dc, ch 1) in each of next 5 spaces] 6 times; replace first dc with ch 3 and join. 42 dc + 42 ch 1 spaces; 42 cells.
Round 8: Sl st into first ch 1 space. Work [(dc, ch 1, dc, ch 1) in next space, (dc, ch 1) in each of next 6 spaces] 6 times; replace first dc with ch 3 and join. 48 dc + 48 ch 1 spaces; 48 cells.
Round 9: Sl st into first ch 1 space. Work [(dc, ch 1, dc, ch 1) in next space, (dc, ch 1) in each of next 7 spaces] 6 times; replace first dc with ch 3 and join. 54 dc + 54 ch 1 spaces; 54 cells.
Round 10: Sl st into first ch 1 space. Work [(dc, ch 1, dc, ch 1) in next space, (dc, ch 1) in each of next 8 spaces] 6 times; replace first dc with ch 3 and join. 60 dc + 60 ch 1 spaces; 60 cells.
Round 11: Ch 3; [ch 1, dc in next dc] 59 times; ch 1, join to top of ch 3. 60 dc + 60 ch 1 spaces.
Rounds 12 to 14: Ch 3; [ch 1, dc in next dc] 59 times; ch 1, join. 60 dc + 60 ch 1 spaces. Repeat this instruction on every listed round.
Rear Opening
Mark a rear arc of 7 mesh cells. Place the working start at the first boundary post of the remaining 53 cell front arc. Cut and rejoin yarn there if needed.
Row 15: Ch 3; [ch 1, dc in next dc] 53 times along the front arc. Leave rear 7 cells unworked; turn. 54 dc + 53 ch 1 spaces; 53 cells.
Rows 16 to 19: Work small mesh across; turn. 54 dc + 53 ch 1 spaces; 53 cells. Repeat this instruction on every listed row.
Checkpoint: Crown circumference before opening should measure about 54.5 cm. Rear notch should measure about 6.4 cm wide x 4.2 cm deep. Block crown to approximately 18 cm depth, adjusting only the straight mesh row count if needed.
Visor (Make 2 Matching Layers)
Switch to 2.25 mm hook. The starting edge attaches to the cap later. For the wide version, block width to 21 cm. For petite versions, block to 19 cm without changing stitch counts.
Row 1: Ch 45; sc in second ch and each remaining ch; turn. 44 sc.
Row 2: Ch 1, sc2tog, sc in next 40 sts, sc2tog; turn. 42 sc.
Row 3: Ch 1, sc2tog, sc in next 38 sts, sc2tog; turn. 40 sc.
Row 4: Ch 1, sc2tog, sc in next 36 sts, sc2tog; turn. 38 sc.
Row 5: Ch 1, sc2tog, sc in next 34 sts, sc2tog; turn. 36 sc.
Row 6: Ch 1, sc2tog, sc in next 32 sts, sc2tog; turn. 34 sc.
Row 7: Ch 1, sc2tog, sc in next 30 sts, sc2tog; turn. 32 sc.
Row 8: Ch 1, sc2tog, sc in next 28 sts, sc2tog; turn. 30 sc.
Row 9: Ch 1, sc2tog, sc in next 26 sts, sc2tog; turn. 28 sc.
Row 10: Ch 1, sc2tog, sc in next 24 sts, sc2tog; turn. 26 sc.
Row 11: Ch 1, sc2tog, sc in next 22 sts, sc2tog; turn. 24 sc.
Row 12: Ch 1, sc2tog, sc in next 20 sts, sc2tog; turn. 22 sc.
Row 13: Ch 1, sc2tog, sc in next 18 sts, sc2tog; turn. 20 sc.
Row 14: Ch 1, sc2tog, sc in next 16 sts, sc2tog; turn. 18 sc.
Fasten off. Make a second identical visor layer.
Assembly
You will need: Main color yarn, 2.25 mm hook, tapestry needle, both visor layers, optional flexible insert.
Assembly Pass 1: Align visor layers WS together. Whipstitch their shaped outer edges, inserting the optional washable support before closing the last edge. 2 layers joined.
Assembly Pass 2: Center the 44 st starting edge over the front 44 stitch positions of the cap rim. Sew through both visor layers and cap edge once per position. 44 attachment stitches.
Checkpoint: Visor sits symmetrically opposite the rear opening and curves down slightly. No sharp insert corners should protrude.
Edgings and Details
You will need: Main or named contrast color, 2.25 mm hook, motifs, pearl beads only for pearl versions.
Edging Round 1: Sc around the rear opening and exposed lower rim, using 1 sc per stitch/chain position and 2 sc per dc row end. Mark and record actual total E. E sc.
Edging Round 2: Work 1 sc in each sc. For scalloped versions, add shell trim on the exposed lower sides only, leaving up to 5 remainder sts as sc. For picot versions, use picot trim. For straight edges, use plain sc. E base stitches consumed.
Tie Row 1 (Make 2): Ch 66, sl st in second ch and each remaining ch; fasten off. Attach one tie to each lower rear corner. 65 sl sts per tie.
Stripe Versions: Work two contrast sc rows along the visor outer edge in white. For a long bow, lengthen each tie to 90 chains.
Checkpoint: Ties close comfortably without pulling the opening shut. All decorations are secure and visor remains centered.
Finishing
You will need: Matching yarn tails, tapestry needle, towel and a head shaped blocking form.
Finishing Pass 1: Weave each tail through at least 4 cm of dense fabric, reverse direction and trim. 0 unsecured tails.
Finishing Pass 2: Damp block the crown over a 54 to 55 cm form and shape visor by hand; air dry fully. 1 finished cap.
Checkpoint: Target head range 54 to 57 cm. Crown about 18 cm deep. Visor about 20 x 6 cm. Do not stretch lace while wet.
Care and Safety
Follow your yarn label for specific care instructions. Unless it specifies otherwise, hand wash cool with mild detergent, support the wet fabric and dry flat away from direct heat. Remove any removable visor insert before washing. Do not wring, tumble dry or iron acrylic components.
This is an adult item only. Beads, tassels and appliques are small parts and snagging hazards. Attach securely and inspect before wear. Keep away from babies and young children. Avoid loose cords around machinery. Open mesh does not provide sun protection or opaque coverage.
Tips for Success
Watch your tension. Cotton yarn does not have the stretch that acrylic does. If your crown is coming out too small, try going up a hook size. Too loose and floppy? Go down.
Block before assembly. Blocking the crown and visor pieces separately before joining them gives you a chance to adjust dimensions and see how the fabric behaves.
Mark your rounds. Those increase rounds in the crown disc can get confusing. Use stitch markers to track the beginning of each round and the increase positions.
Try the cap on as you go. Once you finish the crown disc and start the straight sides, try it on periodically. You can add or subtract mesh rounds to adjust the depth.
Who Will Love This Cap
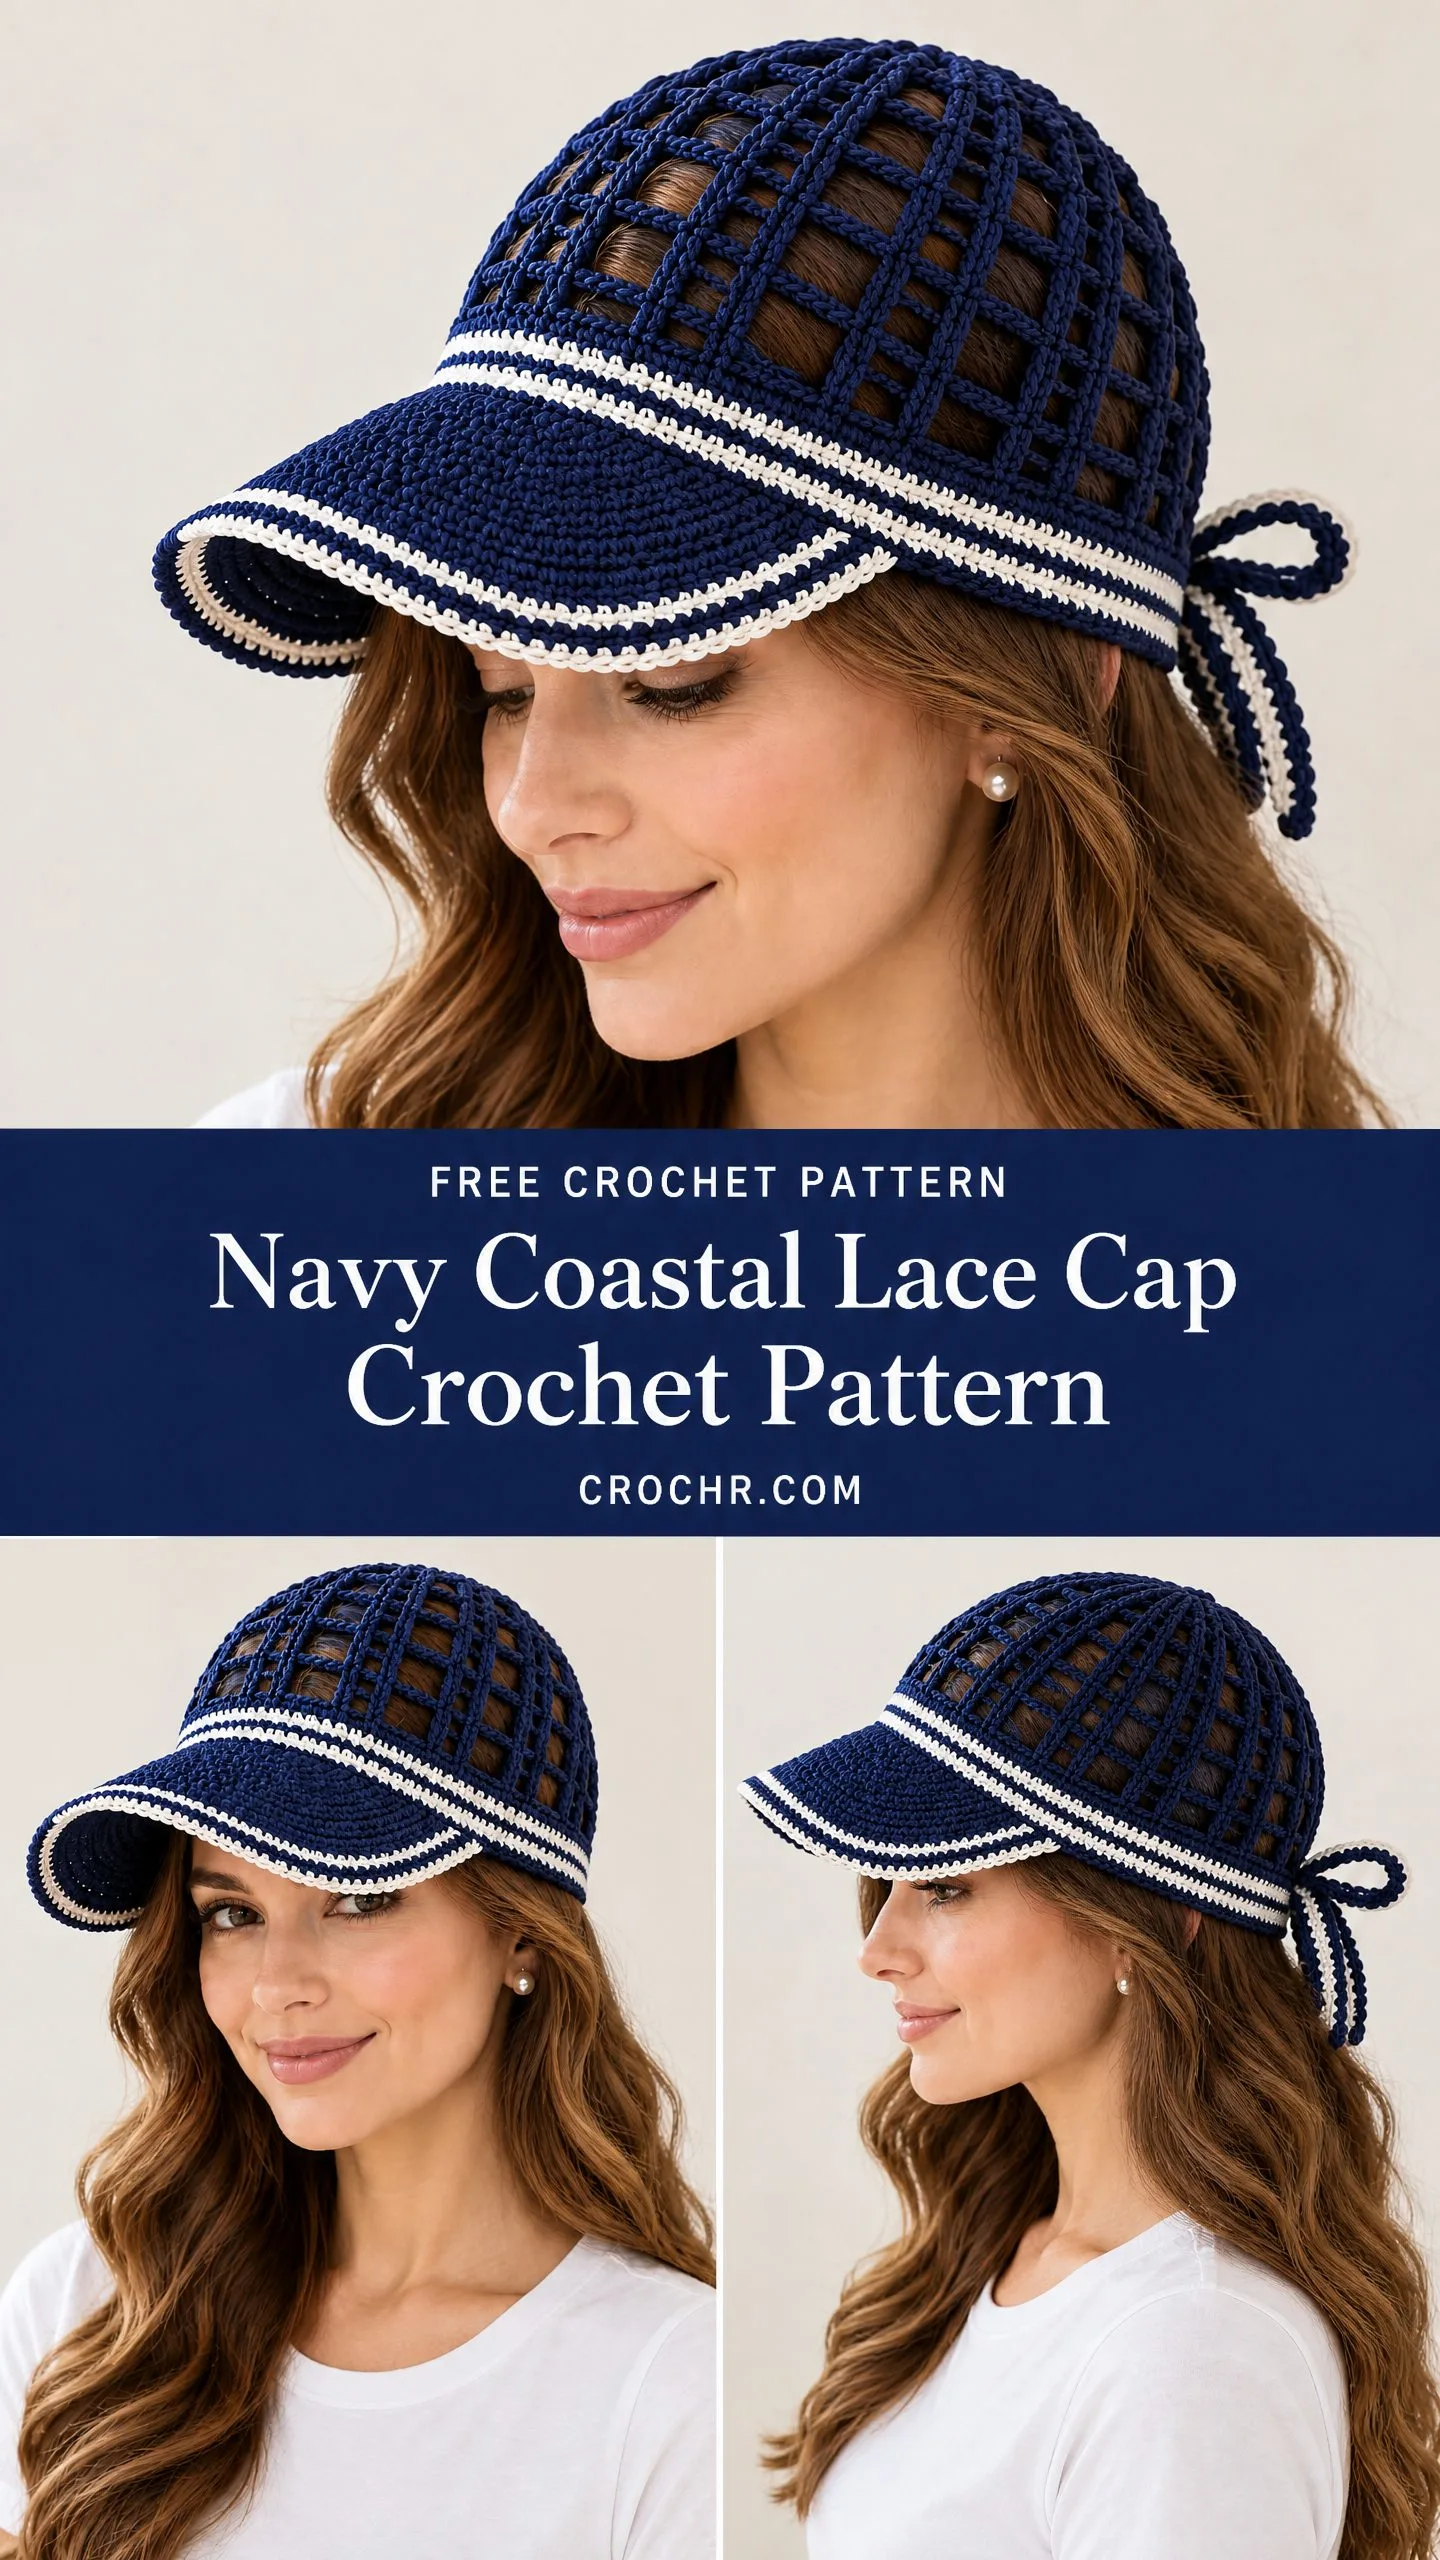
This nautical lace cap makes a wonderful gift for anyone who spends time outdoors in warm weather. The ponytail opening is practical for gardeners, runners, beach lovers, and tennis players.
The sophisticated navy and white color scheme suits a wide range of styles. It looks just as good with a sundress as it does with casual weekend wear.
Because of the open mesh crown, this cap provides ventilation rather than full sun protection. Think of it as a stylish accessory for partially shaded activities rather than a replacement for a wide brimmed sun hat.
Thank you so much for choosing this pattern! The combination of airy lace and structured visor creates something really special, and you are going to love wearing it. If you make this navy coastal lace cap, I would love to see your finished project. Tag your photos on Instagram or share them in our Facebook group.
Save this pattern to your Pinterest boards so you can find it when you are ready to start, and drop a comment below if you have any questions or just want to share your progress. Happy crocheting!
Want a Quick & Easy Printable Version?
Get a clean, beautifully formatted PDF of this pattern — easy to follow step by step, ready to print or save on any device. No scrolling, no distractions, just the pattern.
Get the Printable PDF →You Might Also Like
- Amethyst Fan Lace Placemat Crochet Pattern
- Sage Green Cottagecore Heart Crochet Cardigan Pattern
- Mustard Yellow Boho Tassel Bag Free Crochet Pattern
- Ocean Blue Hooded Toddler Sweater Free Crochet Pattern