These adorable little pumpkin characters are about to become your new favorite fall project. I designed this cozy pumpkin couple amigurumi crochet pattern after wanting something with more personality than a standard decorative pumpkin. The result? A sweet pair with kawaii faces, curly vines, little feet, and charming details that make them impossible not to smile at.
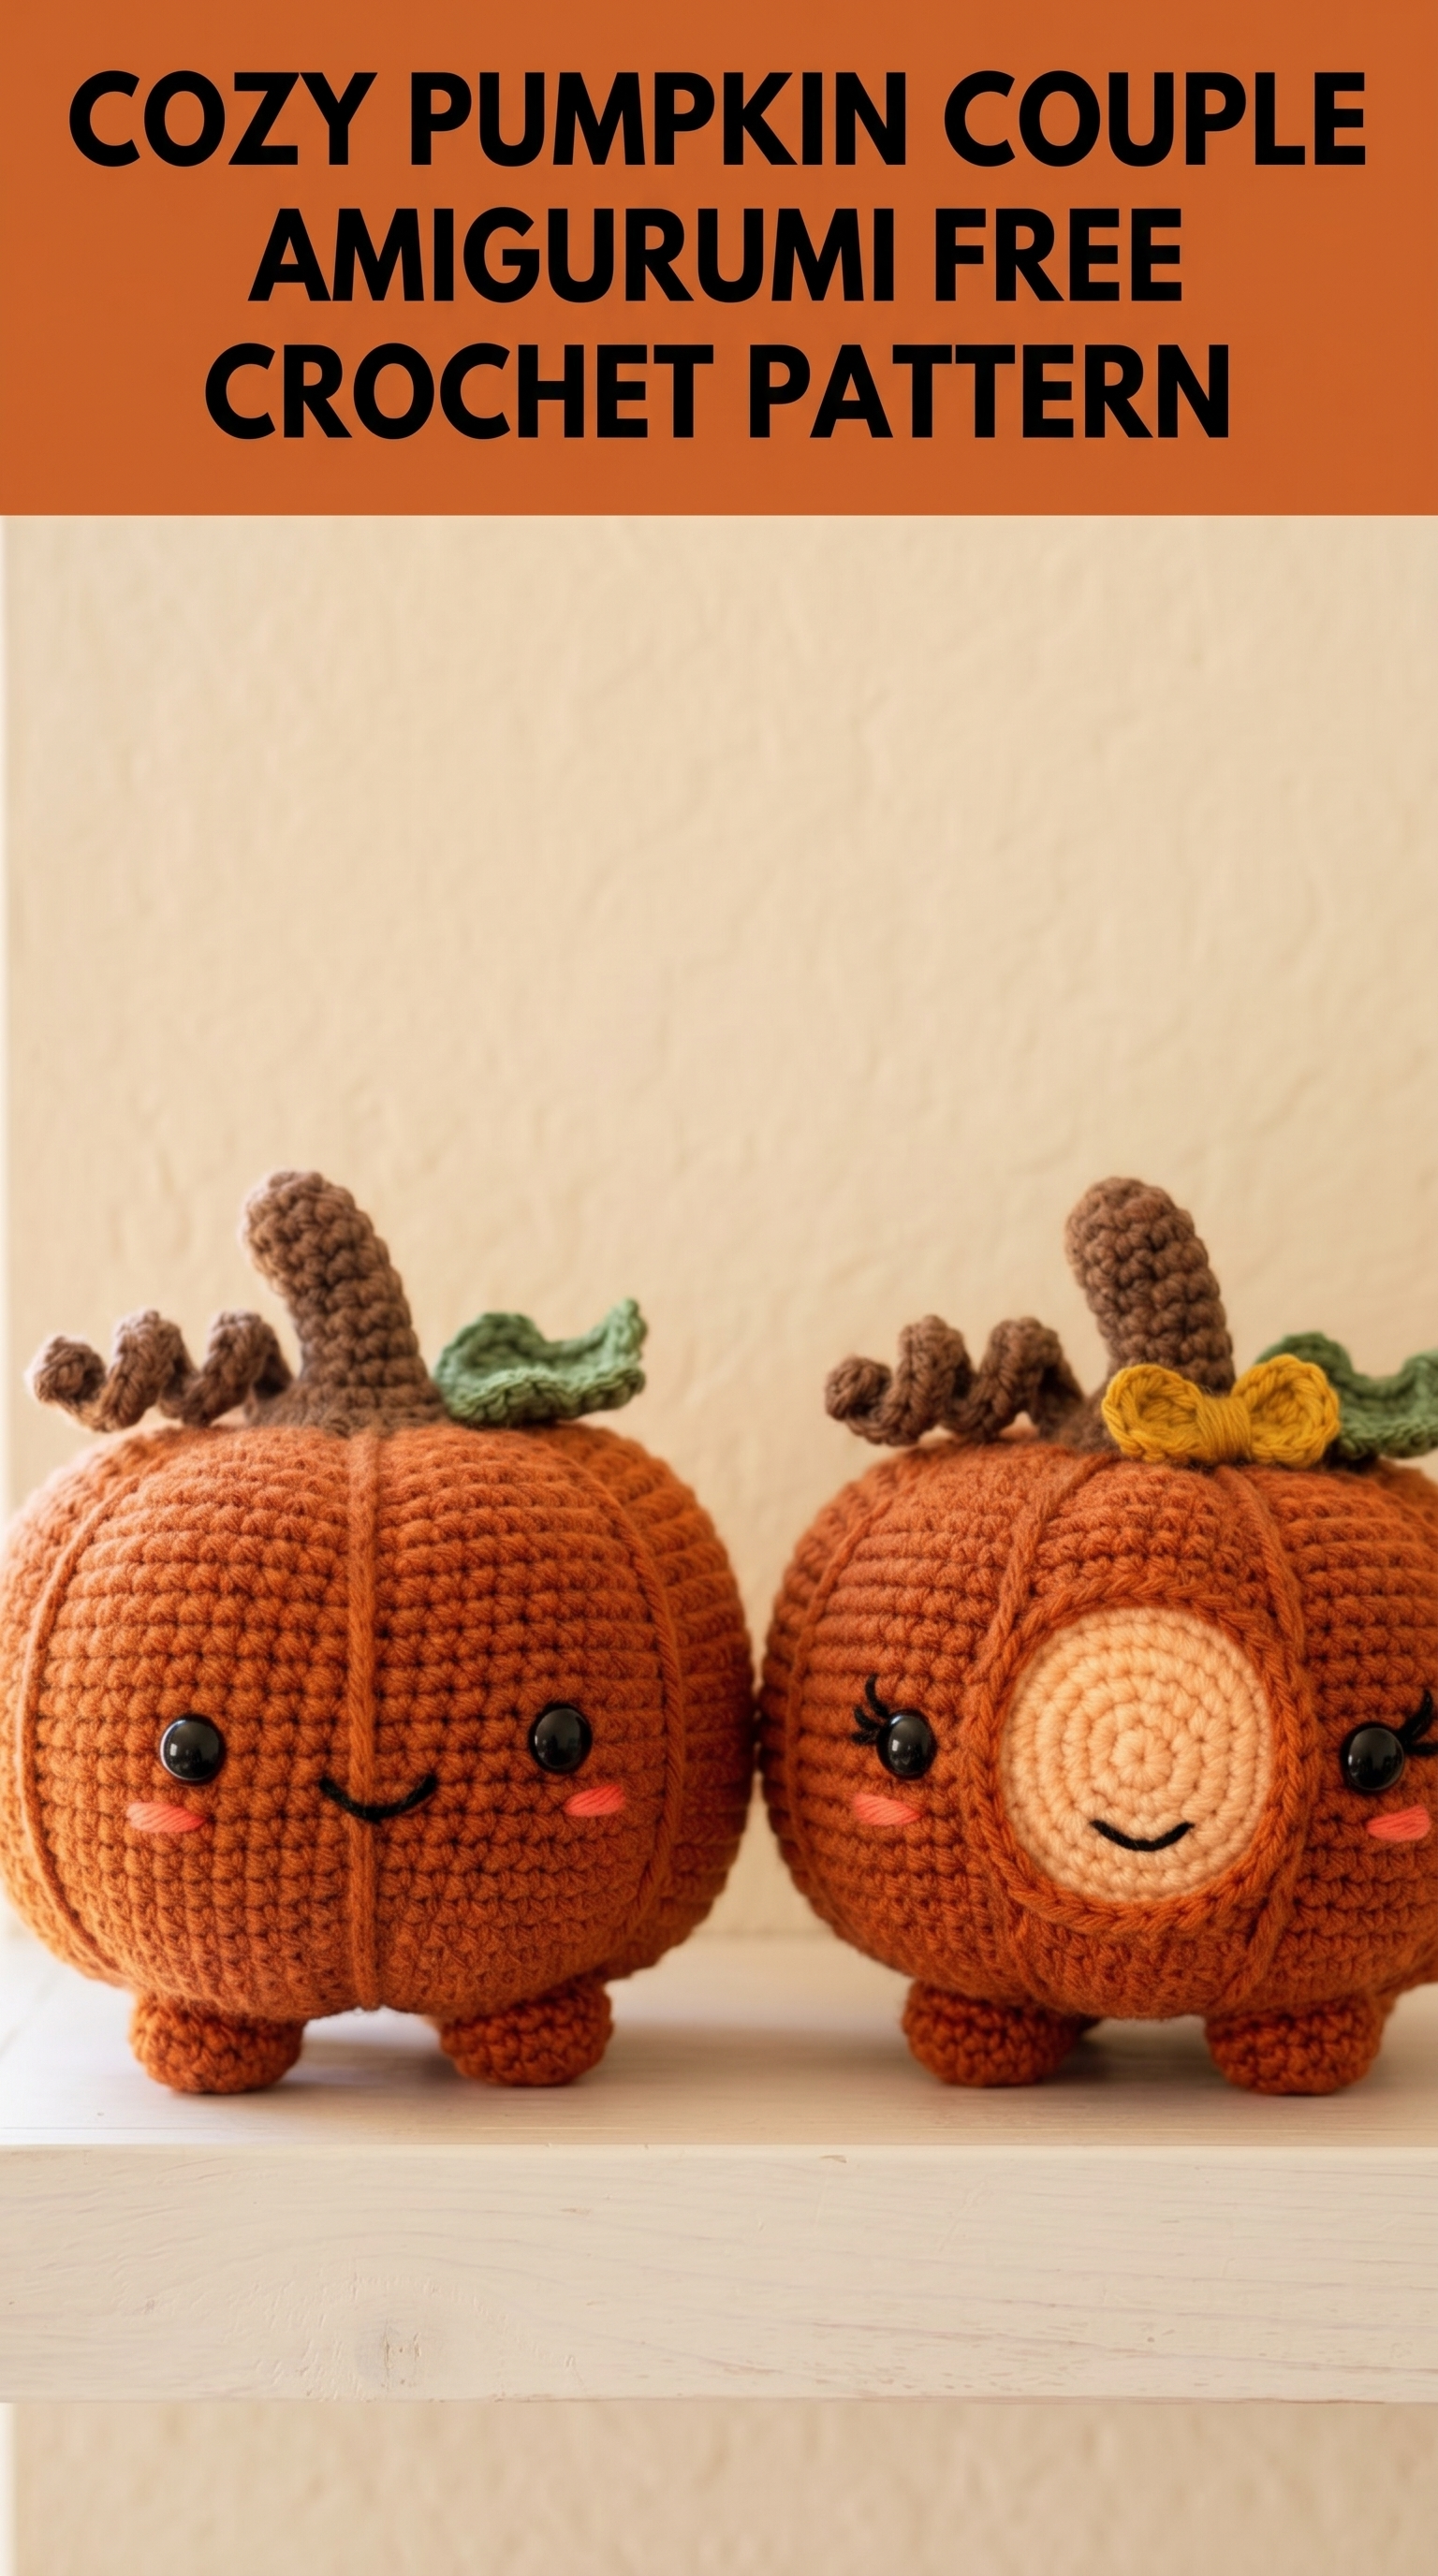
One pumpkin has a solid orange face while the other features a cream colored face patch and a tiny yellow bow. Both have embroidered smiles, rosy cheeks, safety eyes, and the cutest stubby legs. This crochet tutorial walks you through every single step to create both versions.
If you can single crochet and work in the round, you can absolutely make these. The construction is straightforward amigurumi technique with a few fun extras like spiral vines and simple leaves. I will explain everything as we go.
Why You Will Love This Pumpkin Amigurumi Pattern
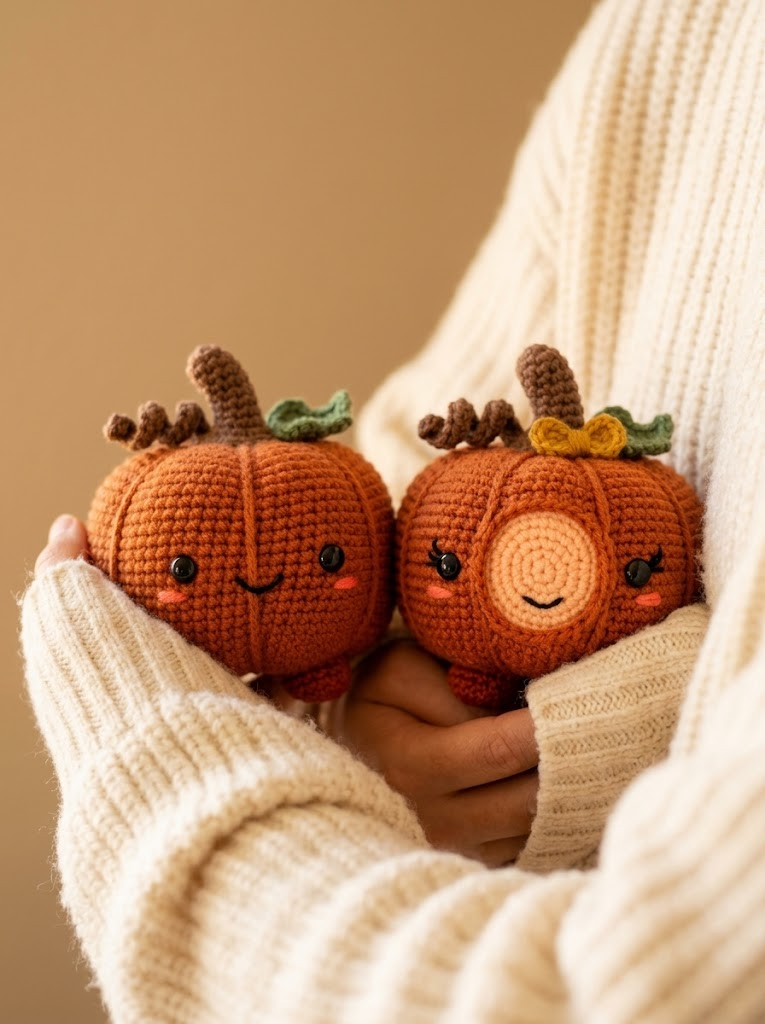
This step by step crochet pattern gives you two variations in one. Make the classic version for a simpler project or add the face patch and bow for extra charm. Either way, you get a squishy, huggable pumpkin friend that stands about 5 inches tall and 5 inches wide.
The vertical lines on the pumpkin body come from a simple technique where you weave yarn through the finished sphere to create those signature pumpkin ridges. No complicated colorwork or advanced shaping required.
These make wonderful fall decorations, gifts for pumpkin lovers, or even early Halloween projects. They also look precious displayed as a pair.
Materials You Will Need
Yarn:
Hook:
Notions:
Gauge:
Exact gauge is not critical for amigurumi. What matters is that your stitches are tight enough that stuffing does not show through. If you see gaps, go down a hook size.
Abbreviations and Stitch Definitions
Let me define every stitch before we begin so you never have to guess:
Magic ring (MR): An adjustable starting loop that closes tightly with no hole in the center. You wrap yarn around your fingers, pull up a loop, and work your first round into that ring.
Chain (ch): The foundation stitch. Yarn over, pull through the loop on your hook. One chain made.
Slip stitch (sl st): Insert hook, yarn over, pull through both the stitch and the loop on your hook in one motion. Used to join or move across stitches invisibly.
Single crochet (sc): Insert hook into stitch, yarn over and pull up a loop (2 loops on hook), yarn over and pull through both loops. This is your main stitch throughout.
Increase (inc): Work 2 single crochet stitches into the same stitch. This adds one stitch to your count.
Invisible decrease (invdec): Insert hook through the front loops only of the next 2 stitches, yarn over, pull through both front loops, yarn over, pull through both loops on hook. Creates a neater decrease than the standard method.
Front loop only (FLO): Work into only the loop closest to you, leaving the back loop unworked.
Back loop only (BLO): Work into only the loop farthest from you.
Skill Level
This pattern is beginner friendly if you have basic amigurumi experience. You should be comfortable with:
If this is your very first amigurumi, I recommend practicing a simple ball shape first. But honestly, pumpkins are forgiving shapes. Even if your tension varies a bit, the finished piece will still look adorable.
The Pumpkin Body Pattern
This is the main piece and the most satisfying to watch grow. You work from the bottom up in a continuous spiral. Do not join rounds unless instructed. Use a stitch marker to track the first stitch of each round.
With orange yarn and 3.5mm hook:
Round 1: 6 sc in magic ring. Pull ring closed. (6 sts)
Round 2: Inc in each st around. (12 sts)
Round 3: *Sc 1, inc* repeat around. (18 sts)
Round 4: *Sc 2, inc* repeat around. (24 sts)
Round 5: *Sc 3, inc* repeat around. (30 sts)
Round 6: *Sc 4, inc* repeat around. (36 sts)
Round 7: *Sc 5, inc* repeat around. (42 sts)
Round 8: *Sc 6, inc* repeat around. (48 sts)
Round 9: *Sc 7, inc* repeat around. (54 sts)
Rounds 10 through 22: Sc in each st around. (54 sts) This is 13 rounds of even single crochet.
Round 23: *Sc 7, invdec* repeat around. (48 sts)
Round 24: *Sc 6, invdec* repeat around. (42 sts)
Round 25: *Sc 5, invdec* repeat around. (36 sts)
Round 26: *Sc 4, invdec* repeat around. (30 sts)
At this point, attach safety eyes between rounds 16 and 17, approximately 8 to 10 stitches apart. The placement looks best when they sit slightly below center on the widest part of the sphere.
Embroider the smile using black thread. A simple curved line works perfectly. Add pink circles for rosy cheeks on either side of the smile using satin stitch or French knots.
Round 27: *Sc 3, invdec* repeat around. (24 sts)
Begin stuffing firmly. You want a nice plump pumpkin shape.
Round 28: *Sc 2, invdec* repeat around. (18 sts)
Round 29: *Sc 1, invdec* repeat around. (12 sts)
Continue stuffing until very full.
Round 30: Invdec around. (6 sts)
Fasten off, leaving a long tail. Thread through remaining stitches, pull tight to close, and weave in the end.
Creating the Pumpkin Ridges
This step transforms your ball into a pumpkin. Thread a long piece of orange yarn (about 36 inches) onto your yarn needle. Insert the needle through the center bottom of the pumpkin, coming out through the center top near where you closed the opening.
Pull yarn through, leaving a tail at the bottom. Bring the needle down the outside of the pumpkin and insert it back through the bottom, about one sixth of the way around the circumference. Pull firmly to create an indent. Come back up through the top.
Repeat this process 5 more times, spacing your ridges evenly around the pumpkin. You should have 6 sections total. Pull each ridge snugly so the pumpkin develops that classic grooved shape.
Secure the yarn at the bottom by tying off your beginning and ending tails together.
Face Patch (Optional)
For the version with the cream colored face, make this circle and sew it on before adding the eyes.
With cream yarn:
Round 1: 6 sc in magic ring. (6 sts)
Round 2: Inc in each st around. (12 sts)
Round 3: *Sc 1, inc* repeat around. (18 sts)
Round 4: *Sc 2, inc* repeat around. (24 sts)
Sl st to first st, fasten off leaving a long tail for sewing.
Pin this circle onto the front of the pumpkin, centered where the face will go. The eyes will be placed on this patch. Sew around the edge using a whip stitch, then continue with eyes and embroidery as described above.
The Stem
With brown yarn:
Round 1: 6 sc in magic ring. (6 sts)
Rounds 2 through 6: Sc in each st around. (6 sts)
Sl st, fasten off leaving a tail for sewing. Do not stuff. Sew to the top center of the pumpkin.
The Curly Vines (Make 2)
These twisted tendrils add so much character.
With brown yarn:
Ch 20.
Starting in the 2nd ch from hook, work 3 sc in each ch across. (57 sts)
The chain will naturally spiral and curl as you add the extra stitches. Fasten off, leaving a tail. Sew both vines to the base of the stem, letting them curl naturally.
The Leaves (Make 1 or 2)
With green yarn:
Ch 8.
Starting in the 2nd ch from hook: sl st, sc, hdc (half double crochet: yarn over, insert hook, pull up loop, yarn over, pull through all 3 loops), dc (double crochet: yarn over, insert, pull up, yarn over, pull through 2, yarn over, pull through 2), hdc, sc, sl st.
Fasten off with a long tail. Sew to the stem base, arranging with the vines.
The Feet (Make 4)
These stubby little legs are adorable and help the pumpkin stand.
With orange yarn:
Round 1: 5 sc in magic ring. (5 sts)
Rounds 2 through 4: Sc in each st around. (5 sts)
Sl st, fasten off leaving a tail. Stuff lightly with small bits of fiberfill. Sew two feet to the bottom of each pumpkin, spacing them evenly so the pumpkin sits upright.
The Bow (Optional)
For the pumpkin with the bow detail, this adds a feminine touch.
With yellow yarn:
Ch 9, sl st in first ch to form a ring.
Ch 1, work 14 sc into the ring, sl st to first sc. Fasten off, leaving a long tail.
Pinch the center of the ring and wrap the tail around several times to create the bow shape. Use the remaining tail to sew it onto the stem area, nestled among the leaves and vines.
Assembly Tips
Take your time with placement. I like to pin everything before sewing permanently. The leaves, vines, and bow should cluster naturally around the stem without looking overcrowded.
For the feet, position them about one third from the front and back edges of the bottom so the pumpkin sits stable. If your pumpkin tips forward, adjust the foot placement slightly.
The ridge technique makes the biggest visual impact. Pull those lines firmly but not so tight that you distort the sphere. You want gentle indents, not deep grooves.
Helpful Notes for Beginners
If your magic ring feels tricky, you can substitute with ch 2 and work your starting stitches into the second chain from the hook. The hole will be slightly visible but still acceptable.
Invisible decreases really do make a difference in amigurumi. Standard decreases leave small gaps that become obvious on the face area especially. Practice the front loop only method and your work will look much cleaner.
When sewing pieces on, work slowly and anchor each piece with a few stitches before committing. Once something is sewn tightly, removing it can leave marks.
Final Thoughts
I absolutely love how this cozy pumpkin couple amigurumi crochet pattern turned out. They have so much personality and they look wonderful displayed together on a shelf, mantel, or as part of a fall centerpiece.
Thank you so much for choosing this pattern. I genuinely hope you enjoy making these little cuties as much as I did designing them. When you finish your pumpkins, I would love to see them. Tag me on Instagram or share a photo in my Facebook group. Seeing your makes truly makes my day.
Happy crocheting, friend. Now go grab that orange yarn and get started on your own cozy pumpkin couple.
