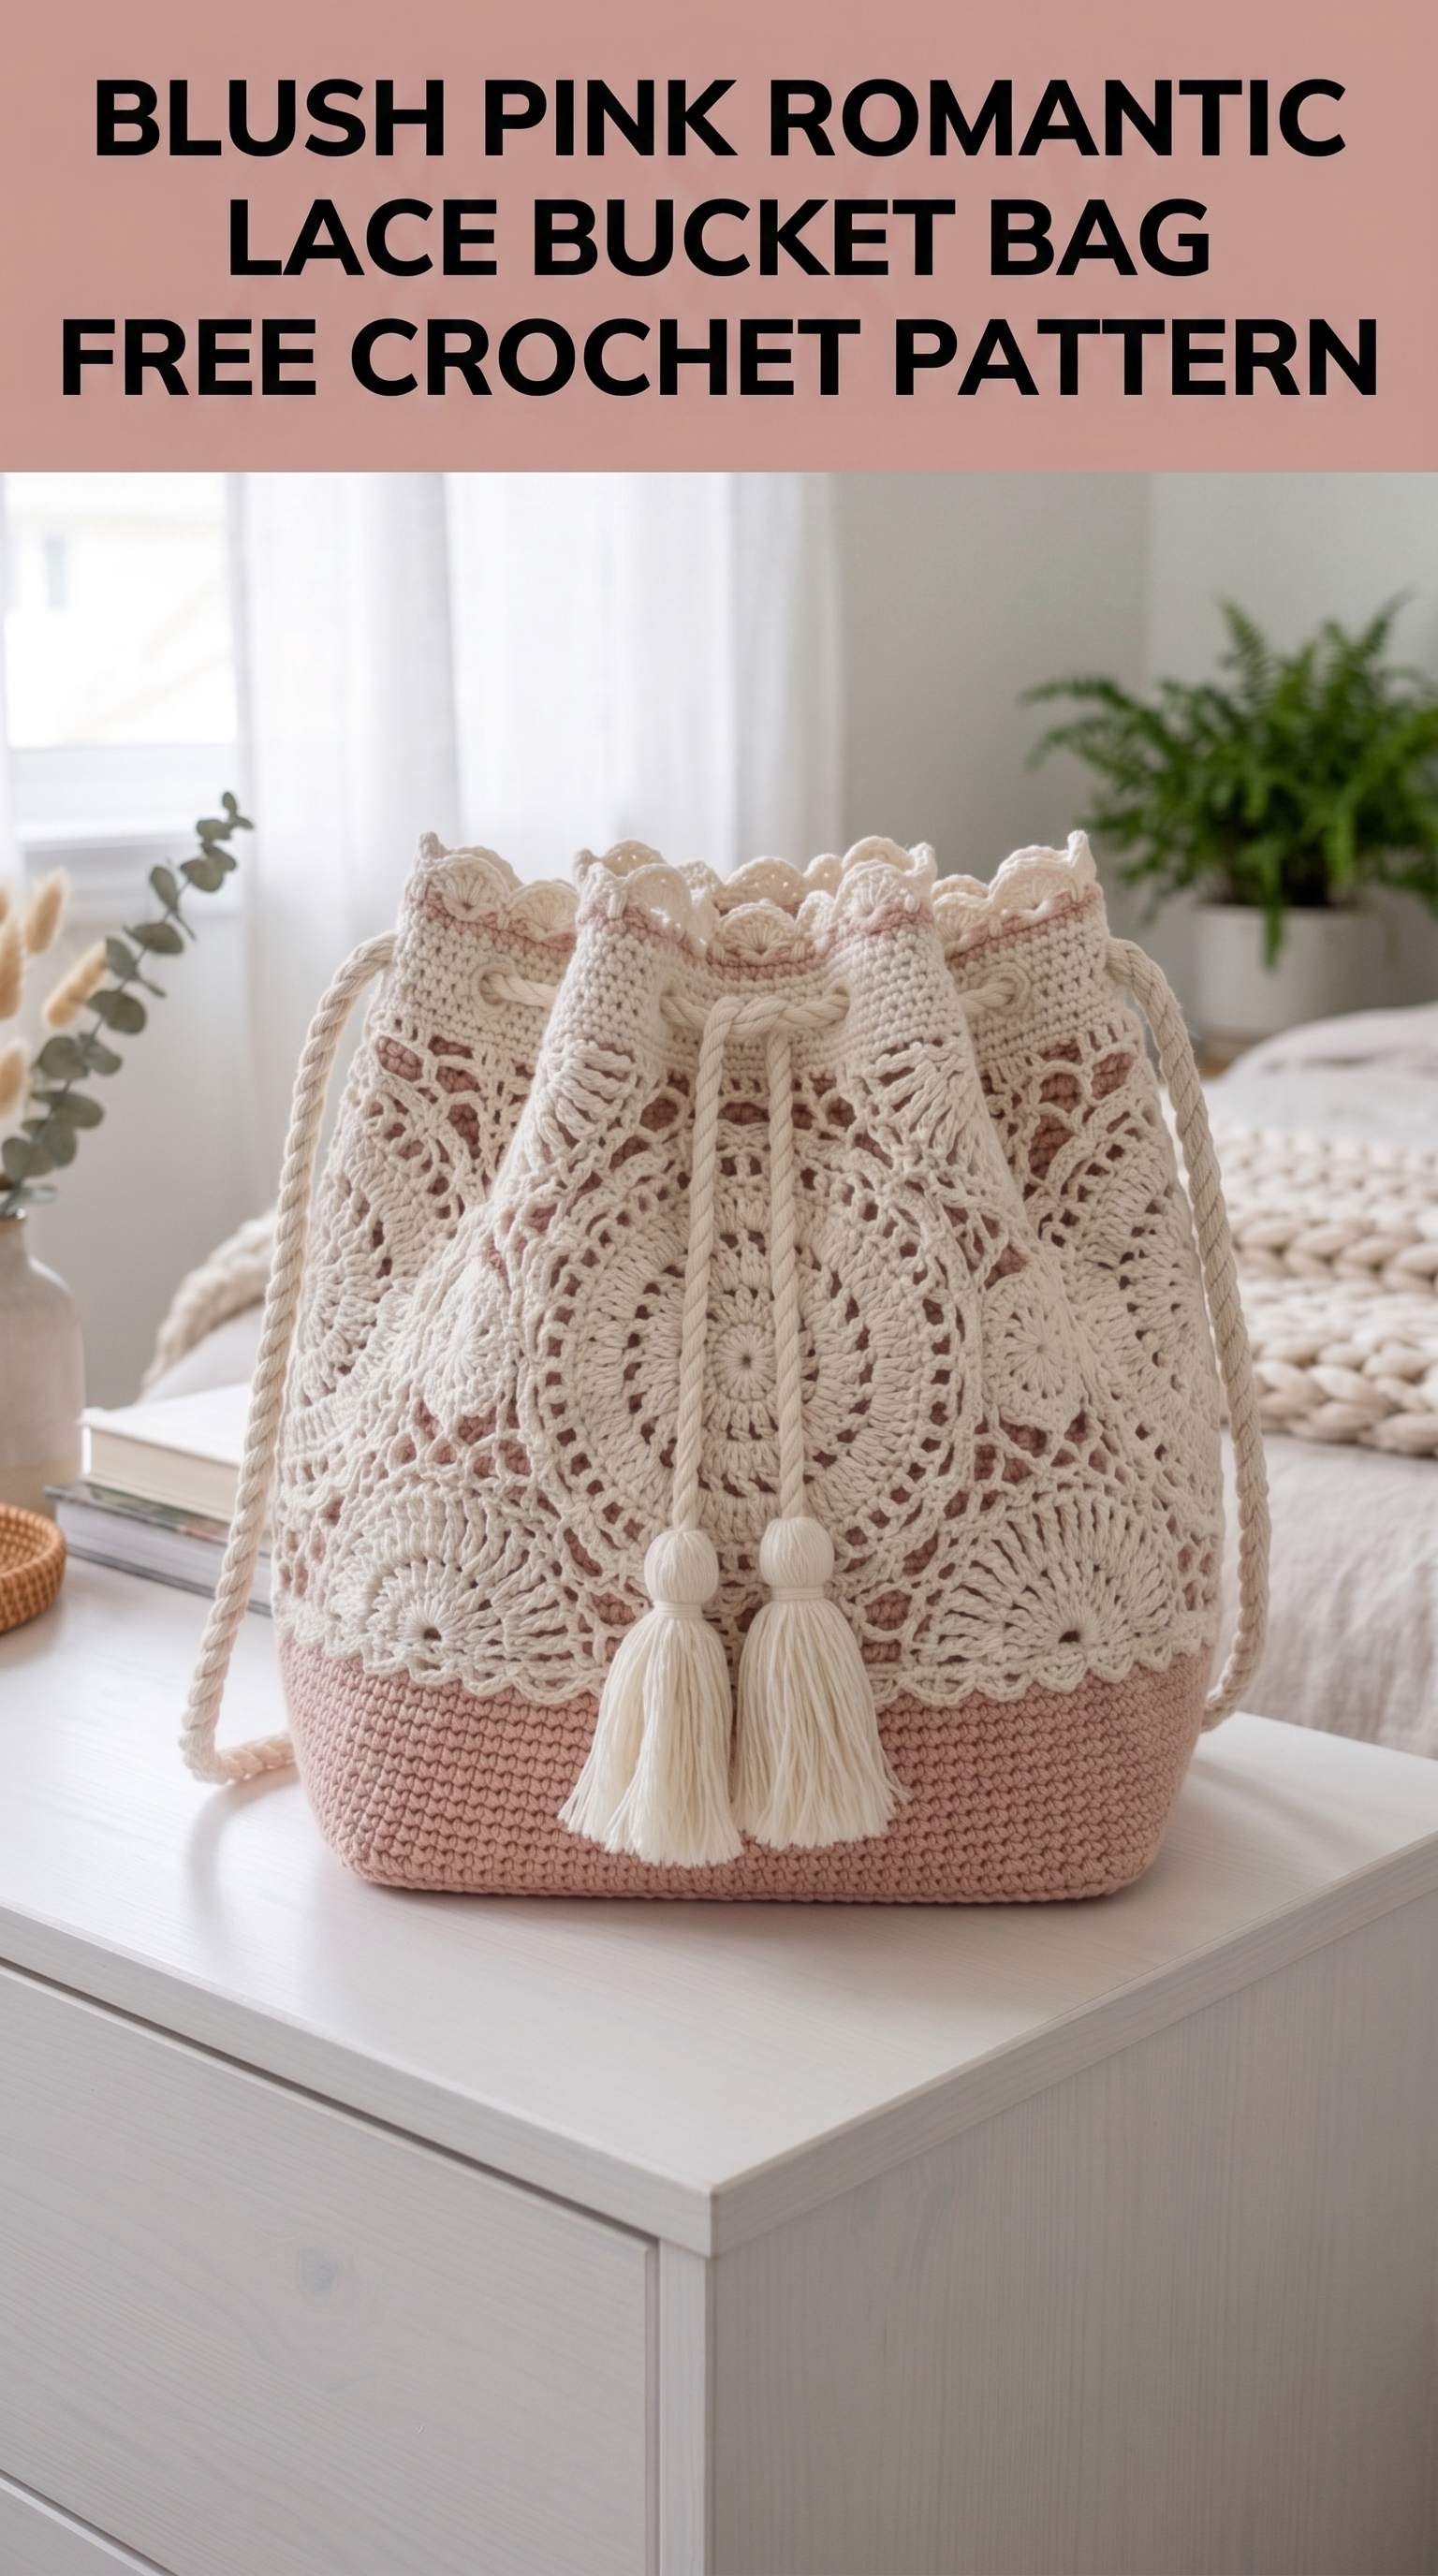
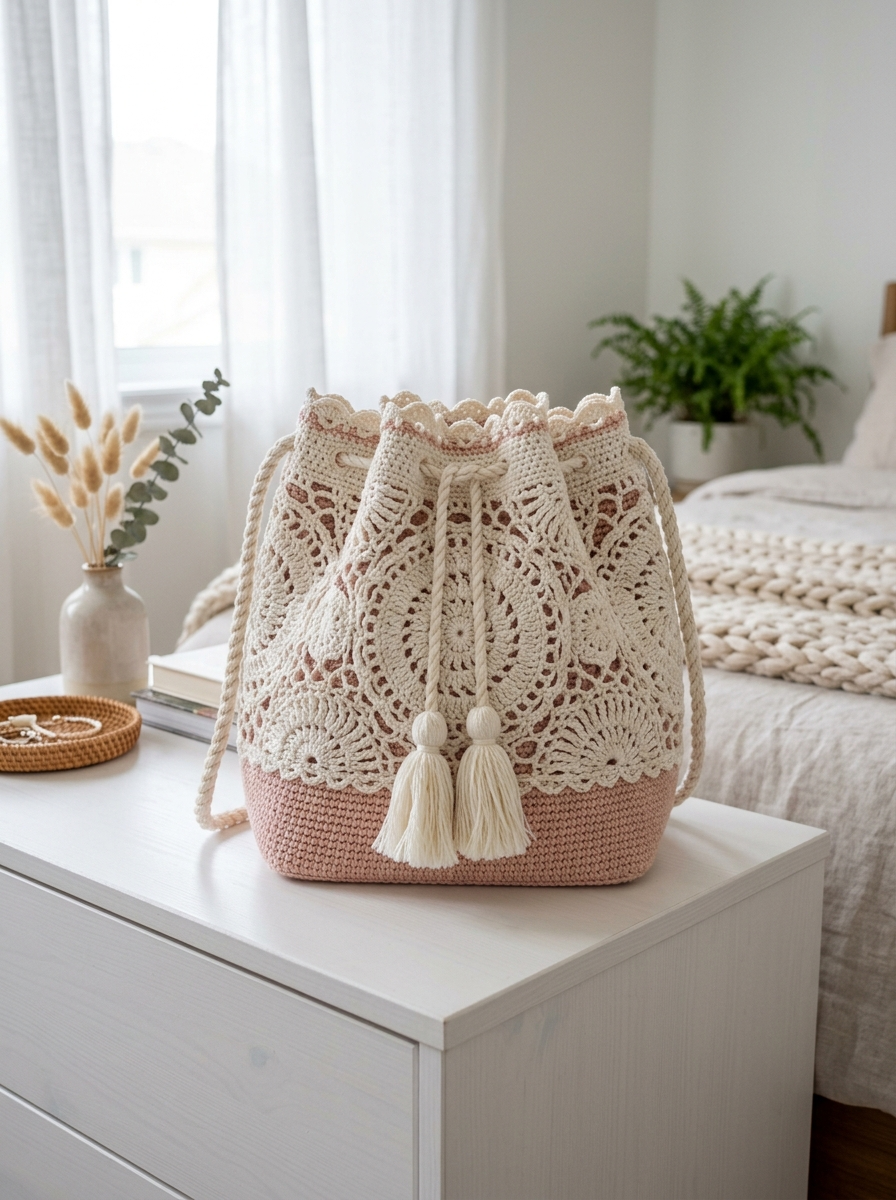
This gorgeous bucket bag combines delicate lace crochet with a sturdy base to create something truly special. I fell in love with this design the moment I finished it. The dusty rose bottom grounds the airy cream lace overlay, and those tassels add the perfect bohemian finishing touch.
If you can work basic stitches in the round and follow a lace pattern, you can absolutely make this bag. It looks intricate, but I promise the construction is more approachable than it appears. Let me walk you through every step.
Why This Romantic Lace Bucket Bag Works So Well
The magic here is contrast. A solid, tightly crocheted base gives you structure and durability. The lace overlay adds drama and beauty without sacrificing function. The drawstring closure keeps your belongings secure while creating that classic bucket silhouette.
This crochet pattern uses two colors throughout: a dusty blush pink for the base and a soft cream or natural white for the lace body. The combination feels romantic and vintage, perfect for spring markets, summer outings, or everyday errands when you want to carry something beautiful.
Materials You Will Need
Yarn:
I recommend 100% cotton or a cotton and linen blend for this project. Cotton holds structure beautifully, which matters for a bag. It also shows off lace stitches crisply. Avoid stretchy acrylics here because your bag will sag and lose shape over time.
Suggested Yarn Brands:
Hook:
Notions:
Finished Dimensions
Gauge
Using 3.5mm hook and DK cotton:
Gauge matters for this bag. If your stitches are too loose, the base will be floppy. Too tight and you will struggle to maintain the lace drape. Make a small swatch first if you are unsure.
Abbreviations and Stitch Definitions
Let me define every stitch before we begin. Refer back here whenever you need a refresher.
ch = chain: Wrap yarn over hook, pull through loop on hook. This creates foundation stitches.
sl st = slip stitch: Insert hook, yarn over, pull through both loops at once. Used for joining rounds invisibly.
sc = single crochet: Insert hook, yarn over, pull up a loop (2 loops on hook), yarn over, pull through both loops. A short, tight stitch.
hdc = half double crochet: Yarn over, insert hook, yarn over, pull up loop (3 loops on hook), yarn over, pull through all 3 loops.
dc = double crochet: Yarn over, insert hook, yarn over, pull up loop (3 loops on hook), yarn over, pull through 2 loops, yarn over, pull through remaining 2 loops. A taller stitch that creates the lace openwork.
tr = treble crochet: Yarn over twice, insert hook, yarn over, pull up loop (4 loops on hook), yarn over, pull through 2 loops three times. An even taller stitch used in the fan patterns.
ch-sp = chain space: The gap or hole created by chain stitches. You work into this space, not into individual chains.
sk = skip: Pass over the indicated stitch without working into it.
inc = increase: Work 2 stitches into the same stitch to add width.
Skill Level
Intermediate. You should be comfortable with:
If you are a confident beginner ready to stretch, this is a great project. Just go slowly through the lace section and count every round.
Pattern Notes Before You Begin
1. The base and lower body are worked in continuous rounds unless otherwise noted. Use a stitch marker to track round beginnings.
2. The lace overlay section is worked in joined rounds. You will slip stitch to close each round and chain to begin the next.
3. Color changes happen at specific points. I will tell you exactly when to switch.
4. The drawstring channel is created by working a row of chain spaces near the top.
5. Block your finished lace gently if desired. This opens up the pattern beautifully.
Step by Step Crochet Pattern
Part 1: The Base (Color A, Blush Pink)
We are starting with a flat circle for the bottom of the bag. This needs to be tight and sturdy.
Round 1: With Color A, make a magic ring. Ch 1, work 6 sc into the ring. Pull tight to close. (6 sts)
Round 2: Work 2 sc in each st around. (12 sts)
Round 3: *Sc in next st, 2 sc in next st.* Repeat around. (18 sts)
Round 4: *Sc in next 2 sts, 2 sc in next st.* Repeat around. (24 sts)
Round 5: *Sc in next 3 sts, 2 sc in next st.* Repeat around. (30 sts)
Round 6: *Sc in next 4 sts, 2 sc in next st.* Repeat around. (36 sts)
Round 7: *Sc in next 5 sts, 2 sc in next st.* Repeat around. (42 sts)
Round 8: *Sc in next 6 sts, 2 sc in next st.* Repeat around. (48 sts)
Round 9: *Sc in next 7 sts, 2 sc in next st.* Repeat around. (54 sts)
Round 10: *Sc in next 8 sts, 2 sc in next st.* Repeat around. (60 sts)
Round 11: *Sc in next 9 sts, 2 sc in next st.* Repeat around. (66 sts)
Round 12: *Sc in next 10 sts, 2 sc in next st.* Repeat around. (72 sts)
Your base should measure approximately 7 inches across. If it is significantly smaller or larger, adjust your hook size.
Part 2: Lower Body (Color A, Blush Pink)
Now we build the walls. Stop increasing and work straight up.
Round 13: Working in back loops only this round, sc in each st around. (72 sts)
This creates a sharp angle where the base meets the sides. It gives the bag beautiful structure.
Rounds 14 through 24: Sc in each st around. (72 sts per round)
That gives you 11 rounds of solid walls in blush pink. The lower body should measure about 2.5 inches tall.
At the end of Round 24, slip stitch to join. Fasten off Color A. Weave in the tail now or later.
Part 3: Lace Body (Color B, Cream)
Here comes the beautiful part. Take a breath. Work slowly. Count often.
Foundation Round (Round 25):
Join Color B with a standing sc in any stitch. Sc in each st around. Sl st to first sc to join. (72 sts)
Round 26 (Setup for Lace):
Ch 4 (counts as dc plus ch 1). Sk next st. *Dc in next st, ch 1, sk 1.* Repeat around. Sl st to 3rd ch of beginning ch-4 to join. (36 dc, 36 ch-1 spaces)
Round 27 (Fan Base):
Sl st into first ch-1 space. Ch 3 (counts as dc). Work 2 dc in same space. Ch 1. *3 dc in next ch-1 space, ch 1.* Repeat around. Sl st to top of ch-3 to join. (36 shell groups)
Round 28:
Ch 3. Dc in next 2 dc. Ch 2. *Dc in next 3 dc, ch 2.* Repeat around. Sl st to top of ch-3. (36 groups of 3 dc)
Round 29 (Creating the Arches):
Ch 4. Tr in next dc. Ch 3. Sc in ch-2 space. Ch 3. *Sk 1 dc, tr in next dc, tr in first dc of next group, ch 3, sc in ch-2 space, ch 3.* Repeat around, adjusting the final repeat to join smoothly. Sl st to top of ch-4.
This round creates the beautiful arch pattern you see in the finished bag. The treble crochet pairs become the fan anchors.
Round 30 (Fan Round):
Sl st to space between the 2 tr stitches. Ch 3. Work 6 dc into same space (creating a fan of 7 dc total). Ch 2. Sc in sc from previous round. Ch 2. *7 dc in space between tr pair, ch 2, sc in sc, ch 2.* Repeat around. Sl st to top of ch-3.
Round 31:
Ch 3. Dc in next 6 dc. Ch 3. Sk ch-2, sc, ch-2. *Dc in each of 7 dc, ch 3.* Repeat around. Sl st to join.
Round 32:
Ch 4. Tr in next dc. *Ch 1, tr in next dc.* Repeat across the fan (7 tr total with ch-1 between each). Ch 3. Sc in ch-3 space. Ch 3. *Work 7 tr with ch-1 between each across next fan, ch 3, sc in ch-3 space, ch 3.* Repeat around. Sl st to join.
Rounds 33 through 40:
Repeat Rounds 29 through 32 twice more. This builds the gorgeous layered lace effect you see climbing up the bag.
Your lace section should now measure approximately 6 inches tall.
Part 4: Drawstring Channel
Round 41:
Ch 1. Sc in each tr and each ch-1 space around the entire top, skipping the chain-3 spaces but working sc in the sc stitches. Adjust stitch count as needed to reach approximately 72 sts. Sl st to join. (Approximately 72 sts)
Round 42:
Ch 4. Sk 1 st. *Dc in next st, ch 1, sk 1.* Repeat around. Sl st to 3rd ch of ch-4 to join. (36 ch-1 spaces)
This creates the holes for your drawstring.
Round 43:
Ch 1. Sc in each dc and each ch-1 space around. Sl st to join. (72 sts)
Part 5: Scalloped Edge
Round 44:
Ch 1. Sc in first st. *Sk 2 sts, 5 dc in next st (shell made), sk 2 sts, sc in next st.* Repeat around, adjusting final repeat if needed to end with sc. Sl st to first sc to join.
Round 45:
Ch 1. *Sc in center dc of shell, ch 3, sc in sc, ch 3.* Repeat around. Sl st to join.
Fasten off. Weave in all ends.
Part 6: Drawstring Cord
Make 2 identical cords.
Chain 180 (or until cord measures approximately 40 inches). Sl st in 2nd ch from hook and each ch across. Fasten off.
Alternatively, braid three strands of yarn together for a thicker drawstring. Both methods work beautifully.
Threading:
Starting at opposite sides of the bag, weave each cord through the ch-1 spaces in Round 42. Each cord should go all the way around and exit where it started.
When both cords are threaded, pulling them simultaneously closes the bag evenly.
Part 7: Tassels (Make 2)
Wrap Color B yarn around a 3-inch piece of cardboard approximately 30 times.
Slide a separate piece of yarn under the wraps at the top. Tie tightly. This becomes your hanging loop.
Cut the wraps at the bottom.
Wrap another piece of yarn around the tassel about half an inch from the top to create the tassel head. Tie securely and hide the ends inside.
Trim the bottom evenly.
Attach one tassel to each drawstring end.
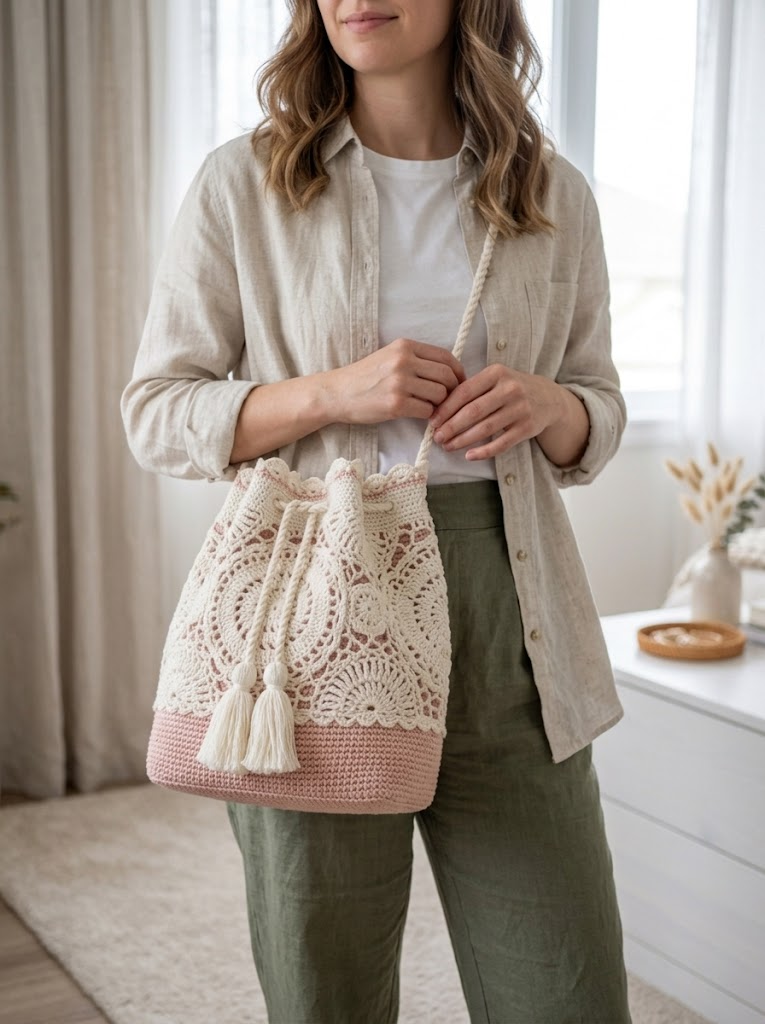
Part 8: Shoulder Strap
Chain 200 (or desired length for crossbody or shoulder wear).
Row 1: Sc in 2nd ch from hook and each ch across. Ch 1, turn. (199 sts)
Row 2: Sc in each st across. Fasten off.
Attach strap ends securely to the top corners of the bag, just below the scalloped edge. Use yarn needle and matching yarn to whip stitch firmly in place.
Finishing and Care Tips
Blocking: Soak the finished bag briefly in cool water. Squeeze gently in a towel. Shape and let dry flat. This opens the lace beautifully.
Lining (Optional): For extra security, sew a fabric lining inside. Cotton or linen works well. This prevents small items from poking through the lace openings.
Storage: Store flat or stuffed with tissue paper to maintain shape.
You Did It
Making this romantic lace bucket bag is such a rewarding project. The way the pattern builds from that solid pink base into those delicate lace fans feels almost magical as you work.
I hope this crochet tutorial gave you everything you need to create your own version. Adjust the colors to suit your style. Imagine this in navy and white, sage and cream, or all one color for a more minimalist look.
Thank you so much for trusting me with your crafting time. It genuinely means the world.
If you make this bag, I would absolutely love to see it. Tag me on Instagram or share in my Facebook group. Nothing makes my day like seeing your finished projects out in the world, being carried to markets and beaches and coffee dates.
Happy crocheting, friend. You have got this.
