
I don’t know about you, but I’ve always loved the idea of a shoulder shawl that feels elegant without being fussy. Something that drapes beautifully, adds a touch of botanical charm, and doesn’t require constant adjusting throughout the day.
Get the Ad-Free PDF Pattern
You can find the free pattern below, or you can purchase the ad-free printable PDF from my shop.
Get the Printable PDF →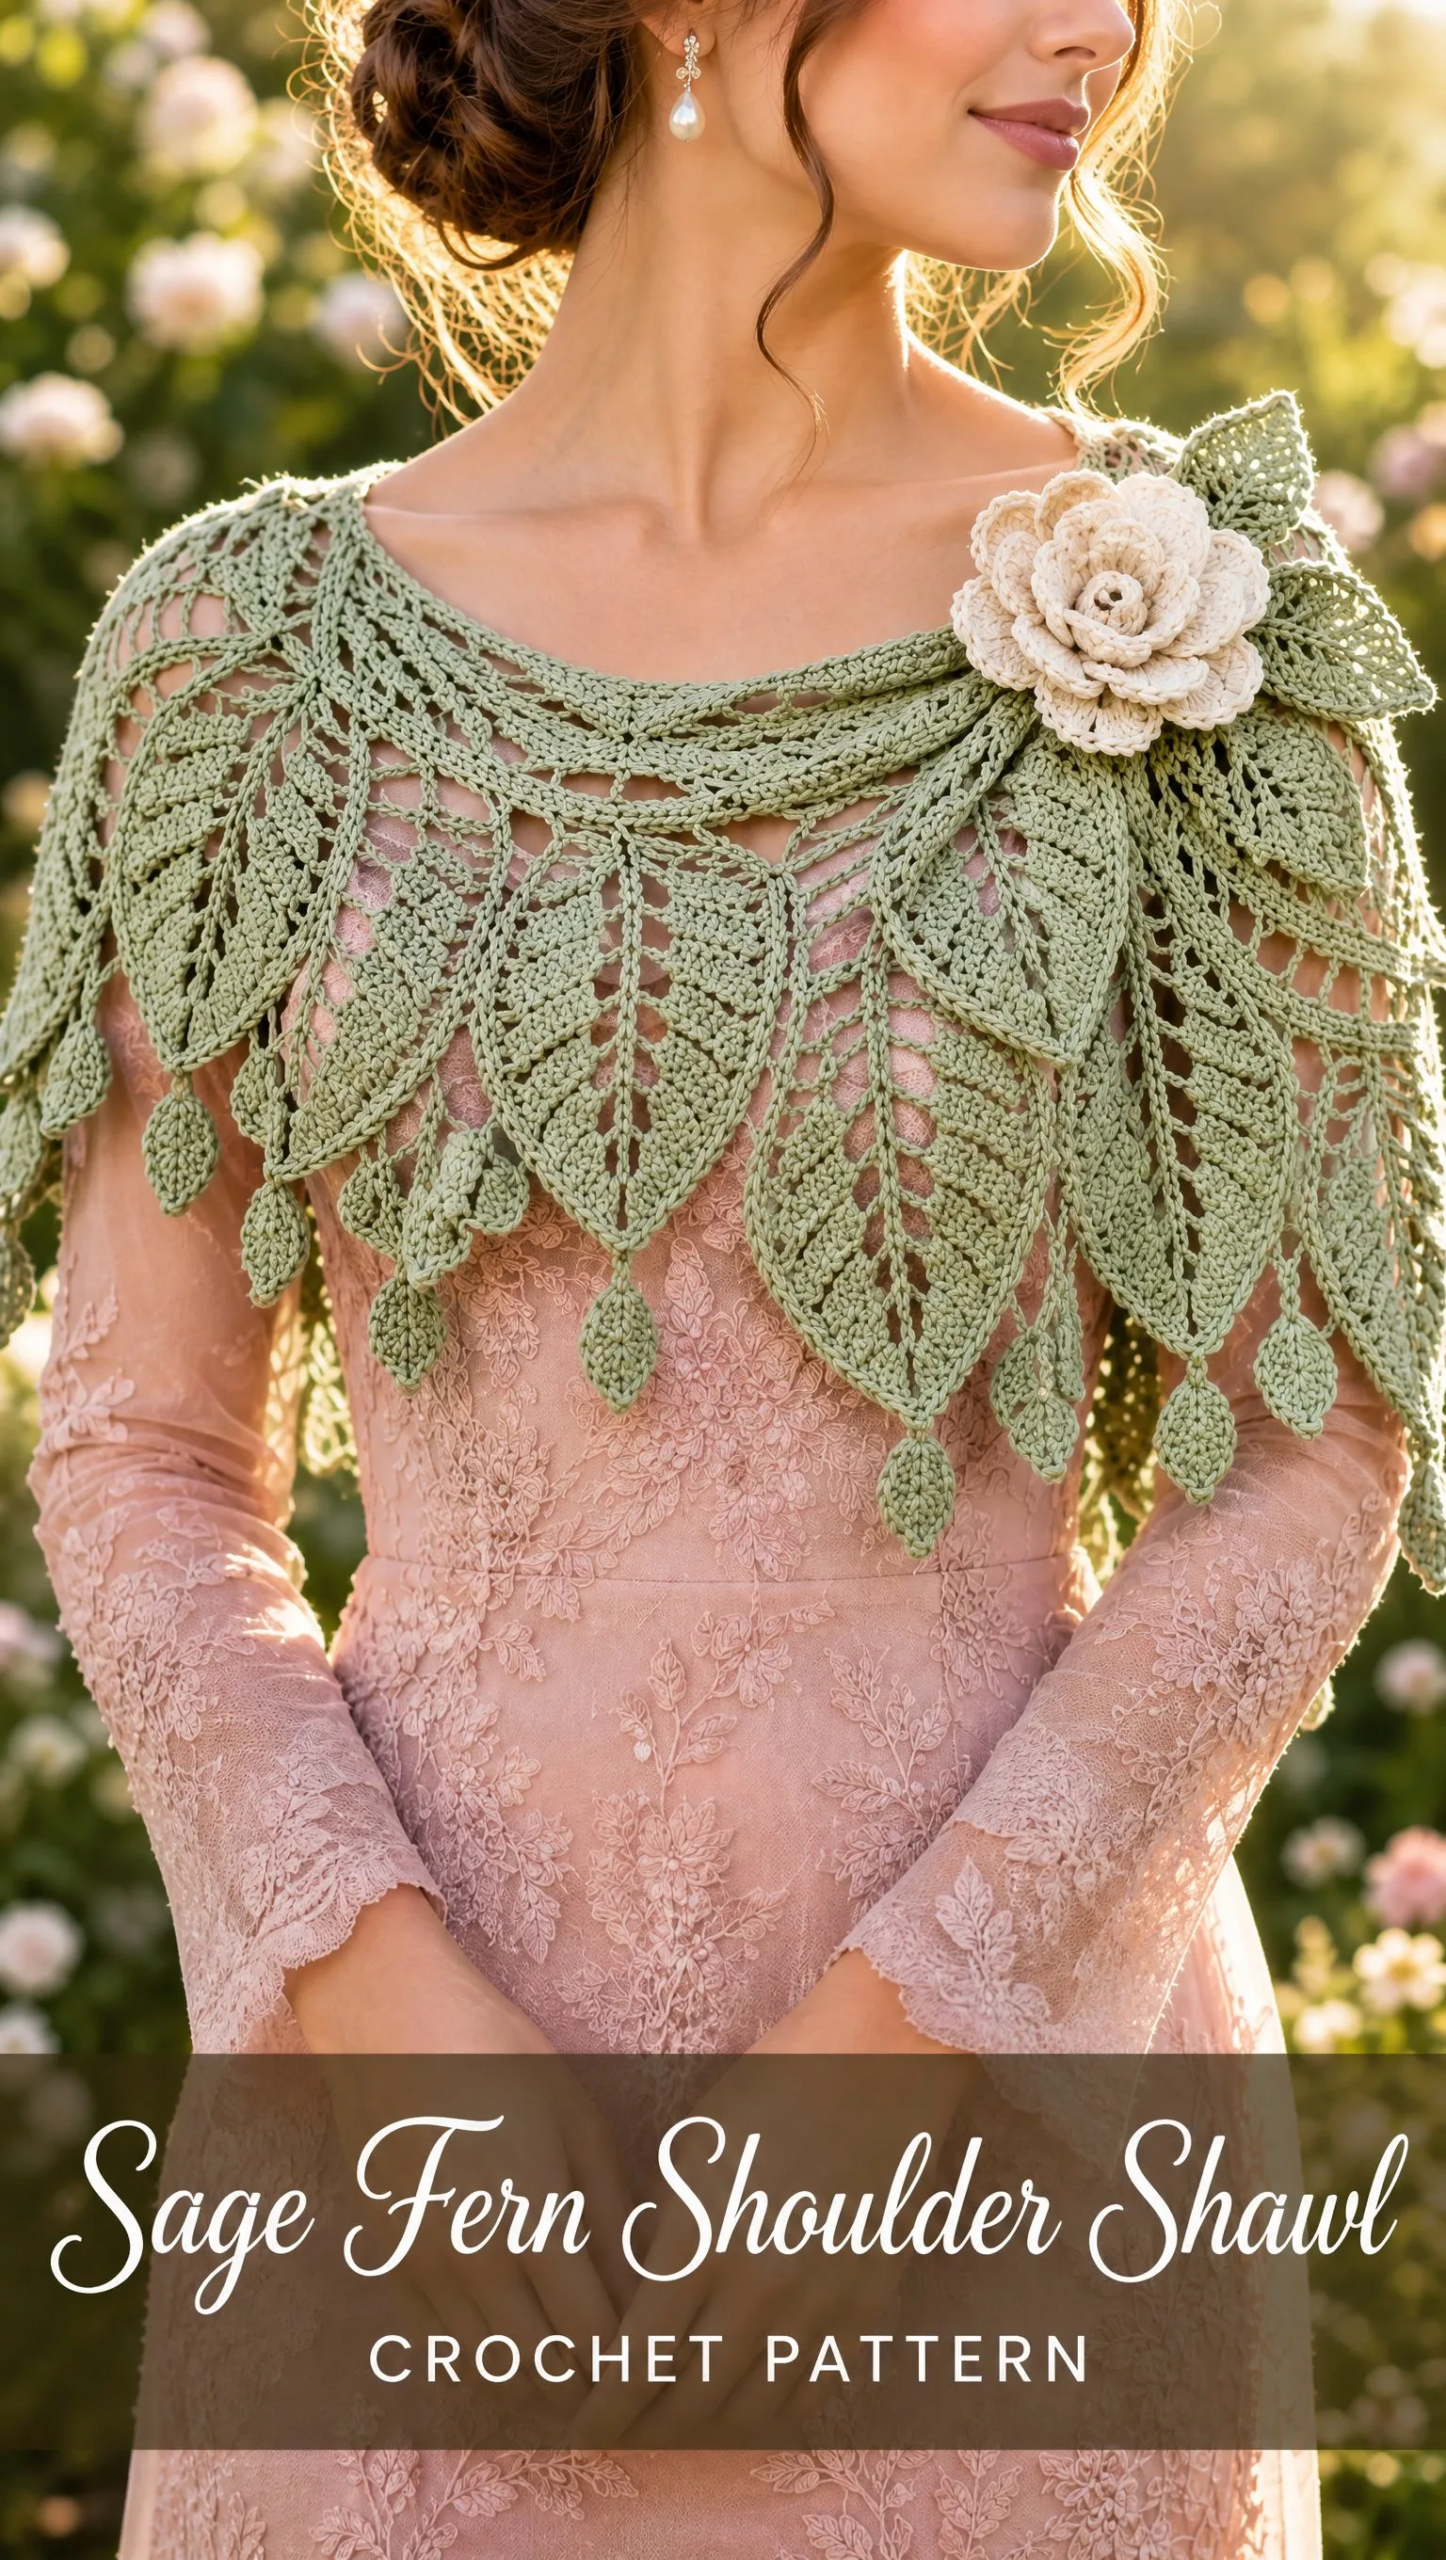
This Sage Fern Shoulder Shawl delivers exactly that. The airy fern-lace panels create a stunning visual effect while the crescent shape hugs your shoulders naturally. It’s the kind of piece that looks incredibly intricate but builds logically from a simple foundation.
Whether you’re layering it over a summer dress or adding warmth to a cozy sweater, this capelet works up beautifully in a cotton blend that shows off every delicate stitch. Let me walk you through everything you need to bring this botanical beauty to life.
About This Sage Fern Shoulder Shawl Pattern
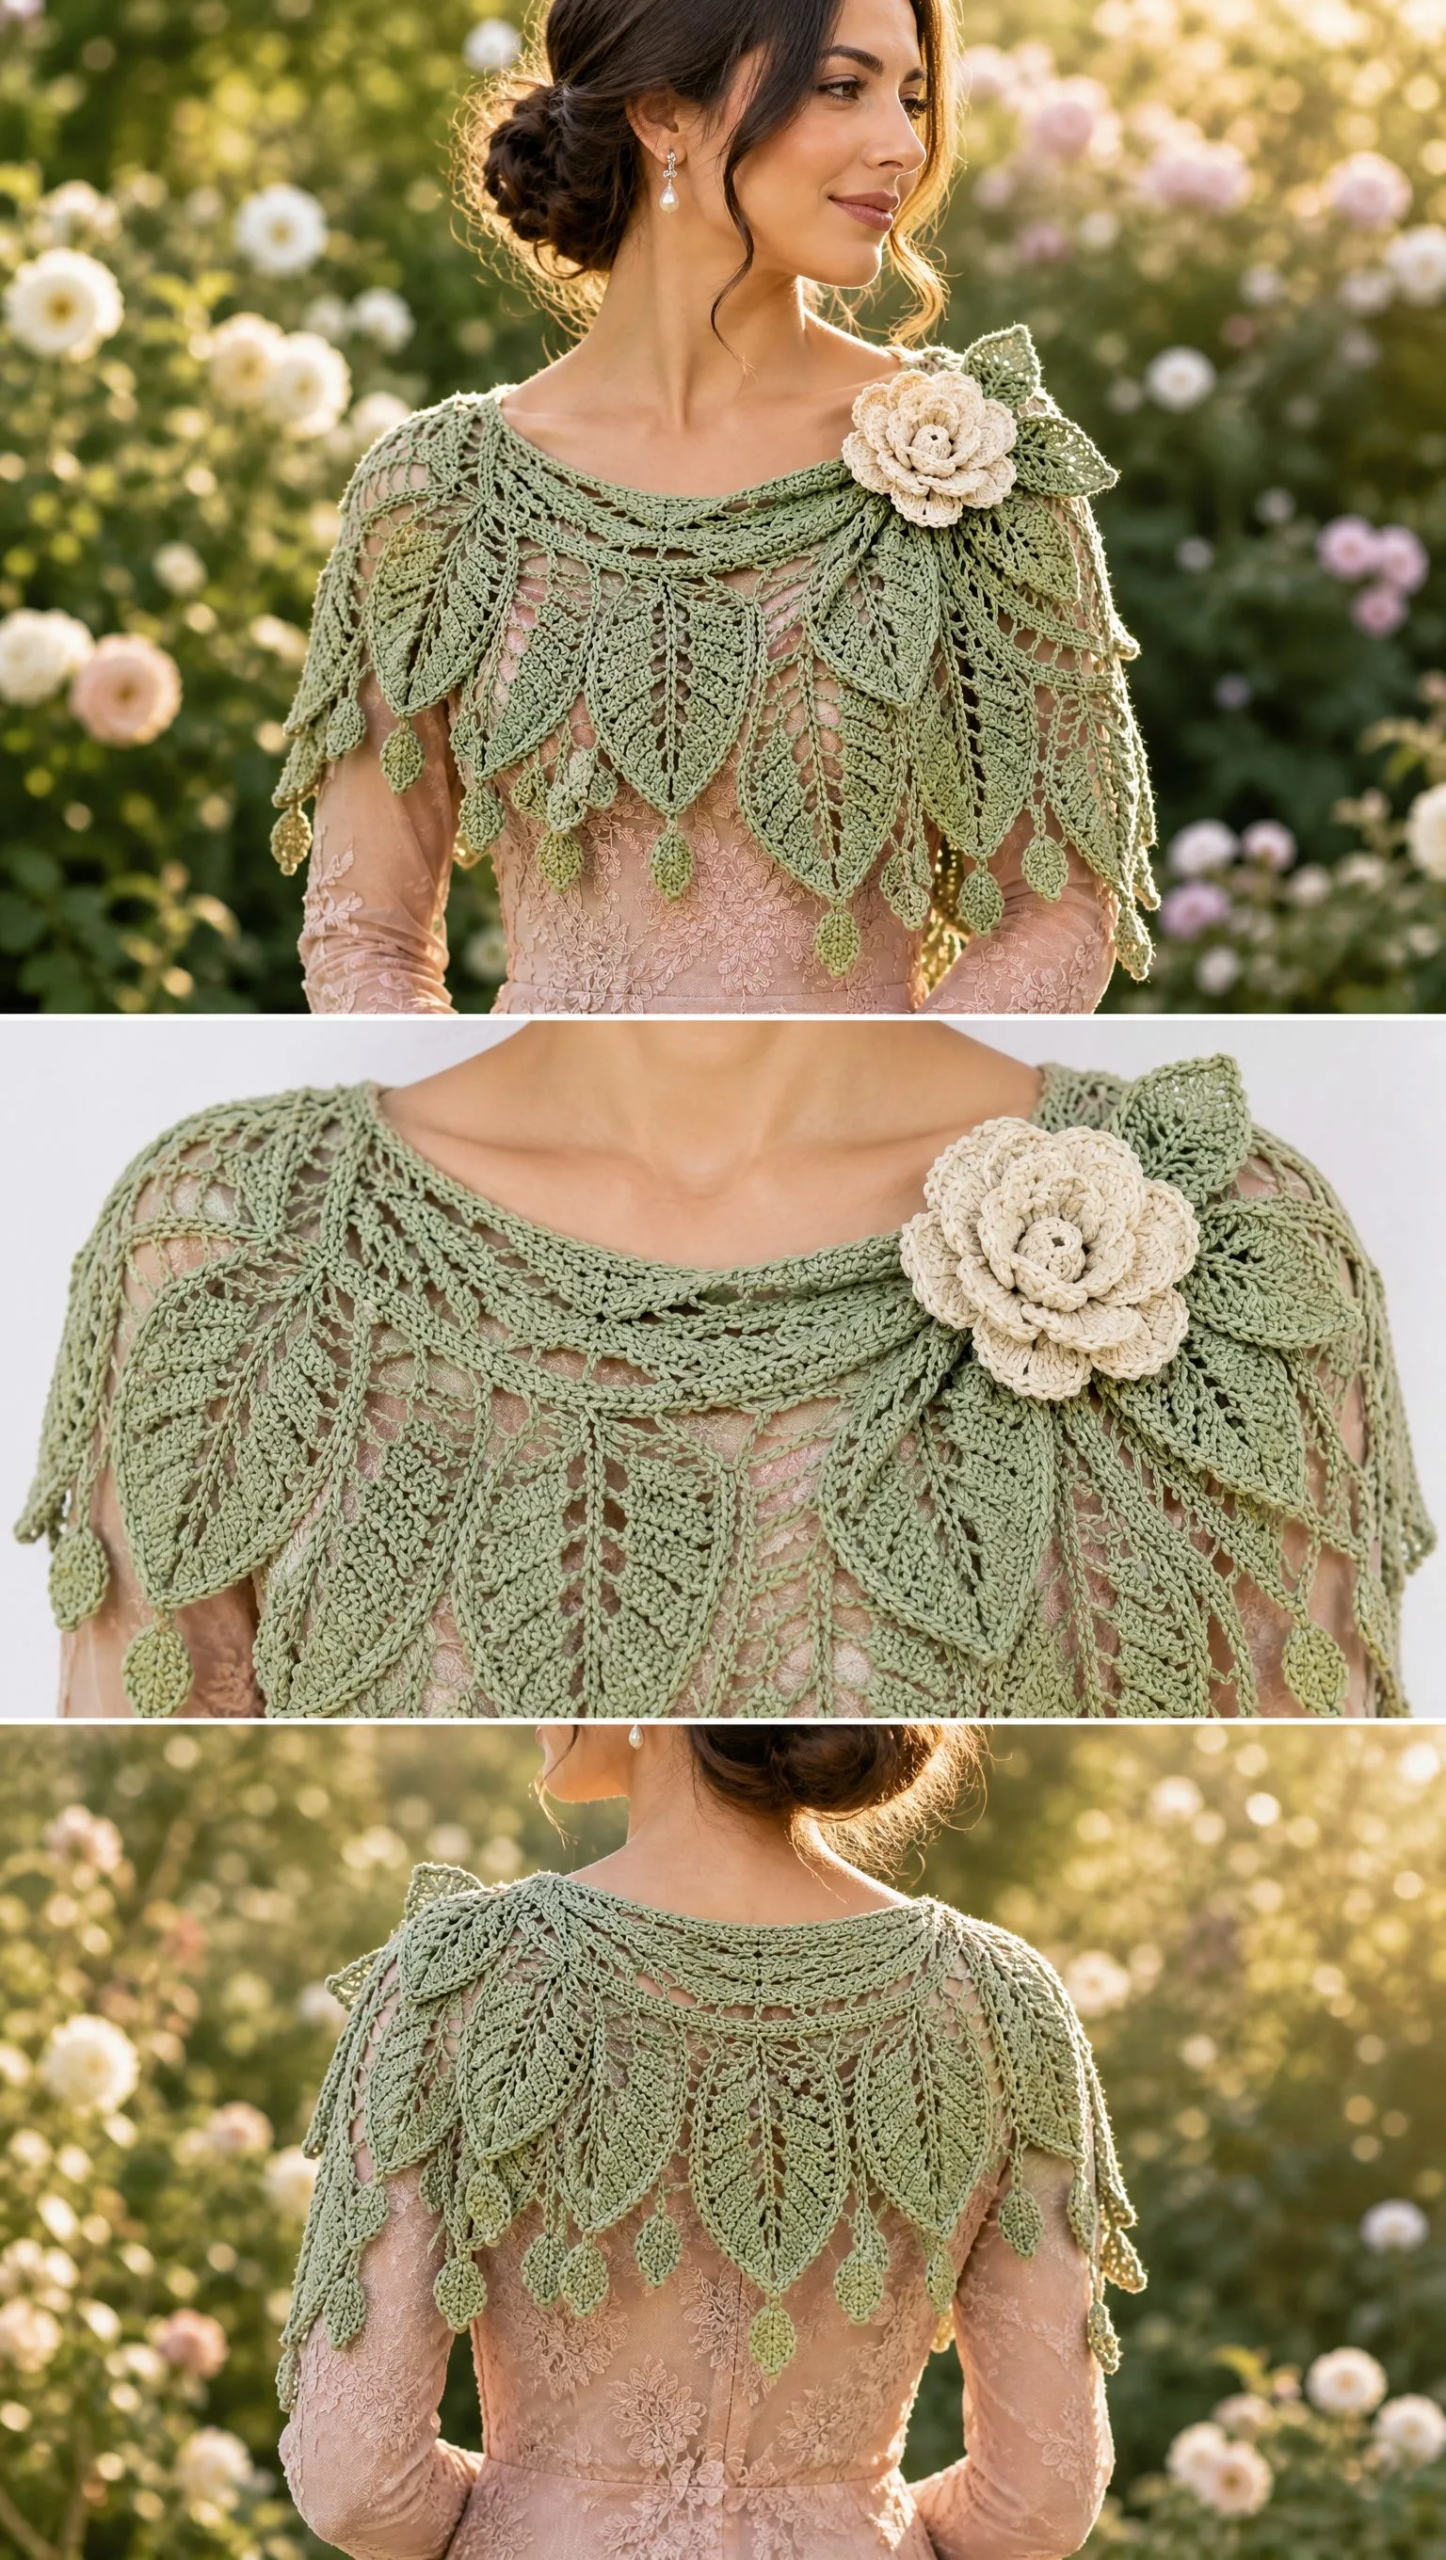
This gorgeous crescent capelet features repeating openwork fern ribs that radiate through the body, creating a lace effect that’s absolutely stunning when blocked. The lower border showcases alternating leaf fans and chain arches, giving the whole piece a soft, botanical edge that drapes effortlessly over your shoulders.
The construction is top-down, starting at the center back neck and growing outward in a shallow crescent shape. This means you can try it on as you go and customize the size easily. The finished piece measures approximately 145 cm (57 inches) across the upper edge and 46 cm (18 inches) deep at center back after blocking.
I’d classify this as an intermediate skill level pattern. You should be comfortable with basic stitches and ready to follow a multi-row lace repeat. Don’t worry though, I’ll break down every special stitch and explain the construction logic so you feel confident from the first chain.
Materials You’ll Need
Gathering your supplies before starting always makes the process smoother. Here’s everything you’ll need for this project.
Yarn: You’ll need 650 to 750 meters (710 to 820 yards) of sport-weight or light DK yarn. A smooth cotton, bamboo, or cotton-modal blend gives the fern lace the best definition. The main color is sage green, though muted eucalyptus, moss, or dusty olive work beautifully too. For an optional accent on the final picot round, set aside 25 to 40 meters of cream or pale eucalyptus.
Hook: 3.5 mm (US E/4), or the size needed to match gauge.
Notions: Tapestry needle for weaving in ends, locking stitch markers (essential for tracking the center spine), rustproof pins for blocking, blocking mats, scissors, and measuring tape.
Gauge Information
Work 18 double crochet (dc) stitches and 9 rows to measure 10 cm (4 inches) square after blocking.
Here’s the good news: gauge isn’t critical for fit since this is a shawl rather than a fitted garment. However, it strongly affects your finished size and how much yarn you’ll use. I recommend making a small swatch and wet blocking it before measuring. This extra step saves potential heartache later.
Abbreviations and Special Stitches
Let me define every stitch and abbreviation you’ll encounter in this pattern.
ch = chain
sl st = slip stitch
sc = single crochet (insert hook, yarn over, pull through, yarn over, pull through both loops)
hdc = half double crochet
dc = double crochet (yarn over, insert hook, yarn over, pull through, yarn over, pull through 2 loops twice)
tr = treble crochet (yarn over twice, insert hook, yarn over, pull through, then yarn over and pull through 2 loops three times)
st(s) = stitch(es)
sp = space
sk = skip
RS / WS = right side / wrong side
Special Stitches Explained
V-st (V-stitch): Work (dc, ch 1, dc) all in the indicated stitch or space. This creates a small V shape with a chain space in the center.
Shell: Work 5 dc all in the indicated stitch or chain space. The stitches fan out naturally to create a shell shape.
Fern Rib: Work tr in the indicated stitch, ch 2, then tr in the same stitch. The tall paired posts form the visual center of each fern repeat. This is what creates those beautiful vertical fern spines throughout the shawl.
Leaf Fan: Work (2 dc, 2 tr, ch 2, sl st in 2nd ch from hook, 2 tr, 2 dc) all in the same chain space. This creates a pointed leaf-shaped fan. The sl st in the chain creates a small picot at the tip that mimics the point of a real leaf.
Construction Overview
Understanding the big picture helps everything make sense as you work. The shawl is worked in turned rows from the center-back neck.
Rows 1 to 7 establish a shallow crescent with increases at both outer edges and around the center spine.
Rows 8 to 17 expand the crescent using a repeating increase pair. These rows create enough width for the fern-lace body without making the neckline buckle.
Rows 18 to 31 form the fern-lace body, where those gorgeous vertical fern spines really take shape.
Rows 32 to 35 create the leaf border and picot finish that gives the shawl its beautiful botanical edge.
Important Notes About Markers and Orientation
Place one marker in the center ch-2 spine space after Row 1 and move it upward every row. This marker is your best friend throughout this project. The first and last stitch of each row are edge increase points. Work all rows back and forth, turning at the end of every row.
Don’t panic if your exact stitch total varies by 1 to 2 stitches because of how you count turning chains. The pattern is designed around symmetry, meaning each half of the shawl should mirror the other. The center spine remains a ch-2 space throughout.
Foundation and Yoke (Rows 1 to 7)
Foundation: Ch 6. Sl st in first ch to form a ring.
Row 1 (RS): Ch 4 (counts as dc + ch 1), 3 dc in ring, ch 2, 3 dc in ring, ch 1, dc in ring. Turn. The ch-2 space is the center spine.
Row 2: Ch 3, dc in first st, ch 1, V-st in next ch-1 sp, dc in each dc to center ch-2 sp, (2 dc, ch 2, 2 dc) in center sp, dc in each dc, V-st in next ch-1 sp, ch 1, 2 dc in top of turning chain. Turn.
Row 3: Ch 3, dc in first st, ch 1, dc in next ch-1 sp, ch 1, dc in next 2 sts, ch 1, sk 1, dc in next st repeat to 1 st before center, dc in final st, (2 dc, ch 2, 2 dc) in center sp; mirror first half, ending ch 1, 2 dc in top turning ch. Turn.
Row 4: Ch 3, dc in first st, ch 1, V-st in each ch-1 sp across first half, dc in each solid dc as needed to reach center, (2 dc, ch 2, 2 dc) in center sp; repeat symmetrically, ending ch 1, 2 dc in turning chain. Turn.
Rows 5 to 7: Repeat Rows 3 and 4 once, then repeat Row 3 once more. Keep edge increases and center-spine increases consistent. By the end of Row 7, the piece should form a relaxed crescent about 18 to 22 cm (7 to 8.5 inches) deep before blocking.
Body Increase Rows (Rows 8 to 17)
Work the following two-row sequence five times for Rows 8 through 17.
Row A (increase mesh): Ch 3, dc in first st, ch 1, dc in next dc, ch 1, sk next ch-1 sp or stitch as needed across to 1 st before center. Dc in last st, (2 dc, ch 2, 2 dc) in center sp. Mirror across second half. End ch 1, 2 dc in turning chain. Turn.
Row B (V-st expansion): Ch 3, dc in first st, ch 1. V-st in next ch-1 sp, ch 1 across, working plain dc in any solid separator stitches required to preserve symmetry. At center work (2 dc, ch 2, 2 dc). Mirror second half. End ch 1, 2 dc in turning chain. Turn.
Repeat Rows A and B until Row 17 is complete. Your shawl should now have a broad shoulder-hugging arc. If making a larger version, add 1 to 2 more A-B pairs here.
Fern-Lace Body (Rows 18 to 31)
This is where the magic happens. The fern effect is made from a tall central rib with short side branches. Maintain the edge and center-spine increases on every row.
Row 18 (Set-up): Ch 3, dc in first st, ch 2. Across first half: sk 1, dc in next st, ch 2, sk 1, Fern Rib in next st, ch 2, sk 1, dc in next st, ch 2. Repeat to last few stitches before center, adjusting with dc/ch-1 mesh if necessary. Work (2 dc, ch 2, 2 dc) in center sp. Mirror second half. End 2 dc in turning chain. Turn.
Row 19 (First branches): Ch 3, dc in first st, ch 2. Dc in next dc, ch 2, (dc, ch 1, dc) in the ch-2 space between the two tr posts of each Fern Rib, ch 2, dc in next dc, ch 2. Repeat across, preserving center and edge increases. Turn.
Row 20 (Open frond): Ch 3, dc in first st. Ch 3, sc in next ch-2 sp, ch 3, Fern Rib in the ch-1 center of next V-st, ch 3, sc in next ch-2 sp. Repeat across. Work center increase. Mirror. Turn.
Row 21 (Side leaves): Ch 3, dc in first st. Ch 2, 3 dc in first ch-3 sp, ch 1, dc in Fern Rib center, ch 1, 3 dc in second ch-3 sp, ch 2. Repeat across. Preserve increases. Turn.
Row 22 (Air row): Ch 3, dc in first st. Ch 3, sk 2, sc in next st, ch 3, sk 2, Fern Rib in next center dc. Repeat across to center, then mirror. Turn.
Rows 23 to 31: Repeat Rows 19 through 22 twice more (8 rows), then repeat Row 19 once for Row 31. Keep the fern ribs vertically aligned as much as possible. New partial repeats may appear near the edges as the shawl expands; work them only when there is enough room for a complete fern unit.
Visual check: At this stage you should see vertical fern spines separated by airy chain windows. The fabric should drape, not cup. If it cups, your chains are too tight. If it flares excessively, reduce ch-3 spaces to ch-2 on the next repeat.
Leaf Border and Scalloped Finish (Rows 32 to 35)
Row 32 (Border base): Ch 1, 2 sc in first st. Ch 4, sc in next stable dc or fern center across, spacing loops evenly. In center ch-2 sp work (sc, ch 4, sc). Mirror second half. End 2 sc in final st. Turn.
Row 33 (Leaf fans): Ch 1, sc in first st. In first ch-4 sp work Leaf Fan. Sc in next ch-4 sp, Leaf Fan in next ch-4 sp. Repeat across, placing one Leaf Fan in the center loop. Mirror to end. Turn.
Row 34 (Connecting arches): Ch 1. Sl st to tip picot of first leaf. Ch 5, sc in next sc between leaves, ch 5, sl st in tip picot of next leaf. Repeat across. Fasten off if using an accent color for final row.
Row 35 (Picot edging): Join yarn at one upper corner. Ch 1, sc evenly along the upper neckline edge. Continue around the lower edge: sc in each chain space or stitch, ch 3, sl st in first ch of ch-3 to make picot every 3 to 4 sc. Keep the edging relaxed. Finish at opposite upper corner and fasten off.
Optional Ties
For a more secure shoulder fit, join yarn at each upper corner and crochet a 35 to 45 cm (14 to 18 inch) chain. Sl st back along the chain, fasten off, and weave in securely. Tie loosely at the front or let the cords hang decoratively.
Optional Fern Applique Motif
Make 1 to 3 small fern motifs and stitch them near one shoulder for a dimensional botanical accent. Use the same sage yarn or a slightly deeper green.
Stem: Ch 18. Starting in 2nd ch from hook, sl st in next 4 ch.
First leaf pair: Ch 5, starting in 2nd ch: sl st, sc, hdc, dc. Sl st into next stem ch. Turn work slightly and repeat the same leaf on the opposite side of the stem.
Continue: Sl st in next 2 stem ch, then make another pair of leaves with ch 6 (sl st, sc, hdc, dc, tr). Repeat once more with ch 7 for the longest pair.
Taper: For the final two leaf pairs, reduce to ch 6 and then ch 5. Sl st to stem end and fasten off, leaving a 20 cm tail for sewing.
Sew the fern flat through the stem only, leaving the leaf tips lightly raised. Keep the motif away from the highest shoulder point so it does not feel bulky under a coat.
Finishing and Blocking
Blocking transforms this shawl from nice to absolutely stunning. Here’s my process.
1. Weave in all yarn tails on the WS. Split tails through several stitch paths rather than carrying them straight across open lace.
2. Wash or soak according to the yarn label. Gently squeeze out water; do not wring.
3. Lay the shawl on blocking mats in a shallow crescent. Pin the upper edge first, then the center point, then each fern repeat and leaf tip.
4. Measure to approximately 145 cm (57 inches) wingspan and 46 cm (18 inches) center depth. Adjust proportionally for other sizes.
5. Allow to dry completely before removing pins. Steam-block only if the fiber permits it.
Care: Hand wash or machine wash on a delicate cycle if your yarn allows. Reshape flat to dry. Store folded rather than on a hanger to prevent stretching.
Troubleshooting and Fit Adjustments
Neckline too tight: Add 1 extra ch in every third upper-edge chain space, or work one additional loose sc round along the neckline.
Shawl slides backward: Add optional corner ties or sew a discreet snap 8 to 10 cm below the neckline at the front edges.
Lace is cupping: Chains are too tight. Go up 0.25 to 0.5 mm in hook size for lace rows, or change ch-2 to ch-3 where the fabric pulls.
Border ruffles: Reduce ch-5 arches in Row 34 to ch-4, or skip every sixth picot in Row 35.
Need more depth: Repeat Rows 19 through 22 once more before beginning the border. Expect to use roughly 80 to 120 m extra yarn.
Need more width without much depth: Add extra edge increases by working 3 dc instead of 2 dc into the first and last stitch every fourth row.
Sizing Notes
To make the shawl larger, repeat the Body Increase Round pair (Rows 8 to 9) two or four additional times before working the fern-lace body. Each extra pair adds roughly 4 to 5 cm (1.5 to 2 inches) of depth and additional wingspan. Buy 100 to 150 m extra yarn for each extra pair.
Final Thoughts on This Sage Fern Shoulder Shawl Crochet Pattern
This Sage Fern Shoulder Shawl is the kind of project that makes you proud every time you wear it. The botanical details, the graceful drape, the way the lace catches the light, it all comes together into something truly special.
Thank you so much for choosing this pattern! I hope you enjoy every stitch of creating your own fern-lace capelet. If you make one, I’d absolutely love to see it. Tag me on Instagram or share a photo in our Facebook group.
If you loved this pattern, go ahead and save it to your Pinterest boards so you can find it easily when you’re ready to start. And please drop a comment below if you make one. I always love hearing how your projects turn out!
Want a Quick & Easy Printable Version?
Get a clean, beautifully formatted PDF of this pattern — easy to follow step by step, ready to print or save on any device. No scrolling, no distractions, just the pattern.
Get the Printable PDF →You Might Also Like
- Forest Green Ivy Leaf Earrings Free Crochet Pattern
- Sunshine Yellow Dahlia Crochet Dress Free Crochet Pattern
- Coral Sunset One Shoulder Floral Top Free Crochet Pattern
- Manta Ray Crochet Beach Carryall Free Pattern
