
A Beautiful Gift Set for the Tiniest Ones
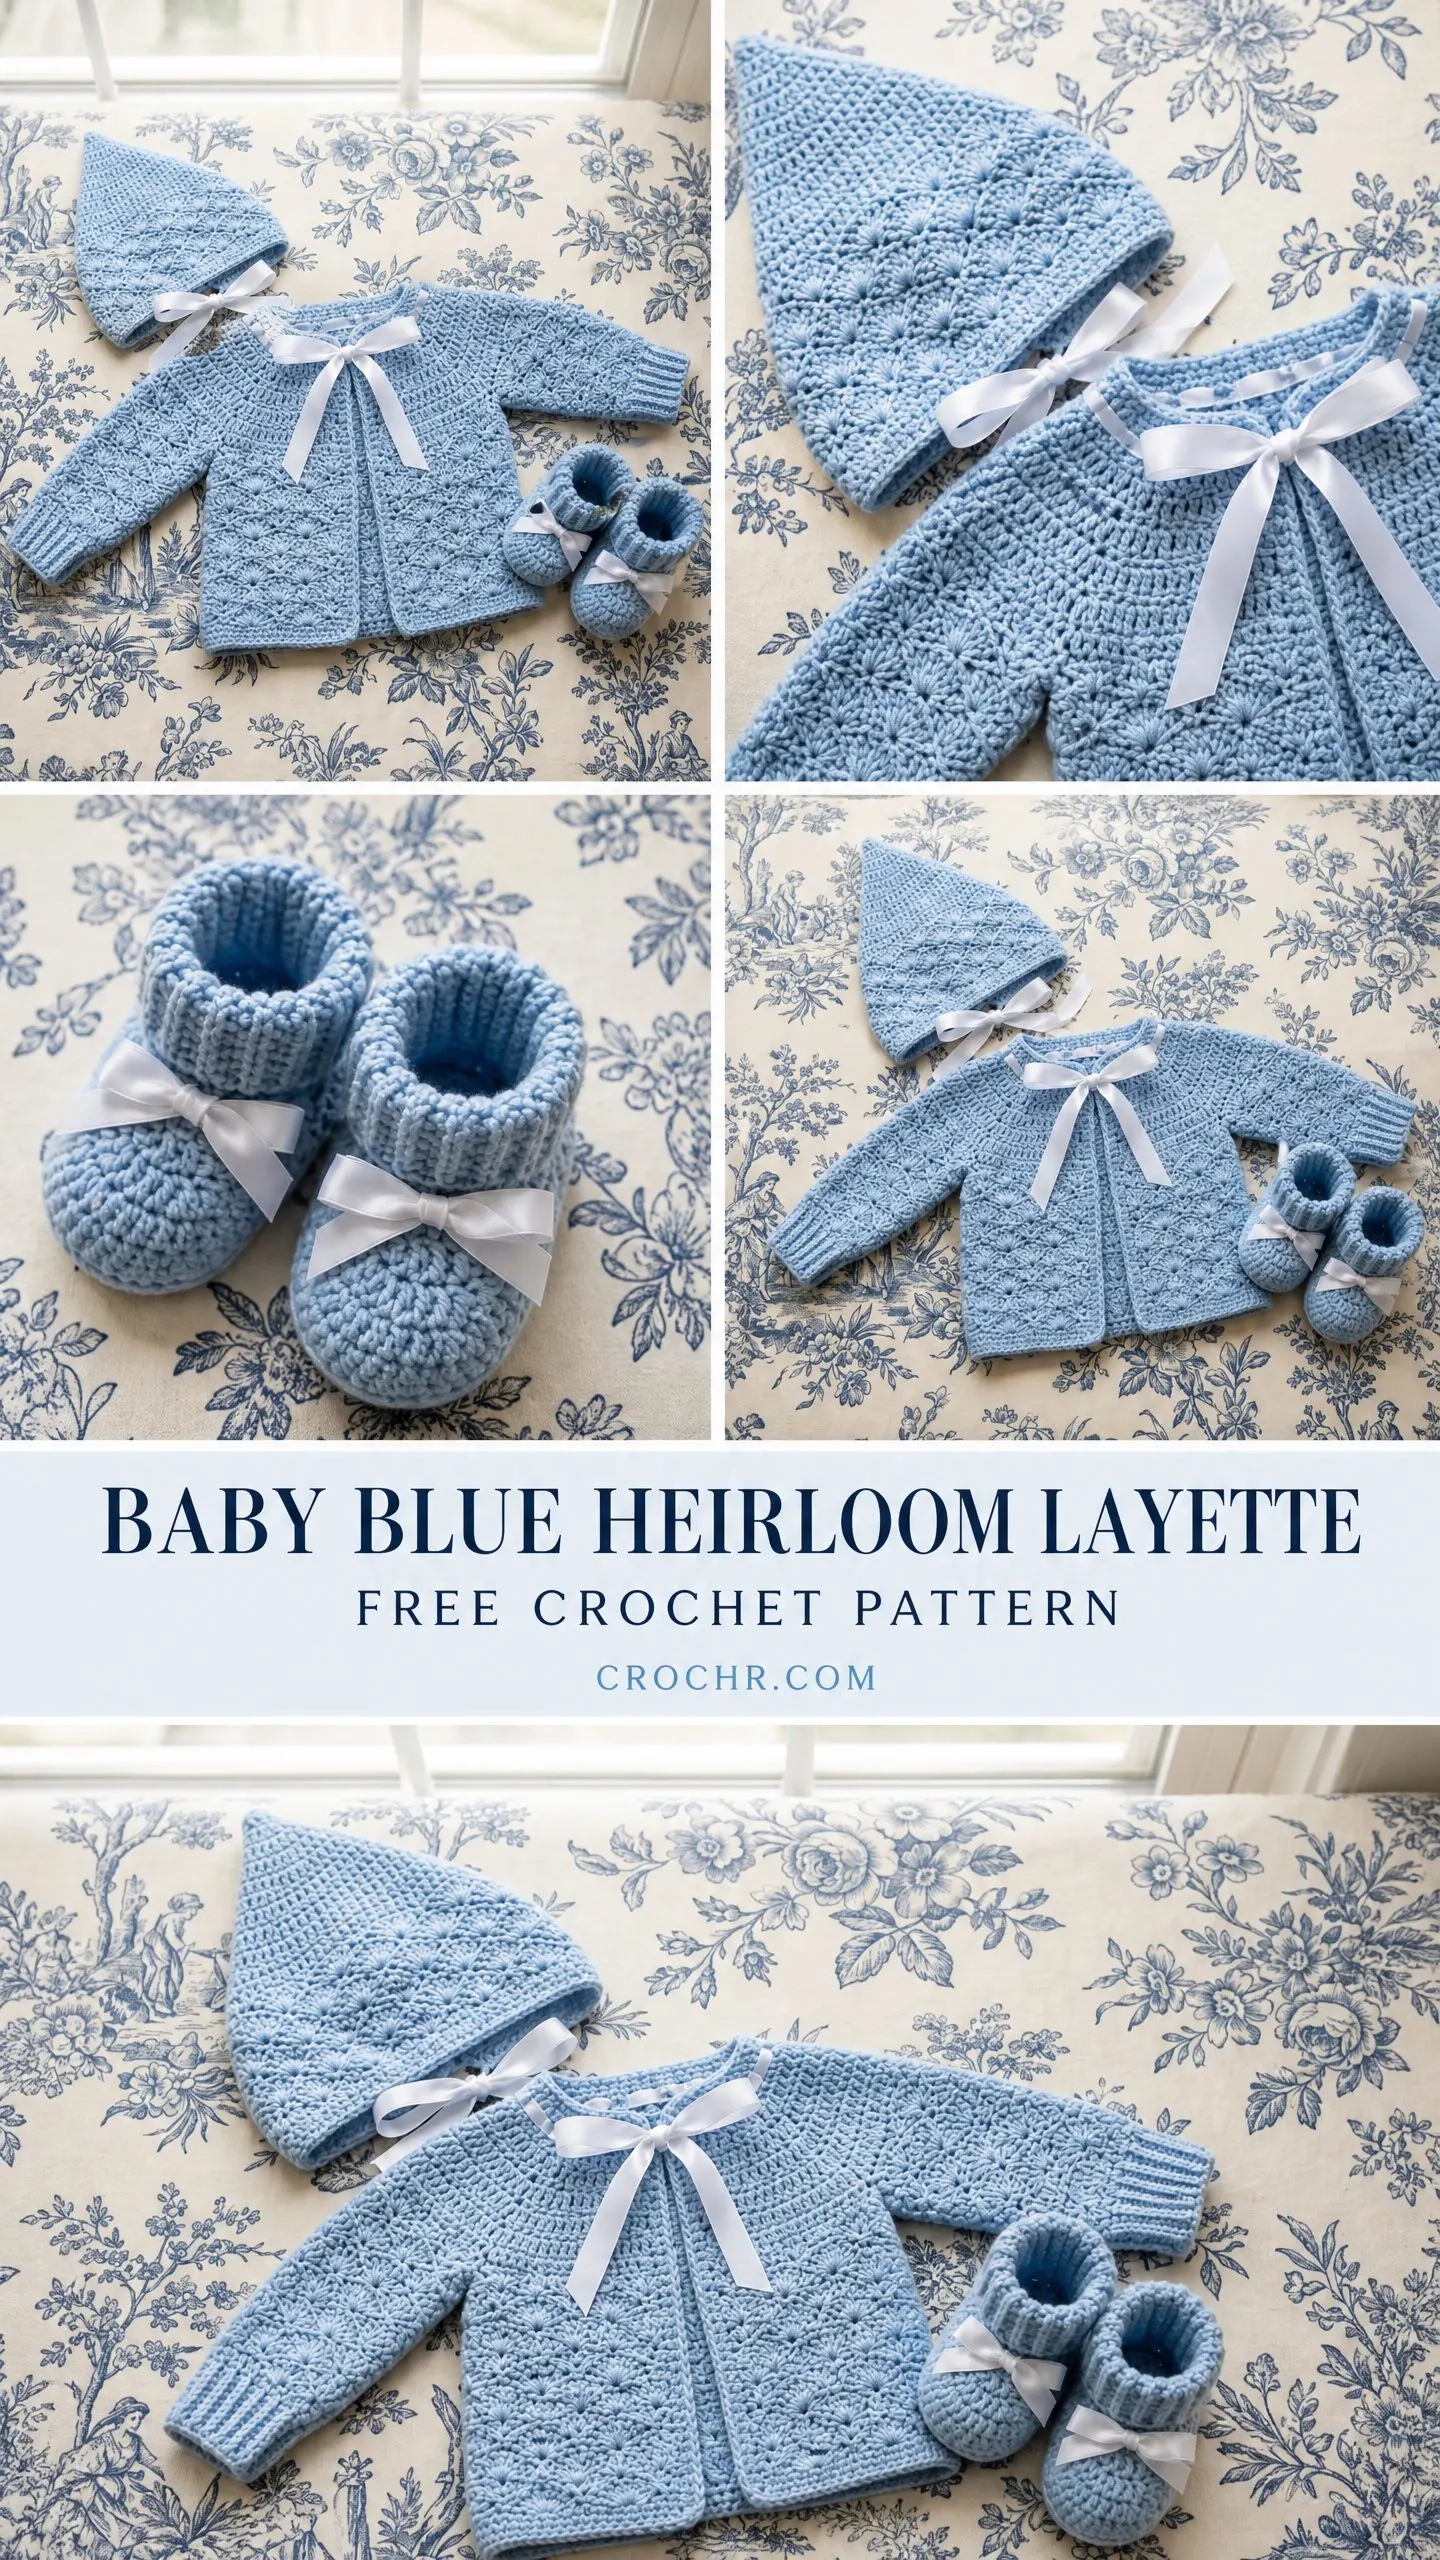
If you need a thoughtful, handmade gift for a baby shower or a new arrival, this heirloom layette set checks every box. The three-piece collection includes a top-down raglan cardigan, a pointed bonnet with ribbon ties, and matching booties. All worked in soft baby blue with delicate white satin ribbon accents.
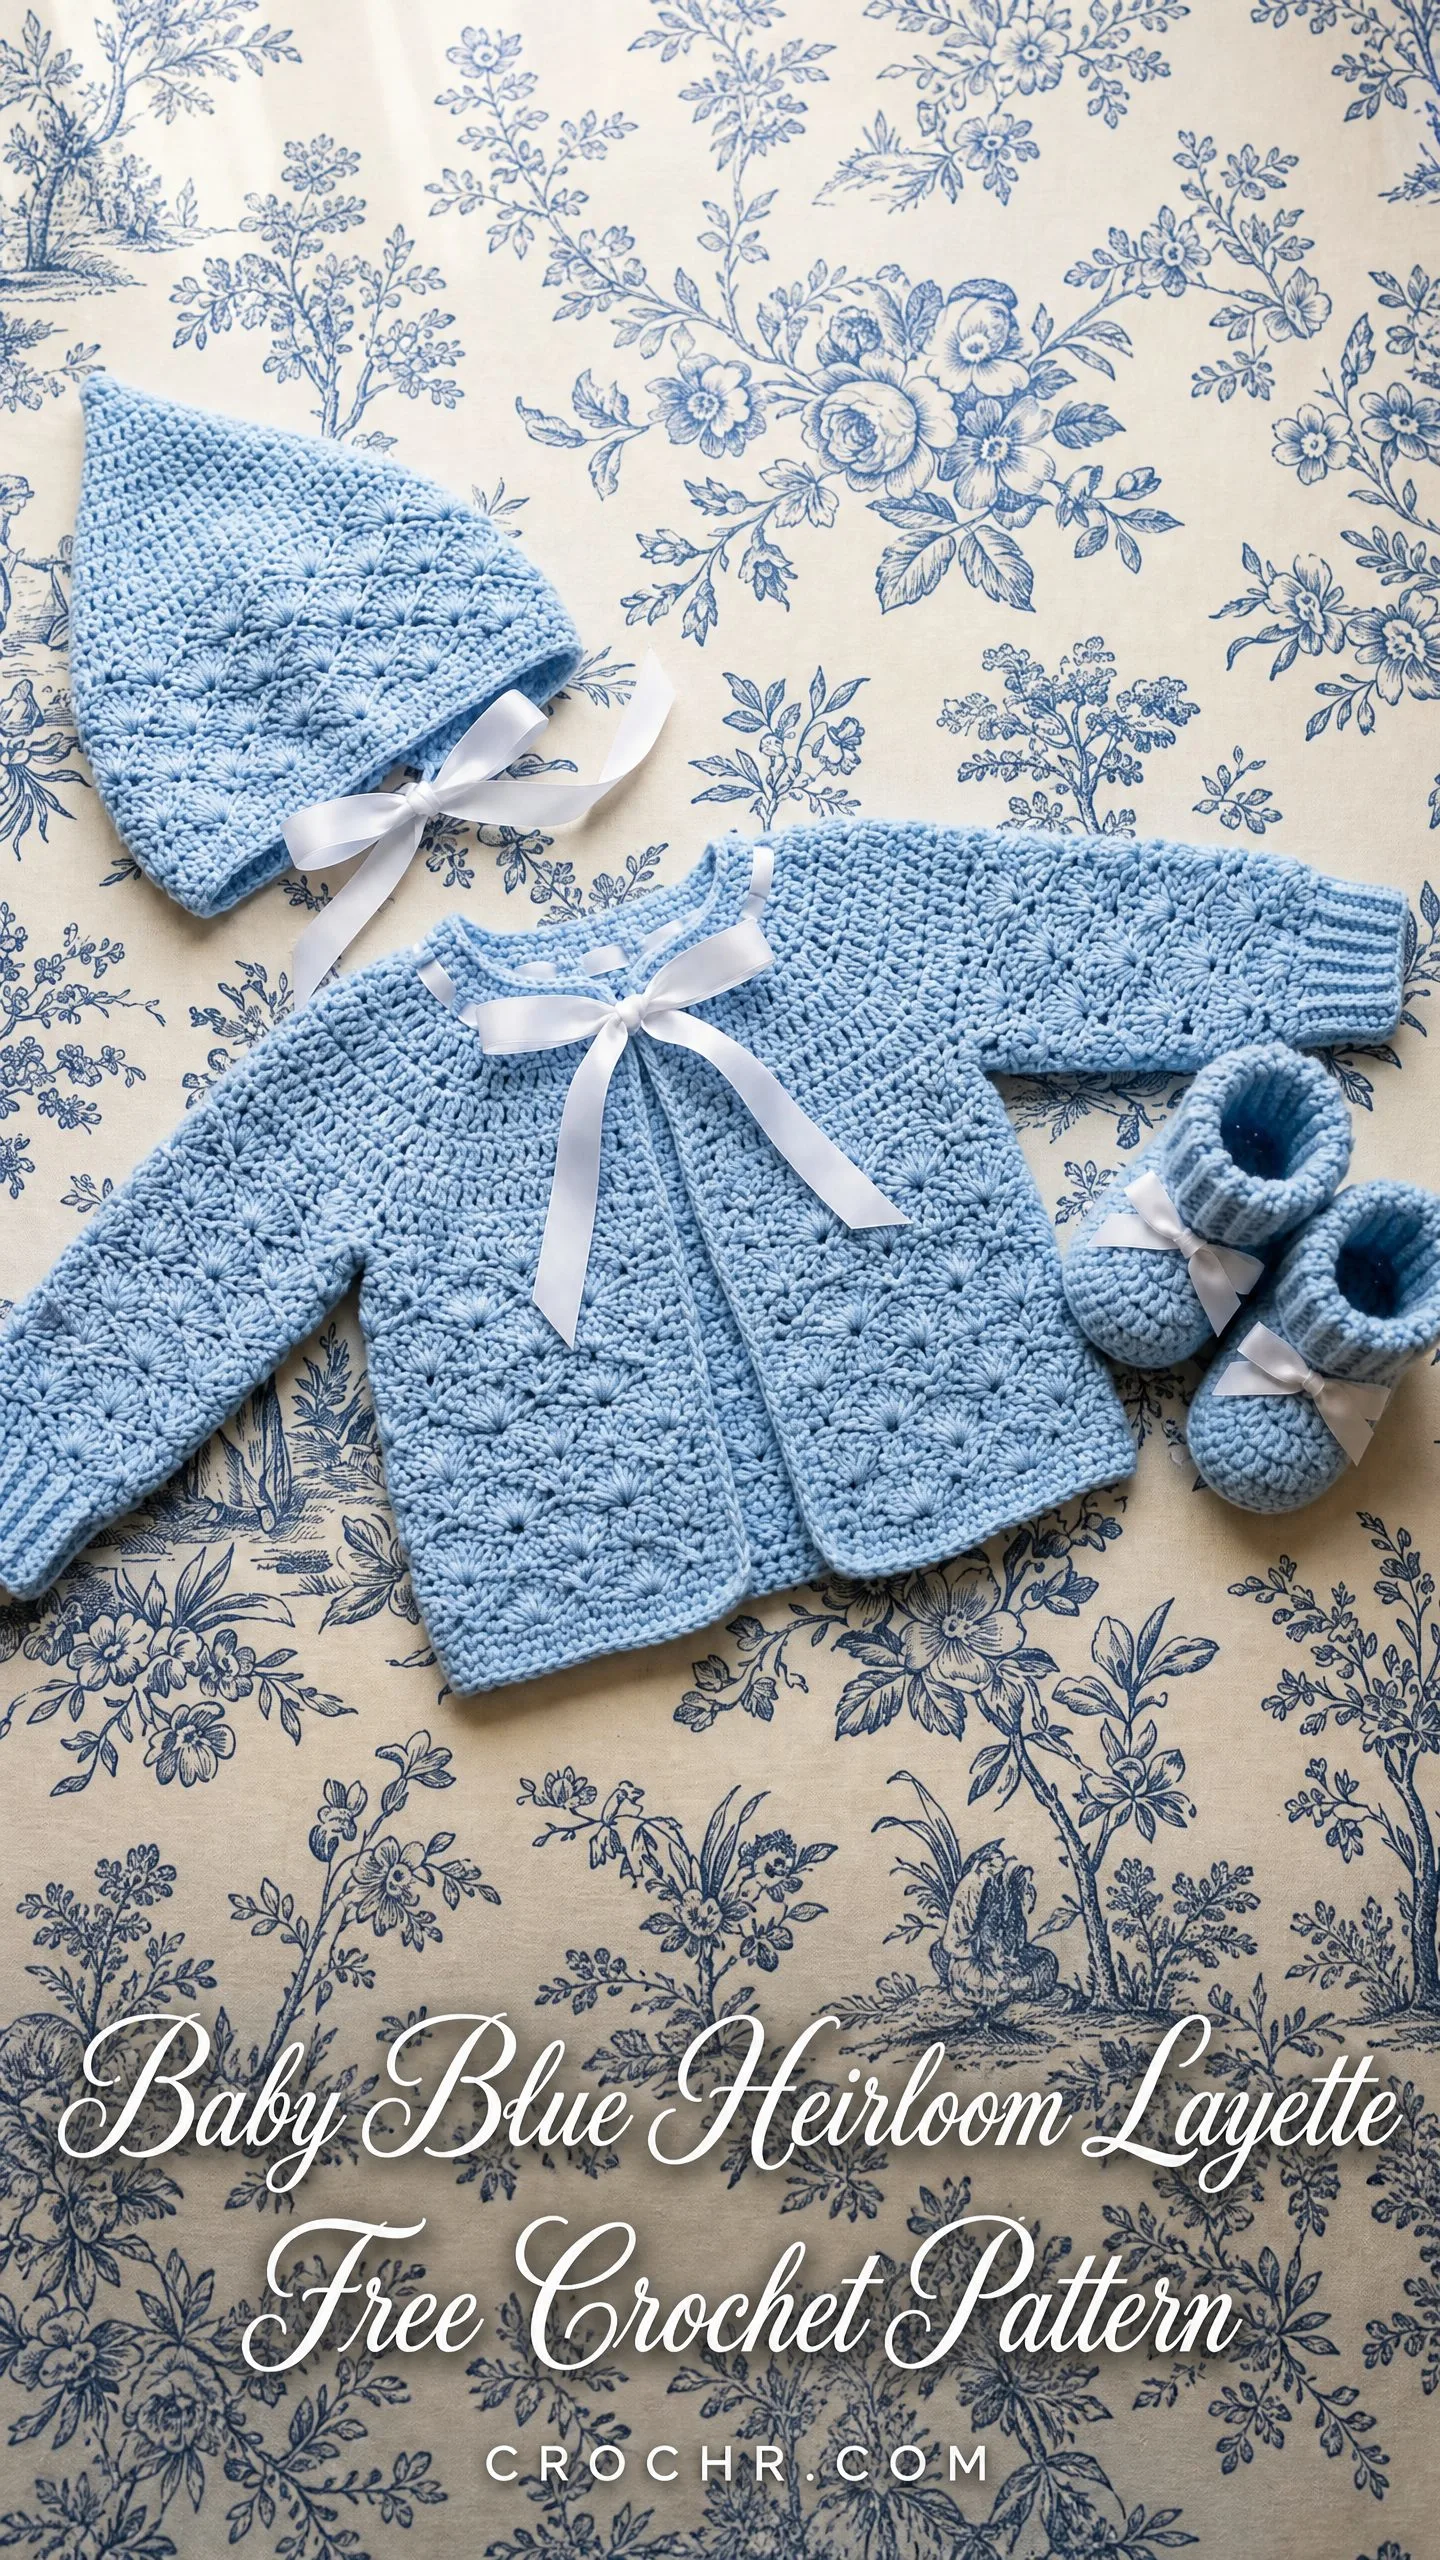
The shell and fan stitch pattern creates that gorgeous scalloped texture you see in vintage baby garments. It looks intricate but relies on repeating the same simple sequence row after row. This set works up in about 18 to 24 hours total, making it achievable even with a deadline looming.
Whether you are preparing for a christening, newborn photos, or simply want to welcome a little one in style, this pattern delivers a keepsake-quality result. Sizes are included for newborn through 12 months, so you can customize for any recipient.
Why This Baby Layette Pattern Works
I designed this set with both beauty and practicality in mind. The cardigan opens at the front with a simple ribbon closure, which means no fussy buttons for sleepy parents to wrestle with during diaper changes. The bonnet features a distinctive pointed crown that frames a baby’s face perfectly. And the booties stay put thanks to ribbon ties threaded through the cuffs.
The shell stitch pattern gives the entire set a cohesive, heirloom look without requiring advanced skills. If you can work a double crochet (dc) and a single crochet (sc), you can master this texture. The smooth single crochet yoke on the cardigan provides structure where you need it most, while the lacy shell body adds that vintage charm.
This pattern is rated intermediate because you will be managing multiple pieces, working both flat and in the round, and following raglan shaping. But each individual technique is straightforward. If you have completed at least one top-down garment before, you are ready for this project.
Materials You Will Need
Gathering your supplies before you begin makes the whole process smoother. Here is everything you need for this baby layette crochet pattern.
Yarn
Approximately 400 yards (366 m) of DK weight yarn (CYCA 3 / Light) in baby blue for the newborn size. Add approximately 60 yards (55 m) for each larger size.
Recommended yarn options:
Any DK weight yarn that achieves gauge will work beautifully. Choose something with good stitch definition rather than fuzzy or heavily textured fibers. Avoid high linen content yarns for baby items since they lack the stretch needed for easy dressing.
Hook
US size E-4 / 3.5 mm crochet hook (adjust to achieve gauge)
Notions
Gauge
Getting gauge right is critical for baby garments. A difference of even one stitch per 4 inches will result in a set that is too large or too small.
Single crochet gauge: 20 sc = 4 in (10 cm), 22 rows = 4 in (10 cm) with US E-4 / 3.5 mm hook, after blocking.
Shell pattern gauge: 3 shell repeats (each repeat = 6 sts) = approximately 3.6 in (9 cm) wide; 4 rows of shell pattern = approximately 2 in (5 cm) tall, after blocking.
Work a swatch at least 5 in (13 cm) square in both single crochet and the shell pattern. Wash and block it to match your intended care method, then measure before starting.
Finished Measurements
This pattern includes instructions for three sizes: Newborn to 3 months (primary size), with sizes 3 to 6 months and 6 to 12 months given in brackets as [3-6M / 6-12M].
Cardigan
Bonnet
Booties
Abbreviations
Let me walk you through each abbreviation you will encounter. If you are newer to pattern reading, bookmark this section.
Special Stitches
These special stitches create the beautiful texture throughout the set. Practice each one on a swatch before starting if they are new to you.
Shell Stitch (Shell)
A shell is worked into a single stitch or chain space and consists of 5 double crochets all worked into that same location.
To work a Shell: Yarn over, insert hook into indicated stitch or space, yarn over, pull up a loop, yarn over, pull through 2 loops (1 dc made). Repeat four more times into the same stitch or space. You will have 5 dc clustered together.
Fan Stitch (Fan)
A Fan is a variation used at the start of rows or rounds. It consists of 2 dc, ch 2, 2 dc all worked into the same stitch or space.
To work a Fan: Work 2 dc into indicated stitch or space, ch 2, work 2 more dc into the same location.
V-stitch (V-st)
A V-st is 1 dc, ch 1, 1 dc all worked into the same stitch or space.
Shell Stitch Pattern (Worked Flat)
This pattern requires a multiple of 6 stitches + 1 for your foundation.
Row 1 (RS): Ch 1, sc in first st, sk 2 sts, Shell in next st, sk 2 sts, sc in next st; rep from to end, turn.
Row 2 (WS): Ch 3 (counts as dc), 2 dc in first sc (half shell at edge), sc in center dc of Shell below, Shell in next sc; rep from to last sc, sc in center dc of last Shell, 3 dc in last sc, turn.
Row 3 (RS): Ch 1, sc in first dc, Shell in next sc, sc in center dc of Shell; rep from to end, placing last sc in top of ch-3, turn.
Repeat Rows 2 and 3 for pattern.
Ribbing Pattern (For Cuffs)
Foundation: Chain the required number of stitches.
Row 1: Sc in 2nd ch from hook and in each ch across, turn.
Row 2: Ch 1, sc in BLO of each st across, turn.
Repeat Row 2 for ribbing pattern. The back loop only technique creates those lovely horizontal ridges.
Cardigan Instructions
Neckline Setup
Foundation Chain: Ch 56 [60 / 64].
Setup Row (WS): Sc in 2nd ch from hook and in each ch across, turn. (55 sc) [59 sc / 63 sc]
Distribute stitches and place markers as follows for newborn [3-6M / 6-12M]:
Total newborn: 11+1+9+1+11+1+9+1+11 = 55 sts. Confirmed.
Yoke
The yoke is worked flat (back and forth) to keep the front opening for the ribbon closure. Raglan increases happen on every right side row.
Increase Method (RS rows): Work sc to 1 st before raglan spine marker, 2 sc in next st, sc in spine st (sm), 2 sc in next st. Repeat at all 4 markers.
Yoke Row 1 (RS): Increase row. (63 sc) [67 sc / 71 sc]
Yoke Row 2 (WS): Ch 1, sc in each st across, turn. (63 sc) [67 sc / 71 sc]
Yoke Row 3 (RS): Increase row. (71 sc) [75 sc / 79 sc]
Yoke Row 4 (WS): Even. (71 sc) [75 sc / 79 sc]
Yoke Row 5 (RS): Increase row. (79 sc) [83 sc / 87 sc]
Yoke Row 6 (WS): Even. (79 sc) [83 sc / 87 sc]
Yoke Row 7 (RS): Increase row. (87 sc) [91 sc / 95 sc]
Yoke Row 8 (WS): Even. (87 sc) [91 sc / 95 sc]
Yoke Row 9 (RS): Increase row. (95 sc) [99 sc / 103 sc]
Yoke Row 10 (WS): Even. (95 sc) [99 sc / 103 sc]
Yoke Row 11 (RS): Increase row. (103 sc) [107 sc / 111 sc]
Yoke Row 12 (WS): Even. (103 sc) [107 sc / 111 sc]
Yoke Row 13 (RS): Increase row. (111 sc) [115 sc / 119 sc]
Yoke Row 14 (WS): Even. (111 sc) [115 sc / 119 sc]
For sizes 3-6M and 6-12M only:
[3-6M] Yoke Row 15 (RS): Increase row. (123 sc)
[3-6M] Yoke Row 16 (WS): Even. (123 sc)
[6-12M] Yoke Row 15 (RS): Increase row. (127 sc)
[6-12M] Yoke Row 16 (WS): Even. (127 sc)
[6-12M] Yoke Row 17 (RS): Increase row. (135 sc)
[6-12M] Yoke Row 18 (WS): Even. (135 sc)
All sizes: Work 2 more even rows (no increases).
Final yoke stitch counts:
Distribution at end of yoke (newborn, after 7 increase RS rows):
RF=18, Spine=1, RSleeve=23, Spine=1, Back=25, Spine=1, LSleeve=23, Spine=1, LF=18.
Sum: 18+1+23+1+25+1+23+1+18 = 111 sts. Confirmed.
Checkpoint: After the yoke, your piece should measure approximately 3.5 in (9 cm) from neckline to underarm when laying flat with the yoke spread open.
Separating Sleeves from Body
Next Row (RS): Ch 1, sc across 19 RF sts (includes 18 RF sts plus the right spine st), place next 23 sleeve sts on a holder or scrap yarn, ch 2 (underarm bridge), sc across 27 body back sts (25 back sts plus 2 spine sts), place next 23 sleeve sts on holder, ch 2, sc across 19 LF sts, turn.
Body working stitch count: 19 (RF) + 2 (ch underarm) + 27 (back) + 2 (ch underarm) + 19 (LF) = 69 sc.
The 2 chain stitches at each underarm create the join across the armhole. Work a sc into each chain when you reach them on the next row.
Body
The body is now worked flat from underarm to hem in the shell stitch pattern. To achieve the required multiple of 6 + 1, adjust your stitch count on the setup row.
Body Setup Row (WS): Ch 1, sc in each st across, working sc2tog once near the center of the row to reduce by 1 st, sc to end, turn.
This adjustment brings you to a stitch count divisible correctly for the shell pattern repeat. Continue following the Shell Stitch Pattern instructions (Rows 1-3 repeated) until body measures desired length from underarm.
Important Pattern Notes
1. The cardigan yoke is worked from the top down in joined rounds of single crochet with 4 raglan increase points.
2. After separating the sleeves, the body is worked flat with the center front opening remaining open throughout.
3. Stitch markers sit in the increase stitch (the center stitch of each 3-sc increase cluster) and are moved up each round.
4. For shell rows, ch 3 at the start counts as the first dc of the edge group. For sc rows and yoke rounds, ch 1 does not count as a stitch.
5. Thread the ribbon through the top of the yoke just below the neckline edge using your yarn needle. Work in and out of the sc posts at approximately 1/4 in (0.5 cm) intervals, then tie in a bow at center front.
Finishing Your Layette Set
Once all pieces are complete, weave in all ends securely. For baby items, I recommend weaving each end through at least 2 inches of fabric and trimming close.
Block your pieces gently by soaking in lukewarm water, pressing out excess moisture in a towel, and pinning to measurements. Allow to dry completely before adding ribbon embellishments.
Thread the satin ribbons through the designated locations: neckline of the cardigan, sides of the bonnet for ties, and cuffs of the booties. Trim ribbon ends at an angle to prevent fraying, or seal with a quick pass of a lighter flame (carefully, away from the yarn).
Tips for Success
Take your time with the yoke. This is where fit is determined. Count your stitches at the end of every row until you are confident in the rhythm.
Use lifelines. Thread a contrasting piece of yarn through your stitches every few inches. If you need to rip back, you will not lose more than a few rows.
Block before judging. Shell stitch can look uneven before blocking. The finished texture really comes alive after a good soak and pin.
Make a gauge swatch in the shell pattern too. Single crochet gauge alone is not enough since the shell pattern behaves differently.
Who Is This Pattern For?
This baby blue heirloom layette crochet pattern makes a stunning gift for baby showers, christenings, newborn photos, or simply welcoming a new little one. The classic design transcends trends, so parents will treasure it for years.
If you enjoy creating heirloom pieces with beautiful texture and vintage appeal, this set will become one of your favorites to gift. The coordinating bonnet and booties elevate the cardigan from a simple sweater to a complete presentation-worthy ensemble.
I hope you love making this layette as much as I loved designing it. There is something deeply satisfying about creating handmade pieces for babies, knowing they will be kept and cherished long after they are outgrown.
If you make this set, I would absolutely love to see it. Tag me on Instagram or share a photo in my Facebook group. And please save this pattern to your Pinterest boards so you can find it when that next baby shower invitation arrives. Drop a comment below if you have any questions or just want to share your progress. Happy crocheting!
You Might Also Like
- Sage Green Natural Minimalist Braided Bag Free Crochet Pattern
- Blush Pink Bow Front Crochet Cardigan Free Pattern
- Lavender Garden Granny Square Purse Free Crochet Pattern
- Sage Green Daisy Bow Bucket Bag Free Crochet Pattern
