
Let me guess. You saw this adorable ice cream beanie and immediately thought, "There is no way I can make that." The diagonal color swirls, the drippy frosting border, those tiny embroidered hearts and stars. It looks like something only an advanced crocheter could pull off.
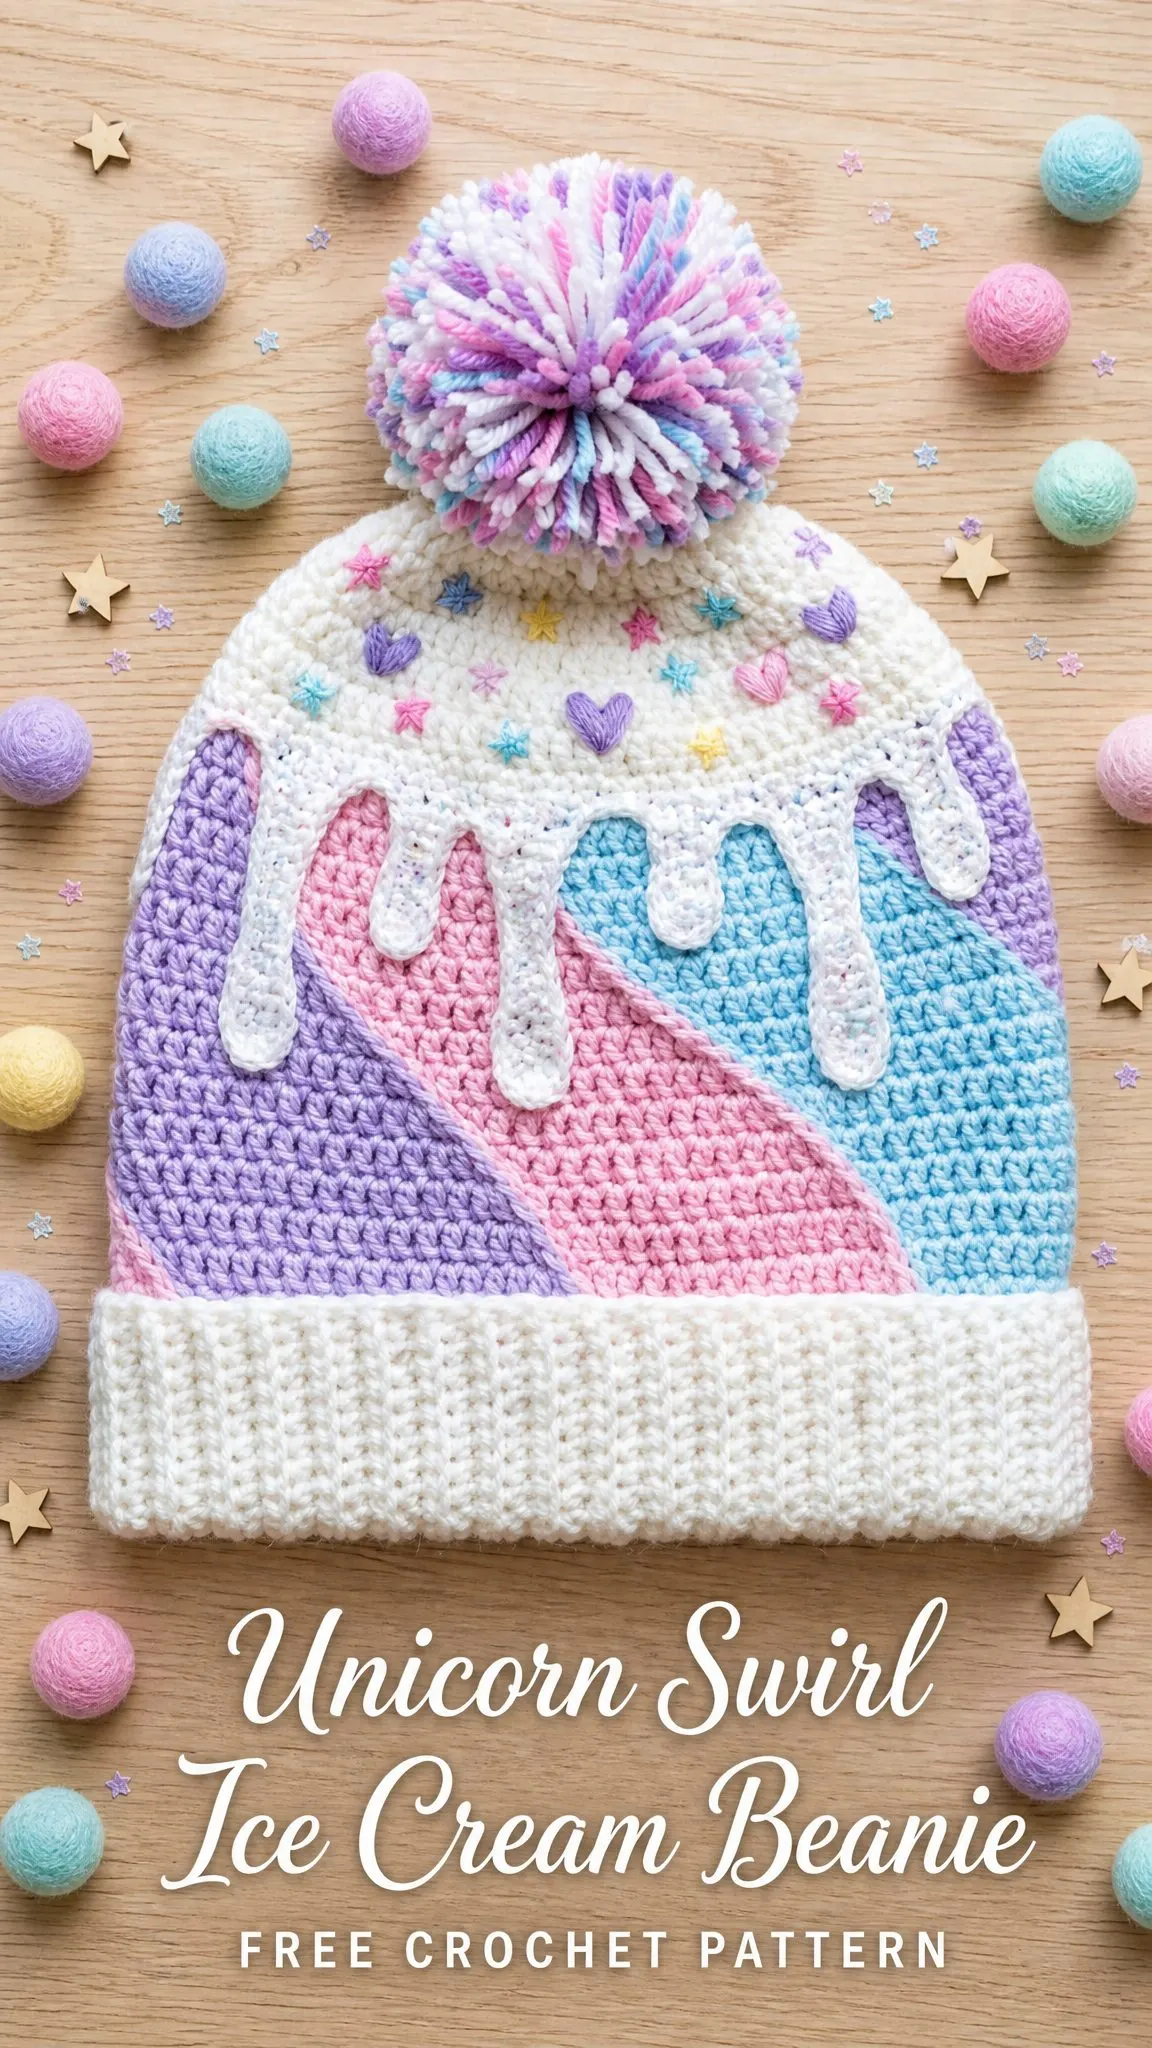
Here is the truth. If you can single crochet and count stitches, you can absolutely make this hat. The swirl effect is not complicated colorwork. It is just shifting where you change colors by one stitch each round. The drip border is a simple separate piece you sew on at the end. And those cute little embroidered details? Basic straight stitches that take maybe twenty minutes.
I am going to walk you through every single step, explain exactly why each technique works, and give you all the confidence boosters you need along the way. This pattern is intermediate only because it has multiple components. The actual stitches are completely beginner friendly.
Why This Pattern Works for Multiple Skill Levels
The beauty of this unicorn swirl ice cream beanie crochet pattern is its modular construction. You are not juggling three colors while simultaneously decreasing and keeping track of a complex stitch pattern. Instead, you build each element separately and bring them together at the end.
The main hat body uses only single crochet (sc), which means inserting your hook into a stitch, yarning over, pulling through, yarning over again, and pulling through both loops on your hook. That is it. The entire hat body is just that one stitch repeated over and over.
The diagonal swirl happens because you move your color change point one stitch to the left every round. Think of it like a barbershop pole. The stripes look like they are spinning, but really they are just offset rows. Once you see the logic, it clicks immediately.
Materials You Will Need
Gather these supplies before you start. Having everything ready makes the project flow smoothly.
Yarn: Worsted weight (category 4), approximately 300 yards total
Hook: US size J / 6.0 mm crochet hook
Notions:
Yarn Suggestions That Work Beautifully
Lion Brand Pound of Love is my top pick. It is 100% acrylic, widely available in gorgeous pastels, machine washable, and holds stitch definition perfectly.
Caron Simply Soft is another excellent budget option. It has a slight sheen that enhances the ice cream aesthetic, and it comes in tons of pastel colors.
Paintbox Yarns Simply DK held double gives you a silkier finish if you prefer that look. Just make sure you check your gauge since you are creating a worsted weight equivalent by doubling.
Avoid chunky or heavily textured yarns. They will obscure your beautiful diagonal panels and make the drip applique look stiff instead of flowy.
Gauge Information
14 sc x 16 rows = 4 inches / 10 cm worked in single crochet in the round, blocked.
Gauge matters here because it affects fit. If your stitches are looser than stated, go down half a hook size. If tighter, go up half a hook size. Make a quick swatch before diving in. Trust me, the ten minutes you spend swatching will save you from frogging an entire hat later.
Finished Size
Adult medium: approximately 21 inches / 53 cm circumference (unstretched brim), 10 inches / 25.5 cm tall from brim fold to crown before the pompom. The hat stretches to fit head circumferences of 21 to 23 inches.
I have included size customization tips at the end if you need a child size or large adult size.
Abbreviations and Stitch Definitions
Let me define every abbreviation you will see. I am including plain English explanations so nothing feels mysterious.
BLO (back loop only): Instead of inserting your hook under both loops at the top of a stitch, you only go under the back loop. This creates a ridged texture.
ch (chain): Yarn over, pull through the loop on your hook. The foundation for most crochet projects.
dec (decrease): Single crochet two together. Insert hook in first stitch, yarn over, pull up a loop, insert hook in next stitch, yarn over, pull up a loop, yarn over, pull through all three loops. You just turned two stitches into one.
inc (increase): Work 2 single crochets in the same stitch. You just turned one stitch into two.
MC (magic ring): A method for starting in the round. Not used in this pattern, but included for reference.
rnd (round): One complete trip around when working in the round.
RS (right side): The pretty side that faces outward.
sc (single crochet): Insert hook, yarn over, pull up a loop, yarn over, pull through both loops.
sl st (slip stitch): Insert hook, yarn over, pull through both the stitch and the loop on your hook in one motion. Used for joining and for the ribbed brim.
st/sts (stitch/stitches): Individual stitches.
WS (wrong side): The inside of your work.
yo (yarn over): Wrap yarn around your hook from back to front.
Special Techniques Explained
Ribbed Brim (Slip Stitch Rib)
This creates that stretchy, knit-look ribbing at the bottom of the hat. You chain the required number, then slip stitch in the back loop only across every row. The result is dense, elastic fabric that hugs the head nicely.
Diagonal Color Change
This is the magic behind the swirl effect. You divide your hat into three equal color sections. Each round, you shift where each color starts by one stitch counterclockwise. The color change point travels around the hat, creating that beautiful spiral.
You will place stitch markers at the beginning of each color section on Round 1. Every subsequent round, move each marker one stitch to the left. It sounds complex, but once you do it twice, you will have it down.
Drip Stitch (for the applique)
The drip border is worked flat as a strip with dangling drip points. Each drip point is made by chaining, then working slip stitches and single crochets back down the chain. It creates those adorable ice cream drips.
Surface Embroidery
The tiny hearts use a lazy daisy variation. Two small loops side by side with a shared anchor point form each heart. The stars are just six straight stitches radiating from a center point. Both are much easier than they look.
Step by Step Crochet Tutorial
Part One: Ribbed Brim
With Color A (white) and your J hook, chain 11.
Row 1: Slip stitch in the 2nd chain from hook and in each chain across. (10 sl st)
Row 2: Chain 1, slip stitch in the back loop only of each stitch across. Turn. (10 sl st)
Repeat Row 2 until your brim strip measures 21 inches / 53 cm long. This will be approximately 74 rows, but check your own measurement since gauge can vary.
Checkpoint: Your brim strip should measure 21 inches long and about 2.5 inches wide.
Seaming: Fold the strip so the short ends meet. Slip stitch or whip stitch through the corresponding stitches of both ends to form a circle. Weave in your ends.
You now have a ring with 74 rows along its length. Each row end becomes one attachment stitch for the body.
Part Two: Hat Body
Now you will work single crochet rounds up from the brim ring, attaching to the top edge. The brim provides approximately 74 stitches around the top edge. To reach your working count of 72 stitches, you will work the first round with 2 evenly spaced decreases.
Round 1 (Setup): Join Color B at the seam of the brim. Working into the edge of the brim rows, single crochet evenly around, placing 1 sc per row end and working 2 dec evenly spaced. Slip stitch to first sc to join. (72 sc)
Place stitch markers: Mark stitch 1 (beginning of Color B section), stitch 25 (beginning of Color C section), and stitch 49 (beginning of Color D section).
Understanding the color placement: For Rounds 1 through 24, you work 24 stitches in each color per round. Starting on Round 2, shift all three marker positions 1 stitch to the left each round. By Round 24, each color section will have rotated a full 24 stitches around the hat.
Round 2: Chain 1. Single crochet in Color B across 24 stitches (stitches 1 to 24). Change to Color C, single crochet across 24 stitches (stitches 25 to 48). Change to Color D, single crochet across 24 stitches (stitches 49 to 72). Slip stitch to join. Move each marker 1 stitch counterclockwise. (72 sc)
Rounds 3 through 24: Repeat Round 2, shifting the three color sections by 1 stitch counterclockwise each round. (72 sc each round)
Checkpoint: After Round 24, your hat body (not counting the brim) should measure approximately 6 inches tall. The diagonal swirl should be clearly visible.
Crown Shaping
From Round 25 onward, continue the color swirl pattern while working crown decreases.
Round 25: Continuing swirl pattern, work (sc in 10 sts, dec) 6 times around. Move markers. (66 sc)
Round 26: Work even in swirl pattern, moving markers. (66 sc)
Round 27: Work (sc in 9 sts, dec) 6 times around. Move markers. (60 sc)
Round 28: Work even in swirl pattern, moving markers. (60 sc)
Round 29: Work (sc in 8 sts, dec) 6 times around. Move markers. (54 sc)
Round 30: Work even in swirl pattern, moving markers. (54 sc)
Round 31: Work (sc in 7 sts, dec) 6 times around. Move markers. (48 sc)
Round 32: Work even in swirl pattern, moving markers. (48 sc)
Round 33: Work (sc in 6 sts, dec) 6 times around. Move markers. (42 sc)
Round 34: Work even in swirl pattern, moving markers. (42 sc)
Round 35: Work (sc in 5 sts, dec) 6 times around. Move markers. (36 sc)
Round 36: Work (sc in 4 sts, dec) 6 times around. Move markers. (30 sc)
Round 37: Work (sc in 3 sts, dec) 6 times around. Move markers. (24 sc)
Round 38: Work (sc in 2 sts, dec) 6 times around. (18 sc)
Round 39: Work (sc in 1 st, dec) 6 times around. (12 sc)
Round 40: Work (dec) 6 times around. (6 sc)
Cut yarn leaving a 12 inch tail. Thread your yarn needle with the tail. Pass the needle through each of the 6 remaining stitches, pulling them off the hook. Cinch tightly and secure with several stitches. Weave in the end on the inside.
Checkpoint: Your finished hat body from brim join to crown tip should measure approximately 10 inches. The crown should close smoothly with no gap at the top.
Part Three: Drip Applique
The drip applique is crocheted flat as a long strip with dangling drip points, then sewn onto the hat. Work in Color A only.
Foundation chain: Chain 73.
Row 1: Single crochet in 2nd chain from hook and in each chain across. (72 sc)
Row 2 (Drip Points): This row creates the hanging drip shapes.
Drip Point Method: Chain 6, slip stitch in 2nd chain from hook, single crochet in next chain, half double crochet in next chain, single crochet in next chain, slip stitch in next chain (base chain), slip stitch in the next sc of the foundation row.
Between drip points, work 2 to 4 slip stitches along the base row to create the flat top of the drip border.
Drip placement for 72 stitch circumference:
Slip stitch in first 2 stitches. Work Drip Point. Slip stitch in next 3 stitches. Work Drip Point. Slip stitch in next 4 stitches. Work Drip Point. Slip stitch in next 2 stitches. Work Drip Point. Slip stitch in next 4 stitches. Work Drip Point. Slip stitch in next 3 stitches. Work Drip Point. Slip stitch in next 2 stitches. Work Drip Point. Slip stitch in next 4 stitches. Work Drip Point. Slip stitch in next 3 stitches. Work Drip Point. Slip stitch in next 2 stitches. Work Drip Point. Slip stitch in next 4 stitches. Work Drip Point. Slip stitch in next 3 stitches. Work Drip Point. Slip stitch in next 2 stitches. Work Drip Point. Slip stitch in remaining 2 stitches.
Total: 13 drip points arranged irregularly to mimic a natural drip effect.
Fasten off, leaving a long sewing tail.
Attaching the Drip Applique: Pin the drip applique along the outside of the hat, positioning the top ridge at approximately Round 22 to 23 (about 1 inch below where crown decreases begin). The drip points hang downward over the colorful body. Seam the short ends together before pinning, or overlap by 0.5 inch. Whip stitch the top edge to the hat body using Color A. Lightly tack the bottom ridge to keep it flat. Do not sew down the individual drip points. They should dangle freely.
Part Four: Embroidery
Using embroidery floss, add tiny hearts and stars scattered across the upper crown area (above the drip strip, below where the pompom will attach).
Hearts: Work 6 to 8 hearts scattered randomly. Use lavender, pink, yellow, and blue. Each heart is approximately 5 mm tall.
Stars: Work 10 to 14 stars scattered between and around the hearts. Use pink, lavender, yellow, blue, and mint if available. Each star is approximately 5 to 6 mm across.
Keep all embroidery on the upper 2.5 inches of the hat body, above the drip applique.
Part Five: Pompom
Cut 20 yards of Color E (multicolor) and add a few strands each of Colors B, C, and D for a pastel rainbow effect. Make a pompom approximately 3 inches in diameter using a pompom maker or cardboard circle method.
Tie the pompom center very firmly with a double strand of yarn, leaving two 12 inch tails for attachment. Trim the pompom to a neat sphere. Thread both tails through your yarn needle and pass them down through the crown closure point to the inside. Tie off securely with several square knots. Trim tails to 1 inch and tuck inside.
Size Customization Tips
For a child (ages 4 to 8, head circumference 19 to 20 inches): Work the brim to 19 inches. Begin with 60 stitches in Round 1 (three sections of 20 stitches). Work Rounds 1 through 20 even, then begin crown decreases working (sc in 8 sts, dec) 6 times and continuing as written. Drip applique foundation chain: 61.
For a large adult (head circumference 23 to 24 inches): Work the brim to 23 inches. Begin with 84 stitches in Round 1 (three sections of 28 stitches). Work Rounds 1 through 28 even, then begin crown decreases working (sc in 12 sts, dec) 6 times and continuing as written. Drip applique foundation chain: 85.
Finishing and Blocking
Fill a basin with cool water and a drop of wool wash. Submerge your completed hat and gently press to saturate. Remove and press out water gently without wringing. Roll in a clean towel to remove excess moisture. Place on a hat form or stuff loosely with plastic bags to shape. Allow to dry fully flat, away from direct heat.
The drip applique and embroidery will lie much more neatly after blocking.
Care Instructions
Machine wash cold on the gentle cycle inside a mesh laundry bag. Lay flat to dry. Do not tumble dry, iron, or dry clean. If the pompom becomes misshapen after washing, fluff and reshape while still damp.
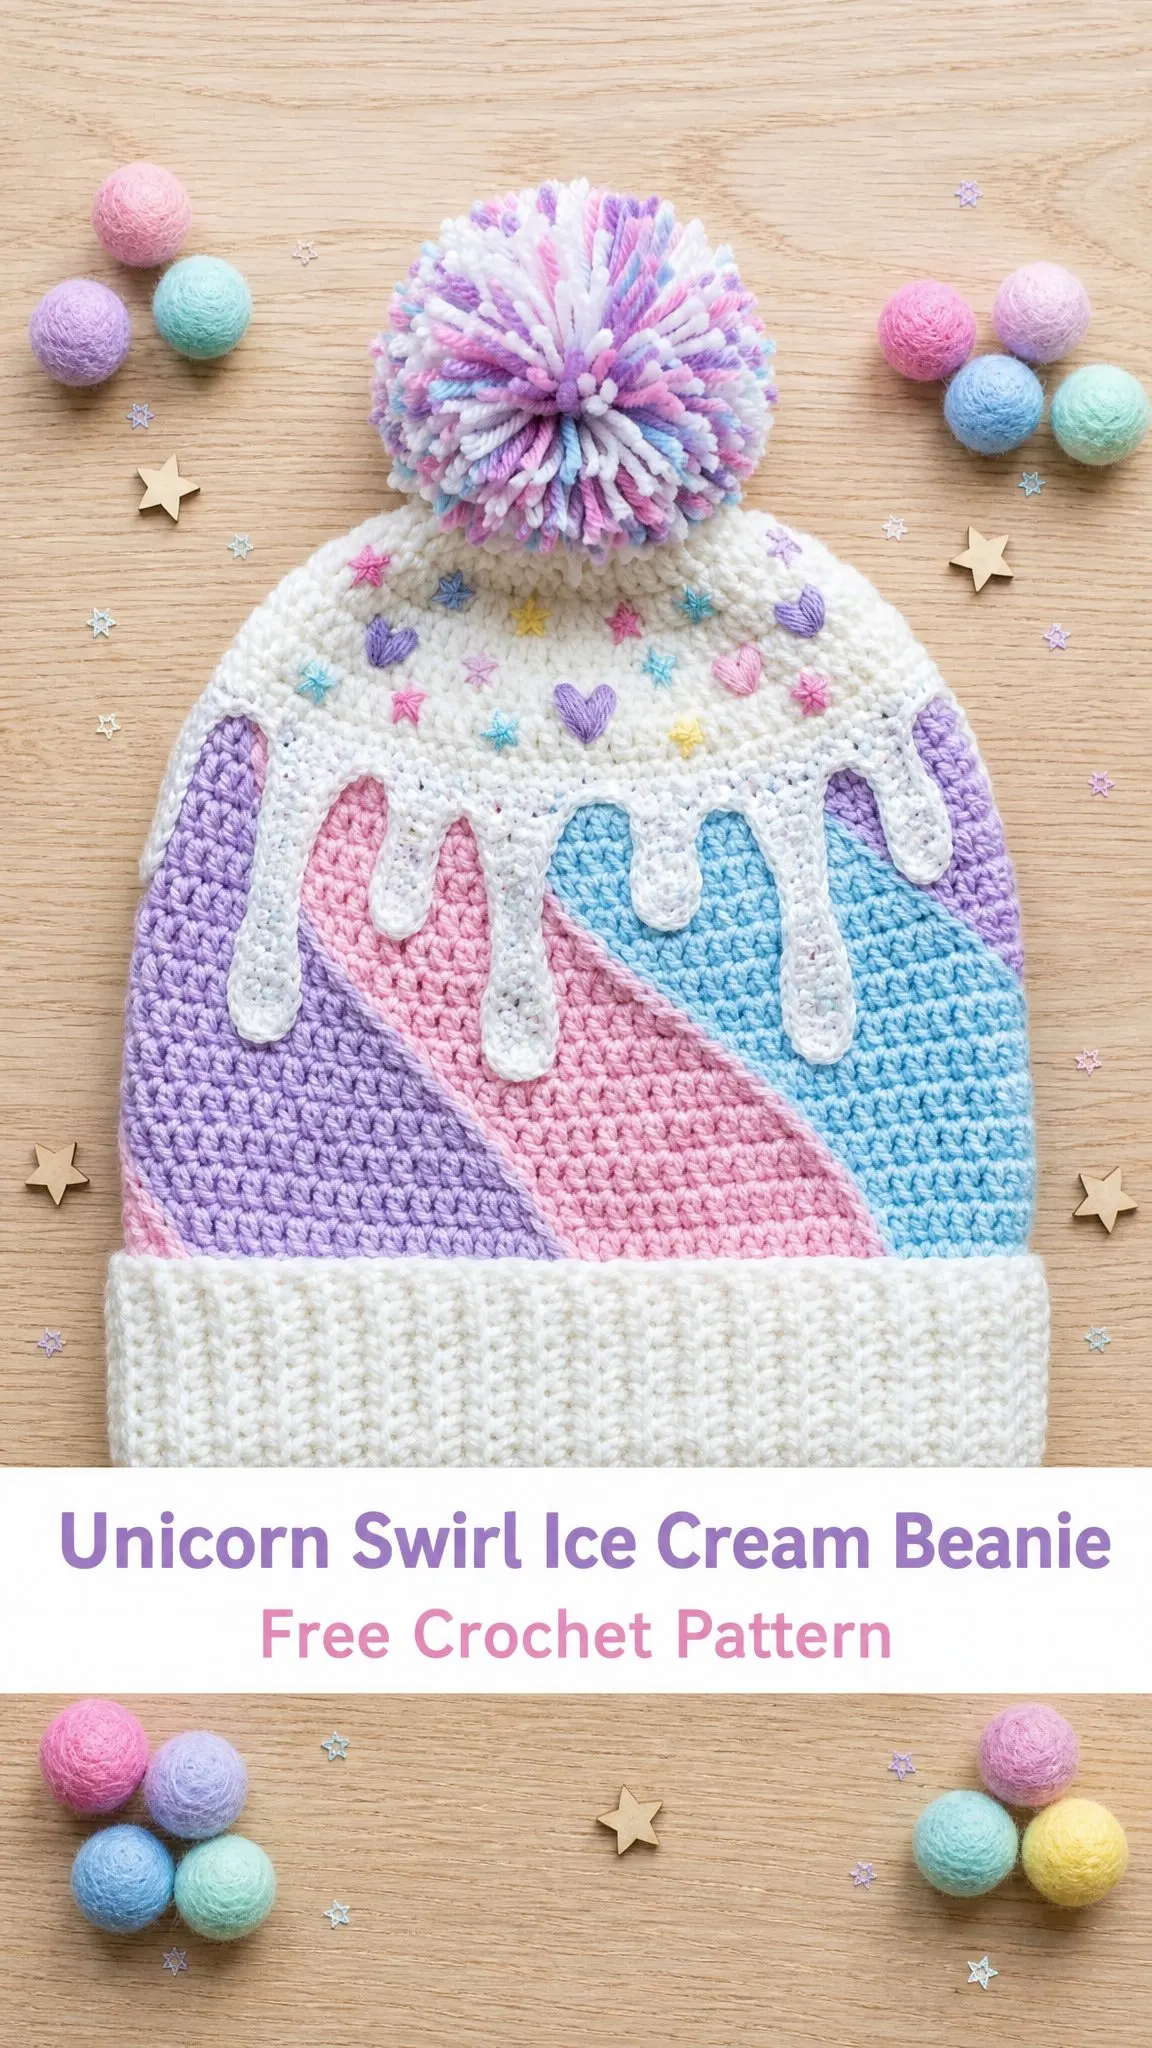
You Did It!
Thank you so much for trusting me with this project. I genuinely hope you love making your ice cream beanie as much as I loved designing it. This hat makes an incredible gift for anyone who appreciates whimsical, dessert-inspired fashion. Tag me on Instagram or share in my Facebook group when you finish yours. I absolutely love seeing your creations come to life.
If this pattern made you smile, save it to your Pinterest boards so you can find it again later. And please drop a comment below if you make one. I would love to hear which color combination you chose!
You Might Also Like
- Sage Green Boho Ruffle Crochet Top Free Pattern
- Blueberry Baby Hat and Pants Set Free Crochet Pattern
- Cream Lace Bridal Barrel Bag Free Crochet Pattern
- Sage Green Cottagecore Heart Crochet Cardigan Pattern
