
Go dig through your stash right now. I know you have that gorgeous coral cotton yarn sitting there, waiting for the perfect project. This butterfly bag is exactly what it has been waiting for.
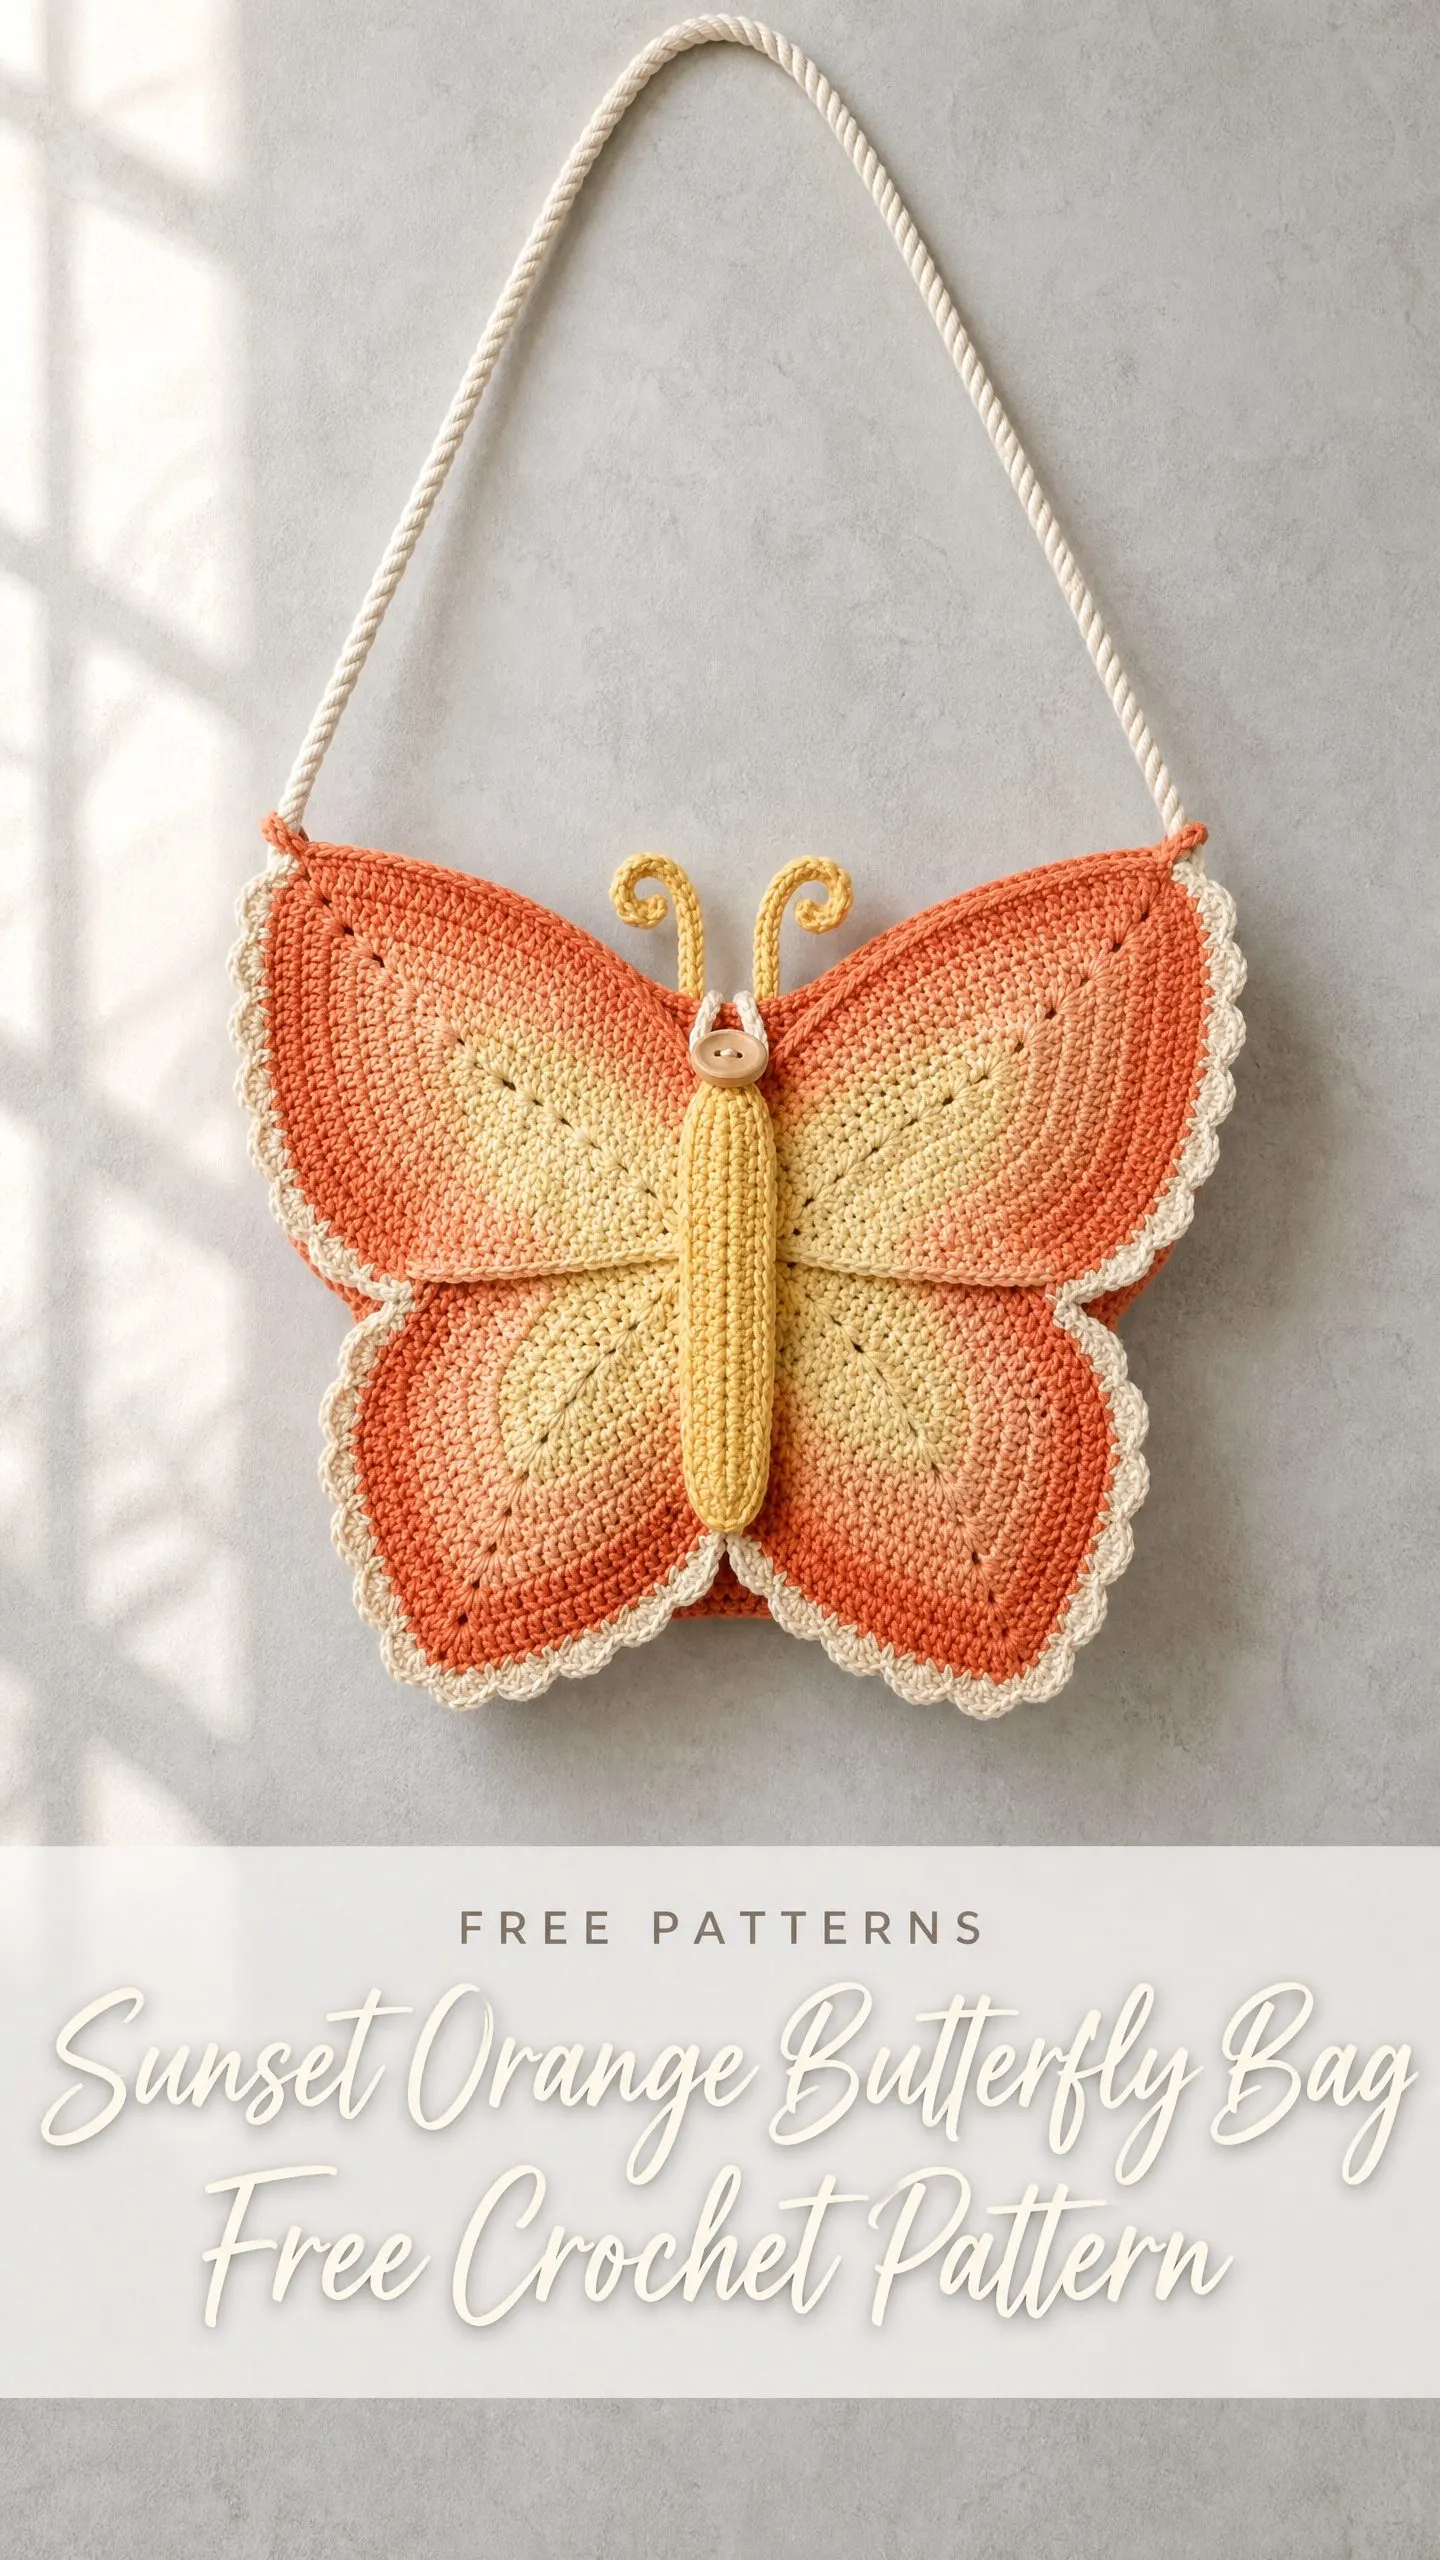
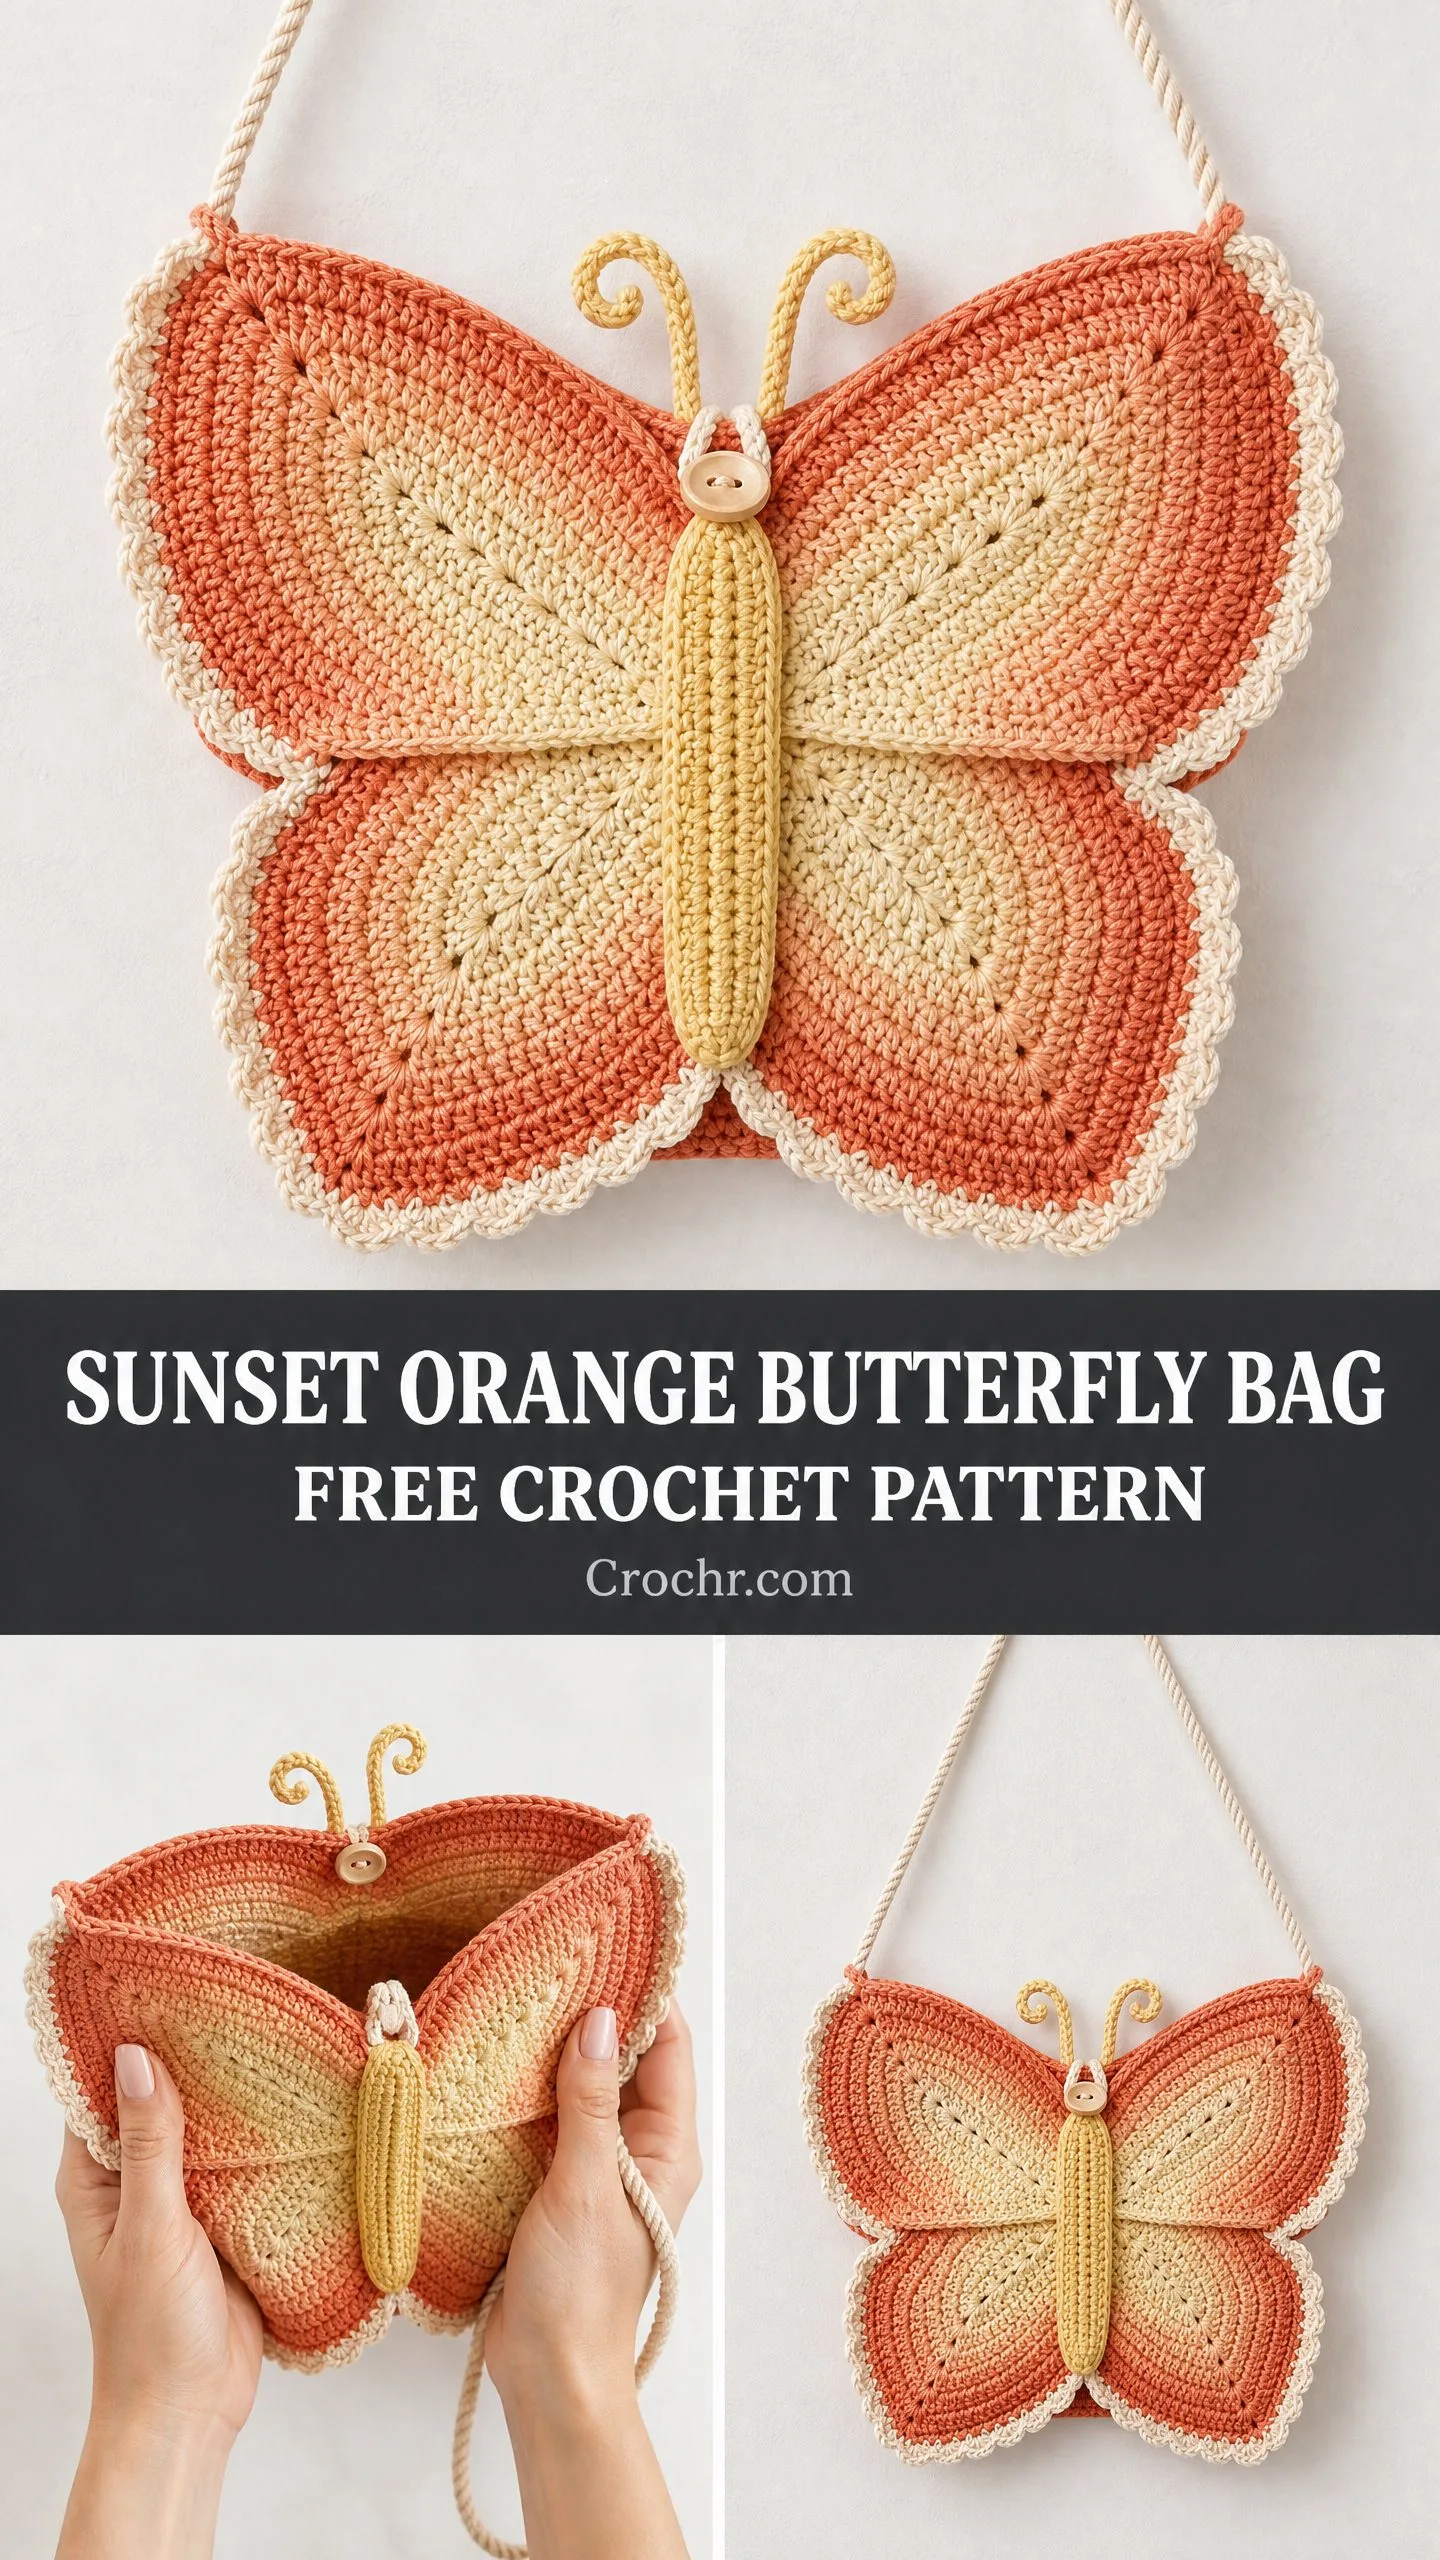
The construction here is genuinely interesting. You will work four separate wing medallions in continuous rounds, creating that gorgeous ombre effect from cream centers outward to coral edges. Then everything comes together with a scalloped border and a central body piece that forms the actual bag opening. It is modular, which means you can see real progress as each piece takes shape.
I will be honest about the skill level. This is an intermediate project. You need to be comfortable with color changes, working flat medallions, and sewing pieces together neatly. But if you have made granny squares and joined them before, you have the skills. The techniques might feel new at first, but nothing here is beyond your reach with a little patience.
Why This Butterfly Bag Pattern Works So Well
This crossbody bag measures approximately 11 inches wide by 9 inches tall, not including the strap. That is roughly 28 cm by 23 cm for my metric friends. It is the perfect size for holding your phone, wallet, keys, and a few essentials without being bulky.
The ombre color progression is what makes this design pop. You start each wing center with a soft cream yellow, transition through salmon pink in the middle rounds, and finish with coral orange at the outer edges. The colors blend naturally because you change them at specific round intervals.
The scalloped cream border frames the entire piece and gives it that polished, finished look. Those little shell edges catch the light beautifully and add texture without overwhelming the wing design.
Materials You Will Need
Yarn: Light worsted weight (Category 3 or DK weight) cotton or cotton blend yarn in four colors.
Hooks:
Notions:
Yarn Suggestions That Work Beautifully
Paintbox Yarns Simply DK in Melon Sorbet, Blush Pink, Buttercup Yellow, and Vanilla White gives excellent stitch definition for this pattern.
Lion Brand 24/7 Cotton DK in Tangerine, Peach, Butter, and Ecru is widely available and has a smooth mercerized finish.
Scheepjes Catona works well but you may need to go up to a US F-5 / 3.75 mm hook to reach gauge since it runs slightly finer.
Avoid fluffy or hairy yarns. You want that crisp stitch definition to make the ombre effect really shine.
Gauge
With Color A and US E-4 / 3.5 mm hook in single crochet (sc) worked in continuous rounds:
16 sc and 18 rows = 4 inches / 10 cm, blocked
Gauge matters here. A bag that is too small will not hold your essentials. A bag that is too large loses that butterfly silhouette. Make a swatch and adjust your hook size if needed.
Abbreviations and Stitch Definitions
Let me walk you through every abbreviation you will encounter. If you are newer to reading patterns, bookmark this section.
Special Stitches You Will Learn
Scallop Stitch: Skip 2 stitches, work 5 dc in the next stitch, skip 2 stitches, slip stitch in the next stitch. This creates one shell over 6 stitches. Your stitch count must be divisible by 6 before starting the scallop round.
Curled Antenna: Chain 12. In the 2nd chain from hook, work 3 sc. Work 2 sc in each of the next 4 chains to create the curl. Work 1 sc in each remaining chain back to the base. The extra stitches in that small section force the piece to spiral.
Step by Step Instructions
Upper Wing (Make 2)
Both upper wings are worked identically. You will flip one piece during assembly to create the mirror image. All rounds are worked on the right side in a continuous spiral. Use your US E-4 / 3.5 mm hook.
Begin with Color C (cream yellow).
Rnd 1: Make a MR. Work 6 sc into ring. Pull ring closed. Do not join. Pm in first st. (6 sc)
Rnd 2: Inc in each st around. (12 sc)
Rnd 3: (Sc in next st, inc in next st) 6 times. (18 sc)
Rnd 4: (Sc in next 2 sts, inc in next st) 6 times. (24 sc)
Rnd 5: (Sc in next 3 sts, inc in next st) 6 times. (30 sc)
Rnd 6: (Sc in next 4 sts, inc in next st) 6 times. (36 sc)
Rnd 7: (Sc in next 5 sts, inc in next st) 6 times. (42 sc)
Change to Color B on last yarn over of last st of Rnd 7.
Rnd 8: (Sc in next 6 sts, inc in next st) 6 times. (48 sc)
Rnd 9: (Sc in next 7 sts, inc in next st) 6 times. (54 sc)
Rnd 10: (Sc in next 8 sts, inc in next st) 6 times. (60 sc)
Rnd 11: (Sc in next 9 sts, inc in next st) 6 times. (66 sc)
Change to Color A on last yarn over of last st of Rnd 11.
Rnd 12: (Sc in next 10 sts, inc in next st) 6 times. (72 sc)
Rnd 13: (Sc in next 11 sts, inc in next st) 6 times. (78 sc)
Rnd 14: (Sc in next 12 sts, inc in next st) 6 times. (84 sc)
Rnd 15: Sc in each st around. (84 sc)
Rnd 16: (Sc in next 13 sts, inc in next st) 6 times. (90 sc)
Rnd 17: Sc in each st around. (90 sc)
Now you will shape the flat inner edge. This straight edge sits against the body center. Stop working in the round.
Row 18 (shaping row, worked flat): Turn work. Ch 1 (does not count as st), sc in next 60 sts, turn. (60 sc)
Row 19: Ch 1, sc2tog, sc in next 56 sts, sc2tog, turn. (58 sc)
Row 20: Ch 1, sc2tog, sc in next 54 sts, sc2tog, turn. (56 sc)
Row 21: Ch 1, sc2tog, sc in next 52 sts, sc2tog. Fasten off Color A. (54 sc)
Your upper wing should measure approximately 5.5 inches / 14 cm at the widest point and 4.5 inches / 11.5 cm tall.
Lower Wing (Make 2)
Lower wings are slightly wider and taper more at the bottom to create that fuller lower lobe shape.
Begin with Color C.
Rnd 1: MR, 6 sc into ring. Pull closed. Pm. (6 sc)
Rnd 2: Inc in each st around. (12 sc)
Rnd 3: (Sc in next st, inc in next st) 6 times. (18 sc)
Rnd 4: (Sc in next 2 sts, inc in next st) 6 times. (24 sc)
Rnd 5: (Sc in next 3 sts, inc in next st) 6 times. (30 sc)
Rnd 6: (Sc in next 4 sts, inc in next st) 6 times. (36 sc)
Rnd 7: (Sc in next 5 sts, inc in next st) 6 times. (42 sc)
Change to Color B on last yarn over of last st of Rnd 7.
Rnd 8: (Sc in next 6 sts, inc in next st) 6 times. (48 sc)
Rnd 9: (Sc in next 7 sts, inc in next st) 6 times. (54 sc)
Rnd 10: (Sc in next 8 sts, inc in next st) 6 times. (60 sc)
Rnd 11: (Sc in next 9 sts, inc in next st) 6 times. (66 sc)
Change to Color A on last yarn over of last st of Rnd 11.
Rnd 12: (Sc in next 10 sts, inc in next st) 6 times. (72 sc)
Rnd 13: (Sc in next 11 sts, inc in next st) 6 times. (78 sc)
Rnd 14: Sc in each st around. (78 sc)
Rnd 15: (Sc in next 12 sts, inc in next st) 6 times. (84 sc)
Rnd 16: Sc in each st around. (84 sc)
Rnd 17 (shaping decreases): Sc in next 18 sts, dec, sc in next 20 sts, dec, sc in next 20 sts, dec, sc in next 20 sts, dec, sc in remaining 2 sts. (80 sc)
Row 18 (flat shaping): Turn. Ch 1, sc in next 56 sts, turn. (56 sc)
Row 19: Ch 1, sc2tog, sc in next 52 sts, sc2tog, turn. (54 sc)
Row 20: Ch 1, sc2tog, sc in next 50 sts, sc2tog. Fasten off. (52 sc)
Each lower wing should measure approximately 5.5 inches / 14 cm wide and 4 inches / 10 cm tall.
Joining the Wings
Lay all four wing pieces right side up on a flat surface. Arrange them so upper wings sit side by side with flat inner edges touching along a vertical center line. Lower wings sit directly below with their flat edges also meeting at center.
Leave a small gap of about 0.5 inch / 1.25 cm between the bottom of the upper wings and the top of the lower wings. The body will cover this gap.
Joining upper wings: Hold the two upper wing pieces with wrong sides together, inner flat edges aligned. Using Color A and your E-4 hook, slip stitch through both layers along the full inner flat edge, approximately 21 stitches. Fasten off.
Joining lower wings: Repeat for the two lower wing pieces.
Wing Border
Switch to your US D-3 / 3.25 mm hook and Color D for the border.
Upper Pair Border
Preparatory Round: Join Color D with sl st at any outer edge stitch. Sc evenly around entire outer perimeter of both upper wings combined, working 1 sc per st and 1 sc per row end. Place markers at each of the 4 outer corners. Work approximately 174 sc total. Join with sl st to first sc. (174 sc)
Scallop Round: Ch 1. (Sk 2 sts, 5 dc in next st, sk 2 sts, sl st in next st) 29 times. Join with sl st to base of first ch-1. Fasten off. (29 scallops)
Lower Pair Border
Preparatory Round: Join Color D at any outer edge stitch. Sc evenly around entire outer perimeter of both lower wings combined. Work approximately 168 sc total. Join with sl st to first sc. (168 sc)
Scallop Round: Ch 1. (Sk 2 sts, 5 dc in next st, sk 2 sts, sl st in next st) 28 times. Join with sl st to base of ch-1. Fasten off. (28 scallops)
Butterfly Body
The body is a narrow tube in Color C that forms the bag opening. Use your E-4 hook.
Foundation: Using Color C, ch 20.
Rnd 1: Starting in 2nd ch from hook, sc in next 18 chs, 3 sc in last ch (bottom tip), working back along the other side of the foundation ch: sc in next 17 chs, 2 sc in the first ch (top). Pm in first st. Do not join. (40 sc)
Rnd 2: Sc in next 18 sts, inc in next st, inc in next st, inc in next st, sc in next 17 sts, inc in next st, inc in next st. (45 sc)
Rnd 3: Sc in each st around. (45 sc)
Rnd 4: Sc in next 18 sts, (sc in next st, inc in next st) twice, sc in next st, sc in next 17 sts, sc in next st, inc in next st, sc in next st. (48 sc)
Rnds 5-7: Sc in each st around. (48 sc)
Rnd 8: Sc in next 18 sts, dec, sc in next 4 sts, dec, sc in next 17 sts, dec, sc in next 3 sts. (45 sc)
Rnd 9: Sc in each st around. (45 sc)
Rnd 10: Sc in next 18 sts, dec, sc in next 3 sts, dec, sc in next 18 sts, dec. (42 sc)
Rnd 11: Sc in each st around. (42 sc)
Rnd 12: (Sc in next 5 sts, dec) 6 times. (36 sc)
Rnd 13: Sc in each st around. (36 sc)
Rnd 14: (Sc in next 4 sts, dec) 6 times. (30 sc)
Rnd 15: Sc in each st around. (30 sc)
Rnd 16: (Sc in next 3 sts, dec) 6 times. (24 sc)
Rnds 17-18: Sc in each st around. (24 sc)
Sl st in next st. Do not fasten off. Flatten the tube.
Body Opening and Button Loop
Work across the front 12 sts only:
Row 1: Ch 1, sc in next 12 sts across the front, turn. (12 sc)
Row 2: Ch 1, sc in each st across, turn. (12 sc)
Row 3 (button loop row): Ch 1, sc in next 5 sts, ch 4, sk 2 sts, sc in next 5 sts, turn. (10 sc + ch-4 loop)
Row 4: Ch 1, sc in next 5 sts, 4 sc in ch-4 sp, sc in next 5 sts. Fasten off. (14 sc)
Work Rows 1 and 2 on the back 12 sts for 4 rows total, no button loop needed. Fasten off.
The completed body should measure approximately 6 inches / 15 cm long and 1.5 inches / 4 cm wide.
Antennae (Make 2)
Using your D-3 hook and Color C:
Ch 12. In 2nd ch from hook, work 3 sc. Work 2 sc in each of the next 4 chs. Work 1 sc in each remaining ch back to the base. Fasten off leaving a 10 inch tail.
Assembly
1. Lay the lower wing pair flat, right side up.
2. Place the upper wing pair directly above with a 0.5 inch gap between them at the center.
3. Using yarn needle and Color A, whip stitch the inner edges of both pairs together at the top and bottom of the gap to anchor them temporarily.
4. Place the body tube vertically over the center, covering the gap. The body bottom tip sits at the bottom junction of the lower wings. The top opening sits about 0.75 inch above the upper wing edge.
5. Sew the body to the wing assembly using mattress stitch or whip stitch around the body perimeter.
6. Sew the antennae to the back of the body at the top opening, curled tips pointing upward and outward.
7. Sew the button to the front body, centered, about 0.5 inch below the opening edge.
8. Thread one end of the rope cord through the top corner of the upper left wing. Knot securely. Repeat on the upper right wing.
Blocking and Finishing
Wet block all four wing pieces before assembly. Soak in cool water for 10 minutes, gently squeeze out water, lay flat on your blocking board, pin to dimensions, and dry fully for 12 to 24 hours.
Weave in all ends carefully. For color change tails, weave each in the direction of the matching color so it blends invisibly.
Care Instructions
Machine wash gentle cycle in cold water or hand wash. Lay flat to dry. Do not tumble dry. Store hanging or flat to avoid creasing.
I hope you love making this butterfly bag as much as I loved designing it. The ombre effect is so satisfying to watch develop round by round. If you make one, please save this pattern to your Pinterest boards so you can find it again easily. And I would absolutely love to see your finished bags in the comments below!
You Might Also Like
- Sunshine Yellow Dahlia Crochet Dress Free Crochet Pattern
- Ocean Wave Peplum Dress Free Crochet Pattern
- Sunset Ombre Granny Tote Bag Free Crochet Pattern
- Midnight Garden Peony Motif Tote Free Crochet Pattern
