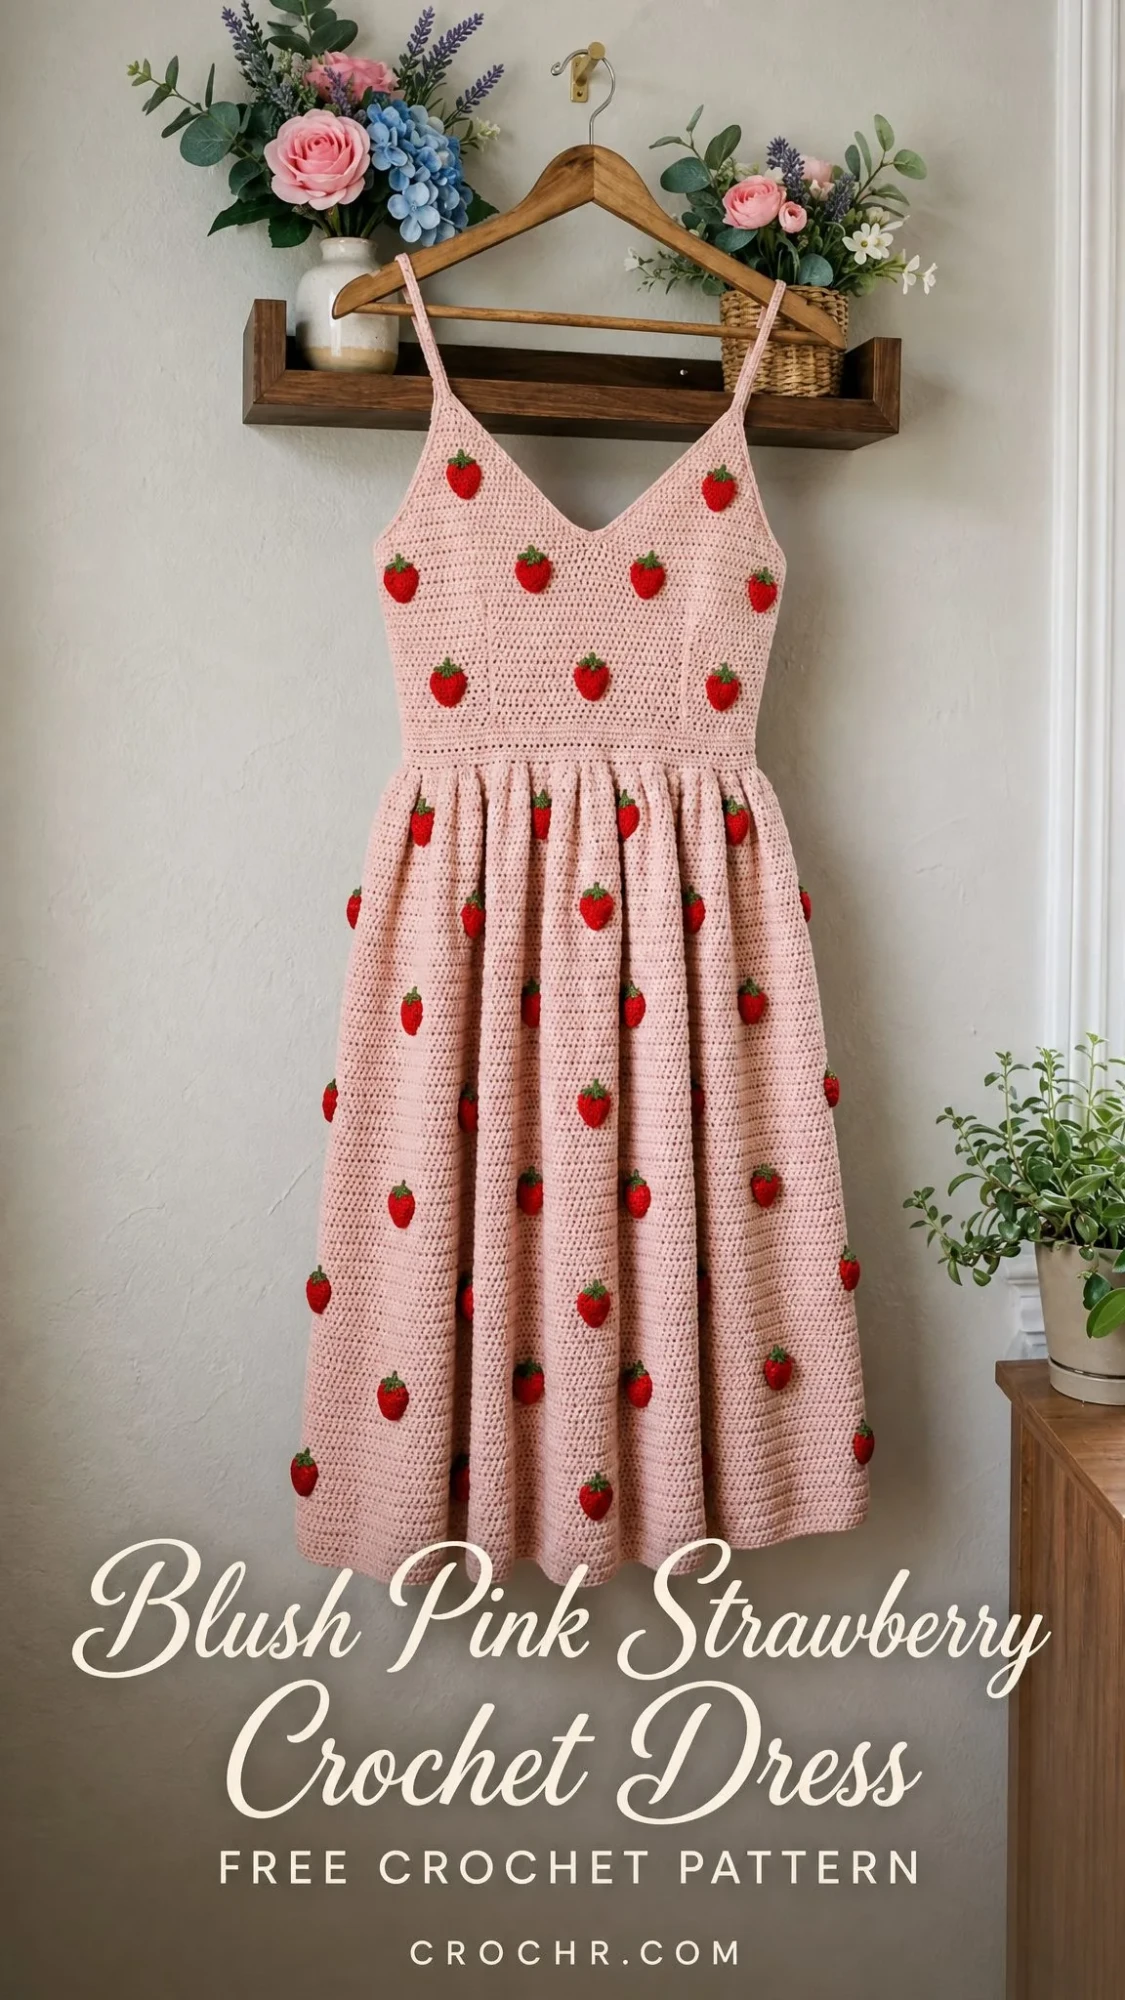
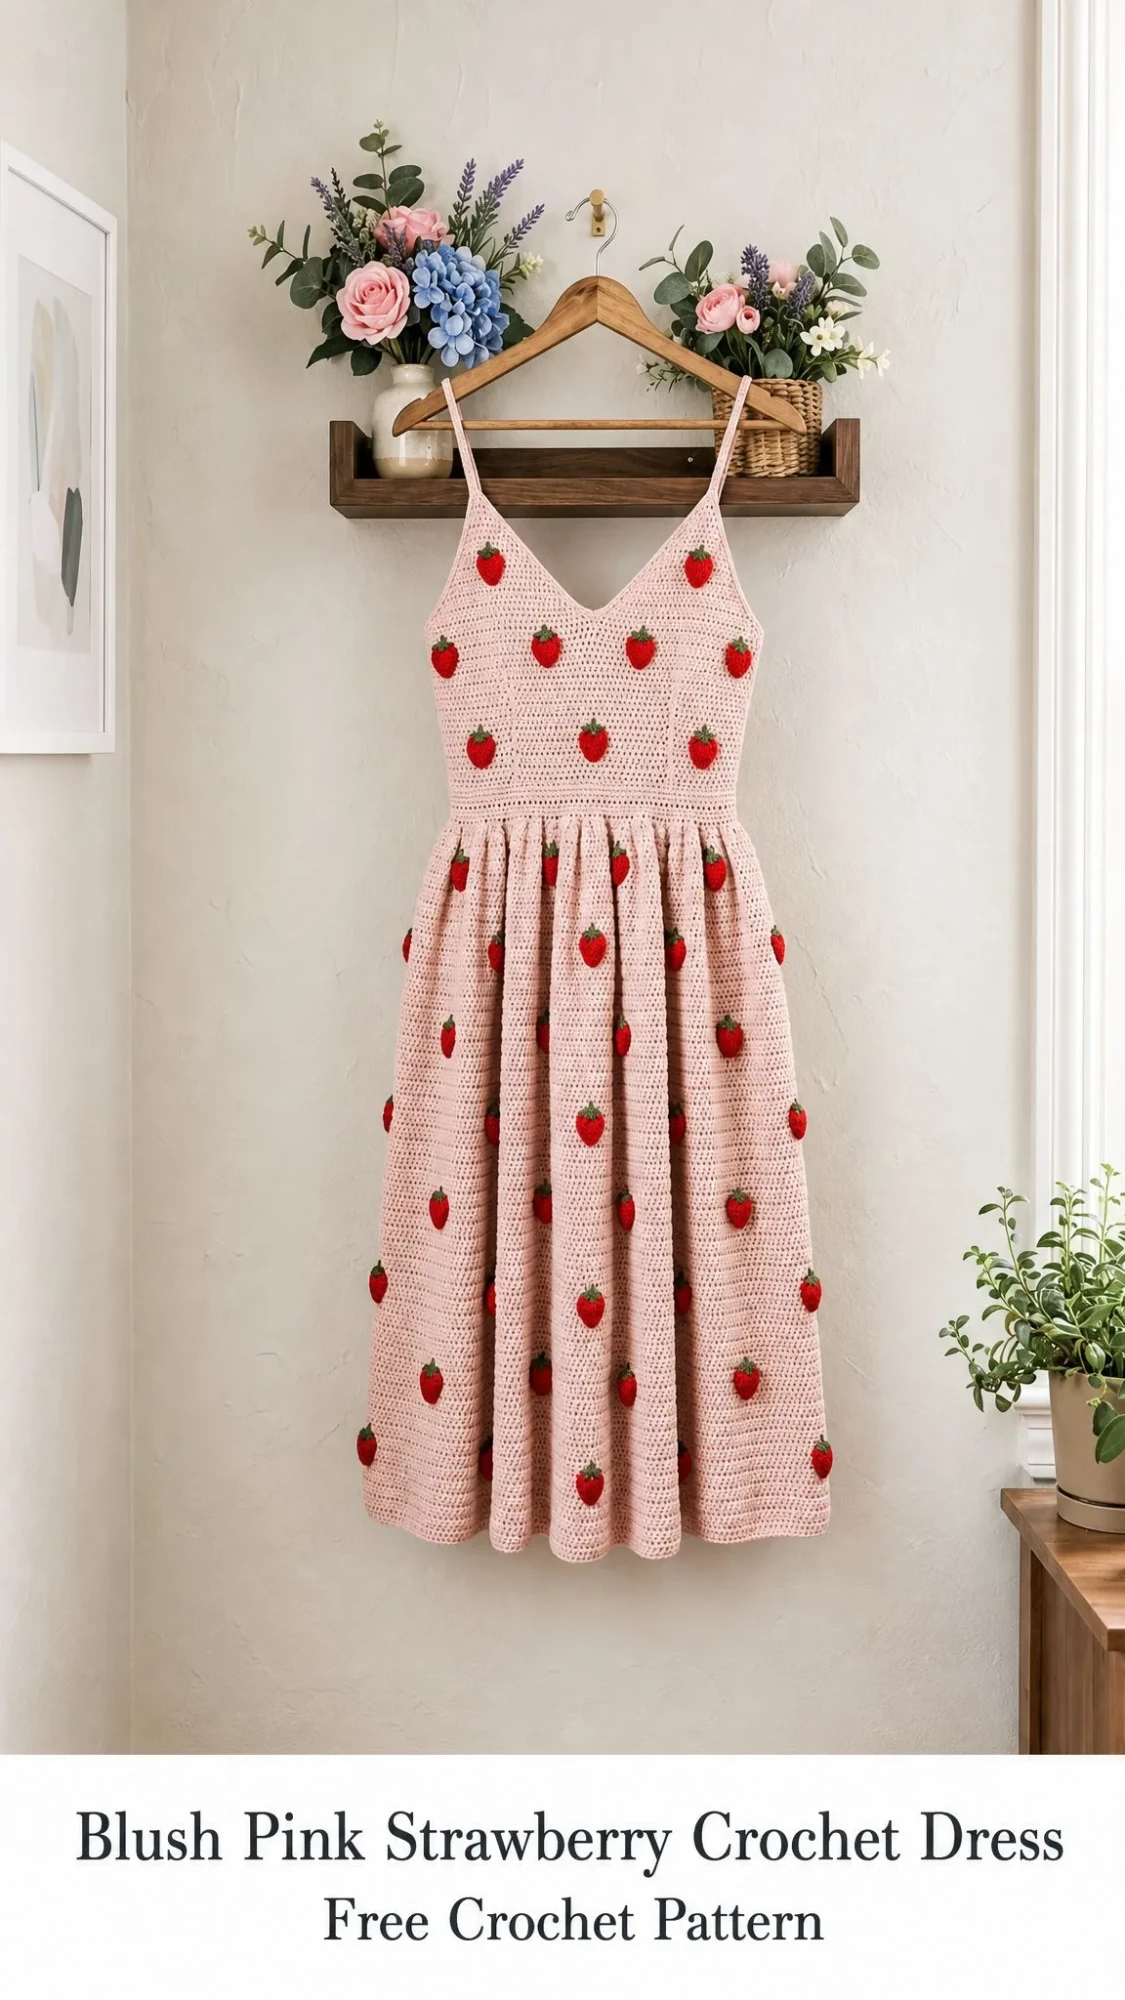
I’ve been looking for the perfect summer dress pattern for what feels like forever, and this blush pink strawberry crochet dress is absolutely the one. The combination of soft pink cotton, a flattering fitted bodice, and those adorable three-dimensional strawberry motifs scattered across the fabric makes my crafter heart sing.
This pattern has been on my radar for months, and I finally sat down to work through every detail. If you’re ready to create a show-stopping wearable garment that will have everyone asking "wait, you MADE that?", then grab your hooks and let’s dive in.
Fair warning: this is not a weekend project. But I promise you, the finished dress is worth every single hour you put into it.
About This Crochet Dress Pattern
This stunning sundress features a fitted bodice worked flat in two panels, a full gathered skirt worked in the round, delicate spaghetti straps, and approximately 40 to 50 handmade strawberry motifs sewn across the entire garment. The stitch pattern creates a dense, small mesh-like texture that resembles woven fabric with tiny uniform holes.
The bodice includes a V-neckline at the front and a matching low V or U-shaped open back. The skirt is gathered at the waist and falls to approximately midi or tea length, giving you that gorgeous flowy silhouette perfect for summer days, garden parties, or any occasion where you want to feel absolutely beautiful.
Skill Level: Intermediate to Advanced
This pattern requires comfort with flat construction including short rows and shaping, working in the round for the skirt, garment assembly and seaming, and creating multiple small three-dimensional motifs. If you’ve never made a fitted garment before, this might be a stretch, but don’t let that discourage you. Take it one section at a time.
Time Estimate: Approximately 60 to 90 hours total, including bodice construction, full skirt, all strawberry motifs, assembly, and finishing.
Finished Measurements
This pattern is written for a size Medium with the following finished measurements:
Materials Needed
Yarn
Main Color (MC): Blush pink cotton yarn, worsted weight (Category 4), approximately 1,400 yards / 1,280 meters total
Strawberry Red (A): Red cotton yarn, worsted weight (Category 4), approximately 100 yards / 91 meters
Strawberry Green (B): Green cotton yarn, worsted weight (Category 4), approximately 50 yards / 46 meters
Recommended Yarn Brands
1. Lion Brand 24/7 Cotton in Blush, Rose, and Grass. This mercerized cotton has excellent stitch definition and holds its shape beautifully after blocking.
2. Paintbox Yarns Simply DK Cotton in Blush Pink, Pillar Red, and Grass Green. A heavy DK that works to worsted gauge with a smooth, matte finish.
3. WeCrochet Dishie in Blush, Salsa, and Grass. 100% cotton with soft hand and excellent drape, perfect for a wearable garment.
Any smooth, plied worsted weight cotton or cotton-blend yarn may be substituted. Avoid highly textured, hairy, or stretchy yarns. Always swatch to confirm gauge before beginning.
Hooks
Notions
Gauge
With MC and G-6 hook, in Foundation Single Crochet Mesh Stitch (FSCMS):
18 stitches = 4 in / 10 cm
18 rows = 4 in / 10 cm
Gauge is mandatory for a fitted garment. If your swatch is smaller (more stitches per inch), go up a hook size. If your swatch is larger (fewer stitches per inch), go down a hook size.
To swatch: Chain 24. Row 1: single crochet (sc) in 2nd chain from hook and in each chain across. (23 sc) Continue in FSCMS pattern for at least 5 inches. Block swatch before measuring.
Abbreviations
Special Stitches for This Crochet Pattern
Foundation Single Crochet Mesh Stitch (FSCMS)
This is the primary body stitch throughout the dress. It creates a tight, small-scale mesh texture resembling woven fabric. Here’s how to work it:
Row 1 (RS): Ch 1, sc in first st, ch 1, sk 1 st, repeat (sc in next st, ch 1, sk 1 st) across, end sc in last st. Turn.
Row 2 (WS): Ch 1, sc in first sc, ch 1, sc in next ch-1 sp, repeat (ch 1, sc in next ch-1 sp) across, end ch 1, sc in last sc. Turn.
Repeat Row 2 for pattern.
Important note: The stitch count includes both the number of single crochets and the number of ch-1 spaces. For example, a 23-stitch row worked in FSCMS contains 12 sc and 11 ch-1 sps, equaling 23 working units.
sc2tog (Single Crochet Decrease)
Insert hook into next stitch, yarn over and pull up a loop (2 loops on hook). Insert hook into following stitch, yarn over and pull up a loop (3 loops on hook). Yarn over and pull through all 3 loops. One decrease made.
This stitch is how you’ll shape the bodice, neckline, and armholes.
Strawberry Body Motif
This three-dimensional motif is worked in the round using Red (A). You’ll make approximately 40 to 50 of these little cuties.
Magic ring.
Rnd 1: 6 sc in magic ring. (6 sc) Pull ring closed.
Rnd 2: 2 sc in each st around. (12 sc)
Rnd 3: (Sc in next st, 2 sc in next st) 6 times. (18 sc)
Rnd 4: (Sc in next 2 sts, 2 sc in next st) 6 times. (24 sc)
Rnd 5: Sc in each st around. (24 sc)
Rnd 6: (Sc in next 2 sts, sc2tog) 6 times. (18 sc)
Rnd 7: (Sc in next st, sc2tog) 6 times. (12 sc)
Stuff lightly with yarn scraps or fiberfill at this stage.
Rnd 8: (Sc2tog) 6 times. (6 sc)
Fasten off leaving a long tail. Draw tail through remaining 6 sts and pull tight to close.
Strawberry Cap (Calyx) Motif
Worked in Green (B). Make a slip knot and join to top of a completed strawberry body.
Rnd 1: Ch 1, work 6 sc evenly around the top opening area of the strawberry. Sl st to join. (6 sc)
Rnd 2: (Ch 4, sl st in 2nd ch from hook, sl st in next 2 ch, sl st in next sc of rnd 1) 6 times.
This creates 6 small leaf points radiating outward. Fasten off and weave in ends.
Pattern Notes Before You Begin
1. The bodice is worked flat in two panels (front and back) separately, then seamed at the side seams and shoulder strap areas.
2. The skirt is worked in the round from the waist down, beginning with a foundation chain joined into a circle.
3. The front bodice has a V-neckline. The back bodice also has a low V or wide U-shaped opening.
4. Spaghetti straps are crocheted as chains with slip stitch reinforcement and sewn to the top corners of the front and back bodice panels.
5. Strawberry motifs are made separately and sewn onto the finished, blocked dress in a scattered, evenly spaced arrangement.
6. The RS of the FSCMS fabric is the side on which the sc stitches form slightly raised horizontal bars. Establish the RS on Row 1 and maintain consistent orientation.
7. This pattern uses a ch-1 turning chain throughout the bodice. The ch-1 does NOT count as a stitch.
8. When working shaping rows, maintain the FSCMS pattern as best as possible while working the increases or decreases. On narrow edge stitches where the pattern repeat does not fit, work plain sc.
9. Block all major pieces before assembly for best results.
10. All stitch counts at the end of each row refer to total stitch units (sc plus ch-1 sps combined).
Step-by-Step Crochet Instructions
Front Bodice Panel
The front bodice is worked from the bottom waist edge upward to the shoulder strap attachment points. Starting stitch count at waist: 81 stitches wide.
Row 1 (RS): Using MC and G-6 hook, ch 83. Sc in 2nd ch from hook and in each ch across. Turn. (81 sc)
Row 2: Ch 1, sc in first st, (ch 1, sk 1 st, sc in next st) across. Turn. (81 sts in FSCMS)
Row 3: Ch 1, sc in first sc, (ch 1, sc in next ch-1 sp) across, end ch 1, sc in last sc. Turn. (81 sts)
Rows 4 through 6: Rep Row 3. (81 sts)
Rows 1 through 6 establish the waist section. The waist is the narrowest point of the bodice.
Waist-to-Bust Increases
The bodice widens from the waist to the bust by adding 9 stitches total across the next 9 rows, 1 stitch added at each side edge every row.
Row 7 (inc row): Ch 1, 2 sc in first st (inc at left edge), work in FSCMS across to last st, 2 sc in last st (inc at right edge). Turn. (83 sts)
Row 8: Ch 1, sc in first sc, ch 1, sc in next st, work FSCMS across to last 2 sts, ch 1, sc in last st, ch 1, sc in last sc. Turn. (83 sts)
After each inc row, the 2 new edge stitches are absorbed into the FSCMS pattern on the following row.
Row 9 (inc row): Ch 1, 2 sc in first st, work FSCMS to last st, 2 sc in last st. Turn. (85 sts)
Row 10: Work FSCMS across. Turn. (85 sts)
Row 11 (inc row): Ch 1, 2 sc in first st, work FSCMS to last st, 2 sc in last st. Turn. (87 sts)
Row 12: Work FSCMS across. Turn. (87 sts)
Row 13 (inc row): Ch 1, 2 sc in first st, work FSCMS to last st, 2 sc in last st. Turn. (89 sts)
Row 14: Work FSCMS across. Turn. (89 sts)
Row 15 (inc row): Ch 1, 2 sc in first st, work FSCMS to last st, 2 sc in last st. Turn. (91 sts)
Row 16: Work FSCMS across. Turn. (91 sts)
Checkpoint: After Row 16, the front bodice piece should measure approximately 3.5 in / 9 cm tall and 20 in / 50.8 cm wide at the top edge.
Rows 17 through 28: Work even in FSCMS without shaping. (91 sts each row)
Checkpoint: After Row 28, the bodice should measure approximately 6 in / 15 cm tall from the cast-on edge.
V-Neckline Shaping
At Row 29, the front neckline is divided at the center for the V-neck. Center st is st 46 of 91.
Left Front Panel
Row 29 (RS): Ch 1, work FSCMS across first 44 sts. Turn. Leave remaining sts unworked. (44 sts)
Row 30: Ch 1, sc2tog at neck edge (first 2 sts), work FSCMS to end. Turn. (43 sts)
Row 31: Work FSCMS to last 2 sts at neck edge, sc2tog. Turn. (42 sts)
Row 32: Ch 1, sc2tog, work FSCMS to end. Turn. (41 sts)
Row 33: Work FSCMS to last 2 sts, sc2tog. Turn. (40 sts)
Row 34: Ch 1, sc2tog, work FSCMS to end. Turn. (39 sts)
Row 35: Work FSCMS to last 2 sts, sc2tog. Turn. (38 sts)
Row 36: Ch 1, sc2tog, work FSCMS to end. Turn. (37 sts)
Row 37: Work FSCMS to last 2 sts, sc2tog. Turn. (36 sts)
Row 38: Ch 1, sc2tog, work FSCMS to end. Turn. (35 sts)
Rows 39 through 44: Work even in FSCMS on 35 sts. (35 sts each row)
Armhole Shaping for Left Front Panel
Row 45 (armhole dec row): Ch 1, sc2tog at armhole edge (right edge when RS is facing), work FSCMS to end. Turn. (34 sts)
Row 46: Work FSCMS to last 2 sts, sc2tog at armhole edge. Turn. (33 sts)
Row 47: Ch 1, sc2tog, work FSCMS to end. Turn. (32 sts)
Row 48: Work FSCMS to last 2 sts, sc2tog. Turn. (31 sts)
Row 49: Ch 1, sc2tog, work FSCMS to end. Turn. (30 sts)
Rows 50 through 56: Work even on 30 sts. (30 sts)
Fasten off. Weave in ends.
Right Front Panel
With RS facing, reattach MC at st 48 of Row 28 (the first st after the center st 46 and the one unworked skip st at the center V).
Row 29 (RS): Ch 1, work FSCMS across remaining 44 sts to end. Turn. (44 sts)
Row 30: Work FSCMS to last 2 sts, sc2tog at neck edge. Turn. (43 sts)
Row 31: Ch 1, sc2tog, work FSCMS to end. Turn. (42 sts)
Row 32: Work FSCMS to last 2 sts, sc2tog. Turn. (41 sts)
Row 33: Ch 1, sc2tog, work FSCMS to end. Turn. (40 sts)
Row 34: Work FSCMS to last 2 sts, sc2tog. Turn. (39 sts)
Row 35: Ch 1, sc2tog, work FSCMS to end. Turn. (38 sts)
Row 36: Work FSCMS to last 2 sts, sc2tog. Turn. (37 sts)
Row 37: Ch 1, sc2tog, work FSCMS to end. Turn. (36 sts)
Row 38: Work FSCMS to last 2 sts, sc2tog. Turn. (35 sts)
Rows 39 through 44: Work even on 35 sts. (35 sts)
Armhole Shaping for Right Front Panel
Row 45: Work FSCMS to last 2 sts, sc2tog at armhole edge. Turn. (34 sts)
Row 46: Ch 1, sc2tog, work FSCMS to end. Turn. (33 sts)
Row 47: Work FSCMS to last 2 sts, sc2tog. Turn. (32 sts)
Row 48: Ch 1, sc2tog, work FSCMS to end. Turn. (31 sts)
Row 49: Work FSCMS to last 2 sts, sc2tog. Turn. (30 sts)
Rows 50 through 56: Work even on 30 sts. (30 sts)
Fasten off. Weave in ends.
Back Bodice Panel
The back panel is worked identically to the front from Rows 1 through 28 (waist increases and even rows), producing 91 sts at Row 28.
V or U Back Opening Shaping
The back neckline drops slightly lower than the front, creating a wide open back effect.
Left Back Panel
Row 29 (RS): Ch 1, work FSCMS across first 40 sts. Turn. (40 sts)
Row 30: Ch 1, sc2tog at neck edge, work FSCMS to end. Turn. (39 sts)
Row 31: Work FSCMS to last 2 sts, sc2tog. Turn. (38 sts)
Row 32: Ch 1, sc2tog, work FSCMS to end. Turn. (37 sts)
Row 33: Work FSCMS to last 2 sts, sc2tog. Turn. (36 sts)
Row 34: Ch 1, sc2tog, work FSCMS to end. Turn. (35 sts)
Rows 35 through 44: Work even on 35 sts. (35 sts)
Armhole Shaping for Left Back Panel
Row 45: Ch 1, sc2tog at armhole edge, work FSCMS to end. Turn. (34 sts)
Row 46: Work FSCMS to last 2 sts, sc2tog. Turn. (33 sts)
Row 47: Ch 1, sc2tog, work FSCMS to end. Turn. (32 sts)
Row 48: Work FSCMS to last 2 sts, sc2tog. Turn. (31 sts)
Row 49: Ch 1, sc2tog, work FSCMS to end. Turn. (30 sts)
Rows 50 through 56: Work even on 30 sts. (30 sts)
Fasten off.
Right Back Panel
With RS facing, reattach MC at st 52 of Row 28 of the back bodice (leaving 11 center sts unworked for the upper back V opening).
Row 29 (RS): Ch 1, work FSCMS across remaining 40 sts. Turn. (40 sts)
Row 30: Work FSCMS to last 2 sts, sc2tog at neck edge. Turn. (39 sts)
Row 31: Ch 1, sc2tog, work FSCMS to end. Turn. (38 sts)
Row 32: Work FSCMS to last 2 sts, sc2tog. Turn. (37 sts)
Row 33: Ch 1, sc2tog, work FSCMS to end. Turn. (36 sts)
Row 34: Work FSCMS to last 2 sts, sc2tog. Turn. (35 sts)
Rows 35 through 44: Work even on 35 sts. (35 sts)
Armhole Shaping for Right Back Panel
Row 45: Work FSCMS to last 2 sts, sc2tog at armhole edge. Turn. (34 sts)
Row 46: Ch 1, sc2tog, work FSCMS to end. Turn. (33 sts)
Row 47: Work FSCMS to last 2 sts, sc2tog. Turn. (32 sts)
Row 48: Ch 1, sc2tog, work FSCMS to end. Turn. (31 sts)
Row 49: Work FSCMS to last 2 sts, sc2tog. Turn. (30 sts)
Rows 50 through 56: Work even on 30 sts. (30 sts)
Fasten off.
Checkpoint: Each of the four shoulder panels (left front, right front, left back, right back) should be 30 sts wide and approximately 12.5 in / 31.8 cm tall at their longest point.
Bodice Assembly
Side Seams: With RS together, whipstitch or sl st seam the left side edges of the front and back panels together from the waist edge up to the armhole shaping start (Row 44). Repeat for the right side seams. Do not seam the armhole area or shoulder areas yet.
Shoulder/Strap Panels: The 30-st top edges of the front and back panels on each side are not seamed together. These become the tops of the bodice cups. The spaghetti straps bridge the gap between the front top edge and the back top edge.
Neckline and Armhole Edging: With MC and G-6 hook, RS facing, work one row of sc evenly around all open neckline and armhole edges. Work approximately 1 sc per row end or 1 sc per stitch as the edge requires to lie flat. Fasten off and weave in ends.
Spaghetti Straps (Make 2)
With MC and G-6 hook, ch 85. Sl st in each ch across. Fasten off leaving long tails for sewing.
Each strap should measure approximately 14 in / 35.5 cm after gentle stretching. Adjust chain length if needed for fit before fastening off.
Attachment: Pin one end of each strap to the top corner of the right front panel (near the armhole-neckline junction) and the other end to the corresponding top corner of the right back panel. Try on the bodice or use a dress form to adjust strap length before sewing. Sew securely with yarn tails. Repeat for the left strap.
Skirt
The skirt is worked in the round from the waist downward. The skirt begins much wider than the bodice waist and is gathered to fit when attached.
Skirt Foundation
With MC and G-6 hook, ch 325. Sl st in first ch to form a ring, being careful not to twist.
Rnd 1 (RS): Ch 1, sc in each ch around. Sl st to first sc to join. (324 sc)
324 sc divided by 18 sts per 4 in equals approximately 72 in / 183 cm circumference at the hem.
Rnd 2: Ch 1, sc in first sc, (ch 1, sk 1 sc, sc in next sc) around, ch 1, sk 1 sc. Sl st to first sc to join. (324 sts in FSCMS)
Rnd 3: Ch 1, sc in first sc, (ch 1, sc in next ch-1 sp) around. Sl st to first sc to join. (324 sts)
Rnds 4 through 8: Rep Rnd 3. (324 sts)
Rounds 1 through 8 establish the hem.
Skirt Shaping: Decrease Rounds
The skirt tapers gradually from 324 sts at the hem up to approximately 210 sts at the waist over decrease shaping. Decrease rounds occur every 4 rounds, with 6 decreases evenly spaced each time.
Rnd 9 (dec rnd): Work FSCMS pattern around, working sc2tog at 6 evenly spaced positions (approximately every 54 sts). (318 sts)
Rnds 10 through 12: Work FSCMS around. (318 sts)
Rnd 13 (dec rnd): Work FSCMS around, working sc2tog at 6 evenly spaced positions. (312 sts)
Rnds 14 through 16: Work FSCMS around. (312 sts)
Rnd 17 (dec rnd): Work FSCMS around, sc2tog at 6 evenly spaced positions. (306 sts)
Rnds 18 through 20: Work FSCMS around. (306 sts)
Rnd 21 (dec rnd): Sc2tog at 6 evenly spaced positions. (300 sts)
Rnds 22 through 24: Work FSCMS around. (300 sts)
Rnd 25 (dec rnd): Sc2tog at 6 evenly spaced positions. (294 sts)
Rnds 26 through 28: Work FSCMS around. (294 sts)
Rnd 29 (dec rnd): Sc2tog at 6 evenly spaced positions. (288 sts)
Rnds 30 through 32: Work FSCMS around. (288 sts)
Rnd 33 (dec rnd): Sc2tog at 6 evenly spaced positions. (282 sts)
Rnds 34 through 36: Work FSCMS around. (282 sts)
Rnd 37 (dec rnd): Sc2tog at 6 evenly spaced positions. (276 sts)
Rnds 38 through 40: Work FSCMS around. (276 sts)
Rnd 41 (dec rnd): Sc2tog at 6 evenly spaced positions. (270 sts)
Rnds 42 through 44: Work FSCMS around. (270 sts)
Rnd 45 (dec rnd): Sc2tog at 6 evenly spaced positions. (264 sts)
Rnds 46 through 48: Work FSCMS around. (264 sts)
Rnd 49 (dec rnd): Sc2tog at 6 evenly spaced positions. (258 sts)
Rnds 50 through 52: Work FSCMS around. (258 sts)
Rnd 53 (dec rnd): Sc2tog at 6 evenly spaced positions. (252 sts)
Rnds 54 through 56: Work FSCMS around. (252 sts)
Rnd 57 (dec rnd): Sc2tog at 6 evenly spaced positions. (246 sts)
Rnds 58 through 60: Work FSCMS around. (246 sts)
Rnd 61 (dec rnd): Sc2tog at 6 evenly spaced positions. (240 sts)
Rnds 62 through 64: Work FSCMS around. (240 sts)
Rnd 65 (dec rnd): Sc2tog at 6 evenly spaced positions. (234 sts)
Rnds 66 through 68: Work FSCMS around. (234 sts)
Rnd 69 (dec rnd): Sc2tog at 6 evenly spaced positions. (228 sts)
Rnds 70 through 72: Work FSCMS around. (228 sts)
Rnd 73 (dec rnd): Sc2tog at 6 evenly spaced positions. (222 sts)
Rnds 74 through 76: Work FSCMS around. (222 sts)
Rnd 77 (dec rnd): Sc2tog at 6 evenly spaced positions. (216 sts)
Rnds 78 through 80: Work FSCMS around. (216 sts)
Rnd 81 (dec rnd): Sc2tog at 6 evenly spaced positions. (210 sts)
Rnds 82 through 88: Work FSCMS around even. (210 sts)
Checkpoint: The skirt should measure approximately 22 in / 56 cm from its foundation chain, and the top edge should measure approximately 46.7 in / 118.5 cm in circumference. This edge will be gathered to approximately 30 in / 76 cm to match the bodice waist.
Waist Gathering
To gather the skirt waist, work a row of slip stitches through both loops of every other stitch along the top edge of the skirt. Pin the gathered edge to the bodice waist, distributing fullness evenly. Seam to the bodice waist with a whipstitch seam using MC.
Optional: Thread 0.5 inch elastic through the inside of the waist seam for added stability.
Final Assembly and Finishing
1. Block bodice and skirt pieces before final assembly.
2. Attach skirt to bodice at waist seam using whipstitch.
3. Make 40
